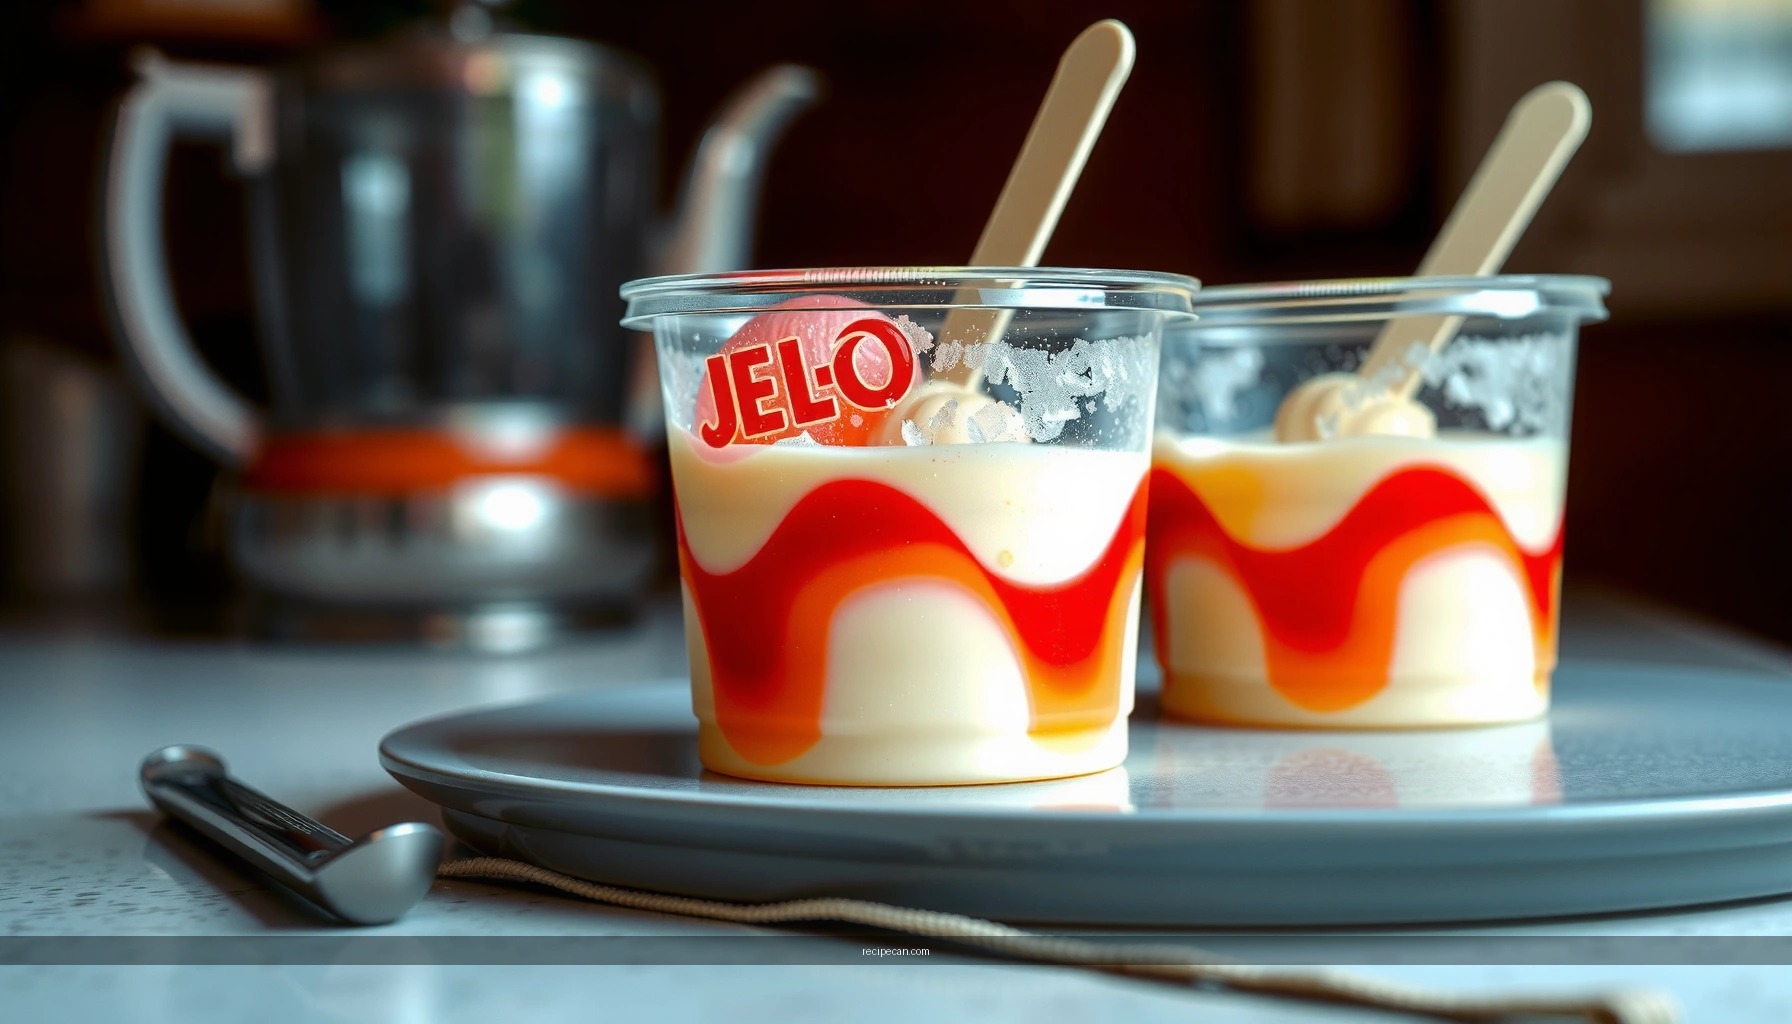
This Jell-O pudding pops recipe delivers the easiest way to make homemade Jell-O pudding pop treats with classic flavor and a smooth, spoonable texture. Follow the quick instructions to mix, fill, chill, and unmold perfect pops—no special equipment required. If you want the best results for creamy, sliceable pudding pops, you’ll know exactly what to do after the first pass.
Make Jell-O pudding pops by whisking instant pudding with milk until thick, spooning it into molds, inserting sticks, and freezing until firm. This no-bake method is fast, repeatable, and designed to give you smooth, spoonable, slice-free pudding pop treats every time—without tempering, baking, or complicated equipment.
What You’ll Need for Jell-O Pudding Pops

To make consistently smooth pudding pop treats, think in terms of three components: (1) the pudding base, (2) the mold system, and (3) the “release” strategy.
– Instant pudding mix, milk, and optional whipped topping
– Use whole milk for a richer texture and better mouthfeel (skim works, but the result is typically thinner).
– If the package calls for 2 cups milk per pudding size, measure carefully for the smoothest set.
– Optional whipped topping can lighten the flavor and improve “creamy” perception, especially for strawberry and vanilla.
– Pudding pop molds or small paper cups with sticks
– Silicone molds tend to unmold more easily than rigid plastic.
– Paper cups are budget-friendly and forgiving, but you’ll need a release step (often warm water around the cup).
Process note for quality: Pudding pops rely on proper thickening first. If the pudding is runny when you fill molds, you’ll end up with soft, slumping pops after freezing.
Instant Pudding vs. Creaminess in Homemade Pudding Pops (Yield & Texture)
| # | Pudding Mix Flavor | Typical Set Time* | Creaminess (★) | Freeze Stability |
|---|---|---|---|---|
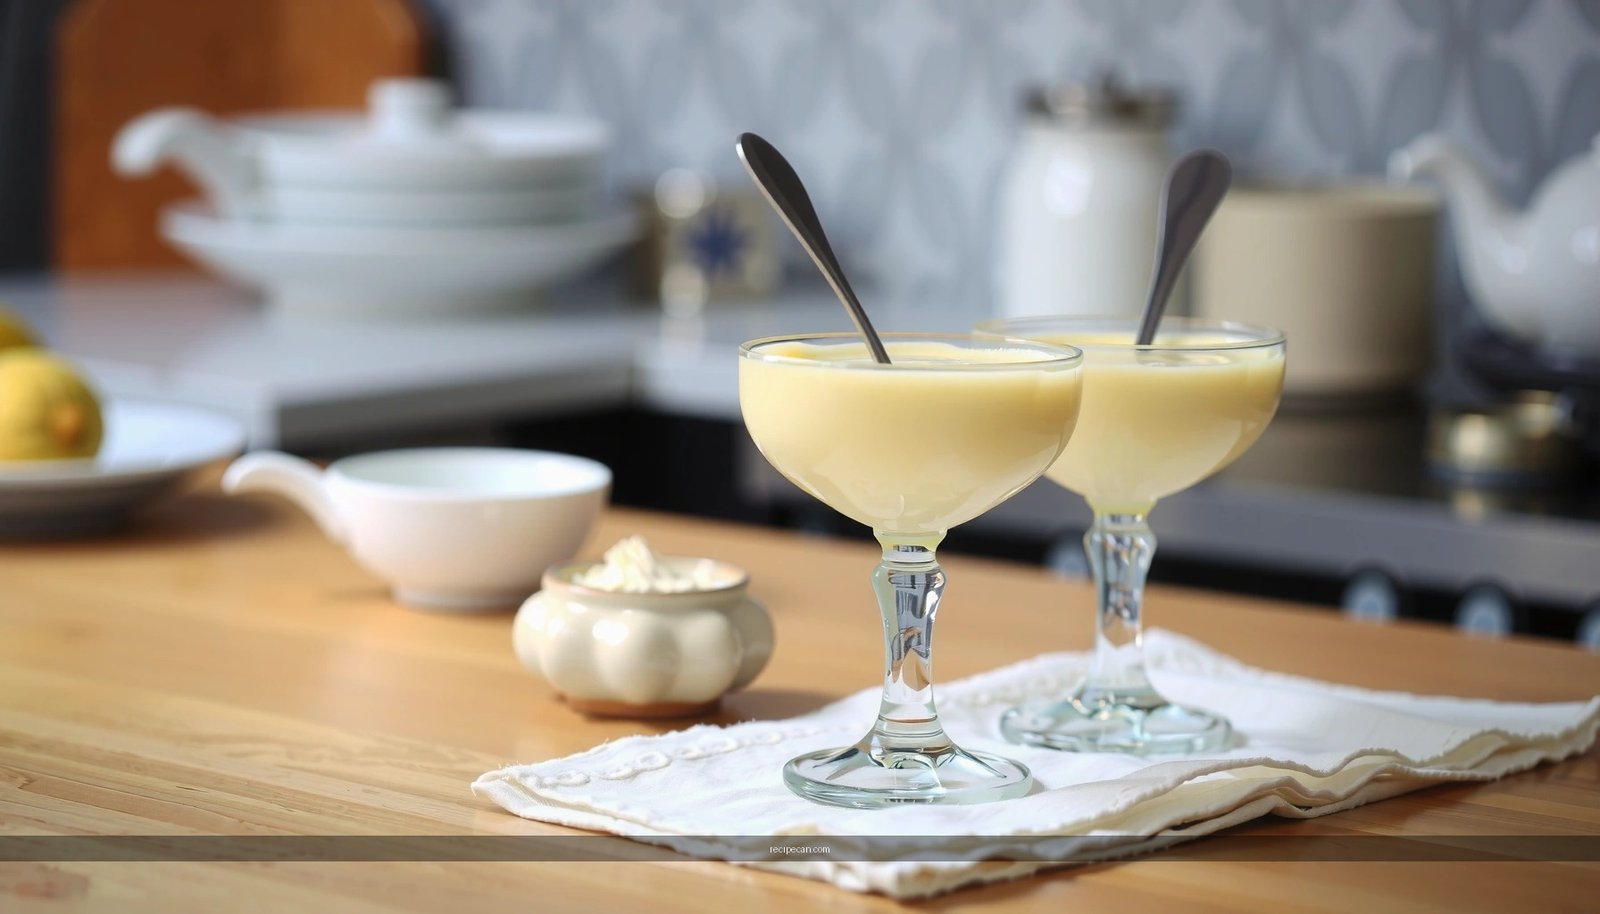
| 1 | Vanilla | ~5 min | ★★★★☆ | High |
| 2 | Chocolate | ~6 min | ★★★★☆ | High |
| 3 | Strawberry | ~5–6 min | ★★★☆☆ | Medium–High |
| 4 | Butterscotch | ~6–7 min | ★★★★☆ | High |
| 5 | Lemon | ~5 min | ★★★☆☆ | Medium |
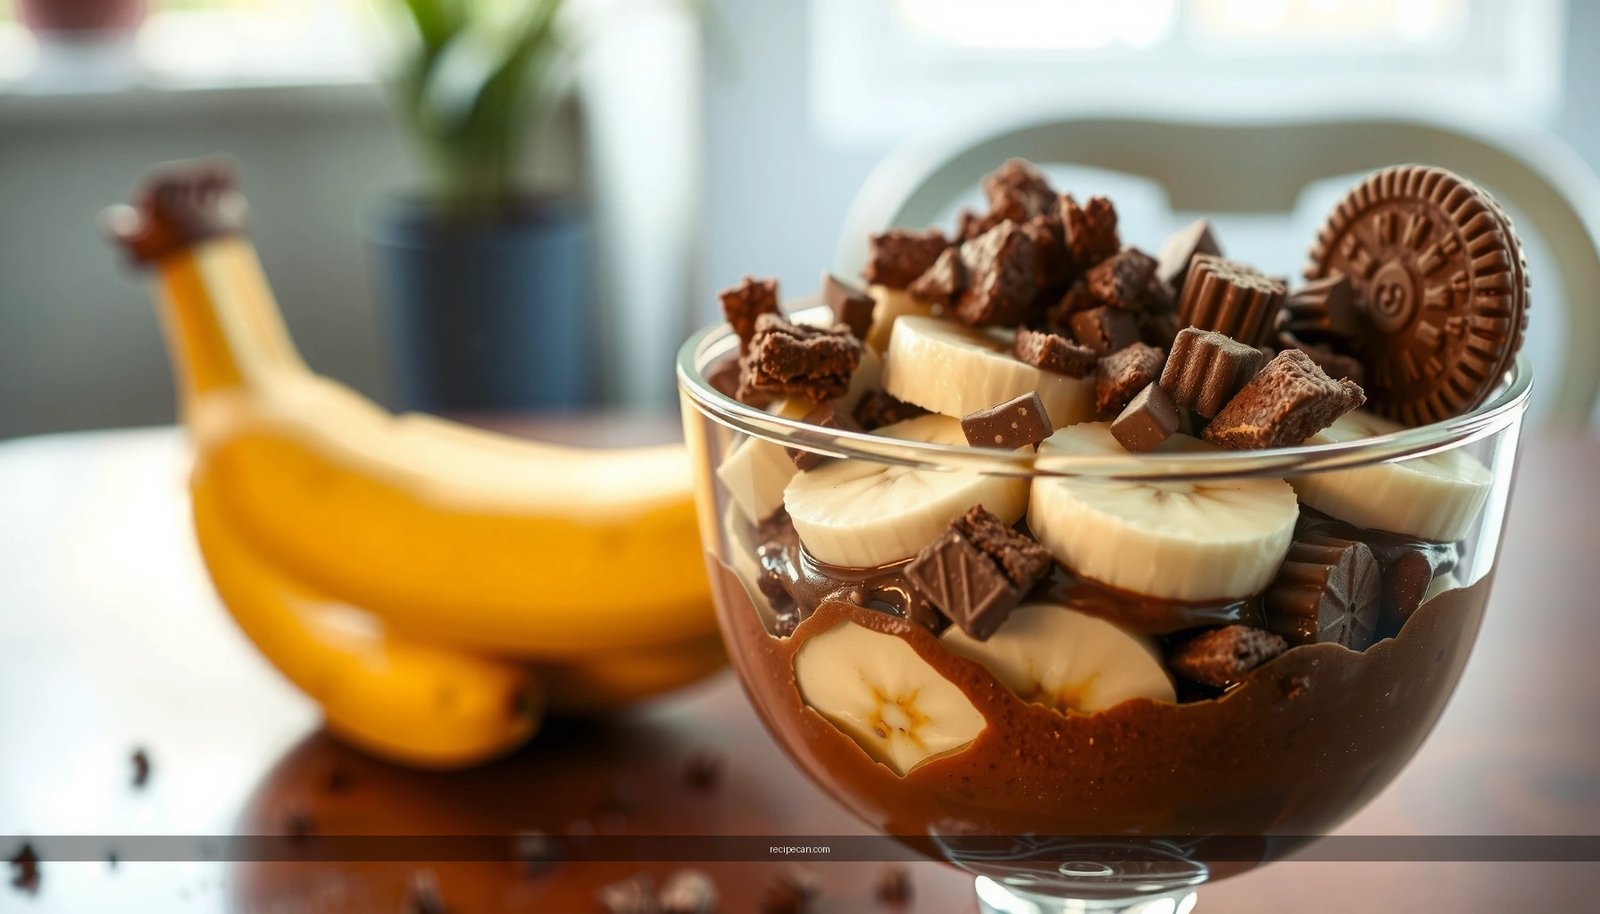
| 6 | Banana Cream | ~6 min | ★★★★☆ | High |
| 7 | Creamy Oreo-Style (Chocolate Cookie) | ~6–7 min | ★★★★☆ | High |
Set time varies by brand and the temperature of the milk; use these as practical planning ranges when building a pudding pop workflow.
Ingredients and Flavor Tips

Classic Jell-O pudding pops are defined by a few controllable variables: flavor base, sweetness balance, and texture support.
– Choose flavors like vanilla, chocolate, or strawberry for classic pops
– Vanilla: dependable and smooth; works well with cookie crumbs, caramel sauce, or fruit swirls.
– Chocolate: holds up well to mix-ins like cocoa-dusted cookie bits; great for “dessert-like” pops.
– Strawberry: best when paired with a small amount of fruit puree (not too watery) to keep the structure stable.
– Adjust sweetness by using less sugar if your mix allows
– Many instant pudding mixes are formulated to set properly at the instructed sugar level. If you want to dial sweetness down, consider reducing only the added ingredients that your specific package permits (some “reduced sugar” or “no sugar added” versions behave differently).
– A practical approach is to keep the base measurements exact, then balance sweetness with tangy mix-ins (like lemon zest) or unsweetened whipped topping if your option allows.
Texture tip for smoothness: If your goal is spoonable pudding pop texture (not airy), use whipped topping sparingly—think “fold in” rather than fully substituting. Overuse can soften freeze-set.
Step-by-Step: How to Make the Pudding

The key to excellent pudding pops is timing and viscosity. You want the pudding thick enough to hold shape in molds, but still smooth and spoonable.
– Whisk pudding and milk until thickened (about 2 minutes, then let it set briefly)
– Start by whisking the instant pudding mix and cold milk until it thickens and the powder is fully dissolved.
– Many batches reach “thickened” consistency in roughly 2 minutes, but the pudding often benefits from a short rest (1–3 minutes) so starches fully hydrate. This is where you prevent “runny centers” after freezing.
– If you rush filling, the pop may look fine at first but soften or separate later as it freezes.
– Add mix-ins (optional) like cookie crumbs or fruit puree
– Cookie crumbs: Use finely crushed cookies and fold in gently. For best structure, add crumbs after the rest period so they don’t absorb moisture too aggressively right away.
– Fruit puree: Thicken fruit puree by reducing it slightly on the stove, or use strained puree to minimize excess water. Too much liquid is the most common cause of soft pudding pops.
Professional consistency check: If your spoon can draw a slow “ribbon” that holds for a few seconds, you’re in the right range. If it immediately levels out like thin cream, whisk a bit longer and give it the rest time.
How to Fill and Freeze Pudding Pop Molds
Filling is straightforward, but evenness and freeze timing determine whether you get clean edges and sturdy pops.
– Fill molds evenly, leaving a little space at the top
– Portion the pudding to keep freezing consistent across pops. Uneven fill can cause some sticks to tilt or pops to crack.
– Leave a small headspace to allow for expansion as it freezes—typically about 5–10 mm depending on mold depth.
– Insert sticks and freeze until firm (typically 4–6 hours)
– Freeze until the pudding pop is solid enough to resist bending. If the stick feels wobbly or comes out too easily, the core isn’t set.
– For faster and more consistent results, ensure your freezer is set cold enough and avoid opening the freezer frequently during the first few hours.
Scheduling suggestion: For batch prep, you can mix and fill in the evening and unmold the next day. If you’re making these for an event, freezing overnight is often the most reliable pathway.
How to Unmold (and Avoid Common Mistakes)
Unmolding is where many homemade pops fail—not because the recipe is wrong, but because the release technique is inconsistent.
– Run molds under warm water for easy release
– Briefly run warm (not hot) water over the outside of the mold. The warmth should gently soften the outer pudding layer so it slides out cleanly.
– Start with 10–20 seconds, then try a gentle pull. If it resists, repeat briefly rather than forcing it.
– Don’t freeze too fast without thickening first—soft pudding won’t hold shape
– The most common mistake is filling molds while pudding is still too fluid.
– If you notice the pudding looks thickened but still feels “wet-slippery” when you drag your spoon through it, give it a short rest and re-check before filling.
Extra troubleshooting:
– Cracks on the surface: Usually too much headspace is left or the pops froze unevenly. Next time, portion more evenly and avoid temperature swings.
– Stuck pops: Use warm water longer on the outside, and make sure the freezer isn’t producing frost buildup that “glues” the mold.
Storage and Make-Ahead Instructions
For the best texture and flavor, treat storage like a quality system: minimize air exposure and maintain stable freezing conditions.
– Store frozen pops in a sealed container or zip bag
– Once fully frozen, transfer to a sealed bag or container to reduce freezer burn.
– If you used paper cups, remove the pops from the cups once they’re firm so the cup doesn’t affect texture.
– Keep for up to 1–2 months for best flavor and texture
– Within the first 4 weeks, pops typically taste closest to fresh.
– After 1–2 months, some flavors (especially fruity ones) may develop slight flavor dulling, and texture can become grainier—still edible, just less optimal.
Make-ahead workflow:
1. Freeze overnight for firm set.
2. Unmold and package.
3. Label by flavor and date.
4. Re-freeze promptly.
Practical Variations (So You Don’t Get “Same-Looking” Pops Every Time)
Once you master the base method, you can build a lineup of pudding pop treats for kids, office snack boards, or event desserts.
– Layering strategy: alternate flavors in stages
– Freeze one thin layer until just starting to set, then add the second flavor. This reduces mixing and creates visual interest.
– Swirl technique: add fruit puree in small amounts
– Spoon small droplets of puree on top and lightly swirl. Over-mixing can destabilize the structure.
– “Dessert shop” upgrade: mix-in ratios
– Start with small fold-ins—about 1–2 tablespoons per serving of mix-ins—so the pudding remains scoopable.
Consistency is the advantage: The production method stays identical; only your flavor system changes.
Jell-O pudding pops are an easy, no-bake treat: make the pudding, fill molds, freeze until firm, and unmold with a quick warm-water trick. Follow the thickening-and-rest step for a smooth texture, freeze long enough for structural integrity, and store them sealed to preserve flavor. Once you nail that workflow, you can confidently batch different flavors and mix-ins—then serve cool, creamy pudding pop treats on demand.
Frequently Asked Questions
What is the easiest jell-o pudding pops recipe for beginners?
Start by whisking Jell-O pudding (in powder form) with cold milk until smooth, then pour into popsicle molds. Chill the mixture to thicken slightly, fill the molds, and freeze until fully set. If you’re using a flavor like vanilla or chocolate Jell-O pudding, you’ll get classic “pudding pop” texture without any complicated steps.
How do you make jell-o pudding pops that don’t turn icy?
To avoid icy results, use the correct ratio of milk to pudding mix and choose full-fat milk if possible for better creaminess. Let the pudding mixture sit for a few minutes before pouring so it thickens, which helps the pops freeze with a smoother texture. For extra consistency, briefly stir after filling to reduce any unmixed powder spots.
Why do my pudding pops separate after freezing, and how can I prevent it?
Separation usually happens when the pudding isn’t fully mixed or when the mixture is poured too thin before it thickens. Whisk thoroughly until there are no lumps, and consider chilling the pudding for 10–15 minutes before filling the popsicle molds. Using the exact Jell-O pudding mix and recommended milk amount for your particular flavor also helps maintain stable texture.
Which jell-o pudding flavors work best for pudding pop recipes?
Vanilla, chocolate, and butterscotch Jell-O pudding are popular because they freeze into a rich, creamy base that stays flavorful. If you want a fun twist, try lemon or cheesecake-style pudding for a tangy, dessert-like pop. Choose flavors that match your milk choice (dairy or alternative) and your add-ins so the taste stays strong after freezing.
What’s the best way to remove jell-o pudding pops from the molds?
To release cleanly, run the outside of the popsicle mold under warm water for 10–20 seconds, then gently pull the pops. If you’re using standard popsicle sticks, avoid twisting hard, which can smear the pudding surface. Proper freezing time is key—typically 4–8 hours—so the pops are firm all the way through.
References
- Google Scholar Google Scholar
https://scholar.google.com/scholar?q=jell-o+pudding+pop+recipe - Google Scholar Google Scholar
https://scholar.google.com/scholar?q=gelatin+ice+pop+formulation+freeze+crystallization - https://scholar.google.com/scholar?q=instant+pudding+powder+gelatin+setting+mechanism Google Scholar
https://scholar.google.com/scholar?q=instant+pudding+powder+gelatin+setting+mechanism - Jell-O
https://en.wikipedia.org/wiki/Jell-O - Gelatin
https://en.wikipedia.org/wiki/Gelatin - Instant pudding
https://en.wikipedia.org/wiki/Instant_pudding - Ice pop
https://en.wikipedia.org/wiki/Ice_pop - Gelatin | Definition, Characteristics, & Uses | Britannica
https://www.britannica.com/science/gelatin - https://www.fda.gov/food/consumers
https://www.fda.gov/food/consumers - https://www.foodsafety.gov/food-safety-charts/cold-food-storage
https://www.foodsafety.gov/food-safety-charts/cold-food-storage