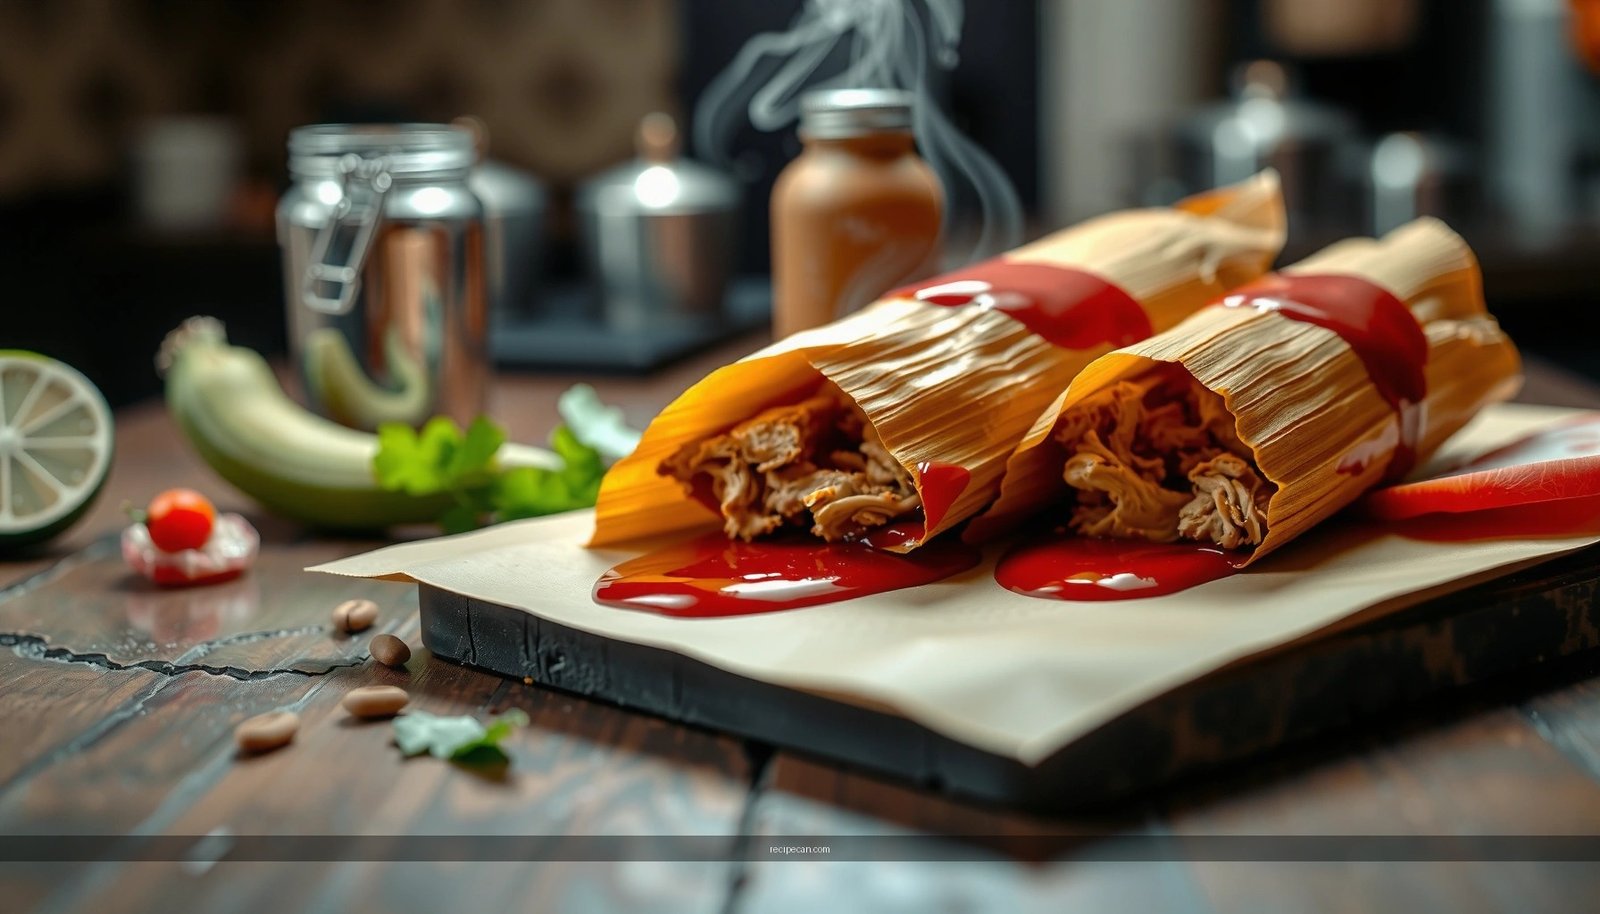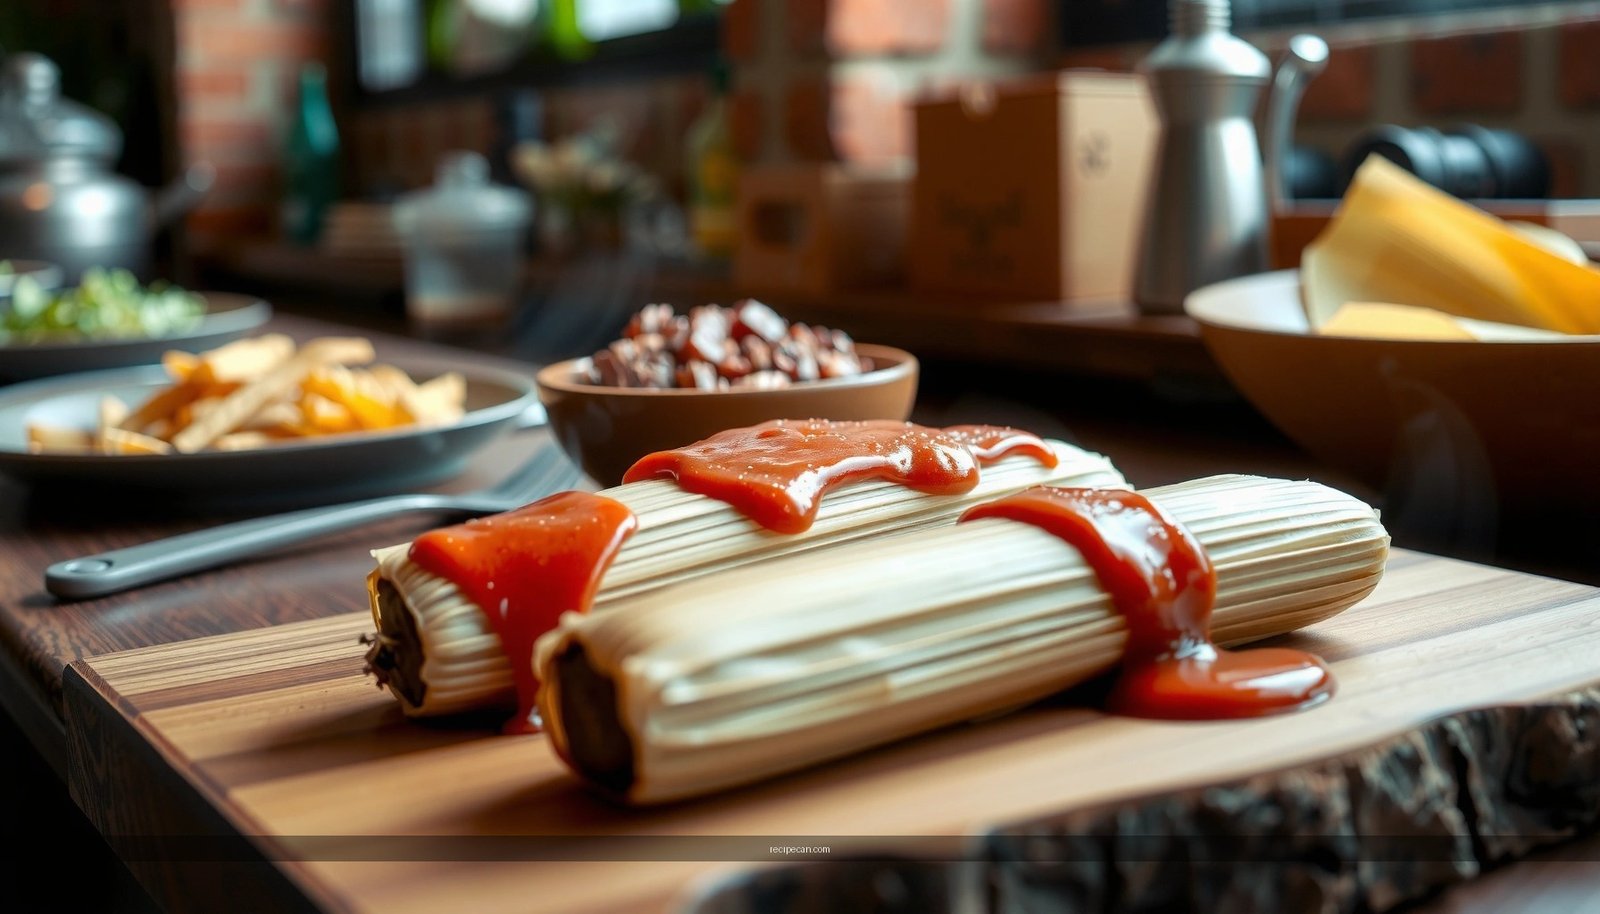
You want the green chili chicken tamales recipe with a step-by-step process that reliably turns out tender masa, flavorful filling, and clean, no-stress assembly. This recipe is the clear winner if you want restaurant-style results at home, with roasted green chilies and juicy chicken layered in perfect portions. Follow the instructions closely and you’ll know exactly what to do—from preparing the masa to steaming—so every batch comes out right.
Make green chili chicken tamales at home by cooking a deeply seasoned chicken filling, spreading tender masa in corn husks, and steaming until the corn dough sets firm and cohesive. This step-by-step recipe focuses on the three variables that determine success—filling flavor, masa consistency, and steady steaming—so your tamales come out with the right texture every time.
Ingredients for Green Chili Chicken Tamales
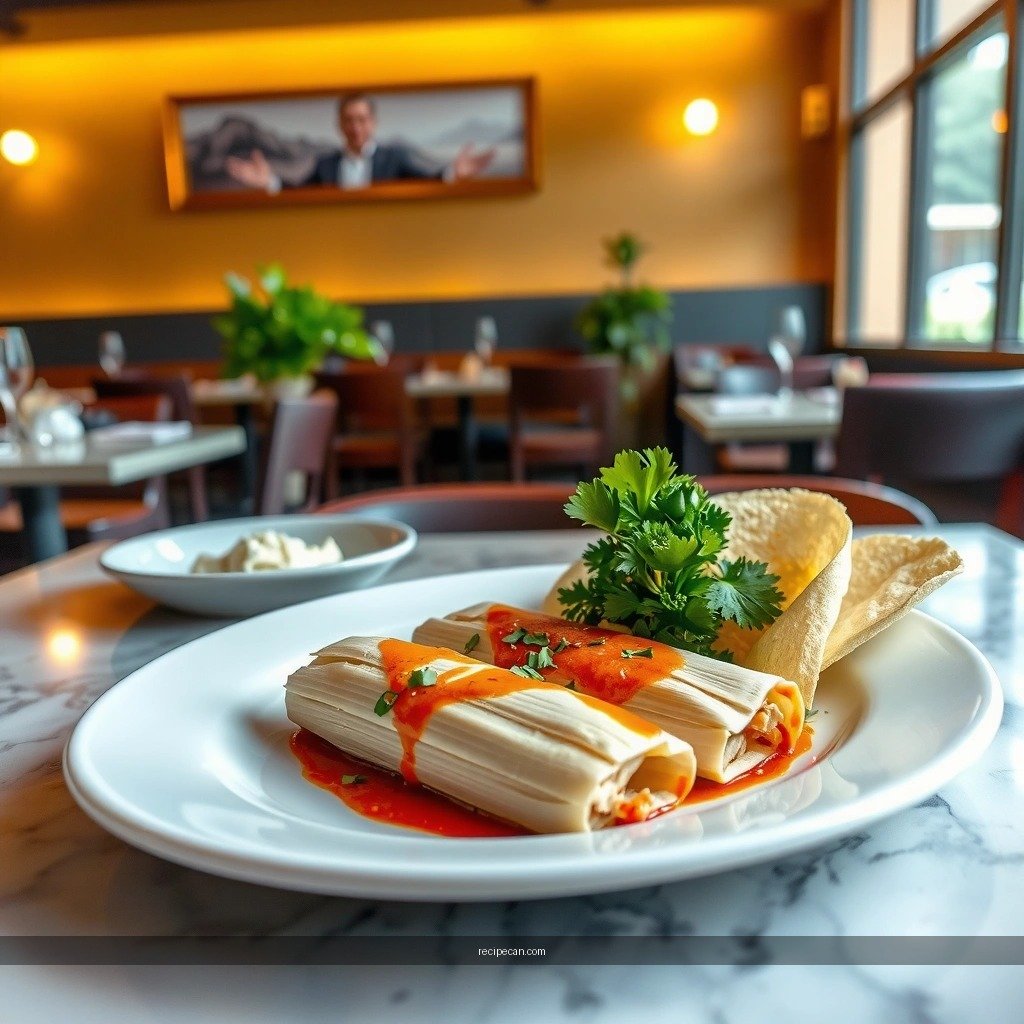
– Gather masa harina, corn husks, chicken, and green chiles for the base
– Include key seasonings (like garlic, onion, salt, and spices) for flavor
– Have lard or oil ready for masa texture and richness
To make restaurant-style green chili chicken tamales, start with ingredients that support both flavor and structure. Masa harina (not cornmeal) is essential because it hydrates into a pliable, steam-set dough. Corn husks provide the natural wrap and steam barrier that keeps the masa tender but not mushy.
A reliable, widely used ingredient approach for tamales looks like this (adjust quantities based on how many tamales you want to make):
– Masa dough
– Masa harina
– Warm chicken broth (or water + chicken bouillon)
– Lard (traditional) or neutral oil (a practical alternative)
– Salt (to season the dough)
– Green chili chicken filling
– Cooked chicken (breasts or thighs)
– Onion, garlic
– Green chiles (mild to medium depending on preference)
– Ground cumin and chili powder (or similar spices)
– Salt and black pepper
– Optional: a splash of broth to keep filling moist while assembling
– Wrap
– Corn husks (dried)
For the best results, choose green chiles with enough flavor to stand up to steaming. If you can, select whole green chiles (canned or jarred) rather than only chile powder—whole chiles give body, texture, and a true “green chili” identity.
Tamale Success Factors: Typical Fixes by Symptom (Green Chili Chicken)
| # | Observed Issue | Most Likely Cause | Best Adjustment | Expected Outcome |
|---|---|---|---|---|
| 1 | Masa cracks while spreading | Over-dry dough | Add warm broth 1 tbsp at a time | ★ ★ ★ ★ ★ |
| 2 | Tamales feel dense | Dough not aerated / under-mixed | Mix masa longer until fluffy | ★ ★ ★ ★ ★ |
| 3 | Filling is watery | Not simmered long enough | Simmer 5–10 min to thicken | ★ ★ ★ ★ |
| 4 | Blended or bland chili flavor | Salt not adjusted in filling | Taste and add salt + spices | ★ ★ ★ ★ ★ |
| 5 | Masa is gummy | Under-steamed or too much liquid | Steam 30–60 min more | ★ ★ ★ ★ |
| 6 | Wrappers peel off easily | Husks dried out or not set by steaming | Rest 10 min before unwrapping | ★ ★ ★ |
| 7 | Bottom tamales scorched | Water level dropped too low | Refill simmering water during steaming | ★ ★ |
Make the Green Chili Chicken Filling
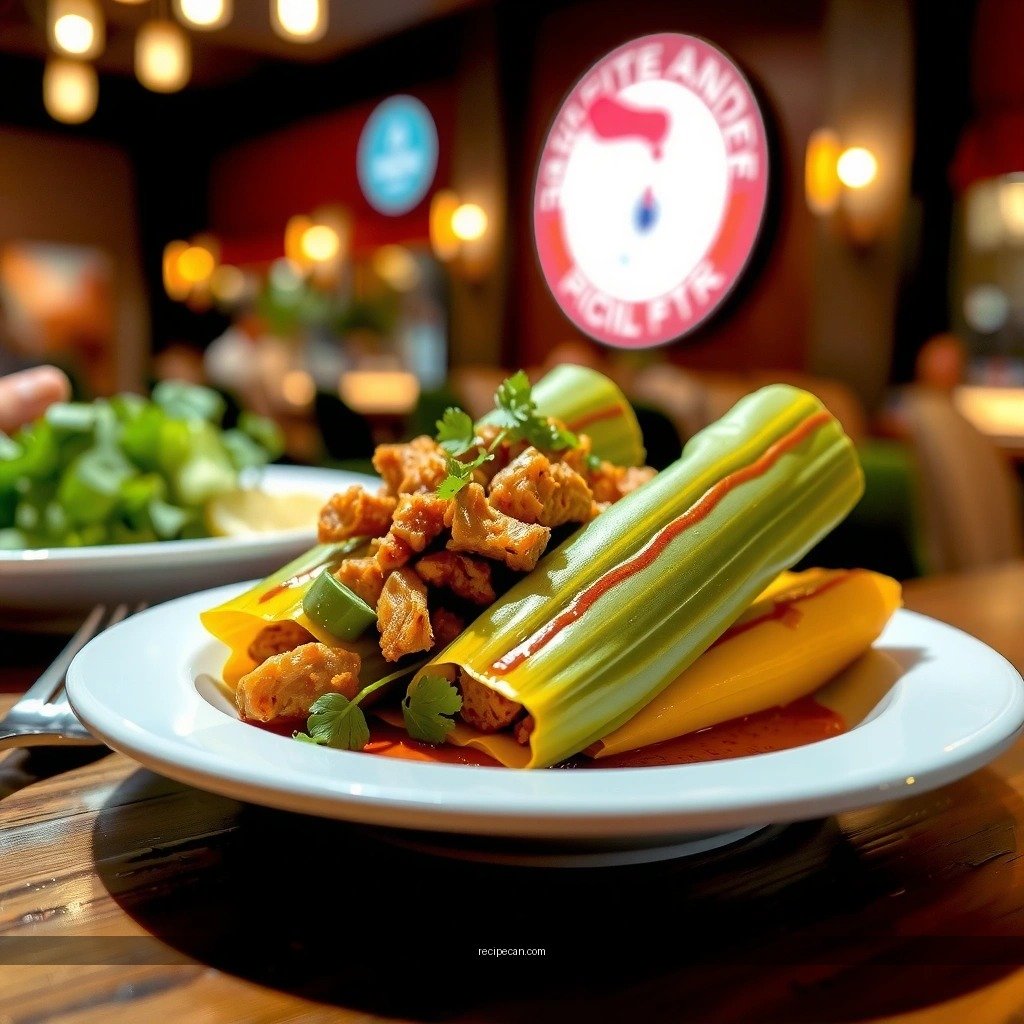
– Cook chicken with aromatics, then shred and combine with green chiles
– Simmer briefly to thicken and deepen the chili flavor
– Taste and adjust salt and heat before assembling
The filling is where “green chili chicken tamales” become unforgettable. Start by cooking your chicken with aromatics so the meat absorbs flavor rather than relying only on chile paste. You can simmer chicken in water or broth with sliced onion and garlic until tender, then shred it finely enough that each tamale bite includes a balanced amount of chicken and chili.
Then build flavor in the chile base:
1. Combine shredded chicken with green chiles (chopped if needed for consistent distribution).
2. Add ground cumin and chili powder (or a chili blend) to round out the flavor profile.
3. Simmer briefly—often 5–10 minutes—until the mixture looks cohesive rather than loose.
4. Taste and adjust salt and heat before assembling.
Why taste early? Because once the filling is inside masa and steamed, it can taste muted compared to how it tastes in the pot. If you start with a properly seasoned filling, you avoid the common “under-seasoned tamale” outcome.
Actionable tip: If the filling seems thick but not “spreadable,” add a few spoonfuls of broth and simmer for 1–2 minutes. The goal is a filling that holds shape on the masa without leaking.
Prepare the Masa (Corn Dough)
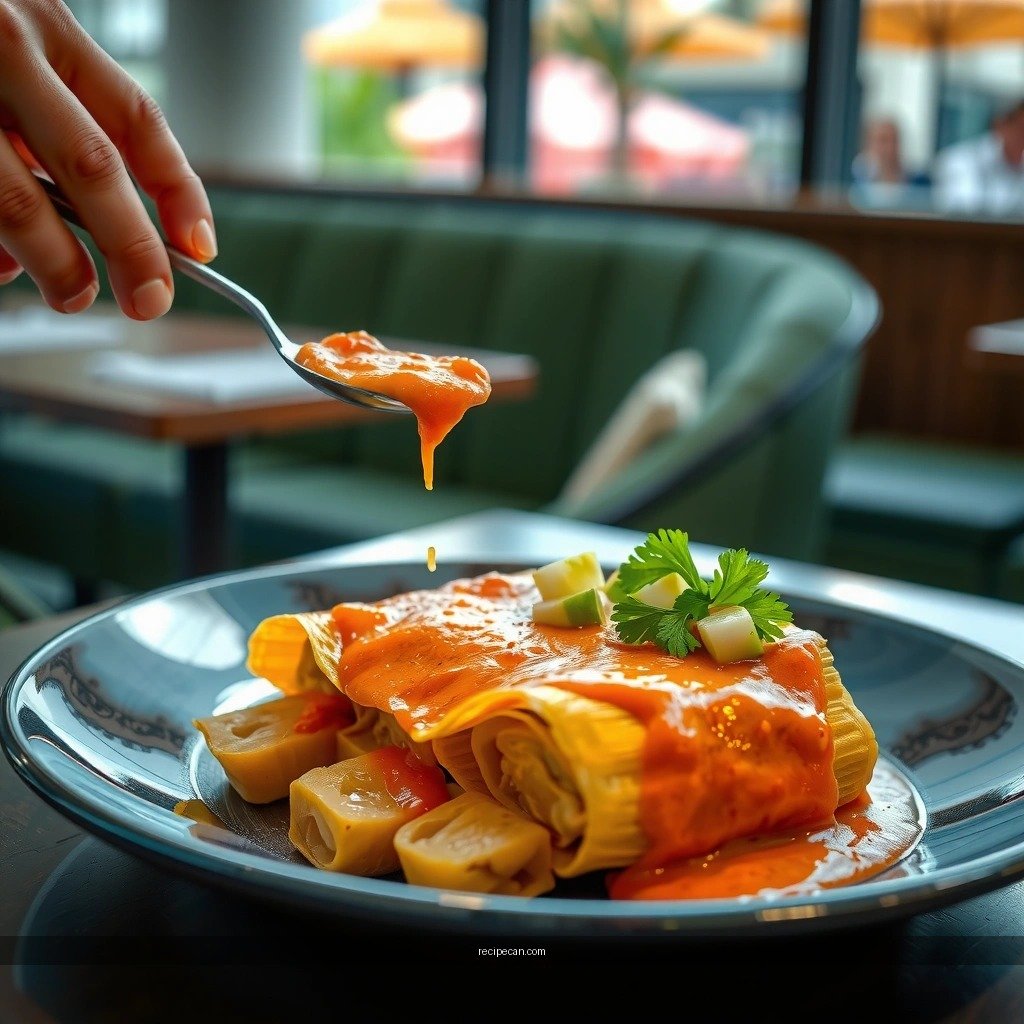
– Mix masa harina with warm broth and fat until smooth and spreadable
– Fold in seasonings so every bite is well-balanced
– Check consistency: it should spread without tearing
Masa consistency is non-negotiable. If your dough is too dry, it will tear or crack when you spread it. If it’s too wet, it will steam gummy and separate from the husk.
A practical approach:
1. Rehydrate masa harina with warm broth gradually.
2. Mix until smooth and thick, then add lard or oil for tenderness and richness.
3. Season the dough with salt and, optionally, a small amount of ground cumin or garlic powder for subtle depth.
4. Mix again until the masa is spreadable and holds together.
Visual and tactile check:
– When you spread masa on a husk, it should form a smooth layer that doesn’t crumble at the edges.
– If it sits like paste and resists spreading, add 1 tablespoon warm broth at a time.
– If it spreads like batter, add masa harina 1–2 tablespoons at a time and mix thoroughly.
For consistency across a large batch, keep your dough covered while you work so it doesn’t dry on the surface. You’re aiming for a dough that behaves predictably for every assembly cycle.
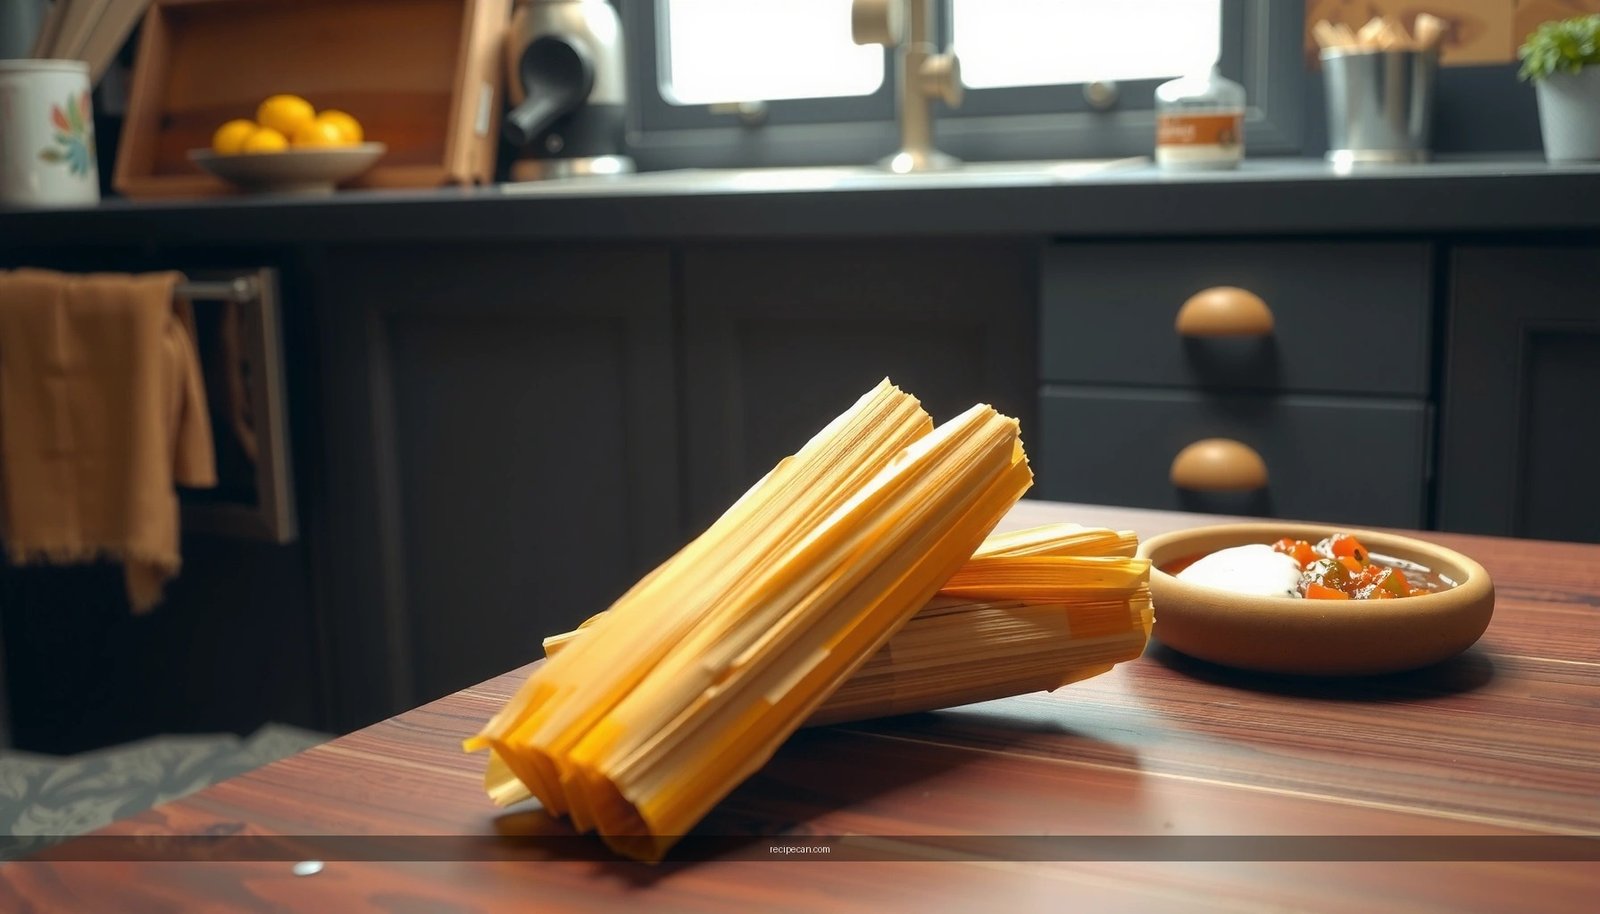
Soak and Prep the Corn Husks
– Soak husks until pliable so they fold easily
– Trim or clean if needed for better wrapping
– Keep them moist to prevent cracking during assembly
Soaking dried corn husks is a safety and quality step—dry husks crack, and cracking causes gaps that interfere with steaming. Use the time you need for pliability rather than guessing.
Recommended process:
1. Soak husks in warm water until flexible (typically 30–60 minutes for most dried husks).
2. If husks are very stiff, add soaking time and periodically stir.
3. Trim thick stems or hard edges that prevent a flat wrap.
4. Keep husks submerged or covered with a damp towel while assembling so they stay hydrated.
Pro tip for assembly: Once husks are softened, you can pat them lightly so excess water doesn’t thin the masa or make the wrapping slippery.
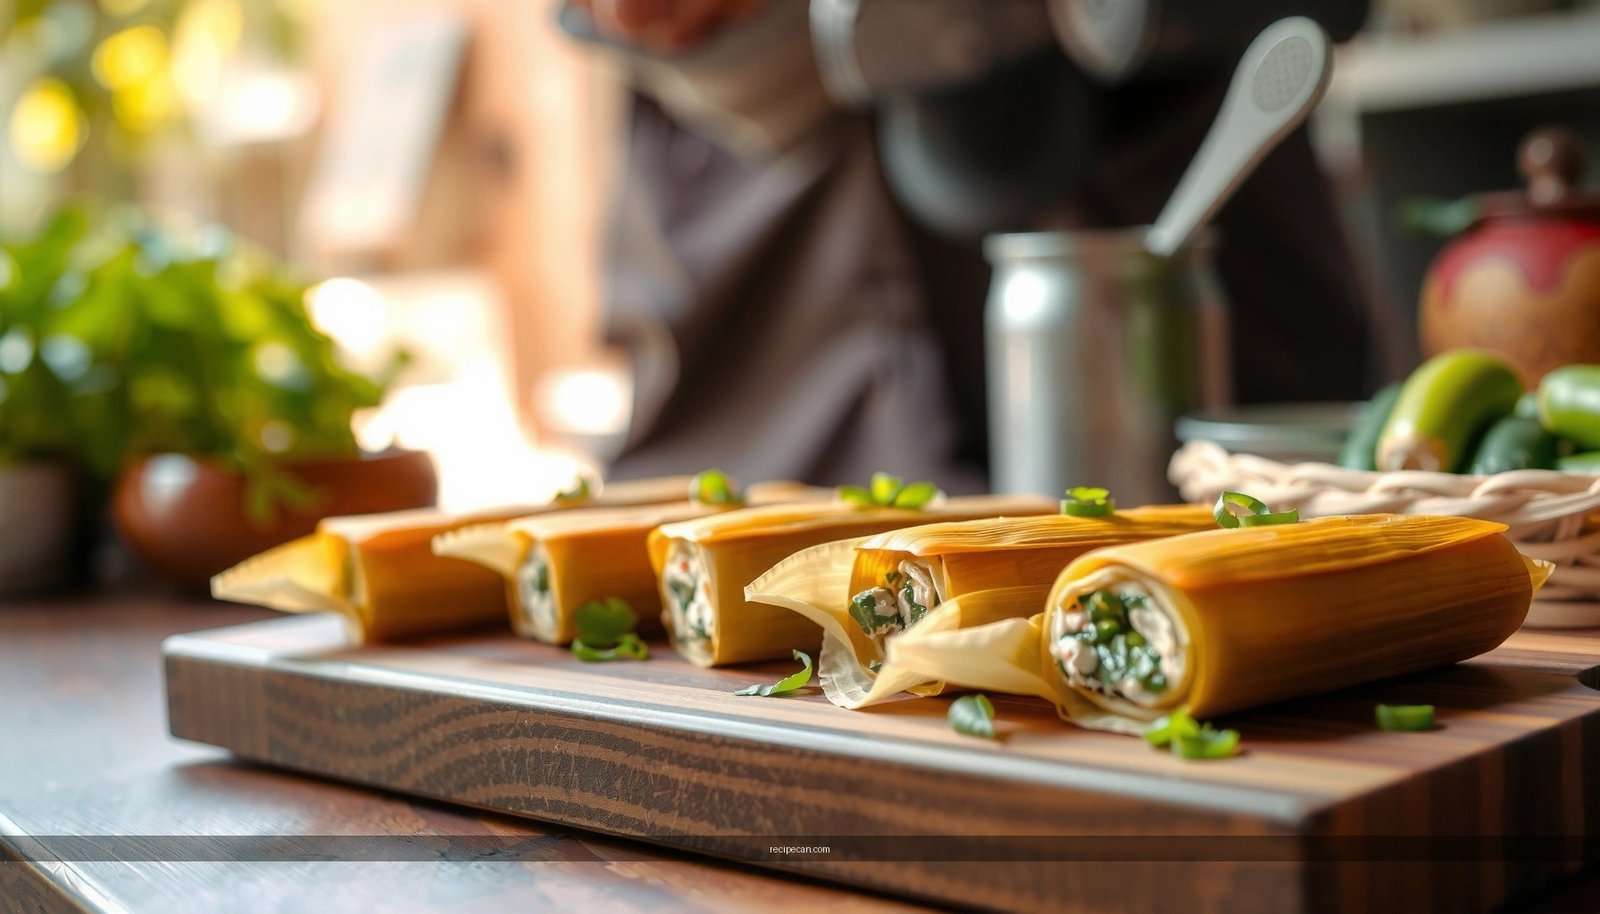
Assemble and Wrap the Tamales
– Spread masa on husks, add a portion of green chili chicken filling
– Fold and tie/secure as needed so they steam evenly
– Repeat until all masa and filling are used
Assembly is where speed helps, but technique matters more than rushing. A well-wrapped tamale steams evenly, holds its shape, and unwraps cleanly.
A dependable assembly method:
1. Spread masa onto the center of the husk (not all the way to the edge).
2. Add a line or small mound of green chili chicken filling.
3. Fold the husk so masa stays inside and the seam is secured.
4. Arrange seams consistently—this impacts how tamales sit upright in the steamer.
Portion control matters. If you overfill, masa can split or the wrap may open during steaming. If you underfill, you’ll get a masa-forward tamale with less chili payoff. For most batches, aim for a filling portion that fills the “middle third” without pushing out the sides.If you prefer ties, use kitchen twine or strips of husk to secure. While some methods don’t require tying (depending on wrap style), ties can improve uniformity for beginners.
Steam Green Chili Chicken Tamales
– Arrange tamales upright and steam until masa is firm and cooked through
– Check water level during steaming to avoid scorching
– Rest briefly before unwrapping for best texture
Steaming is the final transformation from raw masa to tamale-ready structure. The texture depends on consistent steam and sufficient cooking time.
How to steam effectively:
1. Arrange tamales upright (or as your setup allows) with enough airflow so steam circulates.
2. Keep the water at a gentle simmer—enough to produce steady steam without boiling aggressively.
3. Monitor water level frequently. Add simmering water as needed so the steamer doesn’t run dry.
4. Steam until the masa looks set and firm, and the tamales can release from the husk edges without gummy resistance.
Timing guidance (varies by batch size and steamer):
– Many home cooks steam around 60–90 minutes for standard-size tamales, then check doneness.
– If masa still feels soft or gummy, continue steaming in 15–20 minute increments until set.
Resting step: After steaming, let tamales rest briefly before unwrapping. This allows steam to redistribute and sets the masa so it holds its shape.
Serve and Store
– Serve warm with salsa, crema, or queso fresco if desired
– Cool completely before refrigerating or freezing
– Reheat in a steamer or microwave until hot throughout
Green chili chicken tamales taste best when served warm, but storage quality is just as important if you’re batch cooking. Start with classic toppings:
– Salsa (red or extra green for more heat)
– Crema (cooling, tangy contrast)
– Queso fresco (salty, crumbly finish)
Cooling and storage:
– Cool tamales fully before refrigerating or freezing to reduce condensation.
– Refrigerate in an airtight container for several days (quality stays best within the first few days).
– Freeze in portioned quantities so you can reheat exactly what you need.
Reheating:
– Best texture: re-steam until hot throughout.
– Convenient option: microwave with a damp paper towel, heating in short intervals and letting them sit briefly between rounds.
Batch cooking advantage: If you’re serving a crowd, tamales can be prepared in stages—filling and masa ahead of time, then assembly and steaming the day of serving.
Final thoughts: Once you master masa consistency and steaming time, this recipe becomes repeatable. And once you’re comfortable, explore variations by swapping chile type (mild hatch green vs. smoky poblano-style) and adjusting the filling seasoning profile.
Steaming green chili chicken tamales is simple once you nail the filling seasoning, achieve a spreadable masa consistency, and maintain steady steam without letting water run low. Use the troubleshooting data table to correct common issues early, assemble with consistent portions, and rest after steaming for the best texture. With this workflow, you can confidently cook a batch that holds up for leftovers—then keep iterating with different green chile flavors and salsas.
Frequently Asked Questions
How do I make green chili chicken tamales from scratch?
Start by cooking and shredding chicken, then simmer it with roasted green chiles, onions, garlic, cumin, and a little chicken broth to keep the filling flavorful and moist. Mix masa harina with warm broth and salt until it spreads like thick frosting, then assemble tamales by adding chicken and green chili filling to soaked corn husks. Steam the tamales until the masa pulls away slightly from the husk, usually about 60–90 minutes depending on size. Let them rest before serving so the masa sets and the flavors of green chili chicken tamales develop.
What is the best way to prepare the corn husks for green chili chicken tamales?
Soak dried corn husks in warm water for 30–60 minutes until pliable, then pat them dry so they don’t add excess water to the masa. If you notice husks tearing, soak a bit longer and soften only the portion you’ll fold. For best results, keep a few husks slightly wrapped in a damp towel while you work so they don’t dry out. Proper soaking prevents cracking and helps your tamales steam evenly.
Why does my masa for green chili chicken tamales turn out dry or rubbery?
Dry masa usually means the dough needs more warm broth—add a little at a time until it spreads smoothly. Rubbery or heavy tamales can happen if the masa is overmixed or if the masa is too dense, so aim for a consistent, fluffy texture. A quick test is to whip until airy and then spread; it should be smooth and not crumbly. Using fresh masa harina and correct steaming time also helps your green chili chicken tamales come out tender, not tough.
Which green chiles are best for chicken tamales—fresh, canned, or roasted?
For bold flavor, use roasted green chiles—either fresh roasted poblanos/anaheims or high-quality canned roasted chiles. Fresh chiles are great when you want control over heat, while canned roasted green chiles are the most convenient and consistent for green chili chicken tamales. If you prefer mild, choose poblanos and remove seeds; for more heat, include more of the chile seeds or use hotter varieties. Whichever you choose, cook the chiles with the chicken so the filling tastes integrated rather than “chunky.”
How long should I steam green chili chicken tamales, and how do I know they’re done?
Steam green chili chicken tamales until the masa is cooked through and no longer feels wet, typically about 60–90 minutes. Check doneness by opening one tamale: the masa should be firm and the filling should be hot, while the masa can lightly pull away from the husk. Keep water at a steady simmer and avoid lifting the lid too often to maintain temperature. After steaming, let tamales rest 10–15 minutes for cleaner slices and better texture.
References
- Tamale
https://en.wikipedia.org/wiki/Tamale - Chili con carne
https://en.wikipedia.org/wiki/Chile_verde - Masa
https://en.wikipedia.org/wiki/Masa_harina - https://www.britannica.com/topic/tamale
https://www.britannica.com/topic/tamale - Google Scholar Google Scholar
https://scholar.google.com/scholar?q=green+chili+chicken+tamales+recipe - Google Scholar Google Scholar
https://scholar.google.com/scholar?q=tamales+masa+preparation+corn+dough+steaming - Google Scholar Google Scholar
https://scholar.google.com/scholar?q=chile+verde+chicken+tamales+culinary+techniques - Chili pepper
https://en.wikipedia.org/wiki/Chili_pepper - Chicken
https://en.wikipedia.org/wiki/Chicken - Mexican cuisine
https://en.wikipedia.org/wiki/Mexican_cuisine