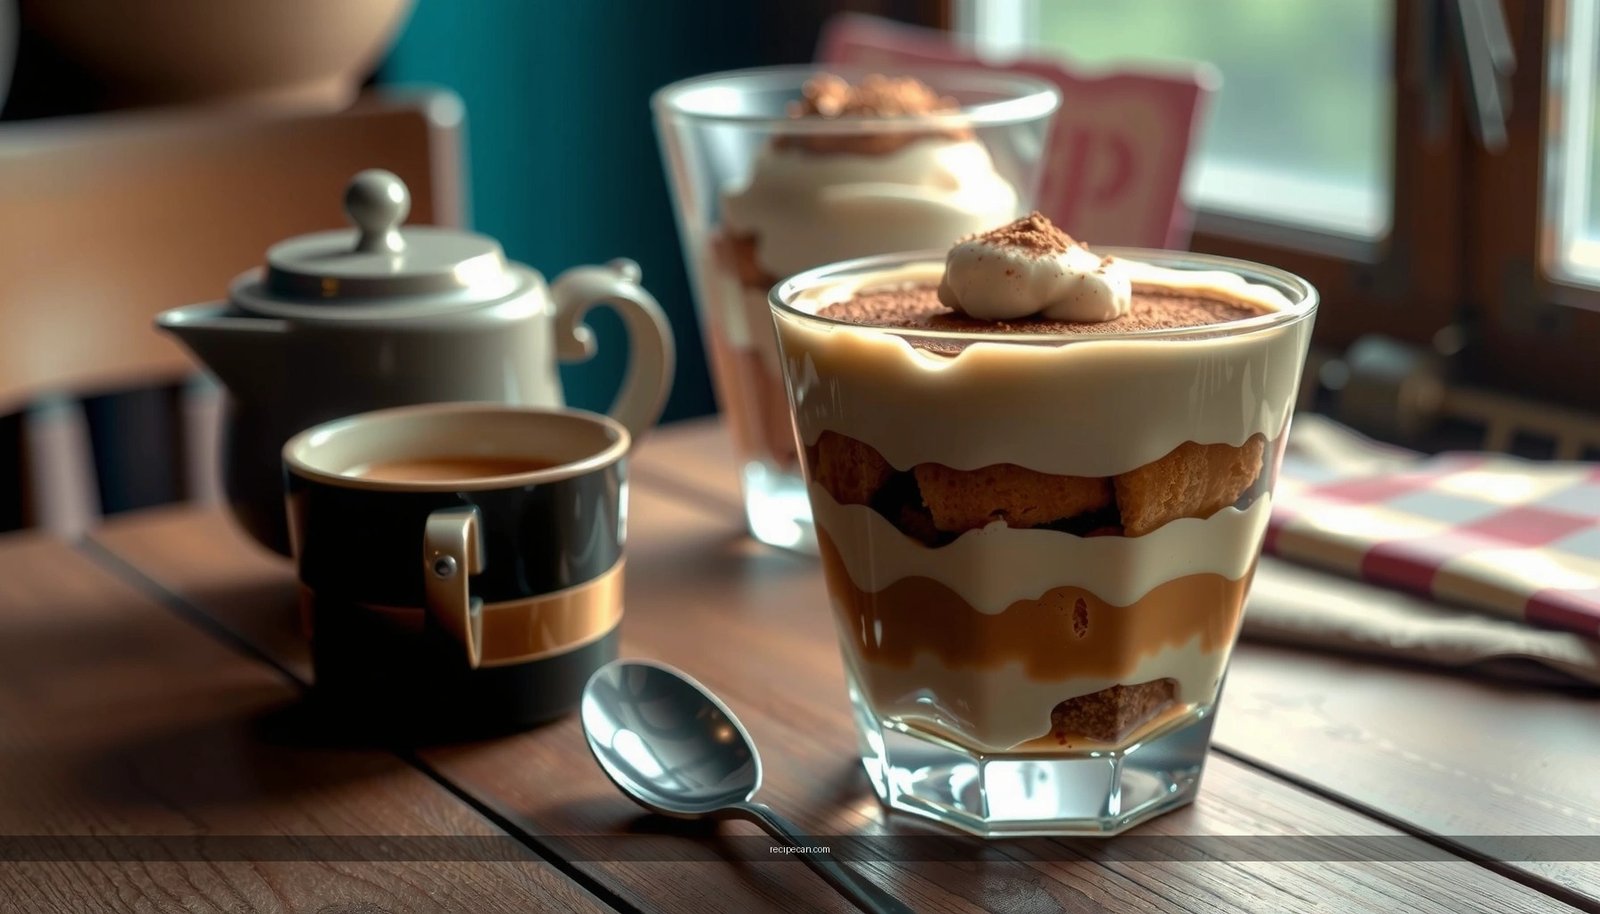
Get a gluten free tiramisu recipe that delivers the classic, coffee-soaked flavor without a gummy texture or hard-to-find ingredients. This easy, step-by-step version tells you exactly how to swap gluten-free ladyfingers and still achieve the silky mascarpone layer you want. If you need the best results for a true tiramisu experience—whether you’re gluten-free by choice or by necessity—this is the one to follow.
Yes—you can make a classic, gluten free tiramisu at home with simple steps by swapping in gluten-free ladyfingers and using a thick mascarpone cream that holds its shape. This recipe walks you through assembling a scoopable tiramisu (not watery or fragile), with clear guidance on keeping every layer safe and fully gluten-free.
Gluten-Free Ingredients You’ll Need

The biggest determinant of success in a gluten free tiramisu is ingredient integrity. Tiramisu is only as gluten-free as its ladyfingers (and any packaged add-ins), so start with certified-safe items and read labels.
– Use gluten-free ladyfingers (or gluten-free sponge cake if needed)
– Look for “gluten-free” certification or at minimum <20 ppm per labeling requirements (varies by country).
– If ladyfingers are unavailable, gluten-free sponge cake cut into fingers works well and still gives the signature “custardy” texture once dipped.
– Gather mascarpone, espresso/coffee, eggs (or a safe egg substitute), sugar, and cocoa powder
– Mascarpone should be plain (no additives) and ideally pasteurized.
– For best flavor, use strong espresso or a dense brewed coffee. Let it cool so the cream doesn’t soften too quickly.
– For classic tiramisu structure, eggs help the mascarpone become light but stable. If you avoid raw/undercooked eggs, use a pasteurized egg product or a heat-treated method (details below).
– Cocoa powder finishes the top with bitterness that balances the sweetness.
Pro tip for gluten-free safety: even if the ladyfingers are gluten-free, confirm that cocoa powder, coffee flavoring, rum, vanilla extract, and any “instant” coffee products are also gluten-free. Cross-contact can happen in shared manufacturing facilities.
Gluten-Free Tiramisu Ingredient Risk Check (Practical Food-Safety View)
| # | Ingredient | Typical Gluten Source | Gluten-Free Cert Needed? | Suitability Rating |
|---|---|---|---|---|
| 1 | Gluten-Free Ladyfingers | Wheat flour or barley-based ingredients | Yes (recommended) | ★★★★★ |
| 2 | Mascarpone | Rare (often dairy-only), cross-contact possible | Prefer certified | ★★★★☆ |
| 3 | Espresso/Coffee | Add-ins (milk powders, flavoring) | Only if flavored/instant mix | ★★★★★ |
| 4 | Eggs | Usually none; pasteurized matters for texture/safety | Not for gluten—focus on safety | ★★★★☆ |
| 5 | Cocoa Powder (unsweetened) | Flavored cocoa or “cake” cocoa can contain additives | Use plain cocoa | ★★★★★ |
| 6 | Rum (optional) | Generally none, but verify label for gluten sources | Check “gluten-free” or supplier statement | ★★★☆☆ |
| 7 | Vanilla Extract (optional) | Additives; alcohol source varies by brand | Prefer certified or reputable brand | ★★★★☆ |
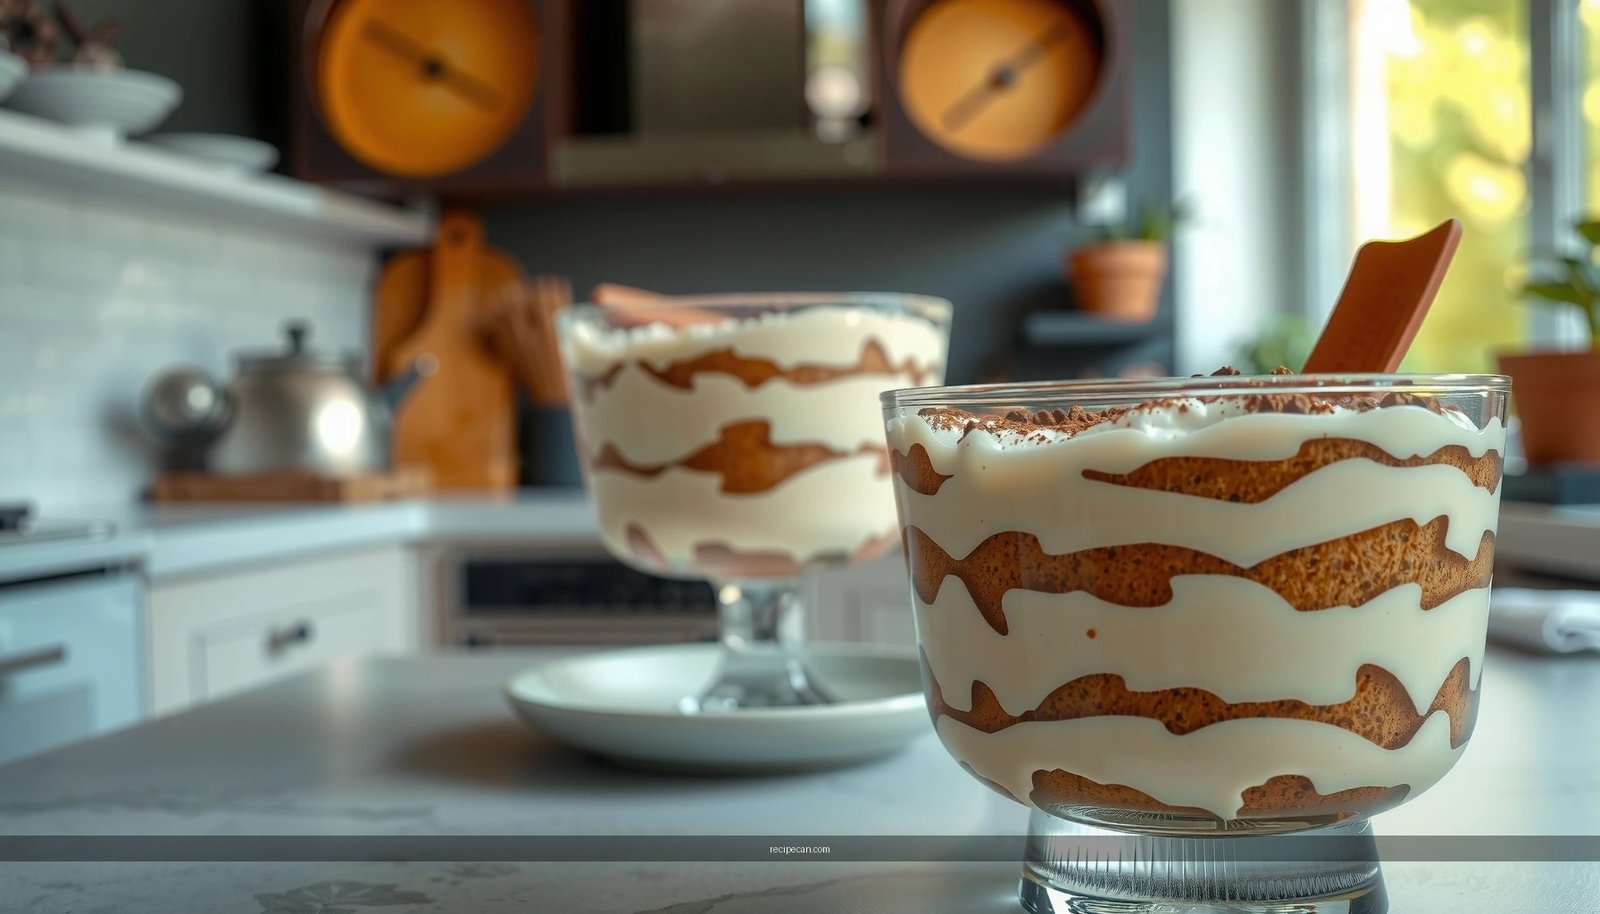
Step-by-Step: Make the Cream Layer

The cream layer is where gluten-free tiramisu either becomes luxurious and scoopable—or turns grainy and unstable. Your goal: smooth mascarpone with enough structure to hold its shape after chilling.
1. Whip mascarpone with sugar until smooth and creamy
– Use cold mascarpone for better stability, then mix until fully smooth.
– Sugar should dissolve before you move to the eggs. Many cooks stop too early and end up with a slightly gritty mouthfeel.
2. Fold in prepared eggs or a safe egg substitute for a light, stable texture
– Classic method: whisk egg yolks with sugar until paler, then fold into mascarpone.
– Food-safety option (recommended for many households): use pasteurized eggs, or heat-process the yolk mixture gently until thickened (similar to a soft sabayon). This reduces concerns about raw eggs while still giving that signature texture.
Texture checkpoints (important):
– The cream should be thick enough to “ribbon” from the spoon but not stiff like buttercream.
– If the mixture looks separated, it usually needs either gentler mixing or a brief temperature adjustment (slightly warming the bowl can help, while over-warming can loosen it).
If you want a more reliable, crowd-friendly method, consider making a version that uses pasteurized yolks and adds whipped (pasteurized) egg whites or a stabilized cream component. The flavor stays classic; the result becomes exceptionally sliceable.
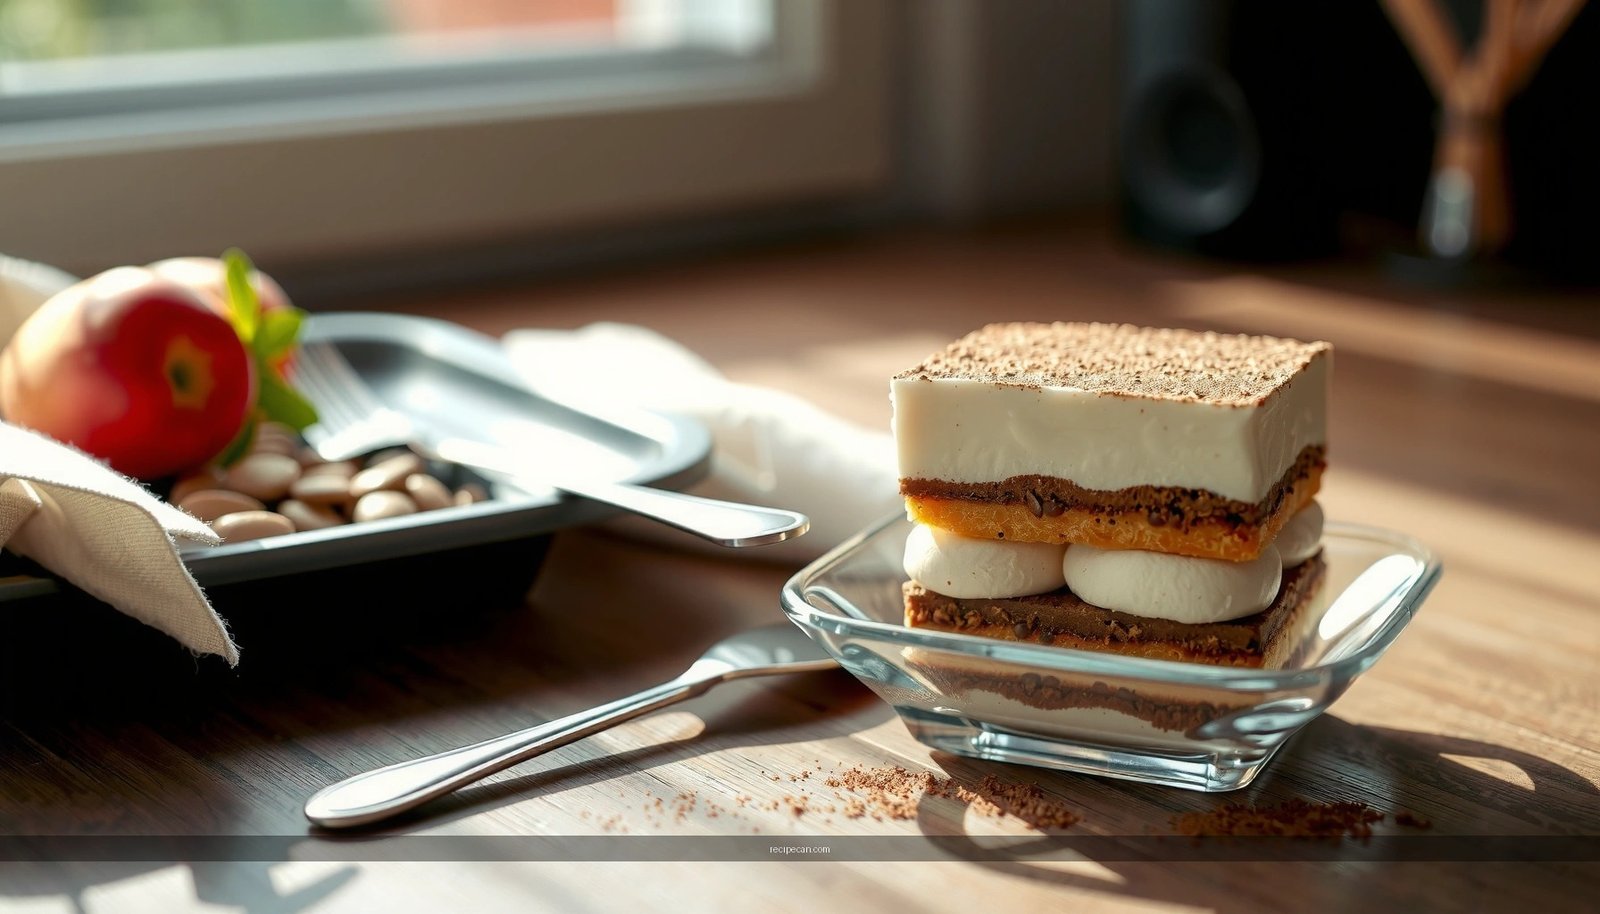
Step-by-Step: Dip and Layer for Best Texture
Tiramisu’s hallmark texture comes from a balance: coffee-softened cookies that are tender but not dissolved. Gluten-free ladyfingers can behave differently than traditional wheat versions, so treat dipping as a controlled process.
1. Dip ladyfingers quickly in coffee to avoid sogginess
– Aim for a brief dip—think “quick dip, quick removal.”
– Place dipped cookies immediately into the dish so they start absorbing from the surface rather than soaking through.
2. Layer cream and coffee-soaked cookies evenly for balanced flavor
– Spread a portion of mascarpone cream, then add a single layer of dipped ladyfingers.
– Repeat once more to create distinct strata: cookie softness under the cream, and cocoa finishing on top.
Practical assembly strategy for consistent results:
– Work with a chilled serving dish. Cold ceramic helps prevent the cookies from breaking down too fast.
– Use an offset spatula to spread cream evenly, and gently press the top layer of cookies into place—light contact is enough.
Dipping time guidance (real-world):
– Gluten-free ladyfingers typically require slightly less time in coffee than standard ladyfingers because they can absorb liquid quickly once the coating softens.
– If your first batch turns mushy, shorten the next dip by half.
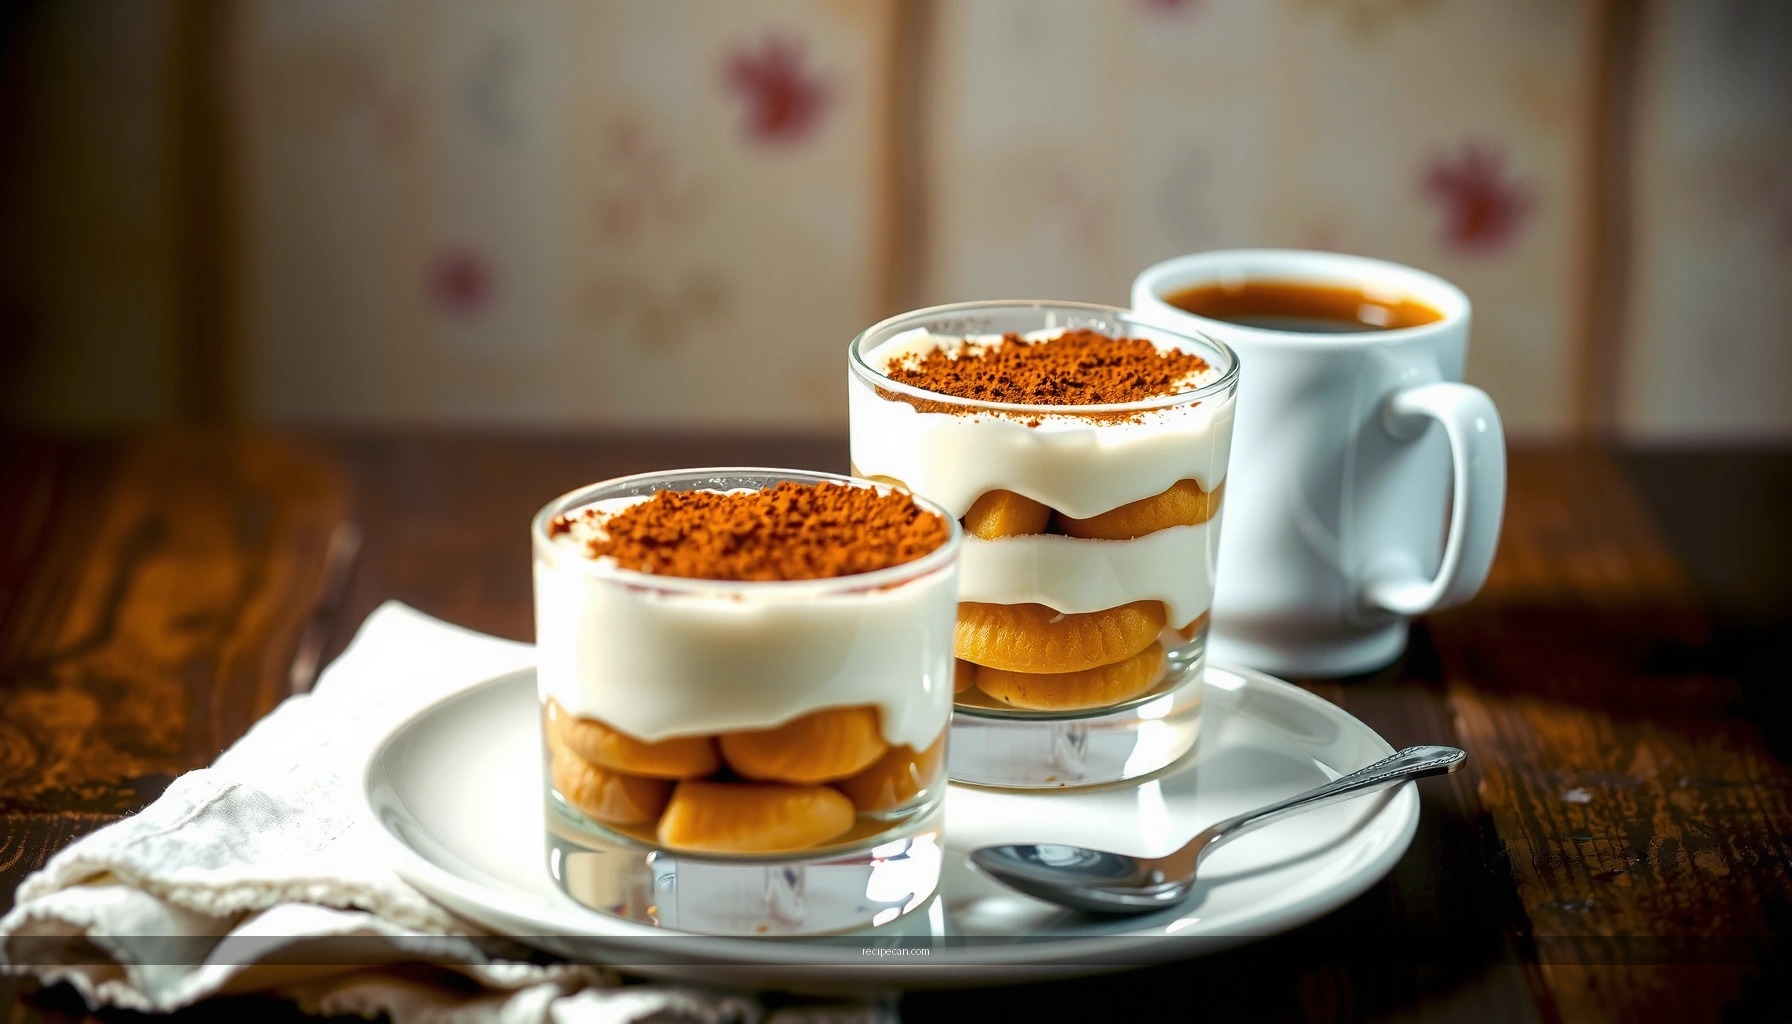
Chill Time and Serving Tips

Chilling isn’t optional—it’s the step that transforms separate layers into one cohesive dessert. Plan ahead and treat refrigeration as part of the cooking process.
– Refrigerate at least 4–6 hours (overnight is best)
– Overnight chilling allows the cream to set and the coffee to evenly distribute through the cookies.
– Slice or scoop cleanly with a sharp knife or warm spoon
– For clean slices: wipe the knife after each cut and keep the dish cold.
– For scoopable servings: warm a spoon slightly (just the bowl of the spoon), then scoop and wipe between portions.
Serving best practices:
– If the tiramisu has been in the fridge for more than a day, let it sit at cool room temperature for 10–15 minutes before serving. This helps cream texture soften slightly for optimal mouthfeel.
– Dust cocoa on top shortly before serving if you prefer a “fresh cocoa” look, but you can also dust earlier for a deeper, more integrated cocoa aroma.
Common Gluten-Free Tiramisu Mistakes to Avoid
Even a great recipe can fail if common gluten-free tiramisu pitfalls aren’t addressed. These mistakes are also why some people assume tiramisu is “too risky” or “too complicated” to make at home.
– Don’t use regular ladyfingers or hidden gluten in cookie/cake options
– Always confirm the ladyfingers are gluten-free.
– Watch for “stamped” labels that imply wheat-based manufacturing or cross-contact risk.
– Check add-ins like cookie crumbs, flavoring powders, and “coffee cake” substitutes.
– Avoid over-dipping, which can make the dessert watery
– Watery tiramisu is usually over-soaked cookies and/or cream that softened too much during assembly.
– Keep dipping brief, and assemble promptly to lock in structure.
Additional troubleshooting (quick fixes):
– If your cream seems too loose: refrigerate longer before serving, and reduce future dipping time.
– If your cookies crack: try slightly cooled coffee and make sure the mascarpone layer fully supports them.
Optional Variations (Still Gluten-Free)
A classic tiramisu is excellent as written, but small additions can deepen flavor while keeping the dessert safe and satisfying.
– Add rum or vanilla for extra flavor (use alcohol that’s gluten-free)
– Rum adds warmth that complements coffee and cocoa. Vanilla extract brings a smooth, fragrant sweetness.
– Verify alcohol labeling or sourcing if you’re gluten-sensitive; some brands provide explicit gluten-free statements.
– Try dairy-free mascarpone alternatives or different coffee flavors
– If you’re exploring dairy-free options, choose a mascarpone-style substitute designed to whip or set properly—texture matters more than the label alone.
– For coffee variety: espresso is classic, but cold brew can create a less acidic flavor, while flavored coffee (only if gluten-free) can add novelty without altering the method.
Flavor ideas that still align with the classic profile:
– Use cocoa with a stronger roast profile for a more “Italian” bitterness.
– Add a pinch of cinnamon to the coffee or cocoa—subtle, but it rounds the flavor.
[CONCLUSION PARAGRAPH – NO HEADING]
You can make a rich, classic gluten free tiramisu by using gluten-free ladyfingers, building a smooth mascarpone cream, and chilling long enough for the layers to set. Gather your ingredients today, follow the layering steps carefully, and enjoy a homemade dessert that’s safe and incredibly satisfying—then share your results or ask about substitutions if you have dietary needs.
Frequently Asked Questions
What gluten free ingredients work best for a tiramisu recipe?
For a gluten free tiramisu recipe, use gluten free ladyfingers (savoiardi) or gluten free sponge cake you can slice, plus mascarpone, eggs, sugar, and strong espresso. If you can’t find ladyfingers, choose a gluten free vanilla sponge or purchased gluten free cookies that won’t fall apart when soaked. To thicken the filling, rely on the classic mascarpone-egg mixture rather than flour, since traditional tiramisu is naturally flourless.
How do you make a gluten free tiramisu without it turning watery?
Start by using chilled mascarpone and cold heavy soaking liquid to help the layers hold together. Dip gluten free ladyfingers quickly—just a second or two—so they absorb espresso without breaking into mush. Also use a tight assembly (press gently into the dish) and chill the tiramisu for at least 4–6 hours so the layers set properly.
Why do gluten free tiramisu layers sometimes separate, and how can you prevent it?
Separation usually happens when the mascarpone mixture is overmixed, warmed too much, or the egg components aren’t emulsified correctly. Whip eggs and sugar until glossy, then fold into mascarpone gently until smooth, avoiding aggressive stirring that can cause a grainy texture. For best results, let the mixture come together at room temperature briefly, then refrigerate immediately to firm up.
Which gluten free ladyfingers are best for tiramisu?
Look for gluten free ladyfingers labeled as gluten free certified, since cross-contamination is common in shared bakeries. Choose brands with a sturdy, lightly sweet texture that can handle espresso soaking without crumbling excessively. If your ladyfingers are very soft, reduce soaking time and consider layering slightly thicker pieces for better structure in your gluten free tiramisu.
What’s the best way to serve and store a gluten free tiramisu recipe?
For clean slices, let the gluten free tiramisu recipe chill overnight, then serve with a sharp knife wiped between cuts. Store leftovers covered in the refrigerator for up to 2–3 days; the dessert tastes even better as the layers continue to set. If you need make-ahead prep, assemble fully and refrigerate—avoid freezing if possible because gluten free sponge layers can change texture after thawing.
References
- Google Scholar Google Scholar
https://scholar.google.com/scholar?q=gluten+free+tiramisu+recipe - Google Scholar Google Scholar
https://scholar.google.com/scholar?q=gluten-free+ladyfingers+tiramisu+celiac - Google Scholar Google Scholar
https://scholar.google.com/scholar?q=gluten+free+desserts+mascarpone+egg+safety - Tiramisu
https://en.wikipedia.org/wiki/Tiramisu - https://www.britannica.com/food/tiramisu
https://www.britannica.com/food/tiramisu - Gluten-free diet
https://en.wikipedia.org/wiki/Gluten-free_diet - https://www.fda.gov/food/food-labeling-nutrition/gluten-free-labeling-final-rule
https://www.fda.gov/food/food-labeling-nutrition/gluten-free-labeling-final-rule - Celiac Disease – NIDDK
https://www.niddk.nih.gov/health-information/digestive-diseases/celiac-disease - https://www.cdc.gov/foodsafety/communication/tips-for-safe-eggs.html
https://www.cdc.gov/foodsafety/communication/tips-for-safe-eggs.html - https://www.mayoclinic.org/diseases-conditions/celiac-disease/symptoms-causes/syc-20352295
https://www.mayoclinic.org/diseases-conditions/celiac-disease/symptoms-causes/syc-20352295