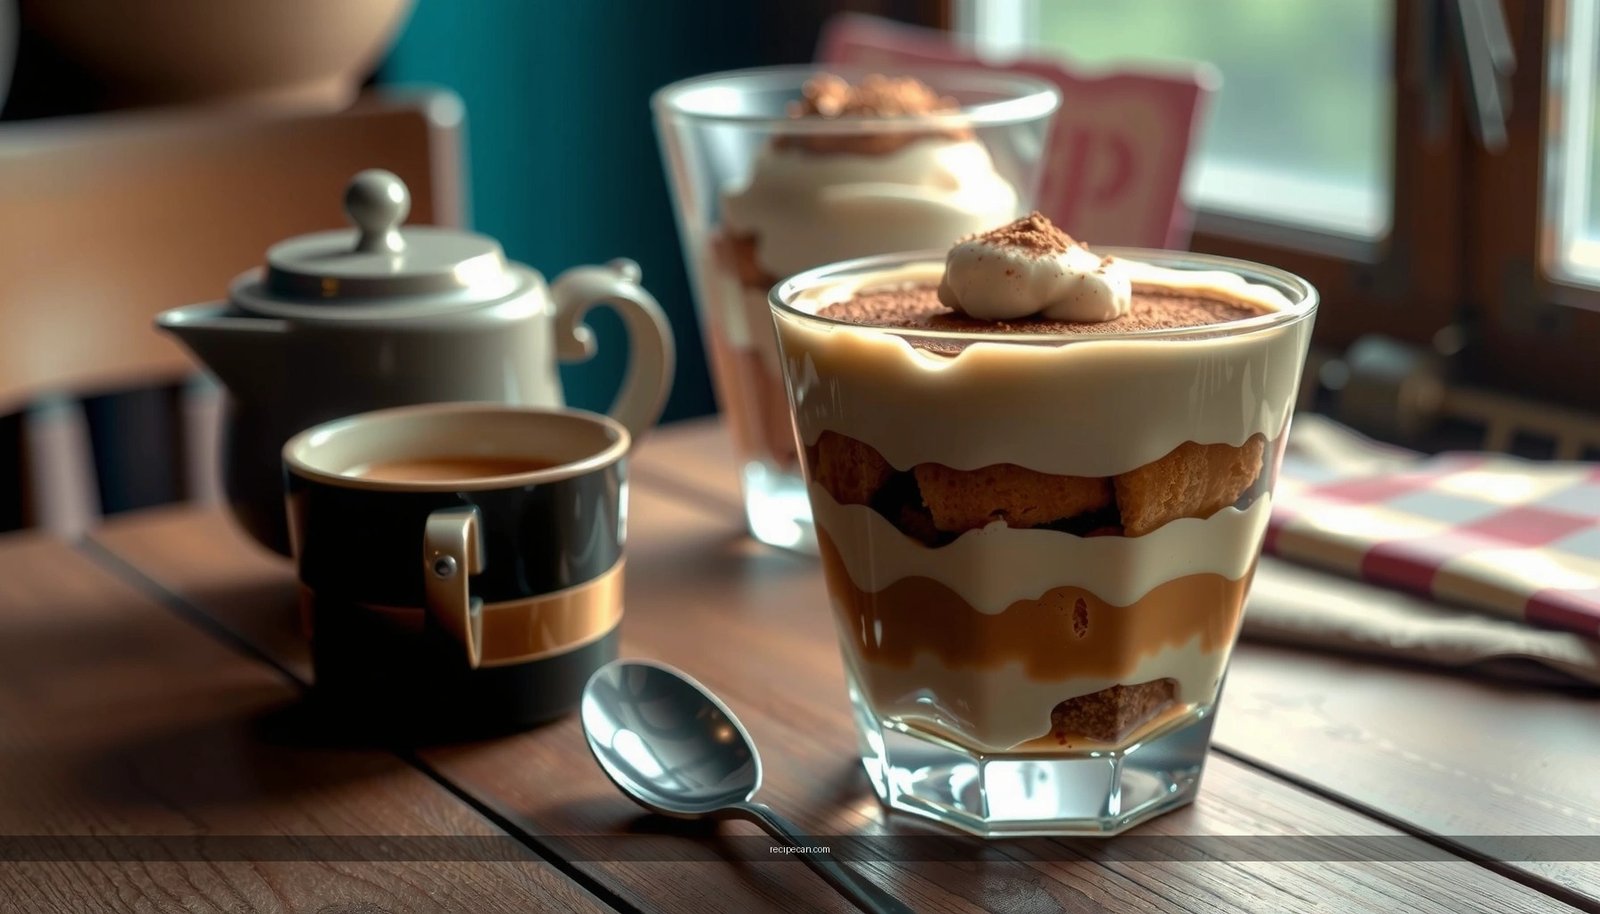
Want a gluten free tiramisu that still tastes classic and creamy? This recipe delivers the winning combo: tender gluten free layers soaked just right, a rich mascarpone filling, and bold coffee-cocoa flavor—without gluten. If you need a dependable method for making tiramisu at home, this is the one.
Yes—you can make classic, creamy tiramisu flavor without gluten by using certified gluten-free sponge or ladyfinger alternatives and controlling the coffee soak time. This gluten-free tiramisu recipe walks you through creating a stable mascarpone filling, layering without traditional ladyfingers, and chilling for the signature sliceable texture every time.
Choose the Best Gluten Free Ingredients

The foundation of a great gluten free tiramisu is selecting components that behave like the originals. Traditional tiramisu relies on ladyfingers that absorb espresso without collapsing into mush. For gluten-free tiramisu, you want similar structure, neutral flavor, and consistent moisture absorption.
Start by choosing one of these:
– Gluten-free ladyfingers: Look for packages labeled “gluten-free” and preferably made for tiramisu-style layering (some are closer to sponge cake in texture).
– Gluten-free sponge cake alternatives: Slice thicker sponge cake into strips. This method gives you control over how much surface area touches the coffee.
Next, treat every packaged ingredient as a potential gluten source:
– Verify certification on items like cocoa powder, instant espresso, coffee flavorings, and liqueurs (if using). Even “natural” cocoa and flavor extracts may be processed in shared facilities.
– If you’re buying vanilla, check for “gluten-free” labeling as well—flavoring blends can vary by supplier.
Finally, keep ingredient temperatures and textures in mind:
– Mascarpone should be softened but not melted. Cold mascarpone whips slower and can create lumps; warm mascarpone can loosen the filling.
– Cold cream whips better, but the final mixture must be folded gently to retain volume.
Gluten-Free Tiramisu Ingredient Choices (What Works in Practice)
| # | Gluten-Free Base Option | Best Texture Match | Ideal Coffee Soak (sec) | Stability After Chilling | Outcome Rating |
|---|---|---|---|---|---|
| 1 | Certified gluten-free ladyfingers | Traditional | 3–5 | High | ★★★ ★ ★ |
| 2 | Gluten-free sponge cake (sliced) | Softer | 2–4 | Medium-High | ★★★★☆ |
| 3 | Gluten-free savoiardi-style cookies | Close | 3–6 | High | ★★★★☆ |
| 4 | Gluten-free graham-style crackers (crushed) | Different | Avoid heavy soak | Medium | ★★★☆☆ |
| 5 | Gluten-free pound cake (thin strips) | Dense | 1–3 | High (if quick) | ★★★★☆ |
| 6 | Gluten-free angel food cake (crumbly) | Very airy | 1–2 | Low-Medium | ★★☆☆☆ |
| 7 | Gluten-free cookie sheets (too thin) | Prone to break | 0–2 | Low | ★☆☆☆☆ |
Make the Coffee Soak (Without Sogginess)

In tiramisu, the coffee soak is where many gluten-free attempts go off track. Gluten-free bases can absorb liquid faster (especially those made with certain starch blends). Your goal is flavor infusion—not saturation.
Key technique:
– Brew strong coffee or espresso so the flavor stands up to the richness of mascarpone.
– Cool it slightly before dipping. Hot coffee can degrade structure and melt some gluten-free cake textures too quickly.
A practical approach:
1. Brew espresso/coffee strong enough to taste slightly intense on its own.
2. Stir in a small amount of sugar until dissolved. (You’re balancing bitterness, not turning it into sweet dessert drink.)
3. Add optional liquor (such as marsala or coffee liqueur) after sweetening, if you want a more classic depth.
Soak method to prevent sogginess:
– Dip quickly (about 3–5 seconds) and remove immediately.
– Place soaked layers on a wire rack or parchment for a minute so excess liquid can settle.
– If you’re using thicker sponge cake slices, dip only the cut-side first, then the other side for a shorter time.
Analytical perspective: gluten-free layers behave like high-porosity sponges when the batter includes more starch and less gluten network. That means the “time variable” becomes more sensitive—small timing changes create large texture differences. Start with the lower end of soak ranges and adjust after the first batch.
Create the Tiramisu Mascarpone Filling

A classic tiramisu filling is a disciplined mixture: rich mascarpone plus air (from whipped cream and/or egg base), folded gently so it stays smooth and spoonable.
Core steps:
– Whip mascarpone until smooth. If it’s too cold, you may see lumps; if too warm, it can turn runny. Aim for a thick, cohesive cream.
– Incorporate air:
– Use a whipped cream approach (whip cream to soft peaks, then fold into mascarpone), or
– Use a lightly cooked or whipped egg mixture approach (depending on your preference for classic Italian style vs. convenience and food safety).
Gentle folding matters more than people expect:– Folding is slow by design. Aggressive mixing deflates the air that gives tiramisu its signature “light but creamy” mouthfeel.
– Stop mixing as soon as you don’t see streaks—overmixing reintroduces graininess and reduces lift.
Stability tip:
– If your filling threatens to loosen, chill it for 10–15 minutes before assembling. This firms the fat structure without changing flavor, making layering cleaner.
For flavor balance:
– Add vanilla and, if desired, a pinch of salt. Salt sharpens coffee notes and prevents the mascarpone from tasting flat.
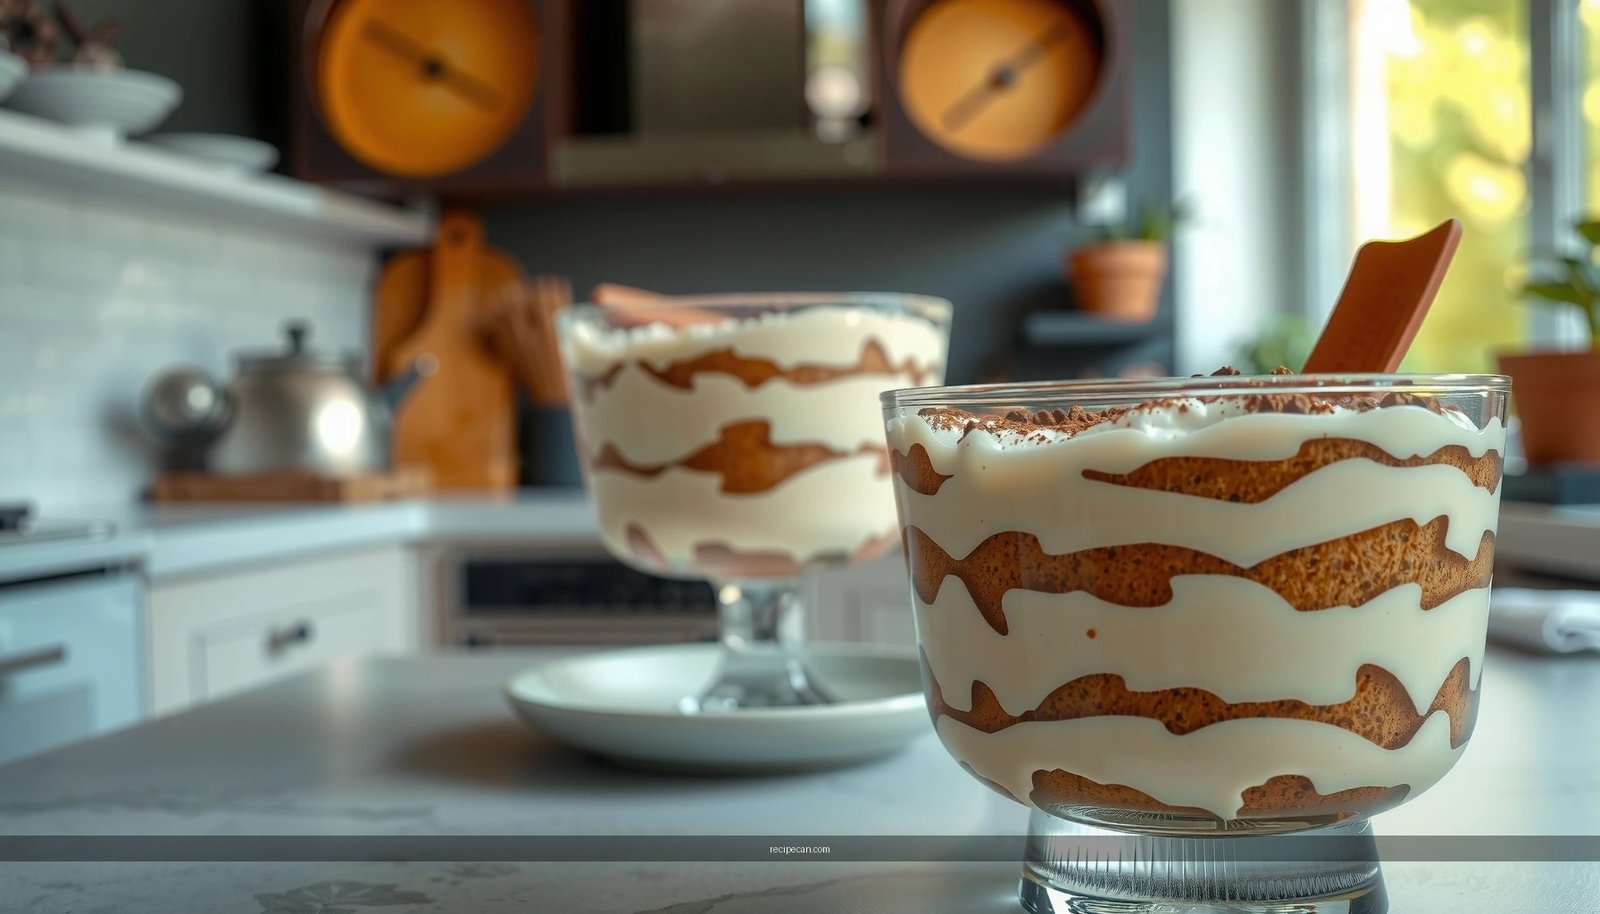
Layering Like Traditional Tiramisu
Layering is both technique and logistics. Without traditional ladyfingers, you’re recreating a rhythm: evenly spaced bases, consistent filling thickness, and controlled coffee contact.
How to layer for clean slices:
– Alternate soaked gluten-free ladyfingers (or sponge strips) with mascarpone mixture.
– Build layers evenly so each portion slices without collapsing.
– Press very lightly between layers to remove large air gaps—don’t compress so hard that you squeeze out filling.
A reliable assembly pattern (for a typical 9×13-inch dish):
1. Spread a thin layer of mascarpone at the bottom to anchor the first base.
2. Arrange soaked gluten-free ladyfingers/sponge pieces in a tight, overlapping pattern.
3. Add mascarpone filling to cover completely.
4. Repeat for 2–3 total base layers depending on your dish height.
5. Finish with mascarpone on top and dust cocoa generously right before serving or shortly after the final chill (for best contrast).
Texture engineering note:
– Gluten-free bases can expand or soften differently with each brand. To compensate, keep layer thickness consistent and avoid over-soaking. If your base is thick, shorten dip time; if it’s thin, reduce fill depth slightly so slices hold together.
Pro move:
– If your gluten-free ladyfingers are fragile, consider “painting” coffee onto them with a pastry brush instead of dipping. This gives you flavor with minimal structural damage.
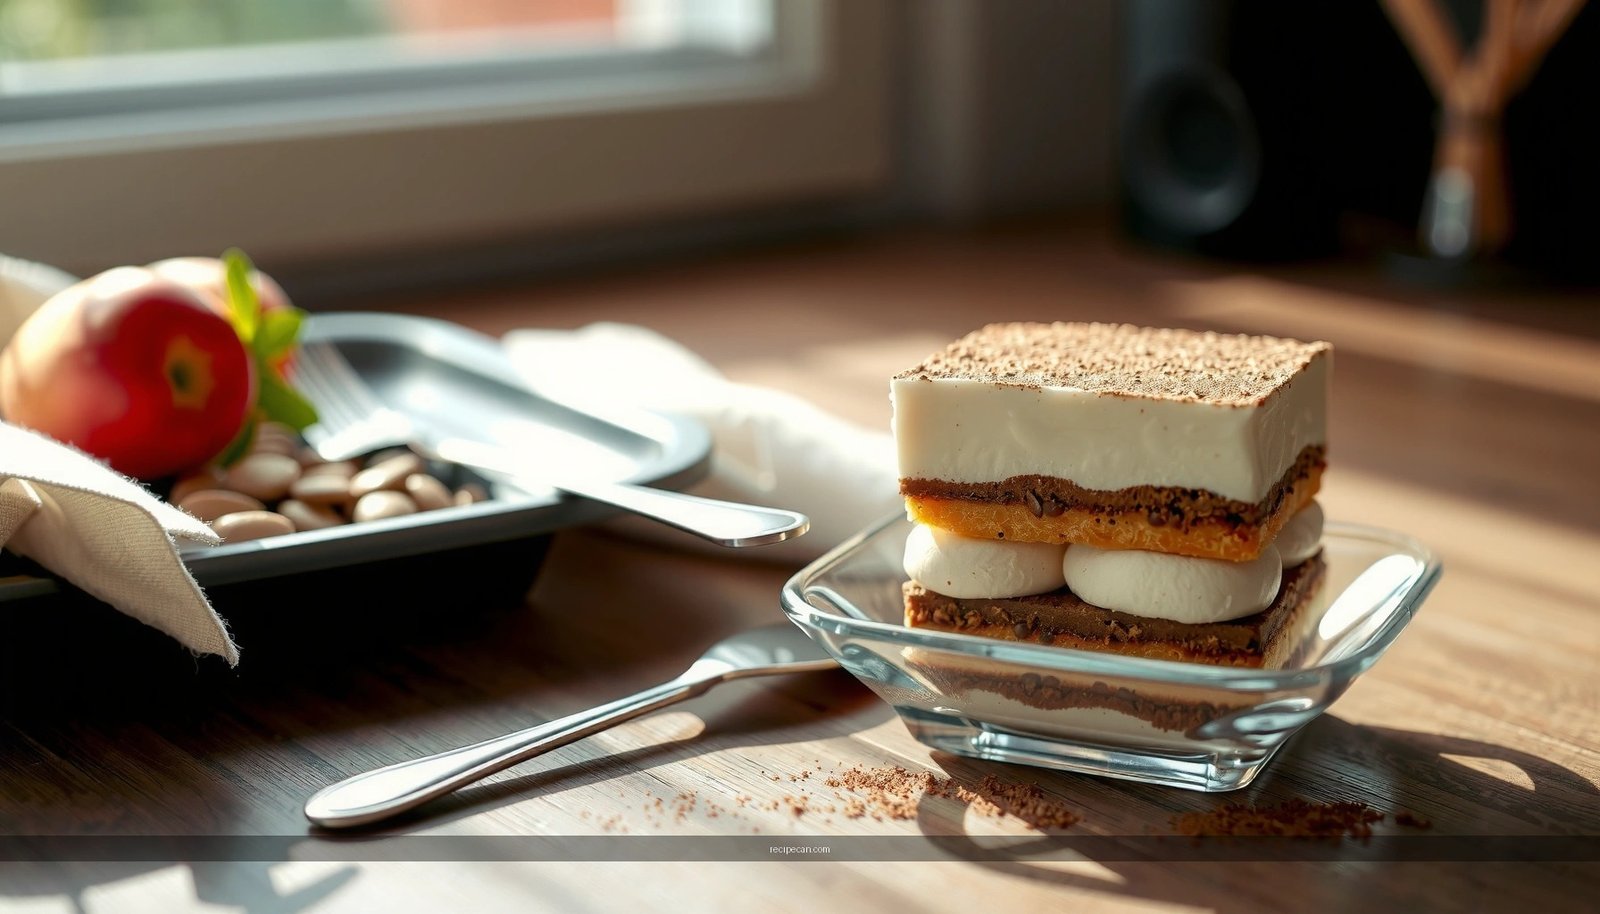
Chill and Set for the Perfect Texture
Chilling isn’t optional—it’s part of the recipe’s chemistry. The filling firms as fats set, and the layers hydrate into a cohesive dessert that slices cleanly.
Best practices:
– Refrigerate at least 4–6 hours. For the most stable texture, chill overnight.
– Cover tightly to prevent the top layer from drying out or absorbing refrigerator odors.
When it’s time to slice:
– Use a sharp knife and wipe it between cuts. This reduces smearing of cocoa and keeps edges crisp.
– For neat squares or slices, let the tiramisu sit at refrigerator temperature for 5–10 minutes before cutting—too cold can make the knife drag.
Timing guidance:
– If you chilled for less than 4 hours, you may notice a softer middle. Don’t panic—give it time and reassess soak duration next batch rather than changing everything at once.
Troubleshooting Common Gluten Free Tiramisu Issues
Gluten-free tiramisu troubleshooting is mostly about controlling two variables: liquid absorption and cream stability. Use these targeted fixes rather than random adjustments.
– If it’s too runny
– Chill it longer (often an extra 2–4 hours helps).
– Reduce soaking time next batch (start with 2–3 seconds rather than 3–6).
– Ensure mascarpone wasn’t over-softened and avoid overmixing the filling.
– If layers fall apart
– Use sturdier gluten-free ladyfingers or sponge cake alternatives (look for brands described as “sponge” or “savoiardi” style).
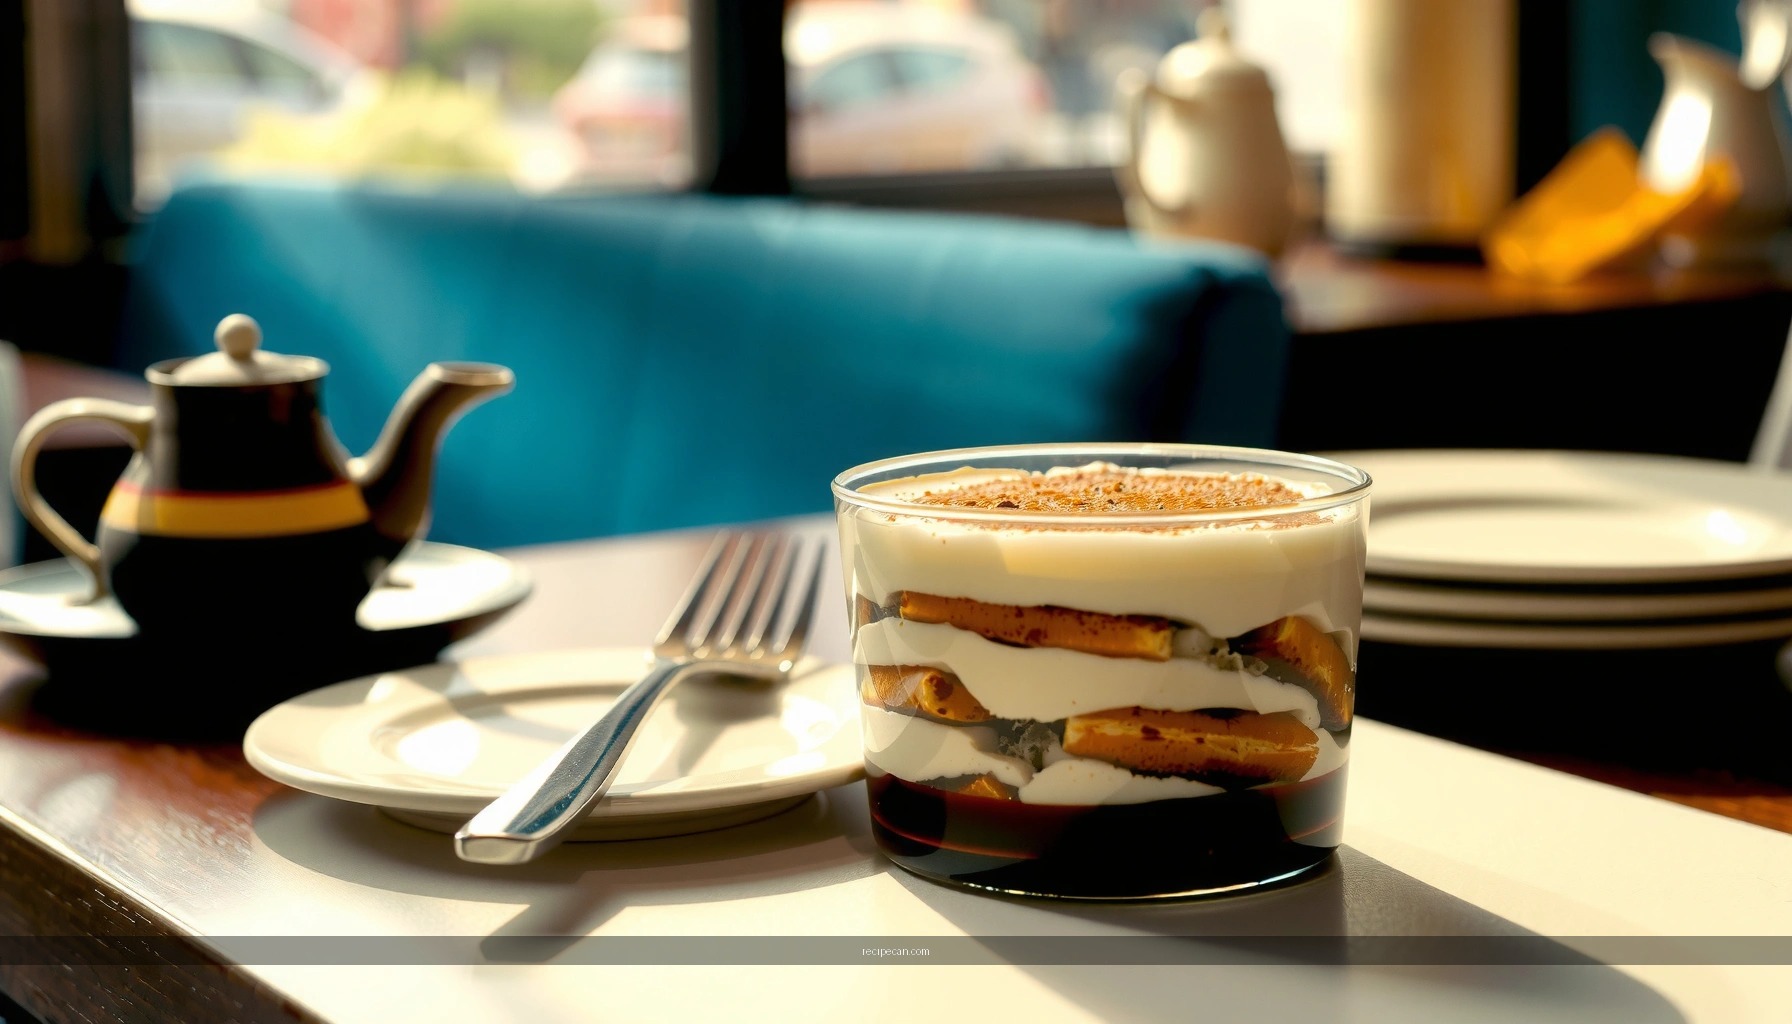
– Assemble promptly after soaking—don’t wait for long intervals where the base continues to absorb coffee.
– Consider assembling in smaller portions (individual glasses) where slices aren’t under structural stress.
– If the top looks dry or cocoa fades
– Dust cocoa closer to serving.
– Ensure the dish is well covered during chilling to prevent surface moisture loss.
– If it tastes less “tiramisu-like”
– Use stronger coffee/espresso and increase coffee intensity rather than adding sugar.
– Confirm that vanilla and cocoa are not bland or past their freshness window. Flavor quality directly affects perceived richness.
This gluten free tiramisu recipe is designed to be repeatable: adjust soak time based on your specific gluten-free ladyfingers and you’ll dial in texture with confidence.
When you follow the right gluten-free ingredient choices, control coffee contact, and chill long enough, you get the classic creamy, coffee-forward flavor—without gluten compromises. Make it once, take notes on soak timing and brand behavior, and then refine for your preferred texture (more set and firm, or softer and more “mousse-like”)—and share your results or try a variation with your favorite coffee.
Frequently Asked Questions
What gluten-free ingredients do I need to make tiramisu?
To make gluten free tiramisu, you’ll typically need gluten-free ladyfingers (or gluten-free sponge cake), mascarpone, eggs (or a safe egg-free option), sugar, and strong espresso or coffee. For dusting, use cocoa powder that’s certified gluten free to avoid cross-contamination. If you’re using any thickener like cornstarch, ensure it’s also labeled gluten free.
How do I make gluten-free tiramisu without using gluten-free ladyfingers?
If you can’t find gluten-free ladyfingers, you can use gluten-free sponge cake, gluten-free pound cake, or even almond flour–based cake slices cut to size. Dip the cake pieces briefly in espresso (don’t soak too long) so the dessert holds its structure like classic tiramisu. Layer the cake with a mascarpone mixture as usual, then chill until set for clean slices.
Why did my gluten-free tiramisu turn watery, and how can I fix it?
Watery gluten free tiramisu usually happens when ladyfingers or cake are over-soaked, the mascarpone mixture is too warm, or the eggs weren’t whipped to the right texture. Fix it by dipping the gluten-free ladyfingers quickly, letting coffee cool slightly before assembly, and chilling the finished tiramisu for several hours (ideally overnight). If it’s already watery, you can try chilling longer to help it firm up.
Which gluten-free ladyfingers are best for tiramisu?
The best gluten-free ladyfingers are ones labeled “gluten free” and specifically designed to stay intact when dipped. Look for varieties with a balanced structure—too crumbly will break down, while overly dense pieces may not absorb espresso well. Many bakers find success with egg-based gluten-free ladyfingers and those that are sturdy enough to support layered assembly.
What’s the best way to prevent cross-contamination when making gluten-free tiramisu?
To keep your gluten free tiramisu truly safe, use separate utensils and bowls that haven’t touched gluten ingredients, especially flour and regular ladyfingers. Check all labels (cocoa, coffee flavorings, vanilla extract, and any chocolate) for gluten-free certification, and avoid shared baking trays. If your kitchen has frequent gluten exposure, consider covering work surfaces and using freshly washed cookware to minimize risk.
References
- Google Scholar Google Scholar
https://scholar.google.com/scholar?q=gluten-free+tiramisu+recipe - Google Scholar Google Scholar
https://scholar.google.com/scholar?q=tiramisu+gluten-free+ladyfingers - Google Scholar Google Scholar
https://scholar.google.com/scholar?q=gluten-free+desserts+mascarpone - Tiramisu
https://en.wikipedia.org/wiki/Tiramisu - Gluten-free diet
https://en.wikipedia.org/wiki/Gluten-free_diet - Tiramisu | Meaning, Ingredients, Origin, Desserts, & Taste | Britannica
https://www.britannica.com/topic/tiramisu - Celiac Disease – NIDDK
https://www.niddk.nih.gov/health-information/digestive-diseases/celiac-disease - https://www.niddk.nih.gov/health-information/digestive-diseases/gluten-free-diet
https://www.niddk.nih.gov/health-information/digestive-diseases/gluten-free-diet - Mediterranean diet for heart health – Mayo Clinic
https://www.mayoclinic.org/diseases-conditions/celiac-disease/in-depth/gluten-free-diet/art-20047801 - https://pubmed.ncbi.nlm.nih.gov/?term=celiac+disease+gluten-free+diet
https://pubmed.ncbi.nlm.nih.gov/?term=celiac+disease+gluten-free+diet