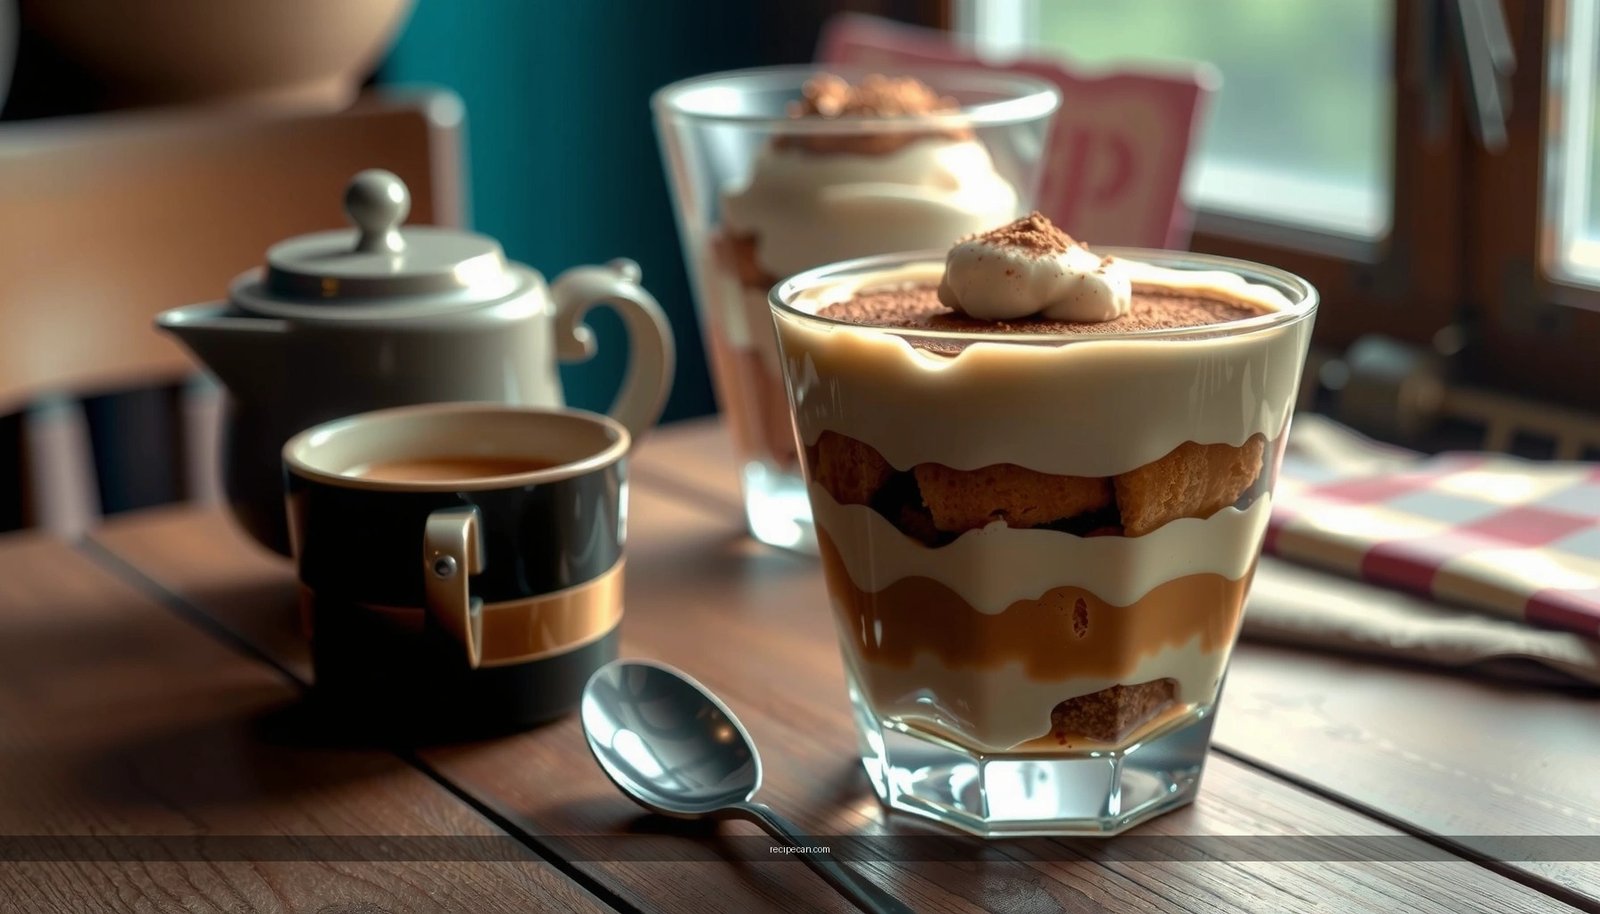
Looking for a dairy free tiramisu recipe that still tastes creamy and classic? This no-dairy tiramisu delivers the same coffee-soaked layers and silky finish—without milk or cream—so you get a true tiramisu, not a compromise. Follow this straightforward method and you’ll land a confident, sliceable dessert that wins whether you’re avoiding dairy or just want the best version.
This dairy free tiramisu recipe delivers the same signature coffee-soaked layers and creamy “set” texture—without mascarpone or cream—by using a whipped plant-based base and brief, controlled ladyfinger soaking. Below you’ll learn exactly how to choose the right dairy-free mascarpone-style ingredient, build stable layers, and chill for the ideal finish so your no-dairy tiramisu slices cleanly.
Dairy-Free Ingredients You’ll Need

A classic tiramisu is only partly about flavor; it’s also about structure. Traditional mascarpone provides fat for stability and a smooth mouthfeel, while eggs (in many recipes) and cream create the “set” body. For a dairy-free tiramisu, you’ll recreate those functions with plant-based alternatives and thoughtful assembly.
What to buy (and what to look for)
– Choose a dairy-free mascarpone or thick vegan cream cheese as the base
– Look for products labeled “mascarpone-style”, thick, whippable, or cultured.
– If your base is more spreadable than airy, you can still whip it—just whip to the point where it becomes creamy and holds soft peaks.
– Use brewed espresso or strong coffee for soaking ladyfingers
– Espresso gives deeper bitterness and classic tiramisu character.
– Coffee that’s too weak will taste like “coffee water,” so brew strong.
– Pick dairy-free ladyfingers (or make your own) and confirm they’re egg/dairy-free if needed
– Many ladyfingers are dairy-free, but some contain milk solids or are processed in facilities with dairy.
– If you need strict egg/dairy-free, check labels closely or bake egg/dairy-free biscuits tailored to the recipe.
– If you tolerate eggs but not dairy, the assembly works well with most “dairy-free ladyfingers.”
Optional add-ins for authenticity
– Vanilla extract for roundness
– Cocoa powder for topping and flavor balance
– Rum or coffee liqueur (optional) for classic aroma
– Espresso powder (tiny amount) to intensify coffee flavor without extra liquid
To keep your no-dairy tiramisu consistent, aim for ingredients that support whipping + layering. If your plant base is too thin, your filling will run; if your ladyfingers soak too long, the layers collapse.
Make the Dairy-Free Tiramisu Filling

The filling is where dairy-free tiramisu either becomes luxurious—or turns grainy and unstable. The goal is a smooth, pipeable or spreadable cream that can hold layers after chilling.
Step-by-step (and why it works)
– Whip the plant-based base until creamy and smooth
– Use a chilled bowl and beat until the mixture looks glossy and thick.
– If it looks slightly separated at first, keep whipping—many cultured vegan creams come together as they aerate.
– Fold in sweetener (like maple sugar) and flavor (vanilla, espresso, or rum extract)
– Sweetener should dissolve evenly; maple sugar and fine granulated sweeteners work best.
– Add vanilla and either a small amount of espresso concentrate or espresso powder for stronger coffee flavor without extra liquid.
– Adjust consistency with a splash of plant milk or a thickener for ideal layering
– If the mixture is too stiff to spread, add 1–2 teaspoons of plant milk at a time.
– If it’s too loose, add a thickener such as:
– Powdered sugar (minor thickening from sugar solids)
– Cornstarch cooked into a slurry (for a cooked thickened cream)
– Plant-based cream stabilizer (if using one designed for whipping)
A practical quality checklist
When your filling is ready, it should:
– Hold a soft peak (doesn’t collapse immediately)
– Spread smoothly without tearing
– Taste balanced: creamy and sweet, with coffee notes that aren’t harsh
How to Choose a Plant-Based Base for Dairy-Free Tiramisu (Creaminess vs. Stability)
| # | Plant-Based Base Type | Best Texture Goal | Whip Needed? | Layer Stability | Tasting Notes |
|---|---|---|---|---|---|
| 1 | Mascarpone-Style Vegan Cream | Classic, silky | Yes | High | Most “tiramisu-like” |
| 2 | Thick Vegan Cream Cheese (Cultured) | Tangy cream | Yes | High | Balanced with cocoa |
| 3 | Whippable Coconut Cream (Solid-Fat) | Rich, mousse-like | Yes (chilled) | Medium-High | May add subtle coconut |
| 4 | Cashew Cream (Blended + Thickened) | Smooth custard | Optional | Medium | Neutral flavor; needs chilling |
| 5 | Store Vegan Yogurt (High-Fat) | Light, tangy cream | Sometimes | Low-Medium | Often needs stabilizer |
| 6 | Soya Creamer (For Whipping) | Silky but light | Yes | Low-Medium | Add cocoa to deepen flavor |
| 7 | Plant-Based “Dessert Cream” (Ready-to-Use) | Fast, uniform cream | No/Light | Medium-High | Consistent but may be sweet |
Brew and Flavor the Coffee Soak

The coffee soak should enhance tiramisu rather than weaken it. Over-soaking turns ladyfingers gummy; under-soaking leaves them bland.
– Brew espresso/coffee strong and let it cool slightly
– Aim for coffee that’s warm-to-room temperature. If it’s too hot, it can prematurely soften the biscuits.
– If it’s cold and very strong, it still works—just expect a slightly firmer texture.
– Add optional flavor boosters like vanilla, cocoa, or a little coffee liqueur
– A small splash of rum extract or coffee liqueur adds aroma without changing structure.
– Stir in a pinch of cocoa powder if your coffee tastes too one-dimensional.
– Keep the soak quick so ladyfingers stay tender, not soggy
– Dip each side for 1–2 seconds, not minutes.
– Move immediately to layering to prevent saturation.
Coffee flavor strategy (so it tastes “real”)
– Use espresso concentrate if you want classic intensity.
– If your plant filling is naturally sweet (common with coconut-based creams), slightly reduce added sugar and lean on espresso bitterness.
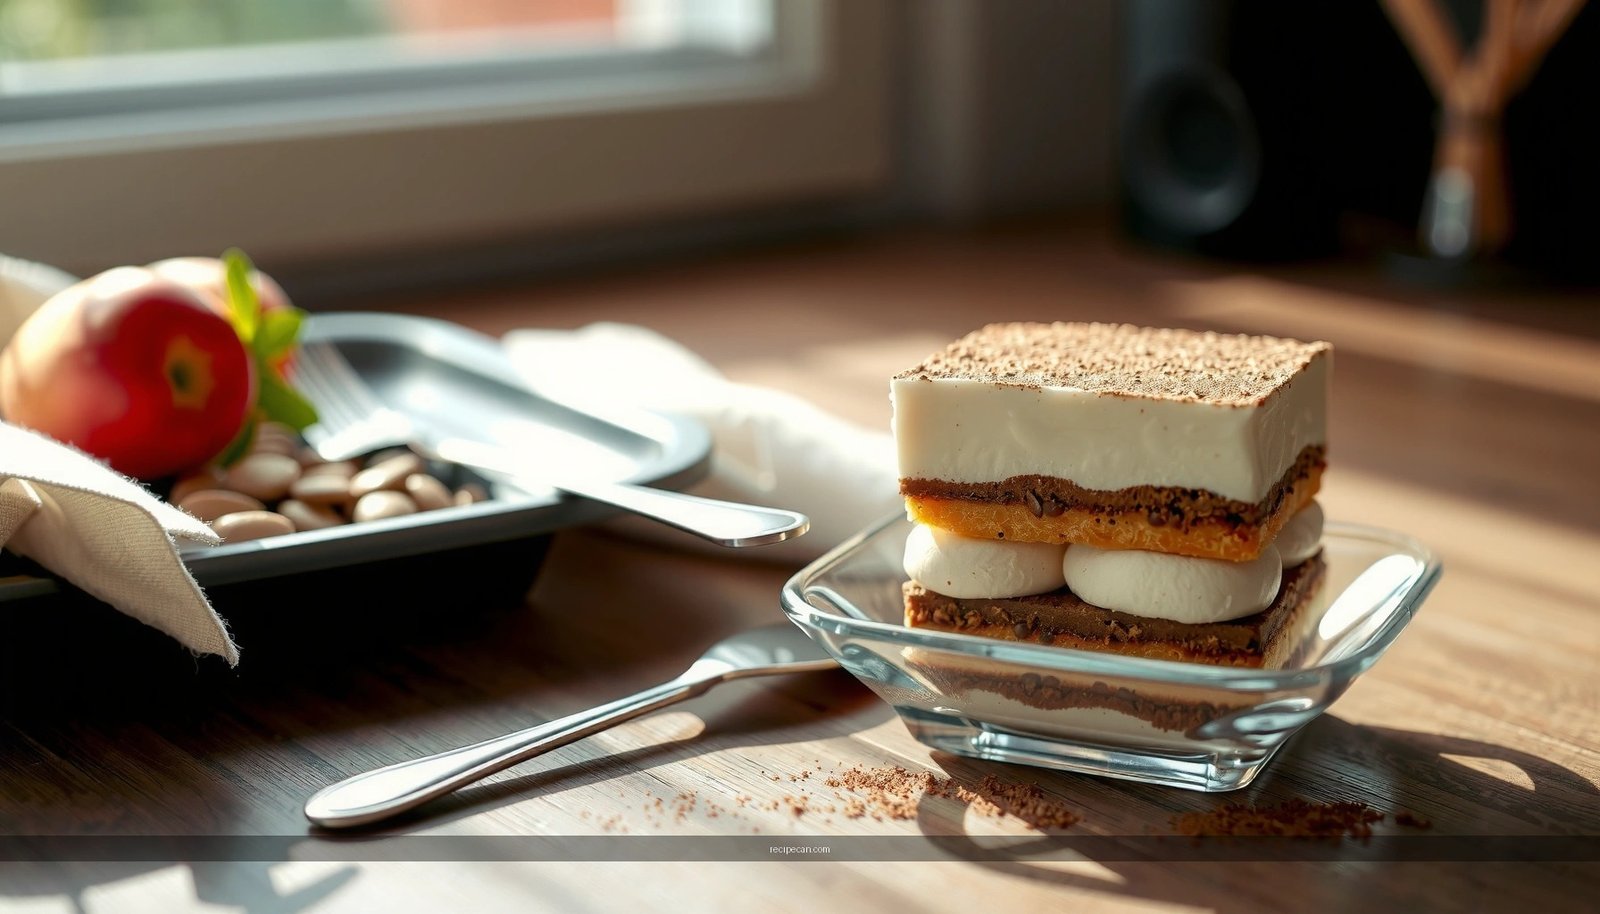
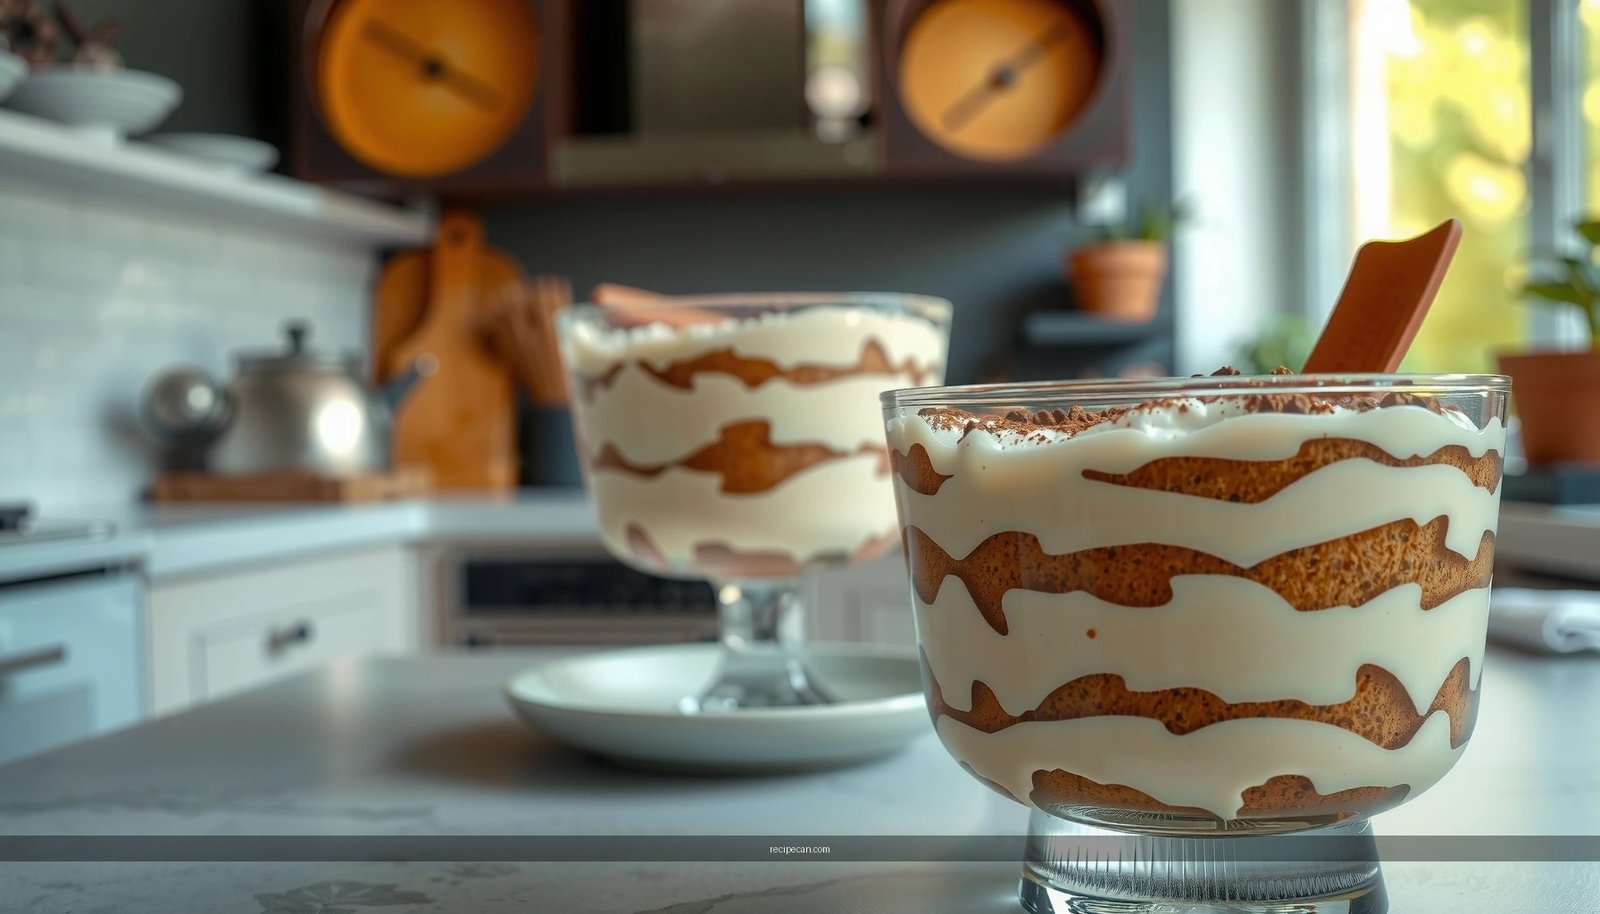
Assemble the Layers (No Sogginess)
Tiramisu is a layering technique disguised as a dessert. The method matters as much as the ingredients.
– Layer coffee-soaked ladyfingers with filling, then repeat for depth
– Create a bottom layer of soaked ladyfingers (usually one even sheet).
– Add filling in a thick, even layer—don’t leave big air gaps.
– Repeat once more for a two-layer structure; a third layer can be used for a taller dish.
– Spread evenly and gently tap the dish to settle layers
– Use an offset spatula to smooth filling.
– Tap lightly to remove trapped air so slices look clean.
– Chill for at least 4–6 hours to set the texture
– For best results, chill longer.
– This rest time lets the filling firm and the coffee distribute evenly without collapsing.
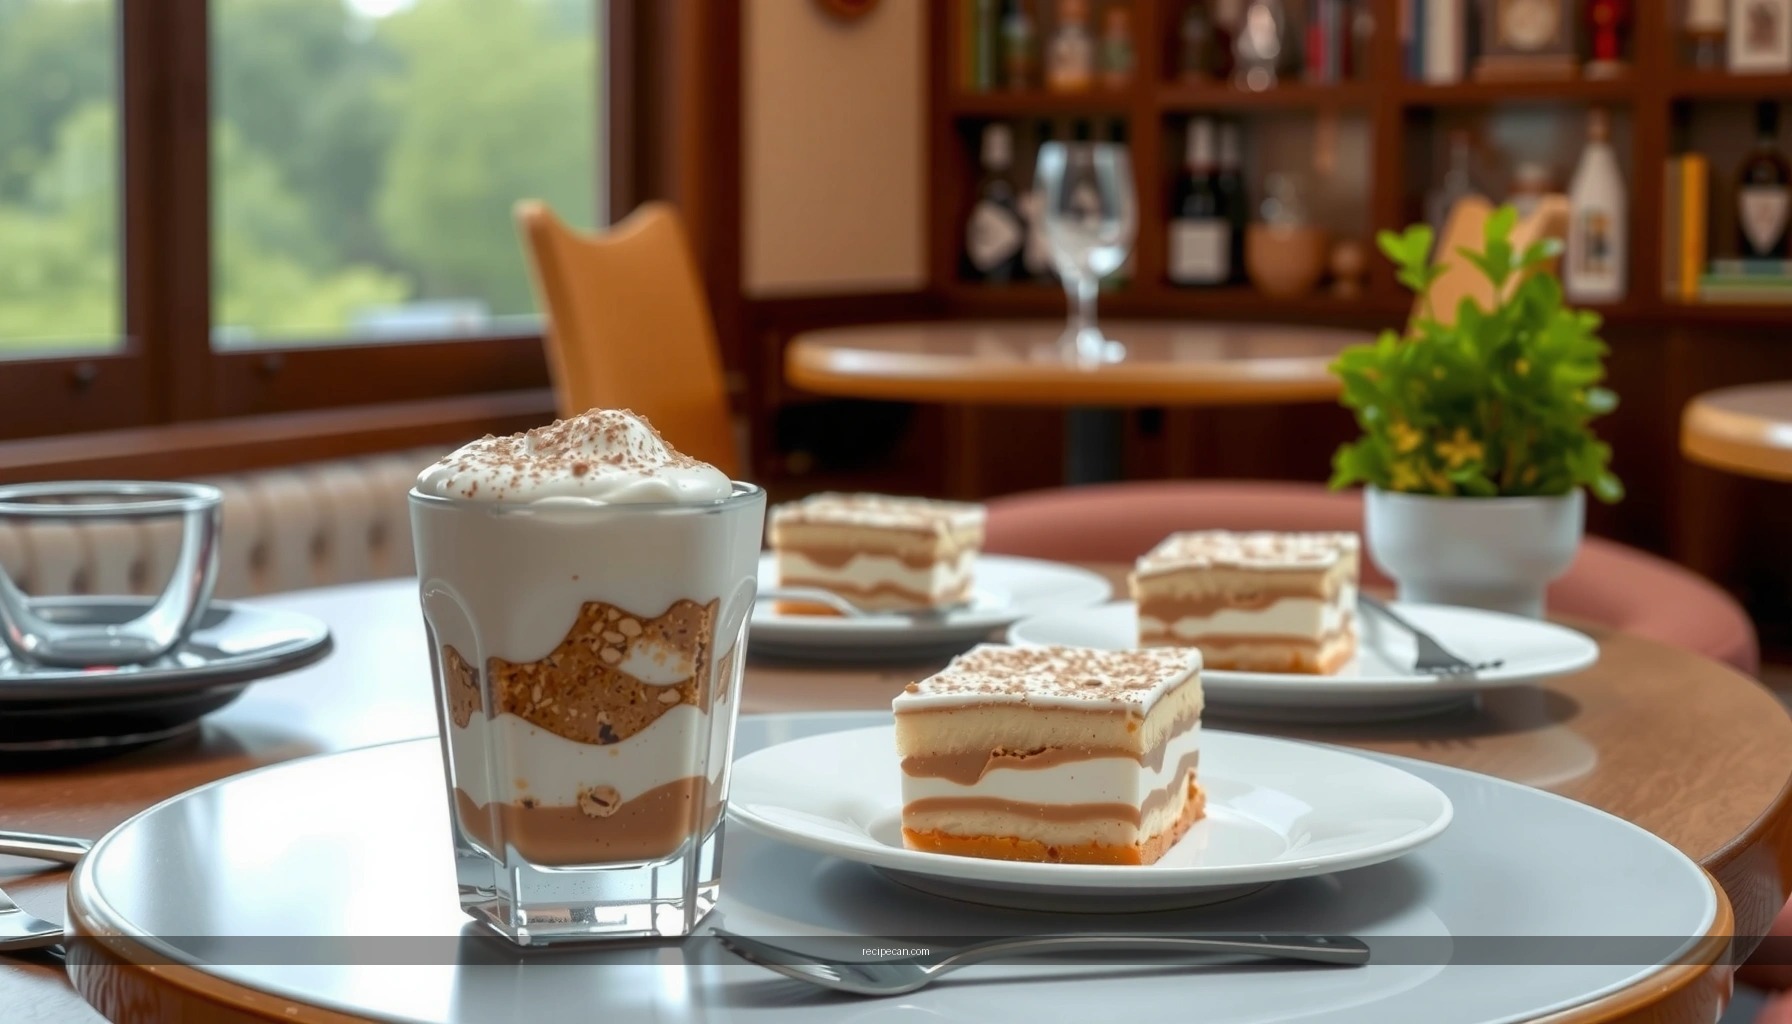
Professional slicing tip
For neat portions, chill overnight, then let the dish sit at cool room temperature for 5–10 minutes before slicing. A too-cold filling can smear; a slightly warmed filling cuts cleanly.
Chill, Serve, and Store
After assembly, your job is simple: let time do the work. Dairy-free tiramisu often benefits from a slightly longer chill because plant-based creams set differently than dairy.
– Refrigerate until firm, ideally overnight for best flavor
– Overnight chilling improves coffee integration and deepens cocoa notes.
– Serve dusted with cocoa powder and optional grated dairy-free chocolate
– Sift cocoa just before serving for a smooth, velvety top.
– Optional chocolate shavings add a bakery-style finish and extra bitterness to balance sweetness.
– Store covered in the fridge for 2–3 days (texture is best within 24–48 hours)
– Cover tightly to prevent the top from drying.
– Expect the texture to soften slightly after day two as ladyfingers absorb more moisture.
Easy Variations and Dietary Options
Dairy-free tiramisu is adaptable—especially when you treat structure as the priority.
– Make it gluten-free by using gluten-free ladyfingers
– Confirm the ladyfingers are dairy-free and gluten-free.
– Gluten-free cookies can absorb moisture differently; keep soaking brief.
– Keep it nut-free by choosing nut-free plant creams
– Some cashew creams or almond-based products may be off-limits.
– Choose mascarpone-style vegan products or soy-based alternatives that are nut-free.
– Adjust sweetness and coffee intensity to your taste (more cocoa for balance)
– If you want a stronger tiramisu “kick,” increase espresso strength rather than soaking longer.
– If it tastes too bitter, add a touch more sweetener and consider vanilla extract to round flavors.
If you’re serving a group with mixed dietary needs, keep a “base” recipe consistent (same coffee soak and assembly logic) and swap only the plant base and ladyfingers.
Dairy-Free Tiramisu Recipe Bottom Line (How to Get the Classic Result)
Creamy dairy-free tiramisu is all about using the right plant-based filling, soaking ladyfingers briefly, and chilling long enough to set. Gather your dairy-free ingredients, follow the layer-by-layer assembly, and chill before serving—then dust with cocoa and enjoy your classic dessert without the dairy.
Frequently Asked Questions
What is the best dairy free tiramisu recipe using common substitutes?
A great dairy free tiramisu typically uses dairy-free cream (such as coconut cream or an unsweetened dairy-free whipping cream) plus a mascarpone-style dairy-free alternative or a cashew-based mascarpone. Pair it with espresso-soaked dairy-free ladyfingers (or sponge cake that doesn’t contain milk) and a dairy-free yogurt or cream cheese for tang. For the cocoa topping, use unsweetened cocoa powder to keep the flavor classic without any dairy.
How do you make dairy free tiramisu taste creamy like the original?
Creaminess usually comes from a thick dairy-free base—coconut cream that’s been chilled and whipped, or a cashew mascarpone blended until smooth. Make sure your espresso isn’t too hot and keep the ladyfingers from soaking too long, so they soften without turning watery. Chill the assembled tiramisu for several hours (or overnight) to help the layers set and blend into a smooth, spoonable texture.
Why does dairy free tiramisu sometimes turn watery or separate, and how can you fix it?
Watery tiramisu often happens when the dairy-free cream is too thin or the ladyfingers are soaked too long in espresso. If your mixture separates, it may be because the dairy-free ingredients (like coconut cream) weren’t well chilled before whipping or the base wasn’t fully blended. To fix it, chill ingredients thoroughly, reduce espresso soak time, and consider adding a stabilizer like a little cornstarch or using a thicker dairy-free mascarpone alternative.
Which dairy free ingredients are safest to use for tiramisu if you have lactose intolerance or a dairy allergy?
For lactose intolerance, many people tolerate lactose-free dairy products, but for a true dairy-free tiramisu you should choose certified dairy-free alternatives. Look for dairy-free ladyfingers, dairy-free cream, and dairy-free mascarpone-style substitutes labeled “no milk” and check for hidden ingredients like whey, casein, or milk solids. If you have a dairy allergy, always verify allergen statements on packaging to avoid cross-contamination and use trusted brands.
How long should you chill a dairy free tiramisu for the best flavor and texture?
For best results, chill dairy free tiramisu for at least 4–6 hours so the layers firm up and the espresso flavor settles. Overnight chilling is even better because the dairy-free cream integrates more smoothly with the soaked ladyfingers. Keep it covered in the fridge to prevent the top from drying out and maintain that classic tiramisu structure.
References
- Tiramisu
https://en.wikipedia.org/wiki/Tiramisu - Mascarpone
https://en.wikipedia.org/wiki/Mascarpone - Lactose intolerance – Symptoms & causes – Mayo Clinic
https://www.mayoclinic.org/diseases-conditions/lactose-intolerance/symptoms-causes/syc-20374232 - Lactose Intolerance – NIDDK
https://www.niddk.nih.gov/health-information/digestive-diseases/lactose-intolerance - https://pubmed.ncbi.nlm.nih.gov/?term=lactose-free+dessert
https://pubmed.ncbi.nlm.nih.gov/?term=lactose-free+dessert - https://pubmed.ncbi.nlm.nih.gov/?term=plant-based+mascarpone+substitute
https://pubmed.ncbi.nlm.nih.gov/?term=plant-based+mascarpone+substitute - https://scholar.google.com/scholar?q=dairy-free+tiramisu+recipe Google Scholar
https://scholar.google.com/scholar?q=dairy-free+tiramisu+recipe - Google Scholar Google Scholar
https://scholar.google.com/scholar?q=vegan+tiramisu+mascarpone+alternative - Google Scholar Google Scholar
https://scholar.google.com/scholar?q=lactose+intolerance+non-dairy+desserts - https://www.who.int/health-topics/lactose-intolerance
https://www.who.int/health-topics/lactose-intolerance