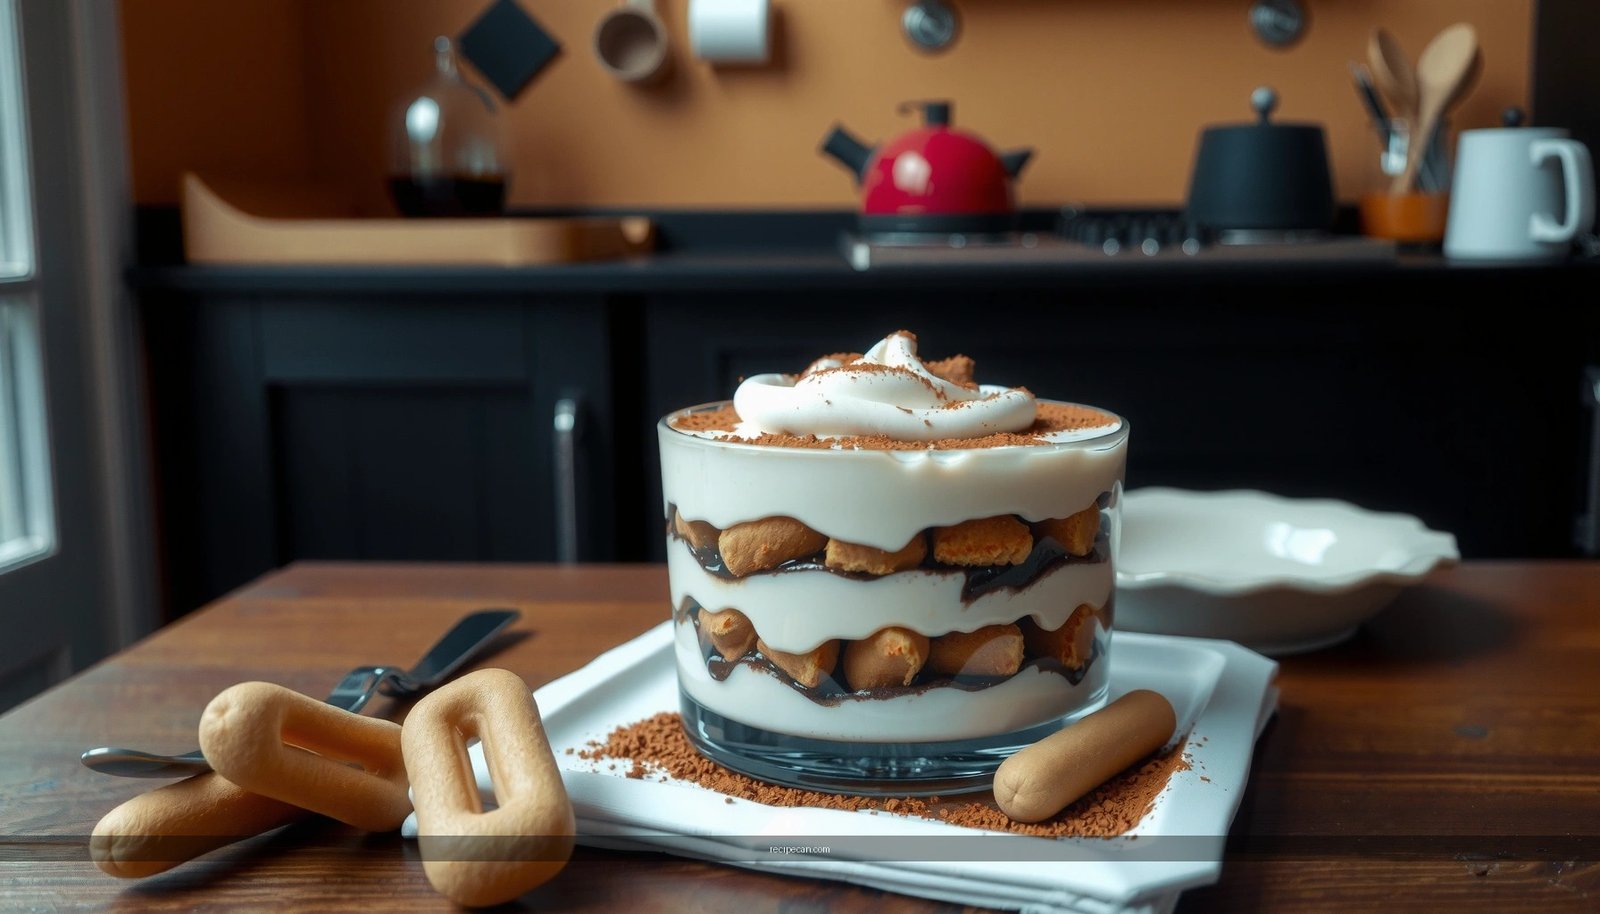
This classic tiramisu recipe delivers a perfect Italian dessert with clear, easy steps—whether you’re making it for a dinner party or just craving the real thing. Follow the exact method for the mascarpone filling, espresso-soaked ladyfingers, and cocoa finish to get the signature creamy texture instead of a soggy mess. The verdict: if you want traditional tiramisu done right, start here and make it flawlessly the first time.
Make classic tiramisu by layering espresso-soaked ladyfingers with a smooth mascarpone cream, then chilling until it sets into a rich, spoonable texture. Follow the step-by-step method below to nail the right balance of coffee intensity, creaminess, and clean layering—so your Italian dessert tastes “restaurant good” every time.
Gather Ingredients for Classic Tiramisu

Classic tiramisu is simple in ingredient count but exact in technique. The “core essentials” are mascarpone, eggs, sugar, espresso (or strong coffee), and ladyfingers—because each one plays a specific role in flavor, structure, and mouthfeel. For the signature finish, you’ll also want cocoa powder, typically unsweetened, for a deep chocolate aroma and the classic dusting look.
Recommended ingredient targets (for a standard 8×8-inch / ~20×20 cm dish, about 8–10 servings):
– Mascarpone cheese: ~16 oz (450 g). Choose fresh, firm mascarpone for better stability.
– Eggs: 3 large eggs (separated). The yolks enrich, and the whites help lighten the cream.
– Granulated sugar: 1/2 cup (100–110 g), plus a little extra if your espresso is very strong and bitter.
– Espresso or strong coffee: about 1 to 1 1/4 cups total (240–300 ml). You want strong flavor, not diluted coffee.
– Ladyfingers (savoiardi): ~24–30 pieces, depending on thickness and your dish size.
– Cocoa powder: 2–3 tablespoons for dusting (plus extra to finish).
– Optional flavor controls (use if you like):
– Vanilla extract: 1/2 teaspoon for a warmer profile.
– Marsala wine: 1–2 tablespoons added to the coffee soak for a more traditional aroma (skip if serving to kids or those avoiding alcohol).
Food safety note for business-minded hosts: Using raw eggs is typical in traditional tiramisu. If you’re concerned, consider using pasteurized eggs or a mascarpone-based method that uses pasteurized yolks/whites. Consistency matters—so whichever option you choose, use it consistently.
To make ingredient selection more practical, here’s a quick “performance” guide for what matters most when building tiramisu quality—focus on stability (mascarpone), structure (eggs), and coffee intensity (espresso strength).
Tiramisu Ingredient Impact Guide (Taste & Texture Outcomes)
| # | Component | Typical Amount | Texture/Flavor Role | Quality Signal |
|---|---|---|---|---|
| 1 | Mascarpone | 450 g | Cream body & set | ★ ★ ★ ★ ★ |
| 2 | Egg yolks | 3 yolks | Richness & emulsification | ★ ★ ★ ★ ★ |
| 3 | Egg whites | 3 whites | Airiness (optional) | ★ ★ ★ ★ |
| 4 | Espresso/coffee | 240–300 ml | Primary flavor cue | ★ ★ ★ ★ ★ |
| 5 | Sugar | 100–110 g | Balance & smoothness | ★ ★ ★ ★ |
| 6 | Ladyfingers | 24–30 pieces | Structure & chew | ★ ★ ★ ★ |
| 7 | Cocoa powder | 2–3 tbsp | Finish & aroma | ★ ★ ★ |
Make the Coffee Soak

The coffee soak is where tiramisu either becomes memorable—or disappointingly wet. Start by brewing espresso (or strong coffee) and letting it cool slightly (aim for warm, not piping hot). Cooling helps prevent the cream from melting at the contact points and keeps ladyfingers from collapsing.
The dipping rule (critical):
– Dip each ladyfinger quickly, about 1–2 seconds per side.
– You want the cookie to become moist and pliable, not saturated.
Why this matters: Ladyfingers continue to absorb liquid as they sit between cream layers. If they’re soaked too long, the dessert loses structural integrity and turns watery after chilling.
Operational tip for consistency: Pour coffee into a shallow bowl so you can dip efficiently. When layering, work methodically—if you dip all ladyfingers at once, they’ll keep absorbing before they even touch the cream.
Prepare the Mascarpone Cream

A classic mascarpone mixture should be smooth, thick, and glossy, with enough aeration to create contrast between layers. The yolks provide richness, and the optional whipped whites provide a lighter, cloud-like texture.
1. Whisk egg yolks with sugar until the mixture lightens slightly and becomes smooth. This step helps dissolve sugar and stabilizes the emulsion.
2. Add mascarpone and mix gently until fully incorporated. Avoid overmixing—too much agitation can make the cream grainy.
3. If using egg whites: Whip to soft or medium peaks (they should hold shape but still look creamy).
4. Fold whites into the mascarpone base gently, using a spatula. Folding preserves air, which supports that characteristic tiramisu “set-but-soft” mouthfeel.
Texture benchmarks you can trust:
– The cream should spread on a spoon without running.
– When you drag a spatula through it, it should leave clear lines that slowly settle.
If your cream seems too loose, chill it briefly (10–15 minutes) before assembling. Temperature is often the difference between “silky” and “sloppy.”
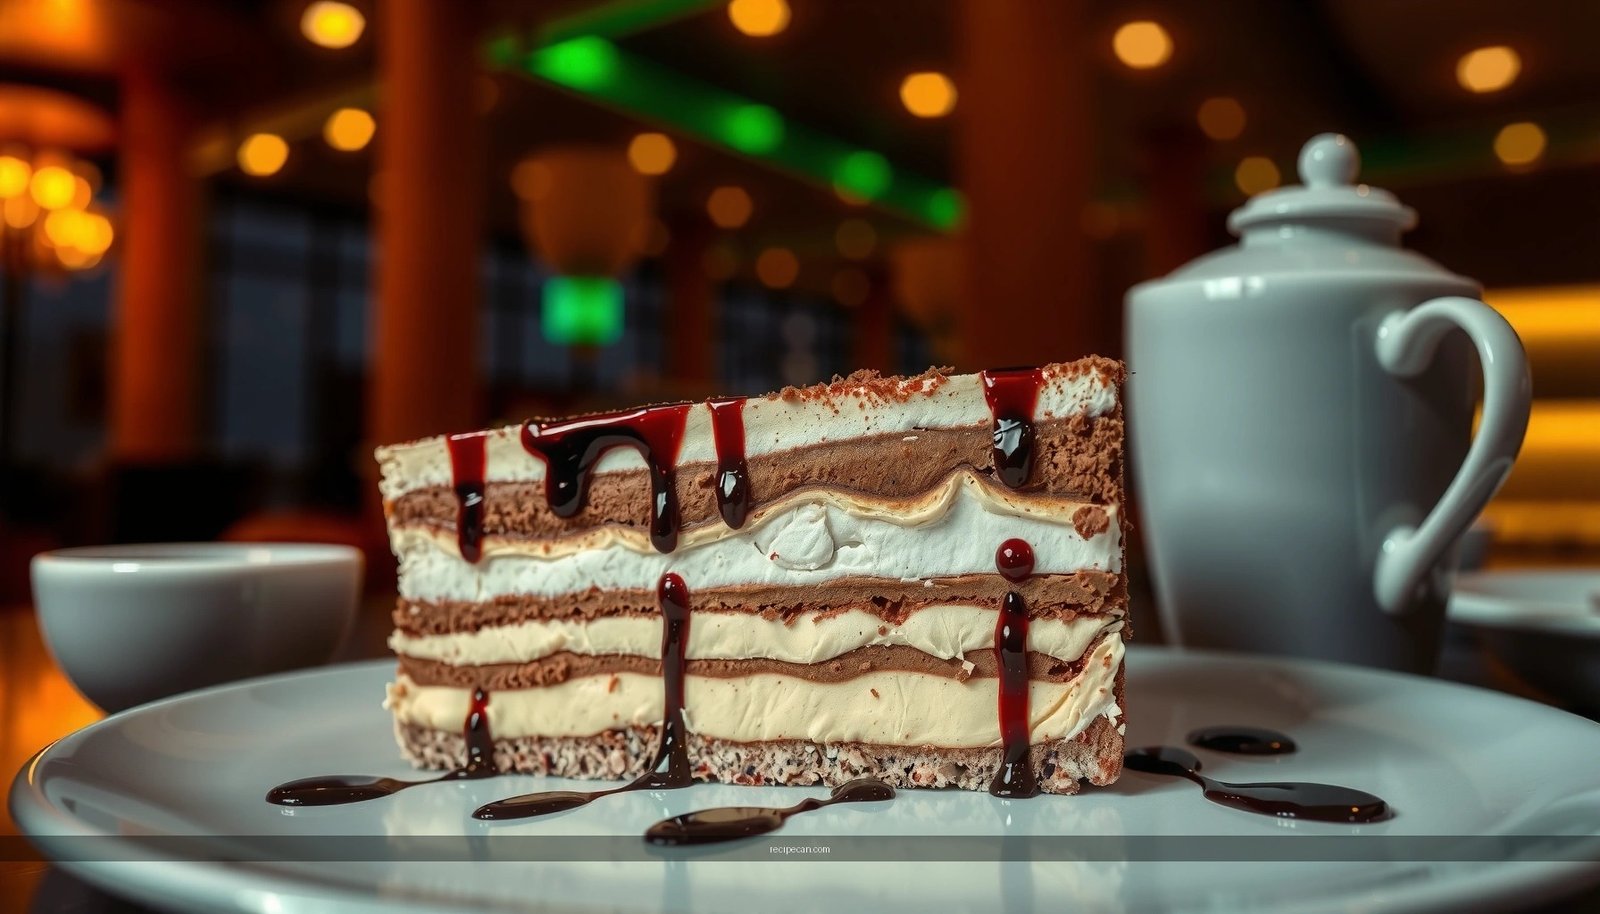
Layer and Assemble Properly
The layering technique determines both appearance and eating experience. Classic tiramisu typically uses two to three layers depending on dish depth.
Build process:
– First layer: Arrange dipped ladyfingers in a single even layer.
– Cream layer: Spread mascarpone mixture evenly, reaching into corners.
– Repeat: Add another layer of soaked ladyfingers and cream.
– Top finish: Add a final cream layer and smooth the surface.
Make it look professional: Smooth the top layer with an offset spatula and wipe the blade between passes. This creates a clean plane for cocoa dusting.
Avoid common failure points:
– Gaps between ladyfingers can cause uneven soaking and patchy texture.
– Over-soaking makes layers collapse when sliced.
– Under-chilling prevents the cream from fully setting, leading to runniness at the edges.
Quick reference table: layering & expected texture
Use this to self-check your assembly timing and results.
| Assembly Step | What “Right” Looks Like | What Goes Wrong If Overdone |
|—|—|—|
| Dip ladyfingers | Evenly moist center, not dripping | Watery layers, soggy cookie texture |
| Spread mascarpone | Smooth, level, holds shape | Grainy cream or uneven thickness |
| Layering | Dense, uniform coverage | Air pockets and inconsistent firmness |
| Top smoothing | Flat surface for cocoa | Lumpy finish, difficult clean slices |
| Final chill (time) | Cream firms, slices cleanly | Soft/loose structure, messy presentation |
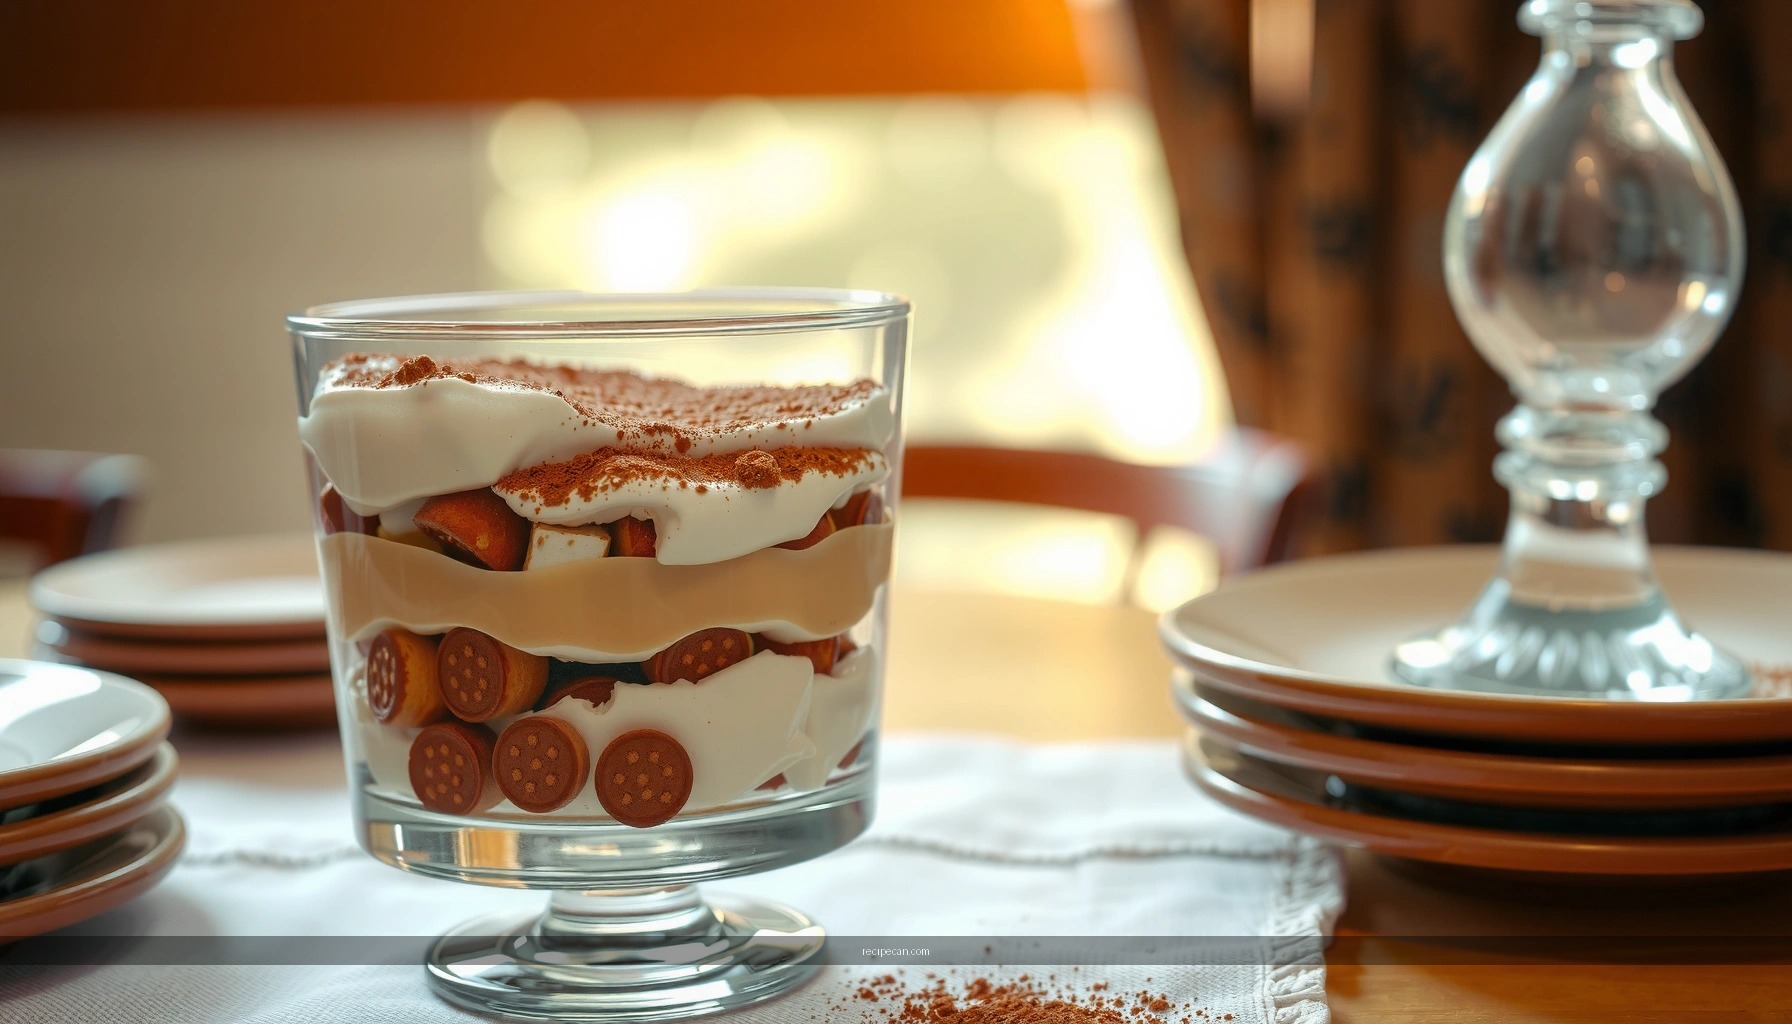
Chill for the Best Flavor and Texture
Chilling is not optional—it’s the “set phase” that transforms separate components into a unified dessert. Refrigerate tiramisu for at least 4–6 hours, but overnight is best. During this time:
– Coffee fully permeates ladyfingers.
– Cream hydrates slightly and firms into a cohesive sliceable structure.
– Flavors meld, reducing harshness and rounding the espresso bitterness.
Storage best practice: Keep the dish covered (plastic wrap pressed lightly against the surface or a tight lid). This prevents the top from drying out and becoming overly firm before serving.
Timing strategy for hosts and teams: Assemble in the afternoon, chill overnight, and dust with cocoa shortly before serving for the freshest aroma and best visual contrast.
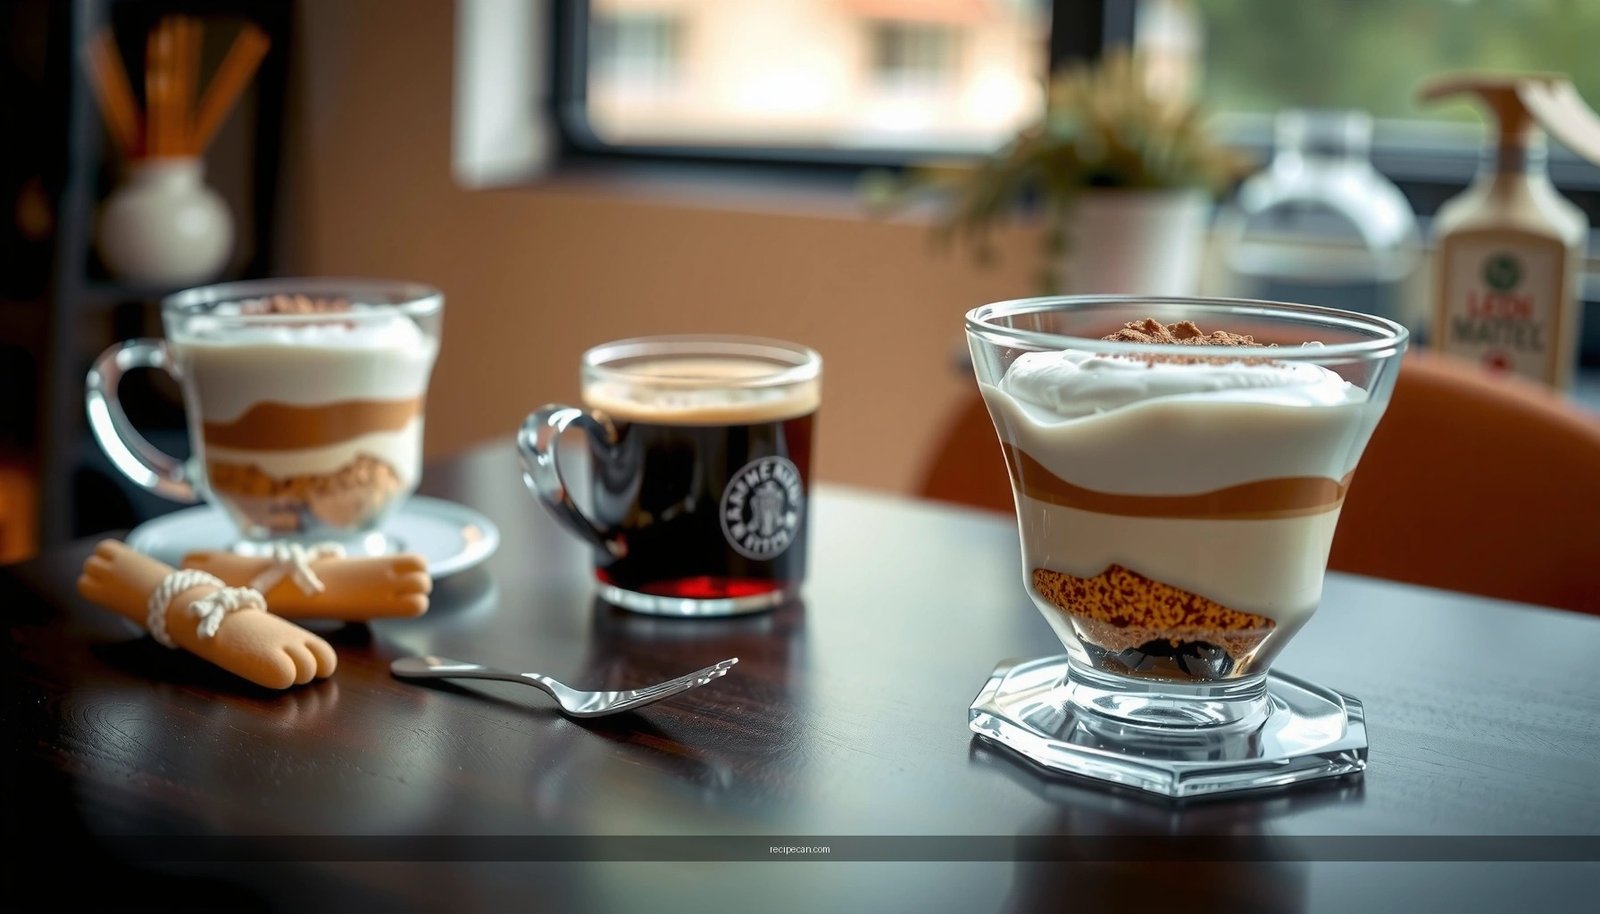
Serve and Finish Like an Italian Classic
Finish tiramisu properly and it instantly reads “Italian classic.” Right before serving:
– Dust generously with cocoa powder (unsweetened), ideally using a fine mesh sieve to avoid clumps.
– If you want extra polish, add a light optional sift of cocoa for even coverage at the center.
Serving technique:
– Use a chilled knife and wipe the blade between slices.
– Cut with confidence, then lift each portion carefully to maintain clean layers.
Presentation cue: Slice at a slight angle if your dish has a thick cream top layer—this often yields a more balanced cross-section.
After chilling, you’ll get the signature classic tiramisu texture: creamy, set, and full of coffee flavor. Follow the layering and chilling steps closely, then dust with cocoa before serving—make it today and enjoy a true Italian-style dessert.
Tiramisu quality comes down to a few controllable decisions: quick, properly timed coffee dipping; a smooth mascarpone cream that’s mixed and folded with care; tight layering; and adequate chilling time. If you focus on these steps, you’ll consistently produce an elegant, spoonable classic tiramisu with rich espresso depth and clean, restaurant-worthy slices.
Frequently Asked Questions
What is the best classic tiramisu recipe for beginners?
A classic tiramisu recipe uses mascarpone, espresso-soaked ladyfingers, eggs (or pasteurized egg yolks), sugar, and cocoa powder. For beginners, focus on achieving a smooth mascarpone mixture without overmixing and use room-temperature mascarpone for easier blending. Dip the ladyfingers quickly so they absorb espresso flavor but don’t turn soggy.
How do you make classic tiramisu without scrambled eggs in the mascarpone filling?
The key is to temper the eggs gently by slowly adding warm sugar-egg mixture while whisking constantly, then cooking just until it thickens slightly. Use low heat and remove from the stove as soon as the mixture coats a spoon; don’t let it boil. Once cooled, fold the mixture into mascarpone to keep a creamy, stable tiramisu filling.
Why does classic tiramisu taste better after chilling, and how long should you refrigerate it?
Chilling allows the espresso and ladyfingers to fully hydrate and mellow the coffee’s sharpness, while the mascarpone cream firms up for cleaner slices. For the best classic tiramisu texture, refrigerate at least 4–6 hours, but overnight is ideal for more cohesive flavor. If you serve too soon, the layers may feel loose and the dessert won’t taste as integrated.
Which espresso should you use for a classic tiramisu recipe?
Use strong, flavorful espresso for the most authentic classic tiramisu taste—its bitterness balances the sweetness of the mascarpone. If you don’t have an espresso machine, brew strong coffee (or use espresso-style concentrate) and let it cool before dipping. Avoid overly weak or watery coffee, as it can make the ladyfingers taste flat.
How can you prevent soggy layers in a classic tiramisu?
Dip ladyfingers briefly—usually 1–2 seconds per side—so they absorb espresso without becoming saturated. Make sure the espresso is not hot and use chilled coffee to slow absorption, and assemble promptly. Also, layer evenly and chill the tiramisu recipe after assembly so the cream sets and the structure holds.
References
- Tiramisu
https://en.wikipedia.org/wiki/Tiramisu - https://www.britannica.com/topic/tiramisu
https://www.britannica.com/topic/tiramisu - https://www.bbc.co.uk/search?q=tiramisu%20recipe
https://www.bbc.co.uk/search?q=tiramisu%20recipe - https://www.theguardian.com/food/search?q=tiramisu%20recipe
https://www.theguardian.com/food/search?q=tiramisu%20recipe - https://www.nytimes.com/search?query=tiramisu%20recipe
https://www.nytimes.com/search?query=tiramisu%20recipe - https://pubmed.ncbi.nlm.nih.gov/?term=tiramisu
https://pubmed.ncbi.nlm.nih.gov/?term=tiramisu - https://www.sciencedirect.com/search?qs=tiramisu%20recipe
https://www.sciencedirect.com/search?qs=tiramisu%20recipe - Google Scholar Google Scholar
https://scholar.google.com/scholar?q=classic+tiramisu+recipe - Google Scholar Google Scholar
https://scholar.google.com/scholar?q=mascarpone+eggs+sugar+zabaglione+tiramisu - Google Scholar Google Scholar
https://scholar.google.com/scholar?q=ladyfingers+coffee+espresso+tiramisu