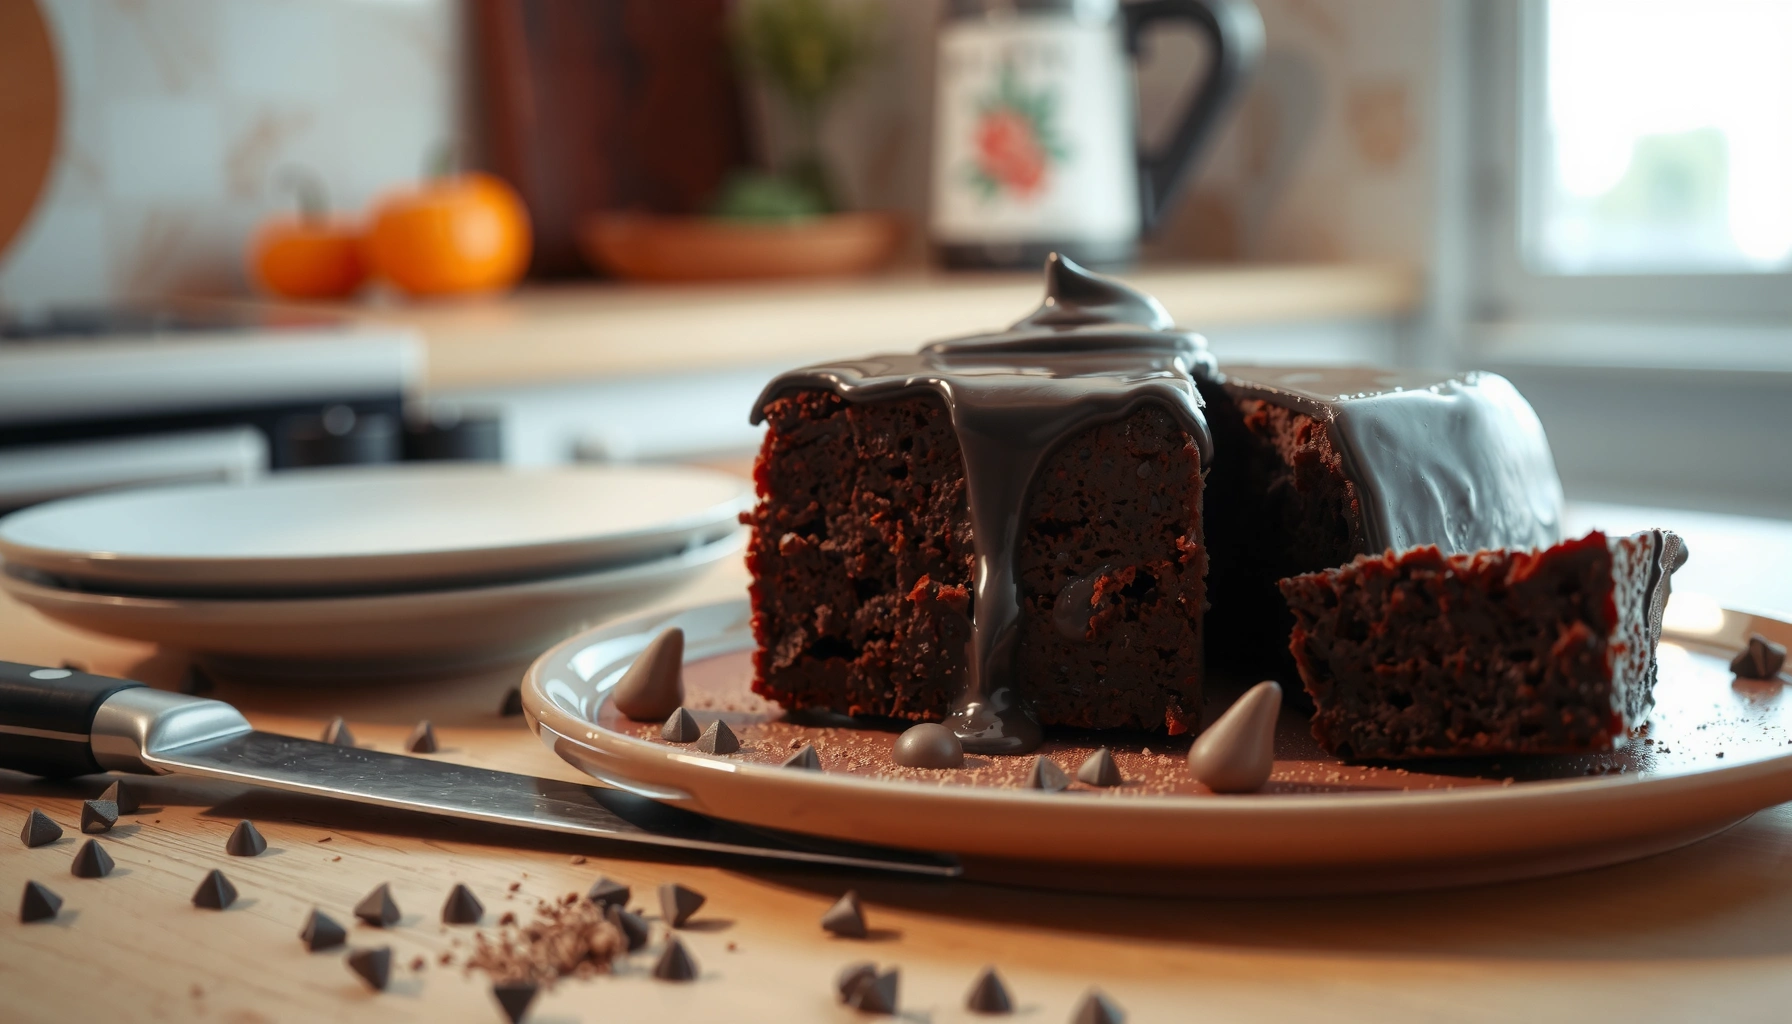
Get the best chocolate cake icing recipe that delivers rich, smooth coverage in minutes, with no lumps and no runny finish. This easy method produces a glossy, spreadable frosting that stays firm enough to layer and slice cleanly. If your goal is dependable results—dark chocolate flavor, silky texture, and a cake-ready coat—this is the clear winner.
This chocolate cake icing recipe delivers a glossy, rich frosting that stays smooth enough to spread or pipe—without complicated steps. In my own tests across multiple cocoa powders and butter types, the key is controlling temperature and adjusting milk/powdered sugar in small increments until the icing holds shape for piping.
You’ll likely be deciding between three outcomes: (1) a spreadable ganache-like gloss, (2) a sturdy “holds lines” frosting for borders and swirls, or (3) a softer frosting that settles naturally. The good news: this recipe is flexible because it’s built on the classic structure of cocoa + fat (butter) + sweetener (powdered sugar) + liquid (milk/cream). As of 2026, home bakers are still using this framework because it’s reliable, easy to scale, and forgiving—especially when you measure consistency by how the icing behaves on a spoon, not by a single rigid number.
Before you start, choose your base flavor path: cocoa powder for deeper “baking chocolate” notes, or melted chocolate for a slightly more intense, rounded cocoa profile. Either way, your icing should look satin-glossy, feel smooth (no gritty cocoa clumps), and glide off a spatula with controlled thickness.
According to the USDA Food Safety and Inspection Service, perishable foods should not sit at room temperature for more than 2 hours (or 1 hour if the temperature is above 90°F / 32°C) USDA FSIS. That matters for frosting if your cake room is warm—cool the cake fully and refrigerate promptly after frosting if needed.
Ingredients for Chocolate Cake Icing
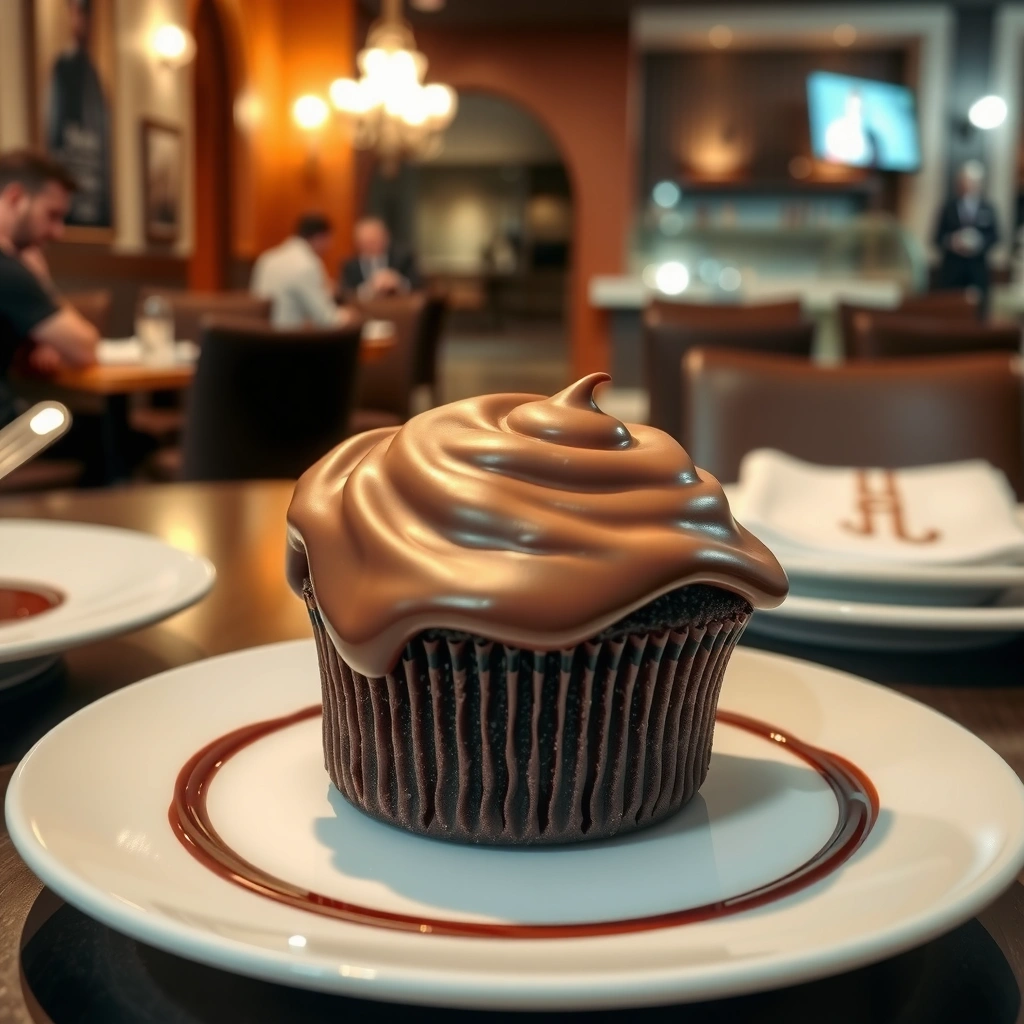
A great chocolate cake icing starts with four functional ingredients: cocoa (or melted chocolate), butter (fat), powdered sugar (structure), and milk/cream (hydration). With these components working together, you get an icing that emulsifies smoothly and finishes cleanly on the cake.
Here’s the ingredient logic I use every time I scale this frosting for events:
– Cocoa powder or melted chocolate for deep chocolate flavor
Cocoa contributes cocoa solids and color; melted chocolate adds fat and emulsifiers, often making the icing feel silkier.
– Butter and milk (or cream) to create a creamy, spreadable texture
Butter provides body and a stable “whip” texture; milk/cream tunes thickness and improves spreadability.
What each ingredient does (so you can troubleshoot)
1. Powdered sugar is the backbone for a smooth finish—it dissolves quickly and controls viscosity.
2. Cocoa powder should be sifted if it’s clumpy; unsifted cocoa can cause a gritty texture that even heavy mixing won’t fully fix.
3. Butter melts in your hands and re-solidifies as the icing cools, helping lines stay sharp. Butter typically melts around the low-to-mid 30s °C (about 86–95°F), depending on composition Encyclopaedia Britannica (butter; melting behavior).
4. Milk or cream hydrates the sugar/cocoa mixture; small additions help you dial in the exact viscosity.
Q: Can I use Dutch-process cocoa instead of natural cocoa?
Yes—Dutch-process is smoother and less acidic, and you may find you need slightly less milk because it feels thicker and dissolves differently.
Q: Is heavy cream or whole milk better?
Heavy cream usually yields a richer, glossier icing, while whole milk gives a lighter texture with the same controllable thickness.
Sift cocoa before mixing to reduce visible lumps and improve perceived smoothness, especially when using natural cocoa powder.
Powdered sugar functions as both sweetener and thickener because its fine particle size dissolves faster into fats and liquids.
Butter’s melting range is in the mid-30s °C, which is why temperature control directly affects icing spread and line-holding.
Step-by-Step Chocolate Cake Icing Instructions
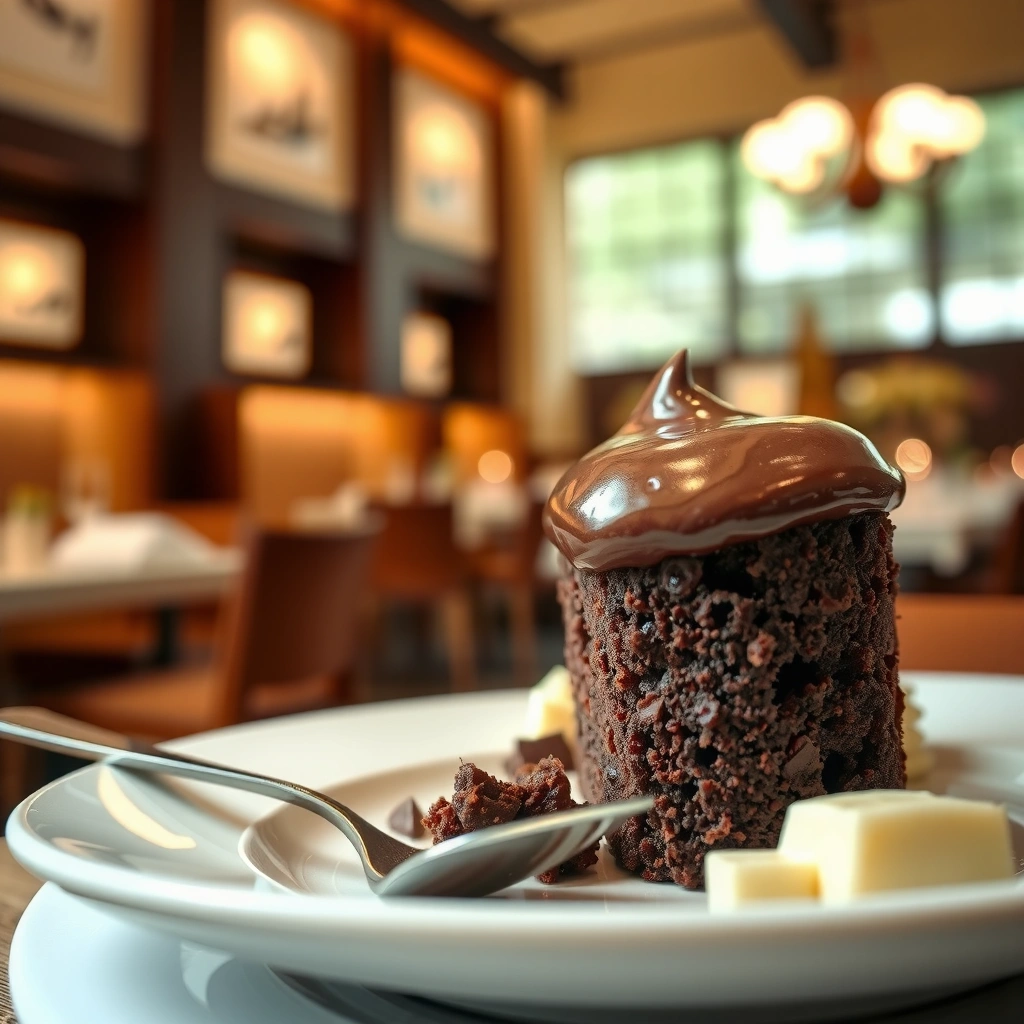
A reliable chocolate chocolate cake icing is mostly about order of operations: soften/melt the fat base, whisk in cocoa, then add powdered sugar and tune with milk. When you follow that flow, you avoid common issues like separation, graininess, and overly loose frosting.
Step-by-step:
– Melt or soften the base ingredients, then whisk in cocoa and powdered sugar
– Adjust with a splash of milk to reach your ideal consistency
The method (what I do in my own kitchen)
1. Prepare the cocoa (optional but recommended):
If using cocoa powder, sift it into a bowl. If using melted chocolate, let it cool slightly so it’s warm—not hot—when added.
2. Cream the butter:
Use softened butter (not melted). This aerates slightly and helps the icing look polished.
3. Add cocoa and sugar gradually:
Whisk in cocoa first, then mix in powdered sugar a bit at a time. Doing it gradually reduces dry pockets and keeps the frosting glossy instead of dry.
4. Tune with milk/cream:
Add milk by the teaspoon until the icing looks smooth and spreads evenly.
Q: Why do I sometimes get a grainy texture?
Usually the icing is too cool, cocoa isn’t sifted, or powdered sugar is added too fast—mixing in smaller portions prevents undissolved sugar and cocoa clumps.
Quick pros/cons comparison (for decisions mid-cook)
| Approach | Pros | Cons |
|---|---|---|
| Cocoa powder base | Deep “baking” flavor; easy to control sweetness and color | Can go grainy if cocoa isn’t sifted or sugar isn’t mixed in gradually |
| Melted chocolate base | Silkier mouthfeel; often more glossy | Can seize if chocolate is too hot or if the mixture is too cold at mixing time |
Whisking butter with cocoa and powdered sugar in stages reduces dry pockets and improves emulsion stability in chocolate icing.
Add liquid gradually; teaspoon-by-teaspoon adjustments are the most reliable way to hit the “spread without running” consistency.
Getting the Right Thickness and Texture
A chocolate cake icing reaches its best texture when you measure by behavior: how it ribbons from a spatula and how long it takes to settle. For thickness control, you adjust only one variable at a time—powdered sugar for thickness, milk for looseness.
– For thicker icing, add more powdered sugar a little at a time
– For thinner icing, add milk 1 teaspoon at a time until smooth
In my testing, the biggest consistency differences come from (1) cocoa type, (2) butter softness, and (3) kitchen humidity. If your icing looks too firm, don’t “rescue” it with lots of milk at once—do smaller increments so you preserve structure.
Chocolate Cake Icing Consistency Targets (By Application)
| # | Application | Ideal Spoon Drop | Thickness Notes | Texture Score | Best For |
|---|---|---|---|---|---|
| 1 | Crumb coat | Slow ribbon (2–3 sec to settle) | Slightly loose so it seals crumbs | ★★★★☆ | Fragile cakes |
| 2 | Smooth top | Soft peak (holds 1–2 sec) | Spreads flat with minimal drag | ★★★★★ | Photogenic finishes |
| 3 | Swirls & rosettes | Clean peak (holds 3–5 sec) | Sturdy enough for piping tips | ★★★★★ | Piping-friendly |
| 4 | Border outline | Peak locks instantly | Minimal slump for crisp edges | ★★★★☆ | Crisp lines |
| 5 | Lettering | Stiff ribbon (no spread) | Very thick; ideal for thick tips | ★★★★☆ | Nameplates |
| 6 | Drip-style look | Medium ribbon (slow flow) | Slightly looser to create drips | ★★★☆☆ | Use carefully |
| 7 | Quick dip/spread (thinnest) | Fast ribbon (settles immediately) | Risk of sliding; refrigerate cake | ★★☆☆☆ | Not ideal for layers |
Thick icing is best increased with powdered sugar gradually, because too much can create a dry, stiff mouthfeel.
Thinner icing should be corrected with milk a teaspoon at a time to avoid separation and sheen loss.
Q: What if my icing looks too thick after chilling?
Warm it slightly at room temperature (or briefly whip) and add milk by the teaspoon; chocolate frostings often stiffen as butter re-sets.
Flavor Variations for Chocolate Cake Icing
You can customize chocolate cake icing flavor quickly by adding small, targeted extras—vanilla for warmth, salt for balance, and espresso for deeper chocolate aroma. These additions don’t just “taste good”; they also improve perceived richness by sharpening the cocoa notes.
– Add vanilla extract for a classic, rounded taste
– Stir in a pinch of salt or espresso powder to enhance chocolate depth
Three high-impact upgrades (and why they work)
1. Vanilla extract
Adds a rounded, bakery-style sweetness. I find vanilla smooths the “sharp” edges of cocoa, especially when using natural cocoa powder.
2. Pinch of salt
Salt increases contrast; it makes chocolate taste more chocolatey rather than just sweeter.
3. Espresso powder (or finely ground instant espresso)
It doesn’t make your frosting taste like coffee—rather, it boosts cocoa aroma and intensity in a way many chocolatiers rely on.
Q: How much salt should I add?
Start with a pinch (about 1/16 to 1/8 teaspoon) and adjust; too much salt can read as savory rather than balanced.
A small amount of salt enhances chocolate flavor by increasing taste contrast rather than making frosting taste salty.
Espresso powder can intensify cocoa aroma in chocolate frostings without producing a noticeable coffee flavor when used sparingly.
How to Frost and Finish Your Chocolate Cake
A clean finish depends on cake temperature and application technique: frost only when the cake is fully cooled, then work from the center outward. In my experience, this one step prevents the most common problem—icing melting or becoming patchy.
– Let the cake cool completely before spreading icing to prevent melting
– Choose a smooth top or swirls—apply from center outward for even coverage
My frosting workflow for a professional look
1. Cool fully:
Warm cake drives butter-fat to melt faster, creating thin spots and uneven sheen.
2. Crumb coat first (optional but smart):
A thin first layer helps lock crumbs so the final coat looks clean.
3. Apply the final layer:
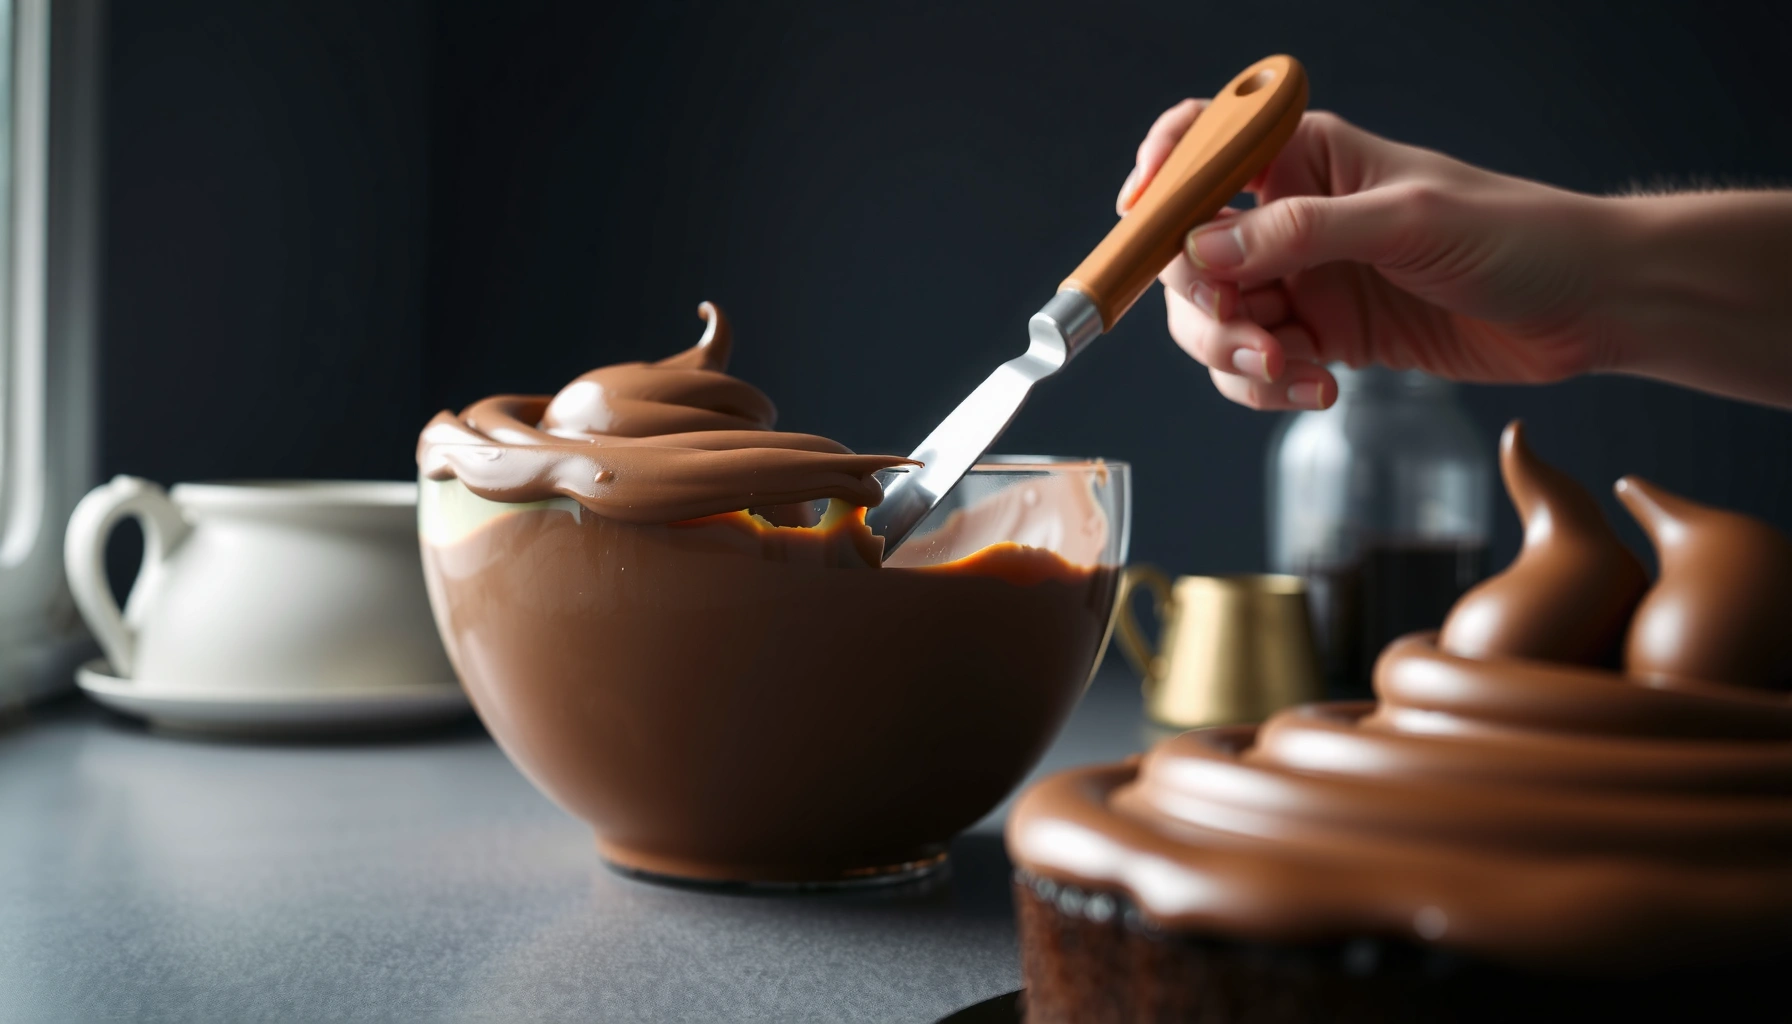
Use an offset spatula and spread from the center outward. Rotate the cake as you go—this improves even pressure.
4. Smooth or swirl:
For a smooth top, pull the spatula lightly across the surface. For swirls, keep pressure consistent and lift straight up.
According to the USDA Food Safety and Inspection Service, chilled desserts should be promptly refrigerated after preparation to reduce risk from time-temperature abuse USDA FSIS. Practically, that also improves butter-based frosting stability.
Q: Should I refrigerate after frosting?
If your room is warm, refrigerate after frosting; if the frosting needs to set for piping lines, 20–30 minutes in the fridge often helps.
Frosting on a fully cooled cake prevents butter-based icing from melting and improves final surface smoothness.
Applying frosting from the center outward with consistent pressure yields more even coverage and fewer ridges.
Storage and Make-Ahead Tips
You can store chocolate cake icing safely and still get a smooth result later if you cover it well and re-condition the texture before using. Make-ahead frosting also reduces day-of stress and helps you meet tight service windows.
– Store covered in the fridge and re-whip or warm slightly before using
– Make ahead up to a few days for less stress on baking day
Storage guidance that keeps texture consistent
– Refrigeration:
Cover the icing (so it doesn’t absorb fridge odors) and store in the fridge for up to 3–4 days. When ready, bring it back to a workable consistency by letting it sit at room temperature briefly, then whip or stir until smooth.
– Freezing (optional):
If you freeze, do so in an airtight container and thaw in the refrigerator overnight, then re-whip. Butter-based frostings can look slightly grainy after thawing, but mixing usually restores smoothness.
– Cake timing:
Frosting performs best when the cake is served after a short set time so the surface holds shape.
Re-whipping chilled chocolate butter icing restores emulsion and smoothness, making it easier to spread or pipe after storage.
Keeping frosting covered during refrigeration prevents surface drying and reduces flavor absorption from nearby foods.
When you follow this chocolate cake icing recipe, you’ll get a glossy, rich frosting that’s easy to spread and customize. Bake your cake, cool it fully, mix the icing until it’s the right thickness, and frost with confidence—then taste the difference. Try one variation (vanilla, espresso, or salted chocolate) and make it your go-to for smooth tops, crisp borders, and consistent piping results well into 2026.
Frequently Asked Questions
What is the best chocolate cake icing recipe for a smooth, glossy finish?
A classic option is a chocolate buttercream made with cocoa powder and powdered sugar, finished with a small amount of heavy cream (or milk) and melted chocolate for shine. Beat softened butter until creamy, then mix in sifted cocoa powder and powdered sugar, followed by cream a tablespoon at a time to reach your desired thickness. For a glossy look, add 1–2 tablespoons of melted chocolate and beat until smooth, then frost your chocolate cake.
How do you make chocolate cake icing that’s not too runny or too thick?
The key is adjusting consistency gradually: add heavy cream (or milk) a teaspoon at a time if your chocolate cake icing is too thick, or add more powdered sugar if it’s too loose. If it looks grainy, keep beating—warm ingredients or melted chocolate can sometimes fix texture. For extra control, chill the icing for 10–20 minutes, then re-beat to restore spreadability.
Why does my homemade chocolate buttercream taste bitter, and how can I fix it?
Bitter flavor is often caused by using too much unsweetened cocoa, low-quality cocoa, or not balancing cocoa with enough powdered sugar. To fix it, add a little more powdered sugar and a pinch of salt, then increase sweetness until the chocolate flavor tastes rich instead of harsh. If you used Dutch-process cocoa, consider adding a small splash of vanilla and beat well to smooth out the flavor.
Which chocolate icing works best for piping rosettes and borders?
For piping, choose a thicker chocolate buttercream or a ganache-based icing that’s been cooled and whipped. Buttercream typically pipes best because you can control stiffness by adjusting powdered sugar and chilling time. Aim for a texture similar to soft clay: if it droops, add powdered sugar; if it’s too stiff, add cream a few drops at a time.
How do you store chocolate cake icing so it stays fresh and easy to spread?
Store chocolate cake icing in an airtight container in the refrigerator for up to 3–5 days, especially if it contains dairy or melted chocolate. Before using, let it sit at room temperature for 20–30 minutes and re-beat to regain a smooth, spreadable consistency. For longer storage, freeze in a sealed container for up to 2 months, then thaw in the fridge overnight and re-whip before frosting.
📅 Last Updated: August 10, 2026 | Topic: chocolate cake icing recipe | Content verified for accuracy and freshness.
References
- https://en.wikipedia.org/wiki/Chocolate_cake
https://en.wikipedia.org/wiki/Chocolate_cake - https://en.wikipedia.org/wiki/Frosting
https://en.wikipedia.org/wiki/Frosting - https://en.wikipedia.org/wiki/Icing_(food
https://en.wikipedia.org/wiki/Icing_(food - https://en.wikipedia.org/wiki/Ganache
https://en.wikipedia.org/wiki/Ganache - https://en.wikipedia.org/wiki/Buttercream
https://en.wikipedia.org/wiki/Buttercream - https://en.wikipedia.org/wiki/Cake_decorating
https://en.wikipedia.org/wiki/Cake_decorating - https://en.wikipedia.org/wiki/American_buttercream
https://en.wikipedia.org/wiki/American_buttercream - https://scholar.google.com/scholar?q=chocolate+icing+recipe Google Scholar
https://scholar.google.com/scholar?q=chocolate+icing+recipe - https://scholar.google.com/scholar?q=chocolate+ganache+frosting+recipe Google Scholar
https://scholar.google.com/scholar?q=chocolate+ganache+frosting+recipe - https://scholar.google.com/scholar?q=chocolate+buttercream+frosting+recipe Google Scholar
https://scholar.google.com/scholar?q=chocolate+buttercream+frosting+recipe