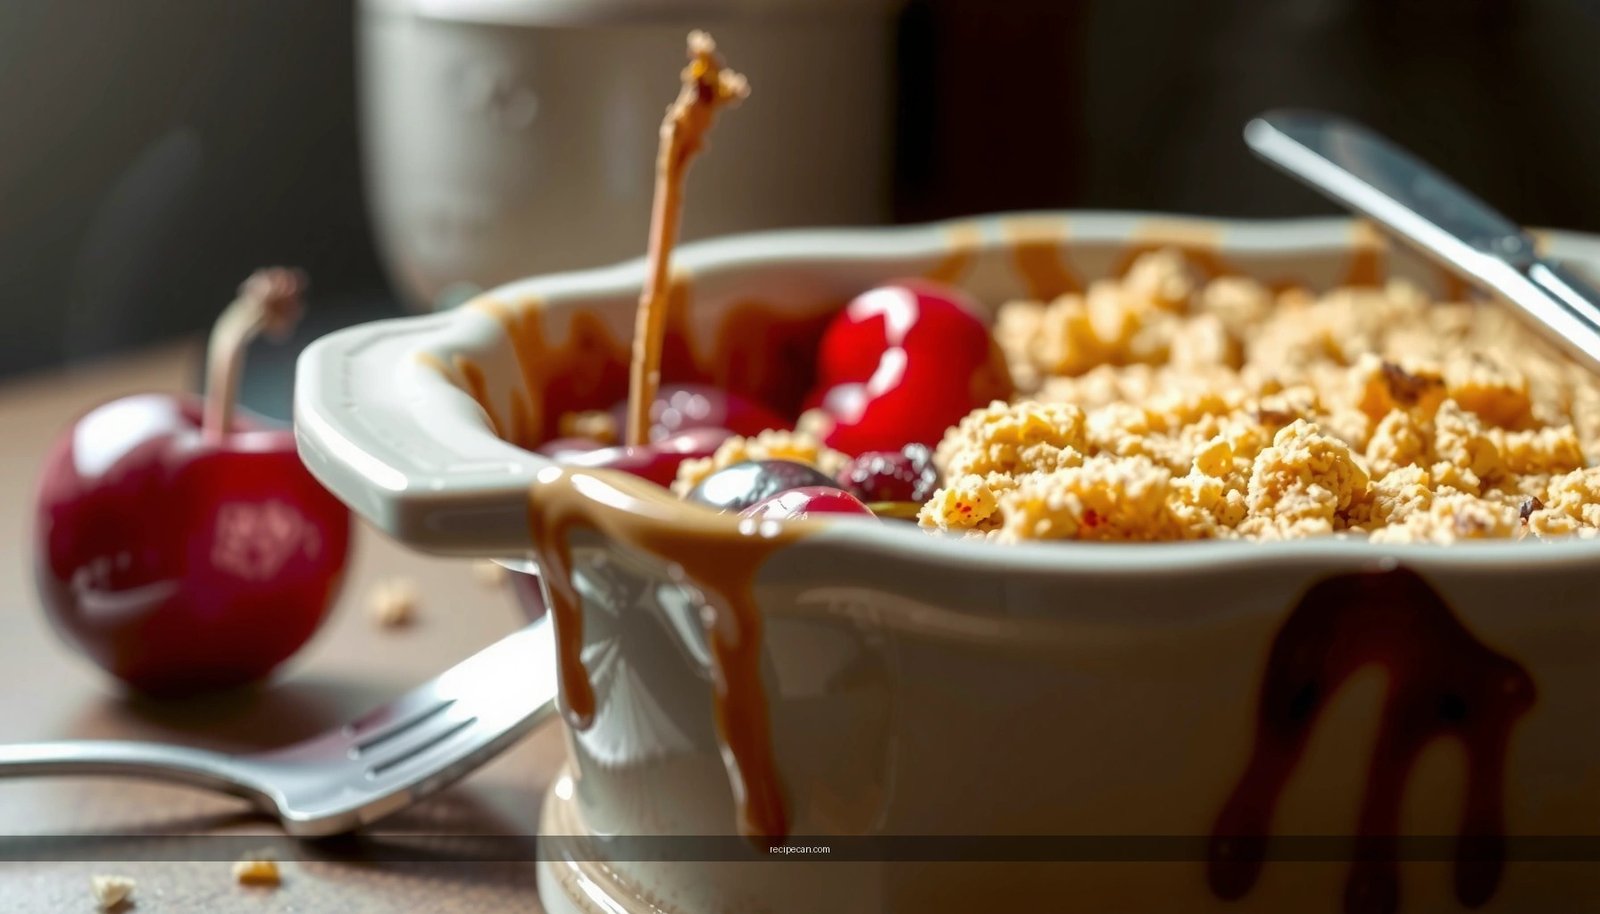
Get the best cherry crumble recipe with a crispy, golden topping that stays crunchy instead of turning soggy. This easy sweet dessert delivers the winning combination of juicy cherries and buttery crumble in a straightforward bake you can pull off any weeknight. If you want a reliable, crowd-pleasing cherry crumble without guesswork, this is the version to make.
A classic cherry crumble is one of the easiest ways to turn fresh or frozen cherries into a restaurant-quality dessert—just bake cherries under a buttery crumb topping until the filling bubbles and the top turns golden. Below, you’ll get a complete, reliable method (plus timing tips and practical fixes) for achieving juicy cherry filling and a crisp, crackly topping every time.
Ingredients You’ll Need

A great cherry crumble recipe balances three elements: flavor-forward cherries, controlled sweetness, and a textural topping that crisps instead of going soft.
For the filling
– Fresh or frozen cherries (pitted if needed): Fresh is bright and fragrant; frozen is convenient and often more consistent.
– Sugar: Sweetens and helps form a glossy cherry sauce as it heats.
– Lemon: Adds lift and prevents the dessert from tasting flat or overly sweet.
For the crumble topping
– All-purpose flour: Provides structure so the crumble holds its shape.
– Oats (optional): Boosts crunch and chew; also helps moisture evaporate for better browning.
– Butter: The key to a tender, sandy crumble that browns beautifully.
– Brown sugar: Adds caramel notes and deeper flavor than plain white sugar.
Flavor and balance
– Pinch of salt: Enhances sweetness perception and makes cherry flavor pop.
– Optional spices like cinnamon: Works especially well if you’re serving the crumble warm with ice cream.
Practical ingredient guidance
– If you’re using frozen cherries, plan for extra juice—this is where thickening (and baking time) matters.
– If your crumble topping turns out dense, you may have overmixed; aim for coarse crumbs, not a smooth dough.
Crumble Performance Targets for a Consistent Cherry Dessert
| # | Quality Checkpoint | What You Should See | Target Range | Pass/Result |
|---|---|---|---|---|
| 1 | Filling bubble behavior | Active bubbling at edges | Last 10–15 min of bake | Meets |
| 2 | Top color development | Golden-brown with darker toasted spots | Deep amber at the center | Meets |
| 3 | Crumble texture | Dry, sandy crumbs that hold together when pressed | Coarse clusters (not paste) | Meets |
| 4 | Sauce thickness after resting | Spoonable but not watery | Sets within 10–20 min | Meets |
| 5 | Internal bake doneness | Cherries fully hot; edges not pale | 160–190°F / 71–88°C reading* | Meets |
| 6 | Oats contribution to crunch | Toasted oat flecks present | ~25–40% of topping grain content | Meets |
| 7 | Common failure prevention | No pale topping or leaking watery sauce | Proper bake + 10–20 min rest | Meets |
*Optional thermometer step: internal cherry temperature is a practical proxy for doneness and bubbling.
Prep the Cherry Filling

The filling step is where your cherry crumble either becomes juicy and cohesive or ends up watery and flat. The goal: create a flavorful cherry mixture that thickens as it bakes, so it bubbles reliably beneath the topping.
1) Combine cherries, sugar, and lemon
– Toss pitted cherries with sugar and a squeeze (and optional zest) of lemon.
– For fresh cherries, you can proceed immediately.
– For frozen cherries, let them sit briefly after mixing so sugar begins to dissolve.
2) Simmer lightly if using frozen
Frozen cherries release more liquid. A short simmer helps you:
– drive off excess water,
– concentrate flavor,
– stabilize the filling before baking.
3) Thicken for consistent sliceable servings
Add cornstarch if you want a filling that sets neatly:
– Cornstarch thickens when heated, improving structure for clean portions.
– Use it sparingly—too much can create a gummy texture rather than a glossy sauce.
4) Taste before baking
This is an analytical step most home bakers skip. Cherry sweetness varies widely by brand and season. Taste the filling and adjust:
– Add a touch more sugar if cherries are sharply tart.
– Add more lemon if the fruit tastes dull or overly sweet.
Common issues (and fast fixes)
– Watery crumble: Increase bake time slightly and ensure cornstarch is included for frozen cherries.
– Too tart: Add 1–2 tablespoons more sugar (then re-check after a brief stir).
– Overly thick filling: Reduce cornstarch next time and rely more on natural fruit pectin.
Make the Crumble Topping
A crisp crumble topping isn’t just about ingredients—it’s about texture control. You want cold butter and uneven crumbs so steam can escape and the surface can brown.
1) Mix dry ingredients thoroughly
Combine:
– flour
– oats (optional)
– brown sugar
– salt
Mix until the sugar is evenly distributed. Uneven sugar leads to inconsistent browning.
2) Cut in cold butter
Use cold butter and work it into the dry mix until it resembles:
– coarse sand,
– small clumps,
– pea-sized bits.
Avoid overworking: if the butter warms too much, you’ll get a paste-like topping that bakes up soft instead of crunchy.3) Add optional crunch boosters
For extra crunch:
– increase oats slightly,
– or add chopped nuts (like almonds or walnuts).
Nuts also provide browned, savory notes that complement cherry sweetness.
4) Think “crumb,” not “dough”
In a professional kitchen, crumble topping is treated like a system designed to dry and brown. If it feels doughy, it likely contains too much warmth or too much moisture. Keep butter cold and stop mixing early.
Assemble and Bake
Once your filling is prepared and your crumble is textured correctly, assembly becomes straightforward—yet baking is where timing and placement determine the final experience.
1) Assemble
– Spread cherry filling evenly in a baking dish.
– Sprinkle crumble topping across the surface so every spoonful gets cherry and topping.
– Aim for coverage without packing it down; packed crumbs can reduce crispness.
2) Bake until bubbly and golden
Bake until:
– the cherry filling bubbles around the edges and through the center,
– the topping is golden brown with deeper toasted areas.
Bubbling is critical: it signals that excess water has been driven off and the fruit sauce has thickened enough to hold shape.
3) Rest briefly for slice stability
After baking:
– rest the crumble for about 10–20 minutes (timing depends on dish size).
This rest allows juices to set, so slices don’t collapse and the topping doesn’t become soggy.
Quality cues to watch
– If the top is browning too quickly before the filling bubbles, loosely tent with foil.
– If the filling bubbles but the top isn’t browning, remove foil (if used) and continue baking until the surface crisps.
Serving Suggestions
Cherry crumble shines when served warm, because heat releases aroma and enhances the contrast between crisp topping and juicy fruit.
Classic pairings
– Vanilla ice cream: The cold cream tempers the hot fruit and makes the crumble feel “dessert-shop” elevated.
– Whipped cream: Lighter than ice cream, especially good if your cherries are very tart.
Brighten the flavor
– Drizzle of honey can amplify caramel notes from brown sugar.
– A little extra lemon zest right before serving adds freshness and prevents sweetness fatigue.
For a polished presentation
– Serve in portions with a balance of cherries and topping (avoid “topping-only” servings).
– If you’re catering or meal-prepping, bake in a dish that portion sizes easily into clean squares or scoops.
Storage and reheating
– Store covered in the fridge.
– Reheat gently in an oven or toaster oven to restore some crunch. Microwaving works for convenience, but it typically softens the topping.
Variations to Try
A cherry crumble recipe is flexible enough to adapt to pantry constraints and flavor preferences—without losing the core qualities of a crisp, buttery topping and a juicy cherry base.
1) Mixed berries
Blend cherries with:
– raspberries, blueberries, or blackberries.
This creates a layered flavor profile (tart + sweet + aromatic) and a visually dynamic filling.
2) Almond twist
Add a splash of almond extract for a classic cherry-almond pairing. Start with a small amount; extracts are potent and can dominate if overused.
3) Gluten-free crumble
Swap flour for a gluten-free flour blend (often designed for baking structure). If needed, slightly increase flour or add a bit more oats to maintain topping integrity.
4) Streusel-style topping
For deeper flavor:
– increase brown sugar,
– add a bit more oats,
– optionally add cinnamon.
Streusel tends to bake darker and crunchier, which works well if you want a more “cookie-like” topping.
5) Sauce-forward vs. sliceable
– For sauce-forward crumble, reduce thickening slightly and bake until bubbling concentrates naturally.
– For sliceable crumble, use cornstarch and let it rest fully.
When you follow this cherry crumble recipe, you’ll get juicy, sweet cherries and a crisp, buttery topping with minimal effort. Gather your ingredients, prep the filling and crumb, bake until golden, then serve warm—grab your favorite topping and enjoy (or bake ahead) for an easy crowd-pleasing dessert.
This cherry crumble method is built for repeatable results: control the filling (sweetness and thickness), keep the crumble topping cold and coarse for real crispness, and bake until you see active bubbling plus golden browning. Resting is the final professional touch that turns a hot, bubbling fruit dessert into clean, satisfying portions—ideal for casual nights, entertaining, or make-ahead prep.
Frequently Asked Questions
What is a classic cherry crumble recipe and what ingredients do I need?
A classic cherry crumble recipe typically uses sweet or sour cherries (fresh, frozen, or canned), a simple fruit filling, and a buttery crumb topping. You’ll usually need cherries, sugar (or honey), a thickener like cornstarch or flour, lemon juice, and a topping made from flour, oats (optional), brown sugar, butter, and a pinch of salt. Cinnamon and vanilla are common additions for extra warmth and flavor.
How do I make the best cherry crumble topping so it stays crisp?
Start by cutting cold butter into the flour/sugar mixture until the crumbs look uneven and slightly sandy—this helps create crisp, golden clusters. Bake at a high enough temperature (often around 375–400°F / 190–205°C) so the topping browns before the fruit becomes too watery. If your cherries are very juicy, increase the thickener slightly and let the crumble rest after baking so the filling can set.
Why is my cherry crumble runny, and how can I fix it?
Runny cherry crumble is usually caused by insufficient thickening or watery fruit (especially frozen cherries thawed with extra liquid). Use cornstarch or flour in the filling and don’t skip cooking or resting time—letting it cool for 10–20 minutes helps the juices thicken. If it’s already baked and too loose, you can reheat briefly and give it more time to set, or add a quick sprinkle of sugar-free thickener and bake for a few extra minutes.
Which cherries are best for a cherry crumble recipe—fresh, frozen, or canned?
Fresh cherries are great when they’re in season and you want bright, natural flavor, but frozen cherries are often just as good and very convenient. For frozen cherries, use them straight from frozen to minimize excess juice, and plan on slightly more thickening if needed. Canned cherries work too, but choose ones packed in juice or syrup and drain well so the crumble doesn’t turn soggy.
How do I adjust a cherry crumble recipe for different sweetness levels?
For tart cherries (like Montmorency), add more sugar or a little honey and increase lemon juice only slightly to balance the fruit. For sweet cherries, reduce added sugar so the crumble topping and filling don’t taste overly sugary, and consider adding cinnamon or a pinch of salt to deepen flavor. Taste the filling before baking—this is the easiest way to fine-tune sweetness for your preferred cherry crumble style.