Looking for the best tiramisu cake recipe that delivers a creamy, no-bake classic without temperamental steps? This recipe is the winner for home cooks who want firm, sliceable layers—espresso-soaked cake, silky mascarpone cream, and a cocoa-dusted finish—set in the fridge instead of the oven. You’ll get the exact technique and proportions that produce rich flavor and clean cuts every time.
If you want a foolproof tiramisu cake with clean slices and a creamy mascarpone filling, build it around three control points: espresso temperature, ladyfinger soak time, and proper whipping/folding. This no-bake classic delivers rich mascarpone cream, espresso-soaked layers, and cocoa on top—without complicated steps—so you can repeat restaurant-quality results every time.
Ingredients You’ll Need for the Best Tiramisu Cake
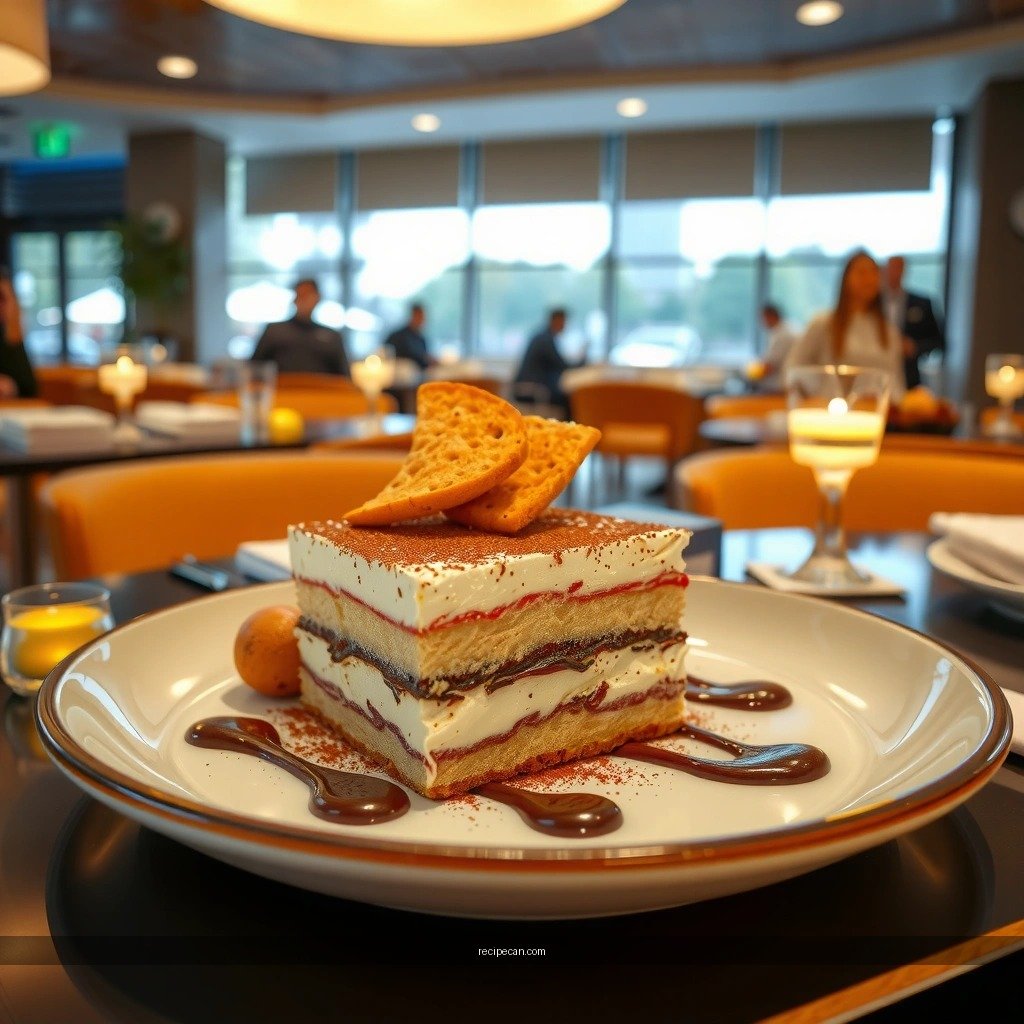
To make the best tiramisu cake recipe, start with ingredients that behave predictably. Tiramisu is simple on paper, but it’s sensitive to dairy quality, coffee strength, and how you handle the ladyfingers.
– Mascarpone (full-fat; ideally cold): the signature creamy base that thickens without baking.
– Heavy cream (cold): whipped to add volume and help the cake hold its structure.
– Espresso (or strong coffee): the soaking liquid must be concentrated enough to flavor without becoming watery.
– Ladyfingers: look for sturdy, classic-style biscuits that absorb without instantly disintegrating.
– Sugar: sweetens the cream and balances coffee bitterness—use it thoughtfully to avoid an overly sweet dessert.
– Cocoa powder: for the iconic finish; choose unsweetened cocoa for contrast.
For classic flavor punch:
– Vanilla (pure vanilla extract): amplifies the mascarpone and rounds out espresso’s sharpness.
– Optional: rum or flavored coffee liqueur (small amount): adds depth without making the dessert taste like alcohol.
A practical sourcing checklist (so you don’t improvise mid-recipe):
– Confirm you have enough ladyfingers for two full layers (most recipes use a 2-layer build; the exact count depends on your pan).
– Use room-temperature vanilla and cold dairy (cold helps whipping; vanilla can be mixed in without introducing lumps).
– If your espresso is mild or your coffee is weak, the cake will taste “flat” even if the cream is perfect—so strength matters.
Recommended Coffee Strength for Tiramisu Soaking (Target Levels)
| # | Coffee Source | Typical Brew Strength | Soak Flavor Effect | Result vs. Classic |
|---|---|---|---|---|
| 1 | Espresso (single shot) | ~30–60 ml, ~70–100 mg caffeine | High, clean bitterness | Best match |
| 2 | Americano (espresso + water) | ~1:2–1:3 espresso:water | Balanced, less intense | Very good |
| 3 | Strong drip coffee | Use ~2× coffee grounds | Classic but slightly rounder | Good substitute |
| 4 | Decaf espresso | Similar extraction profile | Milder caffeine; same flavor family | Great option |
| 5 | Instant coffee (dissolved) | Use double strength | Can taste “grainy” | Mixed results |
| 6 | Regular brewed coffee | Standard grounds:water ratio | Too light for long soaking | Likely under-flavored |
| 7 | Coffee + lots of milk/creamer | Diluted and fat-forward | Less cocoa contrast | Not classic |
Make the Espresso Soak Just Right

The difference between “wow” tiramisu and “why is this soggy?” is nearly always the soak.
– Brew strong espresso and cool it: If your coffee is hot, it softens and melts the cream’s structure during assembly and can break the texture. Aim for room temperature or slightly cool.
– Control soaking time: Ladyfingers should be coated, not flooded. Dip quickly—typically 1–2 seconds per side—then immediately layer.
– Use a wider, shallow dish: This reduces splashing and keeps soaking consistent.
– Taste the coffee before soaking: It should feel strong enough to stand up to sweet cream and cocoa. If it tastes mild, it will taste faint in the finished cake.
Optional authenticity boost:
– Add a small splash of coffee liqueur (or rum) to the cooled espresso—roughly 1–2 tablespoons per batch, depending on your sweetness preference. Alcohol can slightly enhance perceived richness, but don’t overdo it if you want a clean, crowd-friendly dessert.
Key texture logic (why this works):
– Ladyfingers are porous, and tiramisu is a timed absorption dessert. Over-soaking turns the cake into a mushy coffee sponge; under-soaking leaves layers separated and dry. Cooling the espresso stabilizes cream, and quick dips create a tender, creamy interior rather than a wet exterior.
Practical timing guideline:
– If you assemble and chill promptly, the ladyfingers continue to hydrate slightly as the cake sets—meaning you can dip briefly and rely on chilling to “finish” the texture.
Whip the Creamy Mascarpone Filling
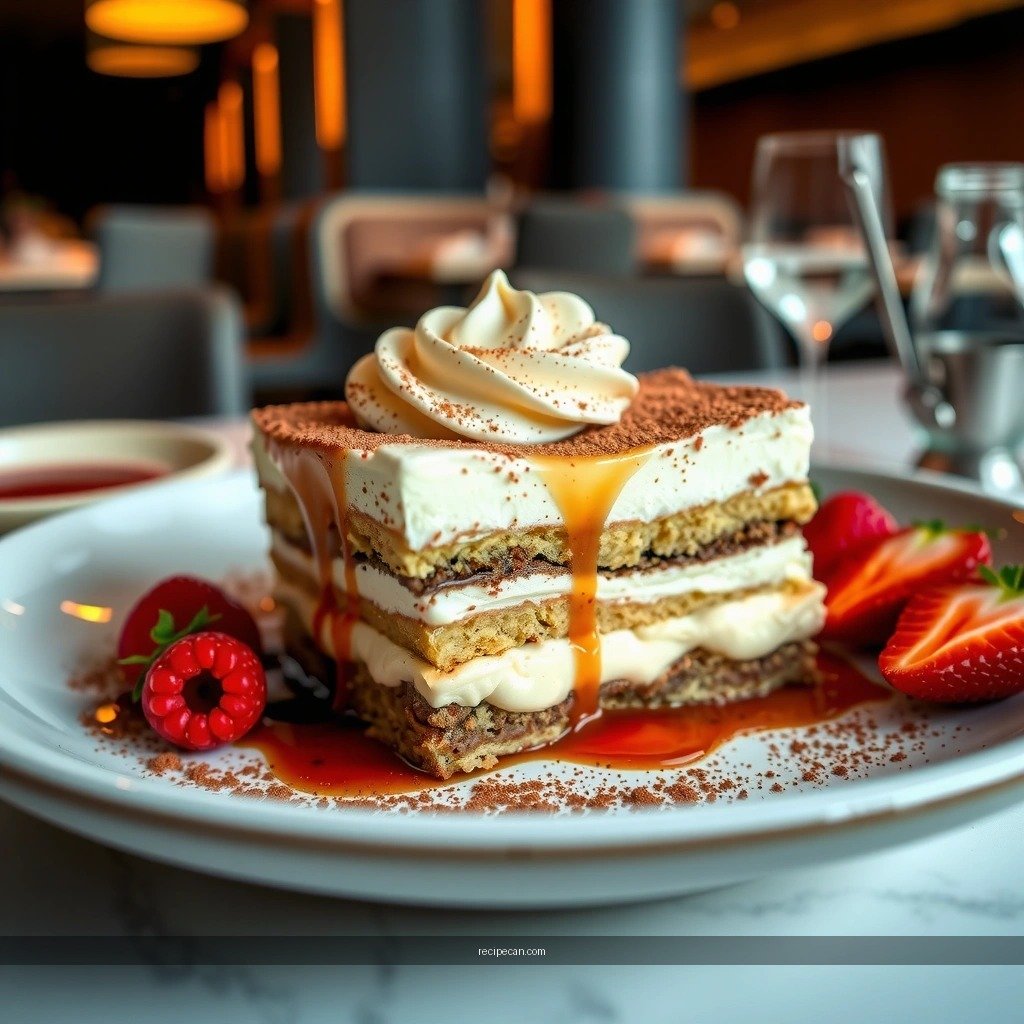
For the best tiramisu cake recipe, your filling should be thick, smooth, and spoonable—not runny and not grainy.
– Whip mascarpone smoothly first: Mascarpone can hold lumps if you dump sugar and cream in at once. Mix it until smooth before adding whipped cream.
– Whip heavy cream to soft peaks: Soft peaks create a light mouthfeel while still supporting structure. If you whip to stiff peaks, the filling can become dense and slightly crumbly; if you under-whip, it won’t hold layers.
– Balance sweetness with careful sugar amounts: Too much sugar makes it dessert-like; too little makes espresso seem harsh. Stir sugar thoroughly so it dissolves and doesn’t leave gritty spots.
– Fold gently: Folding prevents deflating the whipped cream. Use a spatula and turn the bowl slowly, scraping the sides and bottom.
Optional flavor additions:
– Vanilla: Add after sugar dissolves and before combining with whipped cream.
– Pinch of salt: A tiny pinch sharpens flavor and improves the coffee–cocoa contrast (especially if your cocoa is mild).
Texture indicators to look for:
– When lifted with a spoon, the filling should form soft ridges that settle slowly.
– After assembly, the top should look smooth and cohesive, not glossy or watery.
– If the filling looks loose, chill it 10–15 minutes before assembling to firm it slightly.
Analytical perspective: classic tiramisu relies on fat-stabilized aeration. Whipping heavy cream introduces air cells, and mascarpone’s fat emulsifies to keep those cells intact. Gentle folding protects that aeration, which is why the cake slices cleanly after chilling.
Assemble Layers for Clean, Sliceable Tiramisu Cake
Assembly is where taste becomes structure. The goal is even coverage, controlled moisture, and an attractive finish that holds after chilling.
– Layer ladyfingers and filling evenly: Don’t crowd or leave large gaps. Consistency in layer thickness prevents uneven soaking.
– Spread filling to the edges: This prevents dry spots at the perimeter where ladyfingers can otherwise stay under-hydrated.
– Repeat layers and smooth the top: A final smoothing pass makes the cake visually professional and helps cocoa dusting sit evenly.
Best-practice assembly approach:
1. Line your pan (or use a dish with minimal gaps).
2. Dip ladyfingers briefly in cooled espresso.
3. Arrange in a single tight layer, covering the base without overlapping excessively.
4. Spoon filling across the layer, then spread to the edges with an offset spatula.
5. Repeat for the second layer.
6. Finish with a smooth, level top.
Pan and slicing considerations:
– For clean, sliceable tiramisu, a snug pan helps. A loose-fitting dish encourages uneven compression, which can cause messy edges when sliced.
– If you’re planning to cut squares, an even layer height is more important than exact ingredient quantities—because it determines how the cake compresses in the fridge.
A common misconception:
– “More filling makes it creamier.” True, but too much filling relative to ladyfingers can create a cake that’s harder to slice and can feel heavy. Aim for proportionate layers: enough cream to hydrate and cushion, not so much that ladyfingers vanish into a cream block.
Chill Time and Serving Tips
Chilling isn’t optional—it’s the stage where tiramisu cake transforms from assembled layers into a cohesive dessert.
– Chill at least 4–6 hours: This sets the filling and lets coffee absorption stabilize.
– Overnight is even better: Overnight improves flavor integration and gives ladyfingers time to reach the ideal tenderness.
– Dust cocoa right before serving: Cocoa absorbs moisture over time and can look muddy if left on too long. A fresh dust keeps the signature look.
Serving mechanics for neat slices:
– Slice with a warm knife: Run the blade under hot water, wipe, then cut. Warmth reduces drag through the mascarpone and keeps edges clean.
– Wipe between cuts: Tiramisu is creamy and will smear if the knife collects filling and cocoa.
– Let slices sit 5 minutes: Slight tempering improves mouthfeel without breaking structure.
Quality control checklist before serving:
– Top should be smooth with defined edges.
– When you cut, you should see distinct layers—espresso-touched ladyfingers plus creamy mascarpone.
– The cake should jiggle slightly like a set custard, not collapse like a wet pudding.
Common Mistakes to Avoid
Even with great ingredients, small missteps can compromise texture and flavor. Here are the most frequent issues—and what to do instead.
– Over-soaking ladyfingers (leads to mushy cake)
– Fix: Dip quickly (1–2 seconds per side), use cooled espresso, and assemble promptly.
– Undersoft or over-whipped cream (affects texture)
– Fix: Stop at soft peaks. If you’ve over-whipped, you may need to gently fold in a spoonful of fresh mascarpone to rebalance.
– Not chilling long enough (layers won’t hold)
– Fix: Minimum 4–6 hours; overnight for best slice stability and flavor depth.
– Using weak coffee (under-flavored layers)
– Fix: Brew strong espresso or double-strength drip; taste before soaking.
– Adding warm coffee to mascarpone
– Fix: Cool espresso first. Temperature affects fat stability and can turn filling runny.
A quick “diagnose your cake” guide:
– If it’s too wet: you likely soaked too long or chilled too briefly.
– If it’s too dry: espresso may be too mild, soaking too brief, or chilling too short.
– If it’s grainy: sugar may not have dissolved, or mascarpone wasn’t mixed smoothly before folding.
The best tiramisu cake recipe is all about balanced espresso soaking, a properly whipped mascarpone filling, and generous chilling time. Follow the steps above, assemble with care, and chill overnight for maximum flavor—then slice, dust with cocoa, and serve. Try it once exactly as written, and you’ll have a go-to tiramisu cake you can repeat anytime.
Frequently Asked Questions
What is the best tiramisu cake recipe for beginners?
The best tiramisu cake recipe for beginners uses a simple sponge layer (store-bought ladyfingers or a quick vanilla sponge) plus a no-fuss mascarpone cream. Choose a recipe that uses instant coffee or espresso powder for consistent flavor and skips complicated custard steps. For stability, whip mascarpone just until smooth and fold gently so your tiramisu cake holds its shape when sliced.
How do you make a tiramisu cake that doesn’t get soggy?
To prevent sogginess in tiramisu cake, avoid soaking the cake or ladyfingers too long—lightly brush or dip only briefly. Use strong coffee (slightly cooled) and let each layer sit for a few minutes before adding the mascarpone cream. For extra structure, chill the cake for several hours (or overnight) so the layers set without turning watery.
Which coffee should you use for the best flavor in tiramisu cake?
For the best flavor, use espresso or strong brewed coffee and sweeten lightly so the bitterness balances the mascarpone. Instant espresso powder can also work well and is often the easiest option for consistent results. Make sure the coffee is cool before assembling, since hot coffee can soften the layers too quickly.
Why does your tiramisu cake taste too bitter or not sweet enough?
Bitterness usually comes from using overly strong coffee, skipping sweetening, or leaving the coffee too hot when it hits the sponge. Not-sweet-enough tiramisu cake often means the mascarpone mixture needs more sugar or you used coffee that’s naturally very bold without balancing. Taste the mascarpone cream before layering and adjust with sugar or a splash of vanilla to get a balanced, classic tiramisu profile.
Best way to assemble and layer a tiramisu cake for clean slices?
For clean slices, use a springform pan or a lined cake pan and spread each mascarpone layer evenly with an offset spatula. Chill between steps—especially after the final layer—so the tiramisu cake firms up before cutting. When slicing, wipe the knife clean between cuts and serve slightly chilled for the best texture and presentation.
References
- Tiramisu
https://en.wikipedia.org/wiki/Tiramisu - Mascarpone
https://en.wikipedia.org/wiki/Mascarpone - https://en.wikipedia.org/wiki/Ladyfinger_(biscuit
https://en.wikipedia.org/wiki/Ladyfinger_(biscuit - Ladyfingers (biscuits)
https://en.wikipedia.org/wiki/Savoiardi - https://en.wikipedia.org/wiki/Tempering_(cooking
https://en.wikipedia.org/wiki/Tempering_(cooking - Espresso
https://en.wikipedia.org/wiki/Espresso - List of liqueur brands
https://en.wikipedia.org/wiki/Coffee_liqueur - Google Scholar Google Scholar
https://scholar.google.com/scholar?q=best+tiramisu+recipe - Google Scholar Google Scholar
https://scholar.google.com/scholar?q=tiramisu+recipe+mascarpone+eggs+coffee - Google Scholar Google Scholar
https://scholar.google.com/scholar?q=tiramisu+ladyfingers+savoiardi+technique