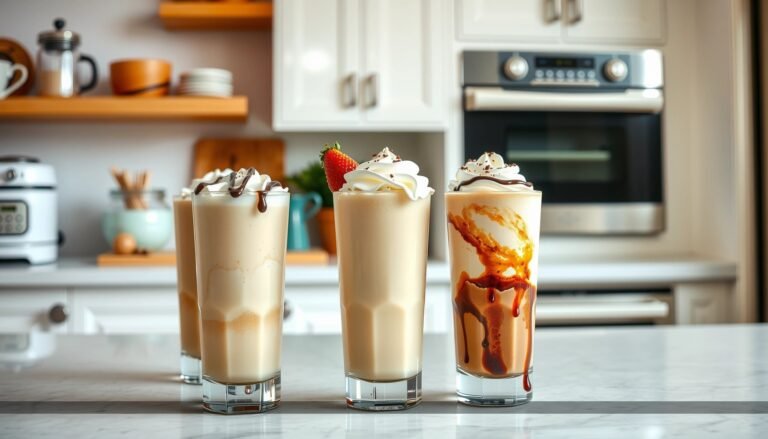
If you’re searching for the best milkshake recipes to make at home, these easy, creamy favorites deliver the clear winner: classic vanilla made with real ice cream for the thickest texture and most reliable flavor. You’ll get a tight lineup of go-to variations—chocolate, strawberry, and salted caramel—so you can match the recipe to your mood without fuss. By the end, you’ll know exactly which milkshake to make first and why it tastes like a shop-style treat.
The best milkshake recipes are straightforward: start with high-quality ice cream, use cold milk, and blend only long enough to achieve a thick, smooth texture. This guide breaks down classic and creative milkshake combinations, plus practical thickness tips so your homemade milkshakes consistently taste “restaurant-style” instead of icy or watery.
If you’ve ever wondered why one milkshake comes out silky while another turns runny, the answer is process (and temperature) as much as flavor. Milkshakes are essentially an ice-and-fat emulsion—blend too aggressively or with the wrong ratio, and the mix warms and melts. Blend too briefly, and you end up with a coarse texture. The recipes below are designed to help you control that balance reliably at home.
Milkshake Base Ratios for Thick Texture (1 Serving)
| # | Milkshake Style | Ice Cream | Cold Milk | Blend Time | Creaminess |
|---|---|---|---|---|---|
| 1 | Classic Vanilla | 2 cups | 1/3 cup | 20–25 sec | ★★★★★ |
| 2 | Chocolate | 2 cups | 1/4–1/3 cup | 18–23 sec | ★★★★☆ |
| 3 | Strawberry | 2 cups | 1/3 cup | 20–28 sec | ★★★★☆ |
| 4 | Cookies & Cream | 1 3/4 cups | 1/4 cup | 18–22 sec | ★★★★☆ |
| 5 | Peanut Butter | 2 cups | 1/4–1/3 cup | 20–25 sec | ★★★★★ |
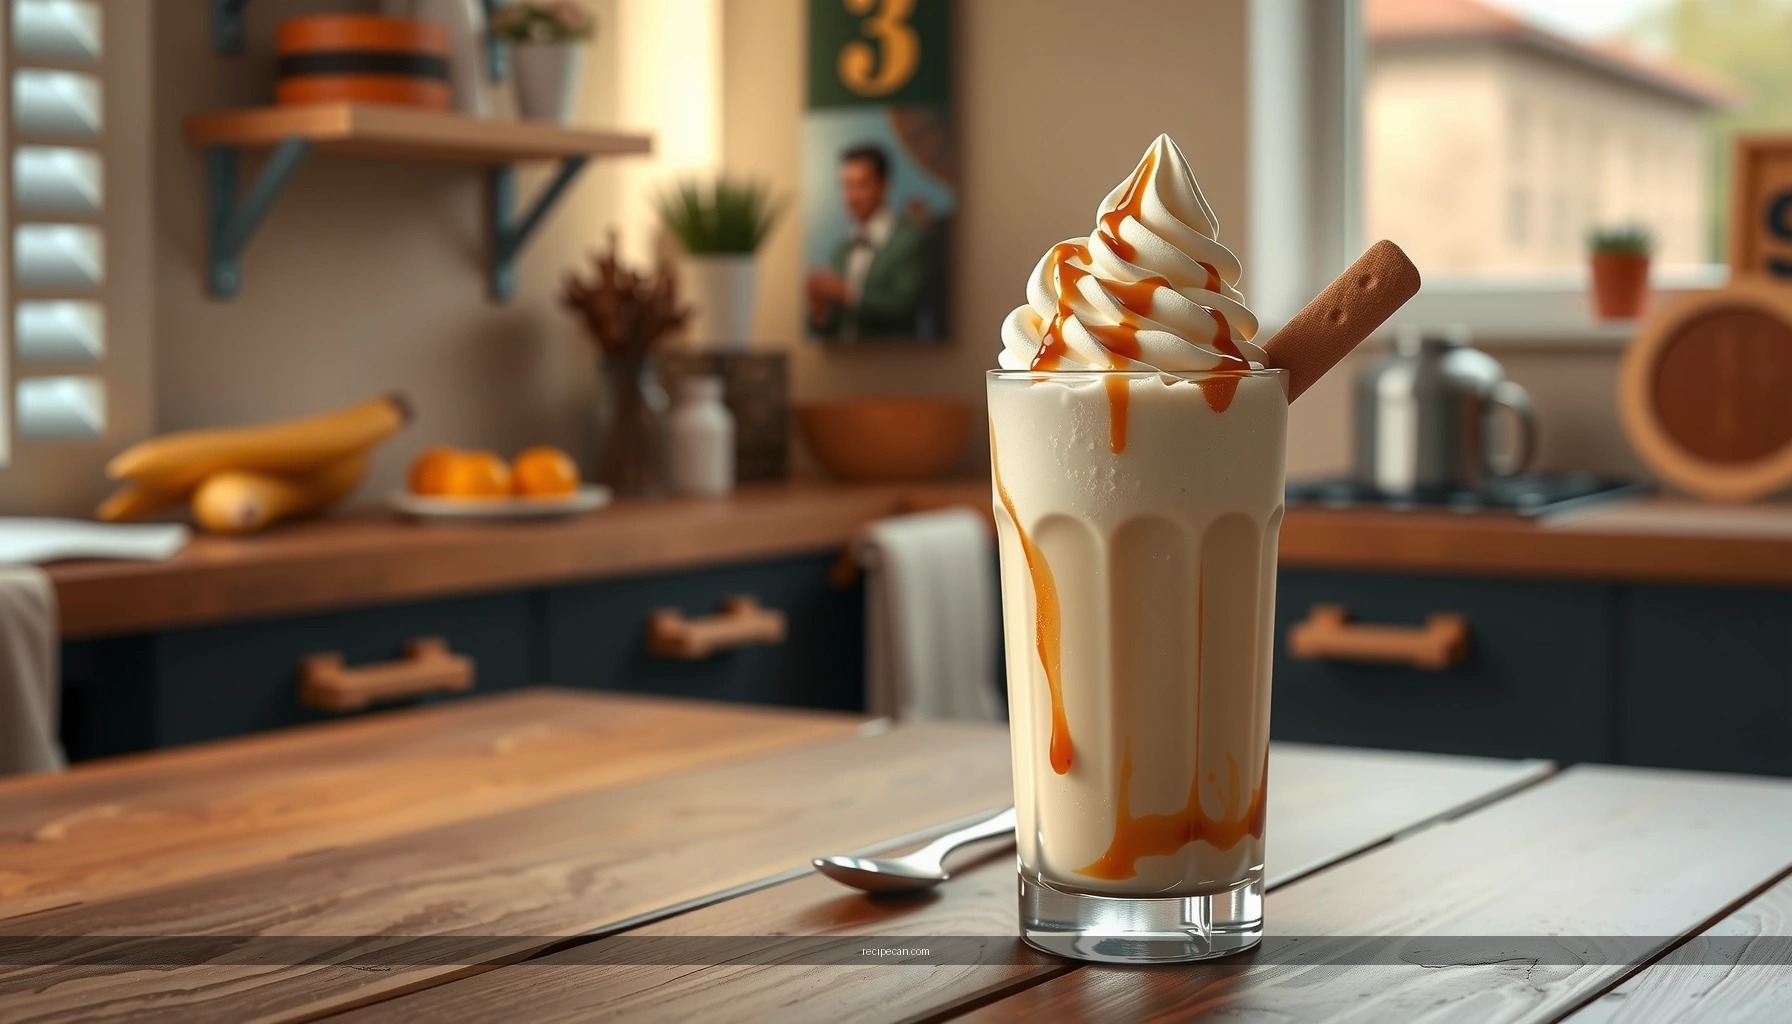
| 6 | Salted Caramel (Classic Variation) | 2 cups | 1/3 cup | 18–22 sec | ★★★★☆ |
| 7 | Mint Chocolate Chip (Seasonal Favorite) | 2 cups | 1/4 cup | 18–24 sec | ★★★★☆ |
Classic Vanilla Milkshake

– Use vanilla ice cream and cold milk for a creamy, classic base
– Blend until smooth, then taste and adjust sweetness
A vanilla milkshake is the benchmark: if you can make this one thick and smooth, you’ll have a reliable method for almost every other flavor. For the best results, use real vanilla ice cream (or a high-quality “premium” vanilla) and keep your milk very cold. Cold milk slows melting, which helps you maintain a stable texture.
How to make it (and why it works):
1. Pre-chill your glass (optional but effective). A colder glass reduces early melt.
2. Add 2 cups vanilla ice cream to the blender, then pour in 1/3 cup cold milk.
3. Start blending on low to medium for about 10 seconds, then increase to medium-high until smooth (20–25 seconds total for a thick result).
4. Taste before adding sweetness. Premium vanilla often needs no extra sugar. If you want it sweeter, add 1–2 teaspoons of vanilla syrup or sugar and blend for 5–8 seconds more.
Texture control: If the milkshake is too thick, add milk one tablespoon at a time. If it’s too thin, the fix is usually to add a few spoonfuls of ice cream, not more milk. That’s because fat content is what gives milkshakes their luxurious mouthfeel.
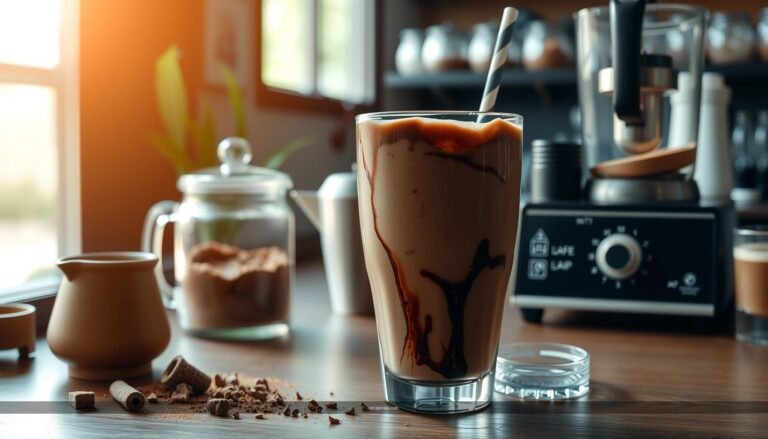
Chocolate Milkshake Recipes

– Combine chocolate ice cream with chocolate syrup or cocoa
– Finish with whipped cream and a sprinkle of cocoa for extra richness
Chocolate milkshakes tend to turn out either “dessert-like” or “muddled,” depending on how you layer flavor. The key is combining chocolate base (ice cream) with chocolate intensity (syrup or cocoa) and then balancing sweetness so the final drink tastes round, not sharp.
A practical approach for richness:
– Start with chocolate ice cream as your base.
– Add either:
– Chocolate syrup (for a glossy, classic flavor), or
– Unsweetened cocoa powder plus a touch of sweetener (for a deeper, less syrupy profile).
– Blend briefly and let the cocoa hydrate just enough to dissolve without over-melting the ice cream.
Serving formula (easy):
1. Add 2 cups chocolate ice cream and 1/4–1/3 cup cold milk.
2. Add 1–2 tablespoons chocolate syrup (or 1 tablespoon cocoa powder with 1–2 teaspoons sugar).
3. Blend until smooth (about 18–23 seconds).
4. Top with whipped cream and a light dusting of cocoa.
Business-style takeaway: When you standardize base ratios and blend time, chocolate milkshakes become consistent across batches—important if you’re making them for events, teams, or frequent tastings.
Strawberry Milkshake Recipes

– Use strawberry ice cream or fresh/frozen strawberries for real flavor
– Blend in stages so it stays thick instead of watery
Strawberry milkshakes are all about managing water content. Fresh and frozen strawberries contain moisture that can thin the shake as it warms. That’s why “blend longer” often backfires. Instead, use staged blending to build a smooth texture while keeping the mixture cold.
Two strong options:
Option A: Strawberry ice cream first (most consistent):
– Blend 2 cups strawberry ice cream with about 1/3 cup cold milk until smooth.
– Taste and, if needed, add a small amount of strawberry syrup or honey.
Option B: Real strawberries for maximum fruit flavor:
1. Blend strawberries lightly first to break them down (e.g., 1 cup frozen strawberries with 2–4 tablespoons milk, short blend 10–12 seconds).
2. Add 2 cups strawberry ice cream and blend again until thick (about 20–28 seconds total, depending on your blender).
Why staged blending works: It prevents fruit juices from dispersing too early and flooding the emulsion. The result is a thicker, more “ice-cream forward” strawberry milkshake rather than a bright but watery drink.
Quality tip: For the most “real fruit” taste, choose strawberries that are not overly sweetened. If your strawberries are very sweet, reduce added sugar to keep the finish balanced.
Cookies & Cream Milkshake

– Crush cookies lightly and fold them in after blending
– Add a small splash of milk if needed to reach your ideal thickness
Cookies & cream is one of the easiest ways to create a “fancy” milkshake at home—because contrast (creaminess + cookie crunch) is built into the concept. The main technical challenge is preventing cookie crumbs from turning the drink into a gritty texture.
Best practice: blend the base, then add cookies.
Cookies are fragile solids. If you blend them aggressively, you’ll grind them too finely and alter mouthfeel. Instead:
1. Blend the ice cream and milk first until perfectly smooth.
2. Crush cookies lightly (leave some chunks).
3. Fold them in gently so you keep both crumble and bite.
Actionable method:
– Use 1 3/4 cups cookies & cream ice cream (or vanilla ice cream + crushed cookie pieces).
– Add 1/4 cup cold milk.
– Blend until creamy (18–22 seconds).
– Fold in crushed cookies (start with 1/2 cup, adjust to taste).
– If needed, add milk one tablespoon at a time to reach your target thickness.
Topping strategy: Finish with whipped cream and a few cookie chunks on top. This improves perceived “freshness” and makes the shake look better in photos—useful if you’re serving guests.
Peanut Butter Milkshake
– Blend peanut butter with vanilla ice cream for a balanced flavor
– Top with chocolate drizzle or chopped peanuts for crunch
Peanut butter milkshakes deliver that classic salty-sweet flavor profile. But peanut butter can behave differently depending on texture and whether it’s natural or processed. Natural peanut butter may separate; processed peanut butter blends more uniformly.
Balanced flavor blueprint:
– The most consistent approach is peanut butter + vanilla ice cream. Vanilla gives peanut butter a stable, aromatic backdrop.
– Add a small amount of salt if your peanut butter is unsalted; it enhances the nutty flavor without tasting “salty.”
Simple build:
1. Add 2 cups vanilla ice cream to the blender.
2. Add 2–4 tablespoons peanut butter, depending on how bold you want it.
3. Add 1/4–1/3 cup cold milk.
4. Blend until smooth (about 20–25 seconds).
5. Top with chocolate drizzle and chopped peanuts (or peanut butter crumbs).
Flavor refinement: Consider a pinch of cinnamon or a drizzle of chocolate sauce for a “Reese-style” profile. Blend cinnamon briefly with the base so it doesn’t clump.
Common Milkshake Mistakes and What to Do Instead
| # | Mistake | Likely Result | Fix | Impact |
|---|---|---|---|---|
| 1 | Adding warm milk | Thin texture, melted ice cream | Use milk straight from the fridge | High |
| 2 | Blending too long | Foamy and watery mouthfeel | Blend until smooth, stop early | High |
| 3 | Over-sweetening fruit shakes | Flat flavor, cloying finish | Taste first; add sugar in small steps | Medium |
| 4 | Blending cookies aggressively | Gritty texture, lost crunch | Fold cookies in after blending | Medium |
| 5 | Skipping pre-chill step | Faster melt after serving | Chill glass; work quickly | Medium |
| 6 | Using too much milk upfront | Runny shake you can’t fix | Start small; add gradually | High |
| 7 | Not tasting during mixing | Balance issues (too sweet or bland) | Taste after first smooth blend | Low |
Tips for the Perfect Thick Milkshake
– Keep ingredients very cold and blend just long enough for smoothness
– Start with less milk, then add gradually to control thickness
Thickness isn’t luck—it’s control. The ideal thick milkshake forms when ice cream starts melting just enough to combine, while the blender’s friction hasn’t warmed the mixture beyond a creamy emulsified state.
1) Keep everything cold, especially the milk and bowl:
Cold ingredients reduce melt time and help you maintain the thick consistency people associate with premium milkshakes. If your kitchen is warm, consider freezing your blender jar (empty) for 5–10 minutes before blending.
2) Blend in short, purposeful bursts:
For most classic milkshakes, blending longer than needed creates foam and loosens the texture. Aim for about 18–28 seconds total, depending on ingredients and blender power. If your mixture isn’t smooth at 15–18 seconds, stop and scrape down the sides rather than continuing indefinitely.
3) Start with less milk and adjust incrementally:
A simple rule: add milk one tablespoon at a time when you want the shake thinner. This gives you fine-grained control. If you overshoot, the only reliable correction is adding ice cream to restore fat and body.
4) Match the thickness strategy to the flavor:
– Fruit-based shakes (like strawberry) often need staged blending to avoid watery results.
– Cookie-based shakes work best with folding (not blending) to preserve texture.
– Chocolate shakes can thicken faster if cocoa is used—hydrate briefly without overheating.
5) Serve immediately for the best “thick” window:
Even perfect milkshakes begin to soften as they sit. If you’re serving for guests, have glasses ready, toppings portioned, and do the final blend right before serving.
The best milkshake recipes come down to ingredient quality and consistent blending—choose your favorite flavors, follow the thickness tips, and customize toppings to match your taste. Pick one recipe to try today, then experiment with your next favorite mix-in for a quick homemade treat.
References
- Google Scholar Google Scholar
https://scholar.google.com/scholar?q=best+milkshake+recipes - Google Scholar Google Scholar
https://scholar.google.com/scholar?q=milkshake+formulation+stabilization+emulsion - Google Scholar Google Scholar
https://scholar.google.com/scholar?q=milkshake+sensory+evaluation+ice+cream - Milkshake
https://en.wikipedia.org/wiki/Milkshake - https://www.britannica.com/topic/milkshake
https://www.britannica.com/topic/milkshake - https://pubmed.ncbi.nlm.nih.gov/?term=milkshake
https://pubmed.ncbi.nlm.nih.gov/?term=milkshake - Checking your browser – reCAPTCHA
https://www.ncbi.nlm.nih.gov/pmc/?term=milkshake - Guideline: sugars intake for adults and children
https://www.who.int/publications/i/item/9789241549028 - https://www.fda.gov/food/nutrition-education-resources-materials/added-sugars-and-sweeteners
https://www.fda.gov/food/nutrition-education-resources-materials/added-sugars-and-sweeteners - best milkshake recipes – Search results
https://en.wikipedia.org/wiki/Special:Search?search=best+milkshake+recipes