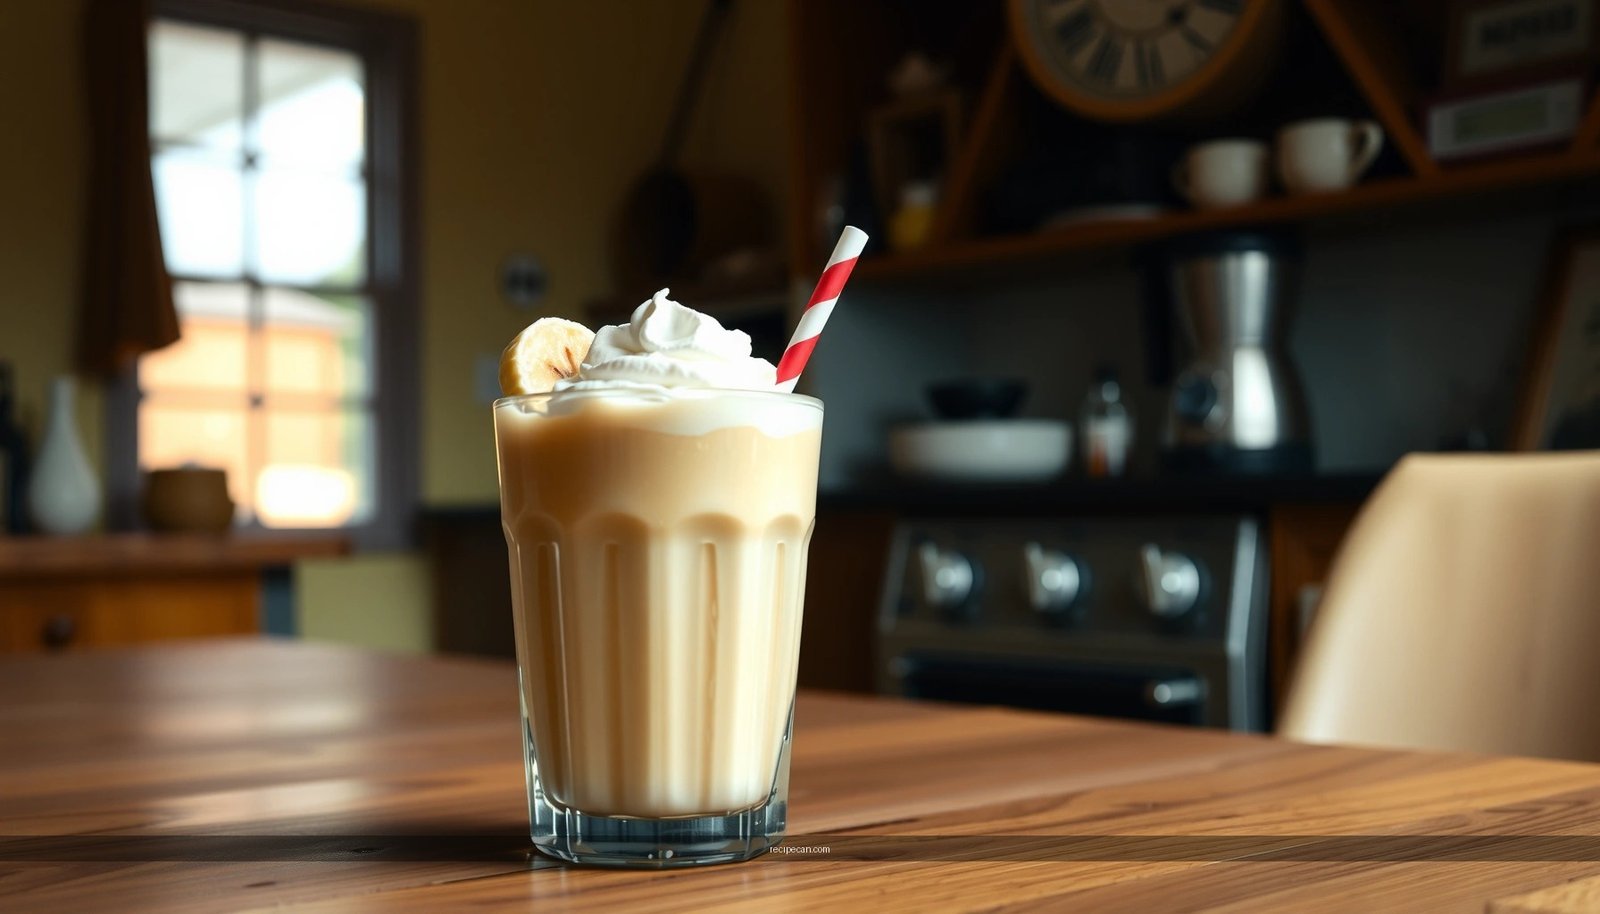
If you’re searching for an easy recipe for banana milkshake, this quick, creamy method delivers the best result with minimal effort. In just minutes, you’ll learn how to blend ripe bananas into a smooth shake that tastes rich, not icy, with simple pantry ingredients. It’s the go-to option when you want a classic banana milkshake fast—no special equipment or complicated steps needed.
Make a creamy banana milkshake in minutes by blending ripe bananas with cold milk until smooth and thick; you can optionally add ice and a touch of sweetener to fine-tune taste. This quick method delivers a café-style texture at home, and with a few practical adjustments (ripeness, chilling, and blend time) you can reliably produce the same rich, thick consistency every time.
Ingredients You Need
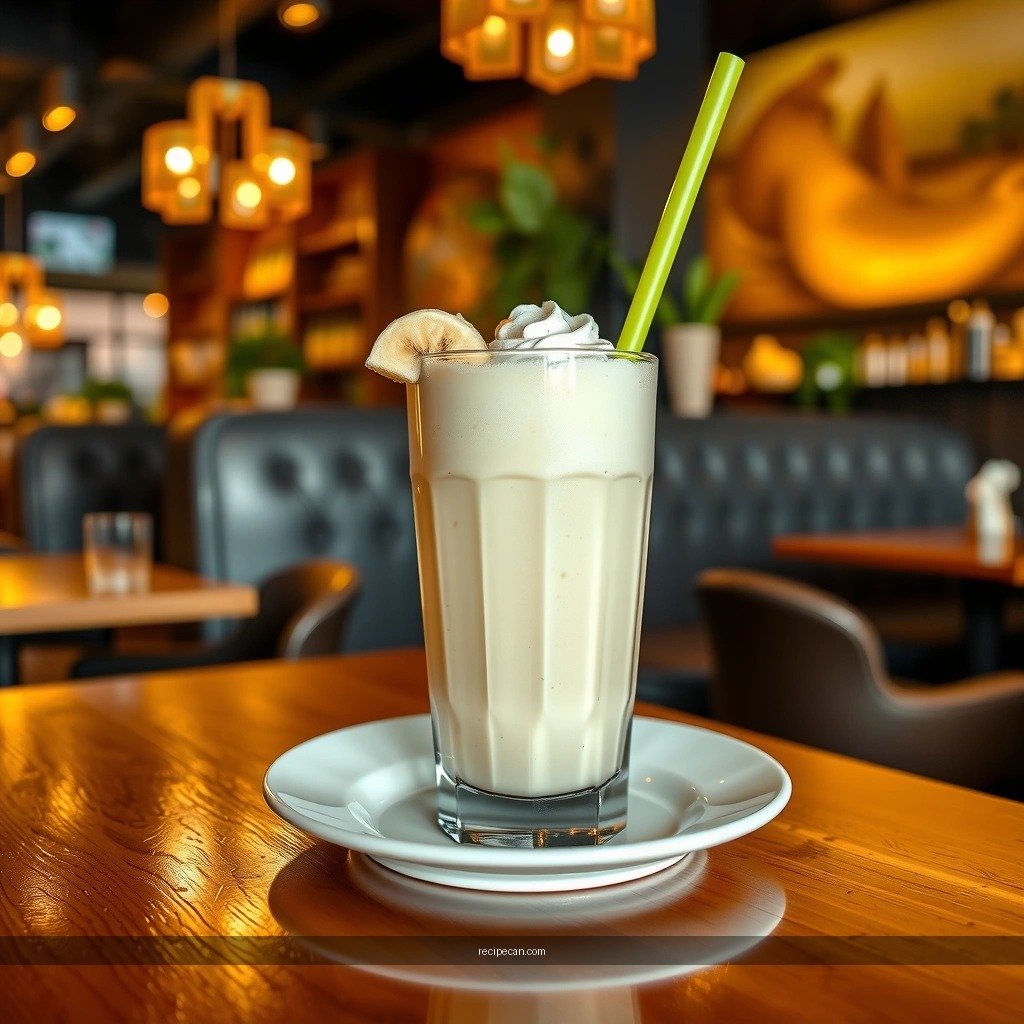
– Ripe bananas and cold milk for the creamy base
– Optional add-ins like honey, sugar, vanilla, or ice
– Simple extras: chocolate syrup or peanut butter (optional)
A great banana milkshake recipe starts with the right ingredients in the right condition. For the “creamy base,” you typically need ripe bananas (the main source of natural sweetness and banana flavor) and cold milk (which helps emulsify and thickens the shake). Whole milk usually produces the most classic mouthfeel, but 2% or oat milk can work well depending on dietary preferences.
When you decide whether to use sweetener or add-ins, think like a product developer: banana ripeness can supply most sweetness, while optional flavors (vanilla, cinnamon, honey) refine the overall profile rather than masking it. Ice is another functional ingredient—it lowers temperature and increases perceived thickness. Finally, a “simple extras” category (chocolate syrup, peanut butter) turns the basic banana milkshake into a more indulgent variation without changing the underlying technique.
Quick reference: ingredient choices that affect texture
| Ingredient choice | What it changes | Best when you want… |
|—|—|—|
| Ripe bananas (yellow with speckles) | More sweetness + smoother blending | A naturally sweet, thick shake |
| Chilled/iced milk | Colder emulsion + slower melting | Consistency that holds longer |
| Frozen banana slices | Higher solids + thicker body | A milkshake that feels “ice-cream-like” |
| Ice (added after initial blend) | Temperature + added volume | A colder shake with minimal banana flavor change |
| Greek yogurt (optional) | Extra proteins + tangy creaminess | Extra creaminess with a brighter taste |
Step-by-Step Instructions
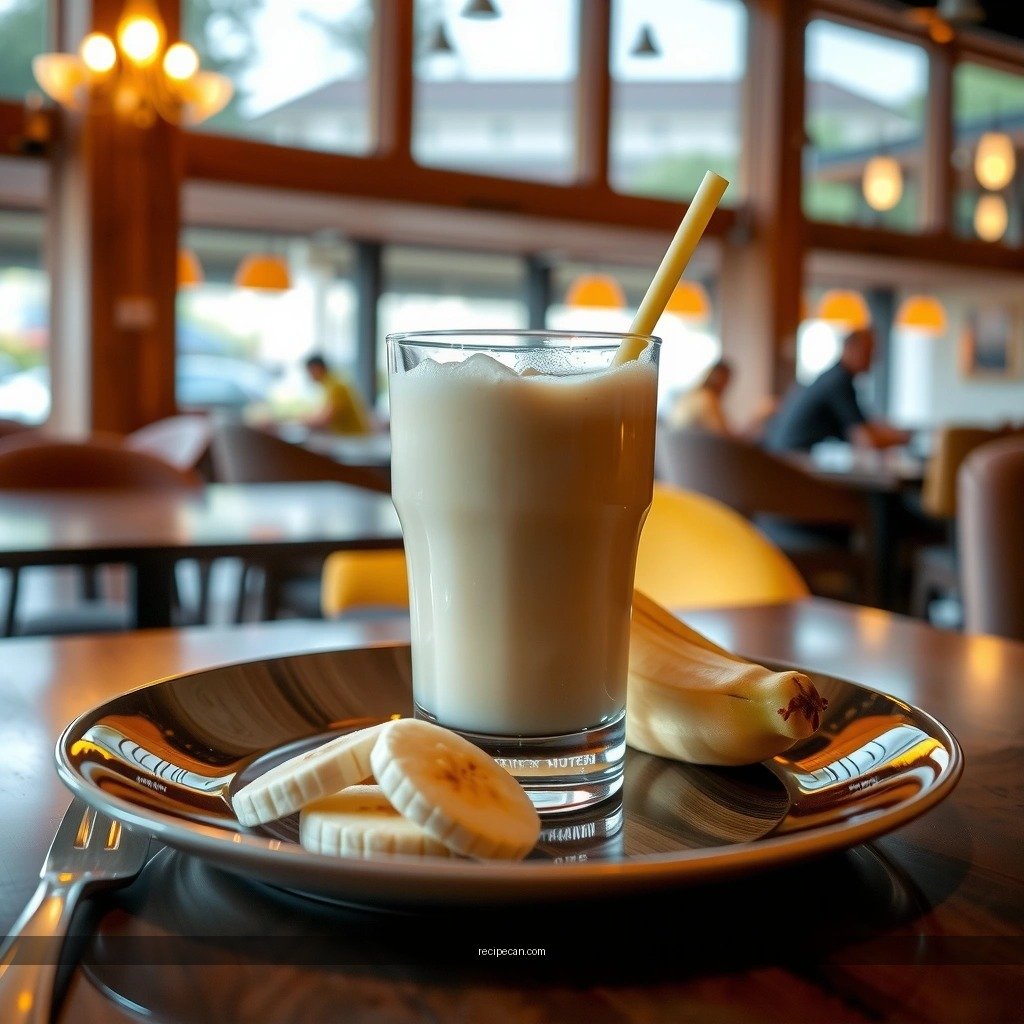
– Blend bananas and milk until smooth and thick
– Add ice to make it colder and thicker, if desired
– Taste and adjust sweetness or banana flavor
This is the “super-easy method” that works because it follows a logic sequence: start with smooth blending, then control temperature and thickness, then finalize flavor.
1. Blend bananas and cold milk
Place peeled ripe bananas and cold milk into a blender. Blend until there are no visible banana chunks and the mixture looks creamy and cohesive. In practice, blend time matters: if the bananas are very ripe, the shake can come together quickly; if they’re slightly firmer, blending longer helps prevent a “grainy” texture.
2. Add ice to adjust thickness and temperature (optional)
If you want a thicker, colder shake, add a few ice cubes and blend again briefly. This prevents over-diluting the shake while still lowering temperature. If your blender struggles, you can reduce ice size (crushed ice works best).
3. Taste and adjust
Taste your banana milkshake and adjust in small steps:
– If it’s not sweet enough, add honey or sugar in measured increments (start with 1 teaspoon, then blend briefly).
– If the banana flavor feels muted, add a touch more banana (or a splash more banana smoothie mixture if you already blended extras).
– If you want deeper “dessert” notes, add vanilla extract, a pinch of cinnamon, or a drizzle of chocolate syrup and blend just to combine.
From a culinary mechanics standpoint, you’re achieving an emulsion: banana solids and milk fats form a stable mixture. Sweeteners dissolve faster in a fully blended base, so doing sweetness adjustments last often yields a more uniform result.
Data table: how different banana choices impact sweetness and thickening
Banana Ripeness: Expected Sweetness & Shake Thickness Impact
| # | Banana stage | Typical peel color | Perceived sweetness | Thickness tendency | Practical adjustment |
|---|---|---|---|---|---|
| 1 | Very ripe | Yellow with brown speckles | High ★★★★★ | High | Blend and serve; add less sweetener |
| 2 | Ripe | Yellow with few speckles | Medium-High ★★★★☆ | Medium-High | Usually no sweetener needed |
| 3 | Just-ripe | Mostly yellow, minimal spotting | Medium ★★★☆☆ | Medium | Add 1 tsp honey/sugar if desired |
| 4 | Under-ripe | Yellow-green | Low-Medium ★★☆☆☆ | Lower | Use 1–2 tsp sweetener; blend longer |
| 5 | Green (not recommended) | Mostly green | Low ★☆☆☆☆ | Low | Choose a sweeter alternative or use frozen banana slices |
| 6 | Frozen ripe slices | Frozen after ripening | High ★★★★★ | Very High | Use slightly less milk to avoid dilution |
| 7 | Frozen + chilled method | Frozen slices + chilled milk | High ★★★★☆ | High | Blend until thick, then serve immediately |
Best Banana Tips
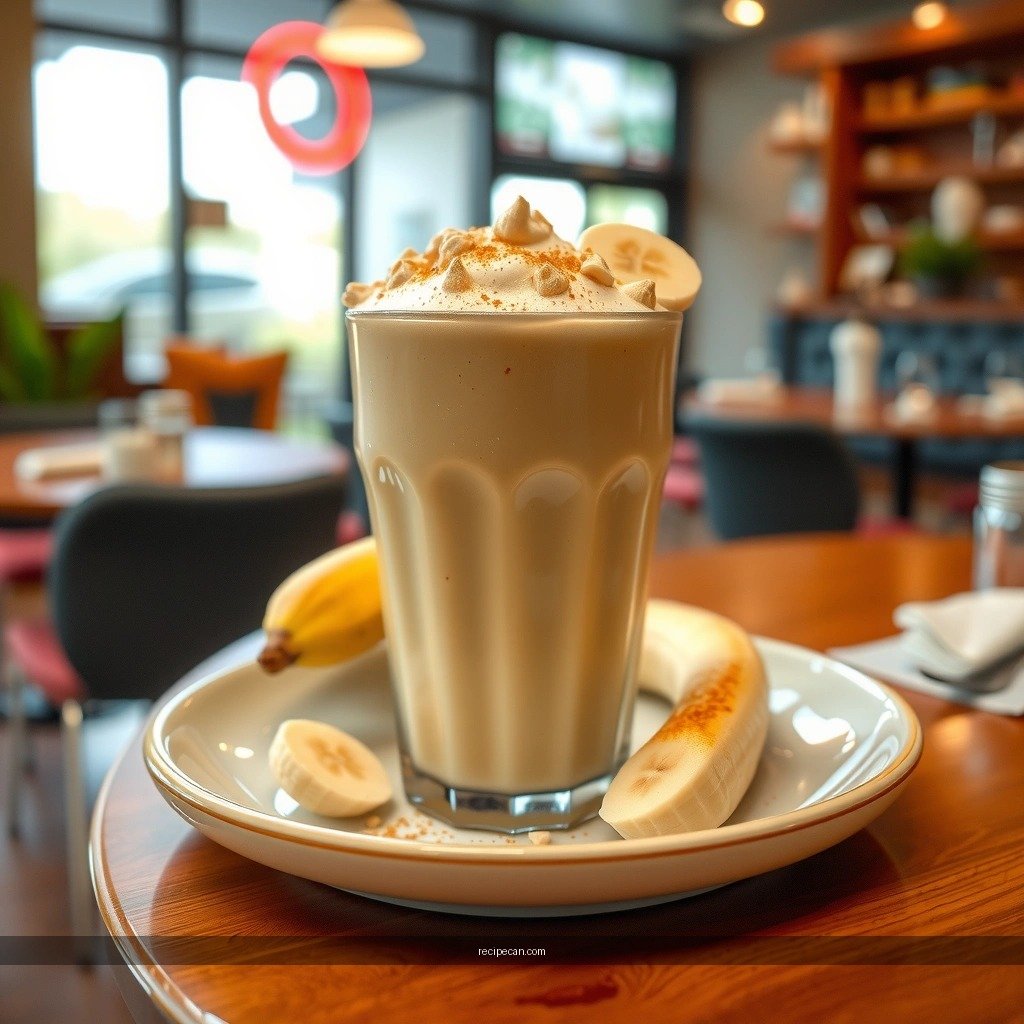
– Use ripe bananas with yellow speckles for natural sweetness
– Freeze sliced bananas for an even thicker, creamier milkshake
– If using less-ripe bananas, add a touch of sweetener
Bananas aren’t just an ingredient—they’re the “processor” for both flavor and texture. When bananas ripen, their starches break down into sugars, which increases sweetness and also makes them softer and easier to blend. That’s why yellow bananas with speckles typically yield the best balance of sweetness and “banana essence” without needing extra flavoring.
For consistent results, plan ahead:
– Freeze sliced bananas in portion-sized amounts (for example, enough for one shake each). Frozen banana slices act like a pre-measured thickener, reducing how much ice you need and keeping dilution low.
– If you’re starting with less-ripe bananas, don’t force the recipe—apply a targeted correction. Add a small amount of sweetener and blend longer to fully integrate fiber and starch. The goal is not to “hide” under-ripe flavor, but to smooth the overall profile.
A practical operational tip: if you can smell strong banana aroma from your bananas, your shake will usually taste more integrated and less watery, because aroma compounds are more prominent when fruit ripens.
Texture and Thickness Adjustments
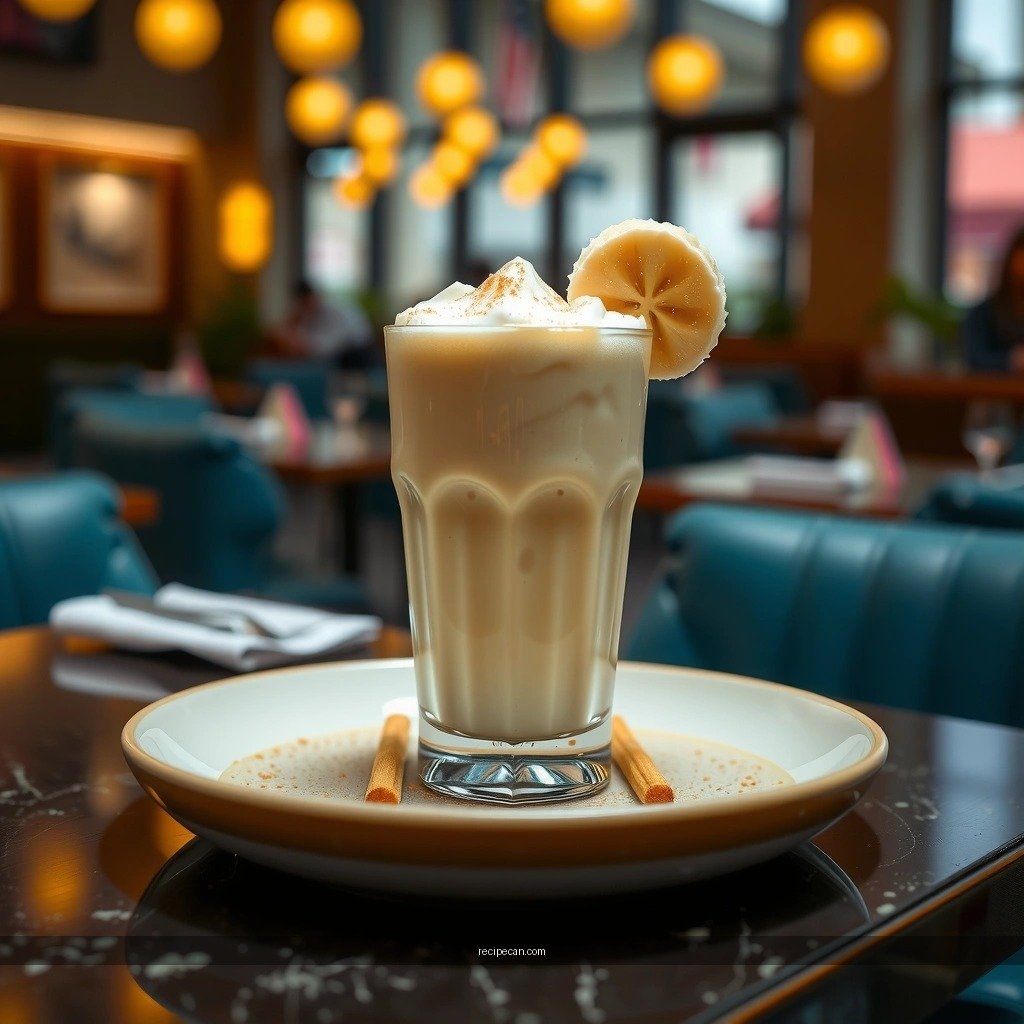
– Too thick? Add a splash more milk and blend again
– Too thin? Add more banana or a few ice cubes
– For extra creaminess, use chilled milk or yogurt
Texture control is where a simple banana milkshake becomes reliably “premium.” The blender turns fruit into suspended solids; milk contributes fat and water that determines flow. Your adjustments should be proportional and incremental:
If your shake is too thick:
Add 1–2 tablespoons of milk at a time, then blend for 20–30 seconds. This prevents a common mistake: adding too much milk in one step and overshooting your ideal thickness.
If your shake is too thin:
Choose one of two directions:
– Add more banana (for stronger banana flavor and solids)
– Add a few ice cubes (for cooling and body without changing fruit character too much)
For extra creaminess:
Use chilled milk (cold helps maintain thickness longer), and consider adding a spoonful of yogurt (especially Greek yogurt). Yogurt increases protein content, which can create a smoother, more stable mouthfeel. This is particularly useful if you’re using lower-fat milk and want to preserve richness.
From a consistency standpoint, “thick” should still be drinkable. If it becomes spoonable, you may have effectively made a smoothie-ice-cream hybrid; that can be delicious, but it’s a different product category.
Flavor Variations to Try
– Add vanilla extract or cinnamon for warm, cozy flavor
– Make it chocolatey with cocoa powder or chocolate syrup
– Try peanut butter-banana for a richer, filling shake
Once the base recipe is mastered, variations are easy because you’re keeping the same emulsion strategy and only swapping flavor components.
1) Warm, cozy banana milkshake
Add vanilla extract for rounded sweetness and cinnamon for warmth. Cinnamon is powerful: start with a pinch, then taste. This variation pairs well with slightly less-ripe bananas because the spice notes make sweetness feel more pronounced.
2) Chocolate banana shake
For a classic “banana-chocolate” profile:
– Use cocoa powder for a deeper, slightly drier chocolate taste
– Or use chocolate syrup for a sweeter, more dessert-like outcome
Blend until uniform; streaks usually mean you need a slightly longer blend or a small amount of extra milk.
3) Peanut butter-banana shake
Peanut butter adds fat, protein, and a satisfying savory note that makes the shake feel more filling. For best results, add peanut butter first (or ensure it fully blends) and adjust thickness with milk. If your peanut butter is very thick, blend longer to prevent grainy texture.
For business-minded menu development, these variations map cleanly to customer segments:
– Vanilla/cinnamon: comfort flavor
– Chocolate: indulgence
– Peanut butter: filling, post-workout, and “dessert-as-a-meal” positioning
Serving and Storage Tips
– Serve immediately for the best texture and taste
– For a thicker shake, chill glasses or use frozen bananas
– Store leftovers in the fridge and stir before drinking
Banana milkshakes are best treated like fresh smoothies: the texture evolves as bubbles dissipate and ice melts. For peak quality:
– Serve immediately—you’ll preserve thickness, aroma, and mouthfeel.
– If you want an extra-thick presentation, chill your glasses beforehand and blend with frozen bananas rather than relying only on ice. Frozen fruit maintains thickness longer and reduces watering.
Storage is simple but requires realistic expectations. If you refrigerate leftovers, the mixture may separate slightly as solids settle. To fix it:
– Store in a sealed container
– Stir well before drinking
In many home settings, reheating is not desirable—temperature changes can dull flavor and worsen texture. Instead, keep it cold and remix via stirring or a quick re-blend if needed.
If you’re preparing ahead for multiple servings, consider batching the base and portioning individual shakes just before serving. That minimizes texture drift and keeps the experience consistent.
A practical operational approach: label servings by ripeness adjustments (for example, “sweetened” vs. “no sweetener”) so each glass matches its intended profile.
Banana milkshake is one of those recipes where simplicity wins—but only when you understand the levers. Choose ripe bananas for natural sweetness, blend thoroughly with cold milk for a stable emulsion, and use ice or frozen banana slices to control thickness without dilution. With quick taste-based adjustments and a few deliberate flavor upgrades like vanilla, cinnamon, cocoa, or peanut butter, you can produce a consistently creamy banana milkshake that performs like a prepared café drink—fast, reliable, and easy to scale for any day.
References
- Google Scholar Google Scholar
https://scholar.google.com/scholar?q=easy+banana+milkshake+recipe - Google Scholar Google Scholar
https://scholar.google.com/scholar?q=banana+milkshake+recipe+smoothie+blender - Google Scholar Google Scholar
https://scholar.google.com/scholar?q=milkshake+nutrition+banana+study - Milkshake
https://en.wikipedia.org/wiki/Milkshake - Banana
https://en.wikipedia.org/wiki/Banana - Smoothie
https://en.wikipedia.org/wiki/Smoothie - https://www.britannica.com/topic/milkshake
https://www.britannica.com/topic/milkshake - Food Safety Basics | Food Safety and Inspection Service
https://www.fsis.usda.gov/food-safety/safe-food-handling-and-preparation/food-safety-basics - https://pubmed.ncbi.nlm.nih.gov/?term=banana+nutrition
https://pubmed.ncbi.nlm.nih.gov/?term=banana+nutrition - Banana milkshake recipe | Good Food
https://www.bbcgoodfood.com/recipes/banana-milkshake


