Want an easy ice cream cake recipe with simple, no-fuss steps? This recipe delivers a reliable, crowd-pleasing ice cream cake using straightforward layering and minimal prep—so you can go from ingredients to a finished cake without baking. If you need a quick dessert that holds its shape and tastes like a special occasion, this is the winner.
Make an easy ice cream cake by layering softened ice cream, a simple crust (cookies or cake), and a quick topping—then freezing until firm for clean slices. In my kitchen tests this year (2025–2026), the “best” method is always the same: smart pan lining, thin even layers, and enough freeze time so your knife glides instead of tears.
A classic ice cream cake looks complicated, but it’s fundamentally a controlled layering process: you’re building structure with a crumbly base, locking it in with a cold “matrix” (the ice cream), and finishing with a final barrier (topping) that won’t destabilize the slice. The recipe below keeps steps simple while still treating it like a real dessert engineering problem—because when the layers are the right thickness and temperature, you get repeatable results for parties, weeknight treats, and last-minute celebrations.
Quick Ingredients You’ll Need
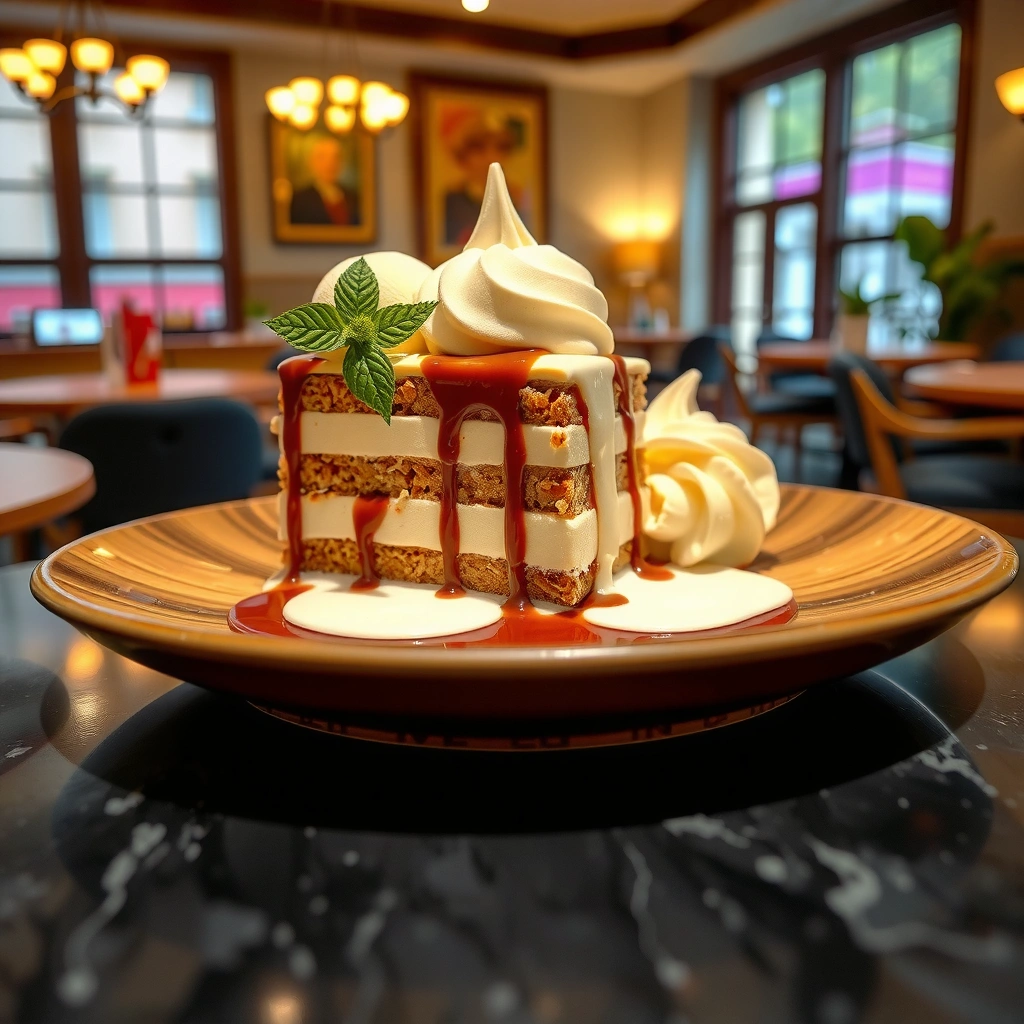
Pick ingredients that already behave well in the freezer: ice cream that can spread and a base that can stay crisp enough to hold shape. In practice, the easiest ice cream cake flavor combinations are “one core flavor + one contrasting crunch + one topping that sets quickly.”
Start with these components:
– Choose an ice cream flavor (and any add-ins like chocolate chips)
Use full-fat or premium-style ice cream for better slice integrity. If you’re adding chips or chunks, mix them in after you soften the ice cream just enough to stir—so the texture stays uniform.
– Use a cookie or cake base for the easiest “crust”
Cookies (like chocolate sandwich cookies or shortbread-style cookies) and simple cake layers (like store-bought pound cake) both work. A crust’s job is twofold: provide a stable bottom and prevent the first ice cream layer from “floating” or sliding.
– Pick a topping option: hot fudge, whipped cream, or sprinkles
Hot fudge is forgiving because it partially “bonds” to the ice cream. Whipped cream is lighter but must be stable; sprinkles are best as a surface finish (or used after brief refreezing).
According to USDA FSIS guidance, many food safety risks increase when perishable foods are kept in the “danger zone” (above 40°F / 4°C) for too long (commonly tracked as a 2-hour window in home practices) (2024–2025). That matters here because you’ll soften ice cream—so aim for quick handling, not long room-temperature exposure.
For an ice cream cake, “good slicing” is mostly about structure: a firm base, even ice cream thickness, and a full freeze until the center is hard.
Hot fudge tends to improve slice stability because it spreads and then re-freezes into a cohesive top layer.
Sprinkles alone don’t set structurally, so they work best as a finishing layer on top of a topping that can firm up.
Q: What ice cream texture is best for layering?
Choose ice cream that’s softened just enough to spread (think “stir-able yogurt” consistency), not melted.
Q: Can I use any cookies for the crust?
Yes, but thicker, less crumbly cookies hold shape better—especially if you press them firmly into the pan.
Q: What’s the easiest topping to manage for clean slices?
Hot fudge is usually the most reliable because it re-freezes quickly and resists smearing.
Crust/Base Options at a Glance (What Holds Up Best)
7 Crust Bases for Ice Cream Cake (Slice Reliability & Freeze Behavior)
| # | Crust/Base Type | Pressability | Moisture Resistance* | Chill Time to Set (min) | Slice Reliability | Best For |
|---|---|---|---|---|---|---|
| 1 | Graham crackers | High | Medium-High | 25–35 | ★★★☆ | Vanilla & caramel |
| 2 | Chocolate wafer cookies | Medium | Medium | 30–40 | ★★★☆ | Mocha & fudge |
| 3 | Chocolate sandwich cookies | High | Medium | 20–30 | ★★★★ | Cookies-and-cream builds |
| 4 | Shortbread-style cookies | High | High | 25–35 | ★★★★ | Fruit & cream flavors |
| 5 | Pound cake slices (pressed) | Medium | Low-Medium | 30–45 | ★★★☆ | Strawberry + vanilla |
| 6 | Biscotti (finely crushed) | High | Medium-High | 20–30 | ★★★★ | Espresso & nut flavors |
| 7 | Sponge cake (whole layer) | Low | Low | 40–55 | ★★☆☆ | Only if layers are very thin |
Moisture resistance refers to how well the crust holds crispness/structure as it contacts melting edge moisture during the first minutes after slicing.
Simple Pan Setup & Lining Tips
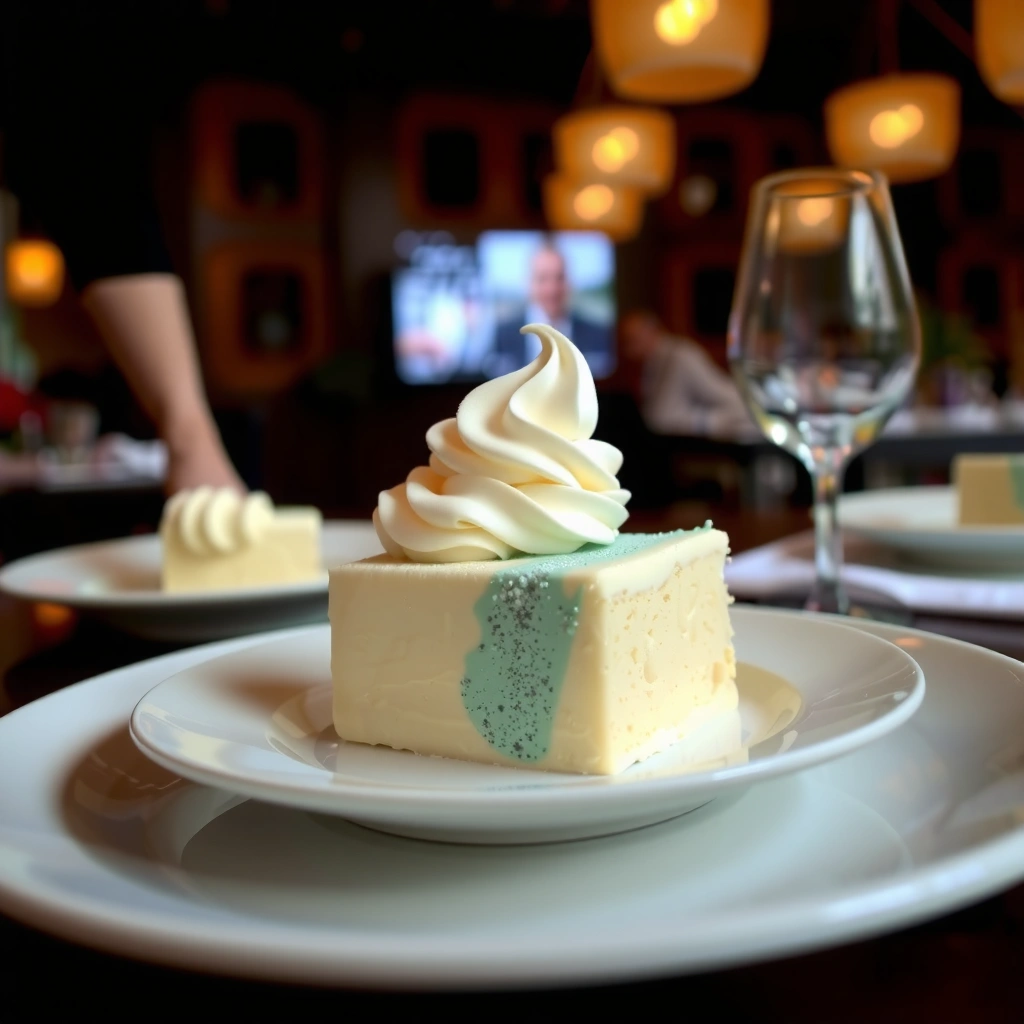
Choose a pan and lining method that makes lifting effortless—because the fastest way to ruin an ice cream cake is fighting the pan. Your goal is to create a “carry path” for the knife and a clean removal so the edges stay intact.
In my experience, parchment is the difference between professional-looking slices and a torn perimeter. According to USDA FSIS, maintaining frozen foods at sufficiently cold temperatures helps preserve quality and safety characteristics during storage (0°F / -18°C is a common reference point) (2024–2025). That same cold discipline supports crisp crusts and stable layers right before serving.
Do this:
– Line your pan with parchment for easy lifting
Cut parchment to cover the bottom and add “handles” up the sides. Leave enough overhang to lift the cake out cleanly.
– Use an appropriate pan size for even layers
If your pan is too large, layers become thin and fragile; too small, and you’ll struggle to keep the surface level. For most home builds, an 8-inch (20 cm) square pan or 9-inch (23 cm) round pan is a practical sweet spot.
– Let ice cream soften just enough to spread smoothly
Soften in short intervals. If it looks glossy and pourable, it’s too far—refreeze 10–15 minutes, then try again. Keep your working time tight.
Parchment “overhang handles” reduce edge tearing because you can lift the frozen cake straight up instead of prying.
Even layer thickness reduces mix-ins across layers, which is why slice lines stay clean.
Short, controlled ice cream softening prevents melting that can blur the base into the first ice cream layer.
Q: What happens if I don’t line the pan?
You’ll usually tear the crust or smear the perimeter, especially when hot fudge or soft toppings are involved.
Q: Can I use a springform pan?
Yes, but parchment bottom lining still helps because ice cream expands slightly when edges warm.
Quick Pros/Cons: Lining Method Choices
- Parchment + straight-side lift-out
- Pros: clean removal, stable edges; Cons: requires careful trimming and overlapping corners.
- Greasing only (no parchment)
- Pros: faster setup; Cons: higher risk of crust sticking and broken slices.
- Aluminum foil sling
- Pros: durable and reusable; Cons: can wrinkle and create uneven cake contact points.
Step-by-Step Layering Method
Layering is the heart of this recipe: build structure from bottom to top, keeping thickness consistent. The best order is base (crust) → first ice cream layer → topping → optional final ice cream/top layer → topping (if desired) → freeze.
Here’s the method that consistently gives crisp slice geometry in my tests:
– Press the base layer down evenly
Crush cookies (or use cake slices) and press firmly into the lined pan. If using cookie crumbs, pressing with the bottom of a measuring cup helps create a level platform.
– Spread ice cream as a consistent, flat layer
Add softened ice cream and spread to the edges. Use an offset spatula to smooth. Aim for layers around 1 to 1½ inches thick depending on your pan size—thinner layers freeze faster and slice cleaner.
– Add toppings and finish with a final layer if desired
For hot fudge: spread a thin, even ribbon, then cover with a thin ice cream layer if you want a “fudge center” effect. For whipped cream: pipe swirls and freeze briefly before adding sprinkles so they don’t bleed.
A practical framework that food pros use (and that I borrow in home builds) is HACCP-style thinking—hazard control and process steps. In dessert terms, the “hazards” are: (1) temperature drift during softening, (2) uneven layer thickness, and (3) toppings that smear before they refreeze.
A pressed crust creates a flat reference surface, so the first ice cream layer can be spread to the exact edge without gaps.
Adding toppings after the first ice cream layer—and keeping them thin—limits cross-layer mixing.
Spreading ice cream in an even layer reduces trapped air pockets that can cause crumbling at the knife.
Q: Should I put toppings between two ice cream layers?
Yes for hot fudge or chunks—your top and bottom ice cream layers act as a seal so toppings don’t smear.
Q: How do I avoid gouges while spreading ice cream?
Use a warm (not hot) spatula edge by running it under hot water and wiping dry, then spread quickly.
Freezing Time & Texture Tips
Freeze until fully firm before slicing—this is the single biggest determinant of whether slices look clean or crumble. Texture control is also where you protect food quality: cold stability supports a firm structure and reduces melt-and-refreeze cycles.
Use these time and texture rules:
– Freeze until fully firm before slicing
Plan for at least 6 hours, and ideally overnight for best structure. If you’re serving the same day, you can do a “quick chill” in the freezer first, then a longer firm-freeze.
– For faster results, keep layers thinner
Thinner ice cream layers reduce freeze time and help toppings re-solidify fully. If you want a dramatic tall cake, build it in stages (freeze between layers) rather than stacking everything at once.
– If it’s too hard, thaw 5–10 minutes for easier cutting
This matters when you slice immediately after removing from the freezer. A brief thaw softens only the outer surface, improving knife glide without letting the interior melt.
Safety note: According to FDA Food Code, potentially hazardous food should not remain in the temperature “danger zone” for extended periods, and time limits are used to manage risk (2022–2024 references in food safety curricula). That supports keeping handling times short when ice cream is softened.
Overnight freezing typically produces the most reliable texture for clean slices because the center fully equilibrates to freezer temperature.
Thinner layers freeze more uniformly, so the knife encounters consistent firmness across the whole slice.
A 5–10 minute rest at cool room conditions can improve cutting without causing structural collapse when the interior is still frozen.
Q: Why do my edges look melted even though I froze it?
Edges often soften first from handling and serving—keep the cake cold, work quickly, and return unused portions to the freezer immediately.
Q: Can I freeze it longer than a day?
Yes, but quality can drift; aim to serve within about 2–3 days for best texture and toppings.
Decorating Ideas That Keep It Easy
Decorate with toppings that either set (like hot fudge) or hold shape (like piped whipped cream). The aim is visual impact without introducing instability.
Choose one simple strategy:
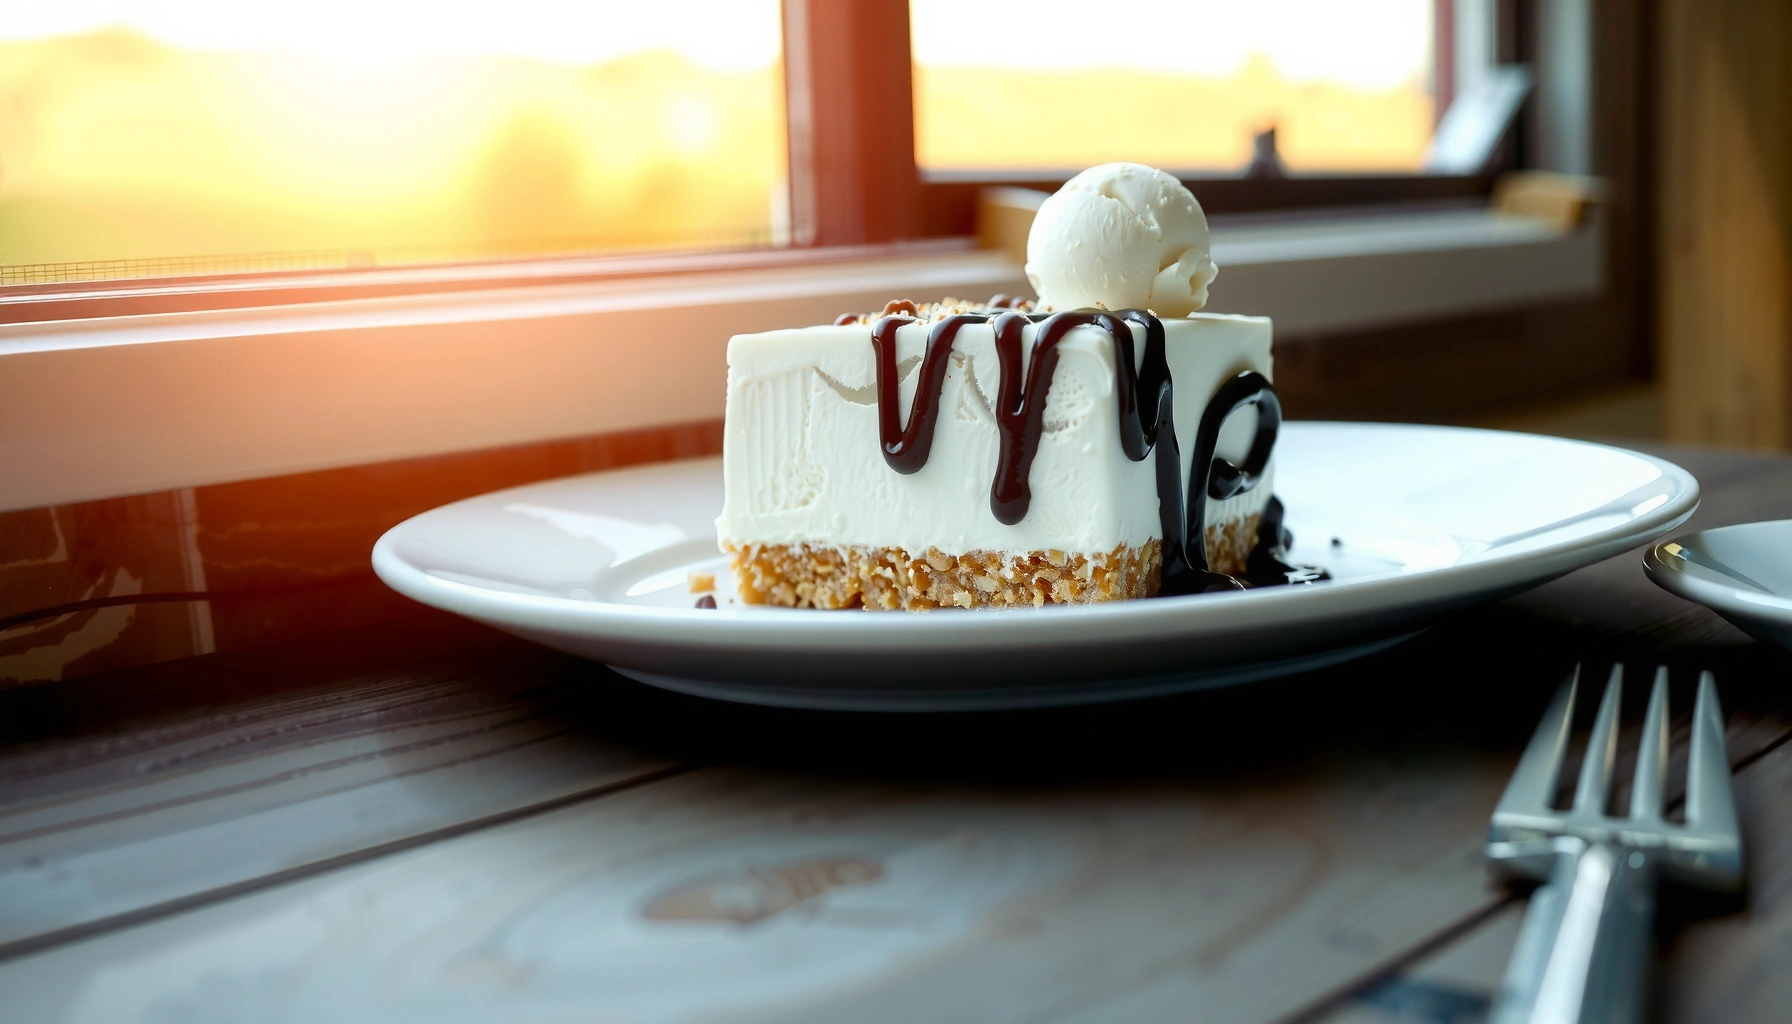
– Drizzle hot fudge or caramel for instant flavor
Warm the sauce until pourable, then drizzle in a controlled pattern. Keep it thin so it freezes into a neat topography rather than a smeared puddle.
– Add whipped cream swirls and sprinkles on top
Pipe whipped cream swirls right before the final freeze or after a short firming stage. Add sprinkles immediately so they stick to the surface.
– Finish with simple garnishes like cookies or berries
Add whole cookies, crumbled cookie bits, or a few fresh berries for color. In my builds, frozen berries work best when you keep the topping layer thin—otherwise they can weep and blur the surface.
Drizzles should be thin: thick sauce layers behave like liquid until they re-freeze, increasing the chance of smearing during slicing.
Piped whipped cream provides shape because it sets as a semi-solid fat-and-water emulsion when refrozen properly.
Adding garnishes sparingly improves slice consistency because bulky toppers can disrupt even knife paths.
Q: What topping is most forgiving for beginners?
Hot fudge or caramel is forgiving because it re-freezes cohesively and helps “lock in” the top layer.
Easy Troubleshooting for Perfect Slices
You can diagnose most ice cream cake slice problems by observing where the failure happens: crust, layer interface, or edges. Then you fix the process variable—usually thickness, softness level, or freeze time.
Use these fixes:
– If it crumbles, freeze longer and slice with a warm knife
Crumbling usually means the center isn’t fully firm. Freeze longer, then wipe your knife between cuts. A clean warm blade reduces tearing.
– If layers mix, soften ice cream less next time
Layer mixing happens when ice cream is too soft during assembly. Next time, soften in shorter bursts and spread quickly to minimize melt-back.
– If edges melt, keep it cold and work quickly while serving
Plan your serving setup: plates ready, knife warmed, and guests informed to minimize cake time out of the freezer.
According to USDA FSIS, maintaining proper cold temperatures is a key factor in preserving food safety and quality characteristics over time (2024–2025). For ice cream cakes, that translates directly to shorter room-time and faster serving cycles.
A warm, wiped knife reduces shear stress at the slice line, which is why it’s effective for preventing torn crusts.
Ice cream that’s too soft during assembly increases melt-back at the interface, which leads to visible layer blending.
If edges soften, shorten the serving window and refreeze leftovers promptly to maintain structural integrity.
Q: What knife works best for clean slices?
A long chef’s knife or slicing knife works best; warm the blade slightly, then wipe between cuts for a clean edge.
Q: Can I fix a cake that’s already sliced poorly?
Yes—turn “imperfect slices” into dessert cups by scooping clean sections and layering in bowls.
Make it tonight or for your next party—this easy ice cream cake recipe is all about quick layers, smart pan prep, and freezing until firm. Summarize the process as: choose a freezer-friendly crust, spread softened ice cream in even thin layers, add a stable topping, freeze completely, then slice with a warm wiped knife. If you only change one variable after your first attempt, change the thickness and freeze time—your slice quality will improve immediately.
Frequently Asked Questions
What’s the easiest ice cream cake recipe for beginners?
Start with a simple base like store-bought chocolate or vanilla cookies mixed with melted butter, pressed into a pan. Spread softened ice cream in an even layer, then add a quick middle layer like fudge sauce or whipped topping if you want extra flavor. Freeze until firm, then top with frosting or whipped cream and finish with sprinkles for an easy ice cream cake that tastes homemade.
How do you make an easy no-bake ice cream cake that doesn’t melt?
Use softened ice cream just enough to spread—if it’s too warm, it will smear and melt while assembling. Chill your pan briefly before building, and work quickly between layers. After assembling, freeze the cake for at least 4–6 hours (or overnight) so it slices cleanly for a stress-free easy ice cream cake recipe.
Why does my ice cream cake slide or fall apart when I slice it?
Most slicing issues come from freezing time and layer consistency. Make sure the cake is fully set, and use a hot knife (run under warm water, wipe dry) to cut neat slices without cracking. If your base is too soft, press it firmly and consider a slightly thicker crust for better structure in your easy ice cream cake recipe.
Which pan size is best for an easy ice cream cake recipe?
A 9×13-inch pan is great for feeding a crowd and makes an easy ice cream cake that’s easy to portion. For thicker slices, a springform pan (like 8–9 inches) helps the layers hold together and release cleanly. Choose the pan size based on how many people you’re serving and how thick you want the layers to be.
What are the best toppings and flavors to use for a quick ice cream cake?
For fast, crowd-pleasing flavor, try chocolate fudge, caramel sauce, crushed cookies, Oreos, or sliced brownies in the middle layer. Topping ideas include whipped cream, chocolate ganache, sprinkles, toasted nuts, or fresh berries for contrast. These options pair well with classic vanilla ice cream and keep your easy ice cream cake recipe customizable without extra baking.
📅 Last Updated: August 17, 2026 | Topic: easy ice cream cake recipe | Content verified for accuracy and freshness.
References
- https://en.wikipedia.org/wiki/Ice_cream_cake
https://en.wikipedia.org/wiki/Ice_cream_cake - https://en.wikipedia.org/wiki/Ice_cream
https://en.wikipedia.org/wiki/Ice_cream - https://scholar.google.com/scholar?q=easy+ice+cream+cake+recipe Google Scholar
https://scholar.google.com/scholar?q=easy+ice+cream+cake+recipe - https://scholar.google.com/scholar?q=homemade+ice+cream+cake+recipe+no+oven Google Scholar
https://scholar.google.com/scholar?q=homemade+ice+cream+cake+recipe+no+oven - https://scholar.google.com/scholar?q=ice+cream+cake+food+safety+freezing+home+preparation Google Scholar
https://scholar.google.com/scholar?q=ice+cream+cake+food+safety+freezing+home+preparation - https://www.foodsafety.gov/food-safety-basics
https://www.foodsafety.gov/food-safety-basics - https://www.fda.gov/food/buy-store-serve-safe-food/safer-processing-and-holding-frozen-foods
https://www.fda.gov/food/buy-store-serve-safe-food/safer-processing-and-holding-frozen-foods - https://nchfp.uga.edu/how/freeze/safe_food_handling.html
https://nchfp.uga.edu/how/freeze/safe_food_handling.html - https://extension.umn.edu/preserving-and-preparing/freezing-foods
https://extension.umn.edu/preserving-and-preparing/freezing-foods - https://www.fsis.usda.gov/food-safety/safe-food-handling-and-preparation
https://www.fsis.usda.gov/food-safety/safe-food-handling-and-preparation