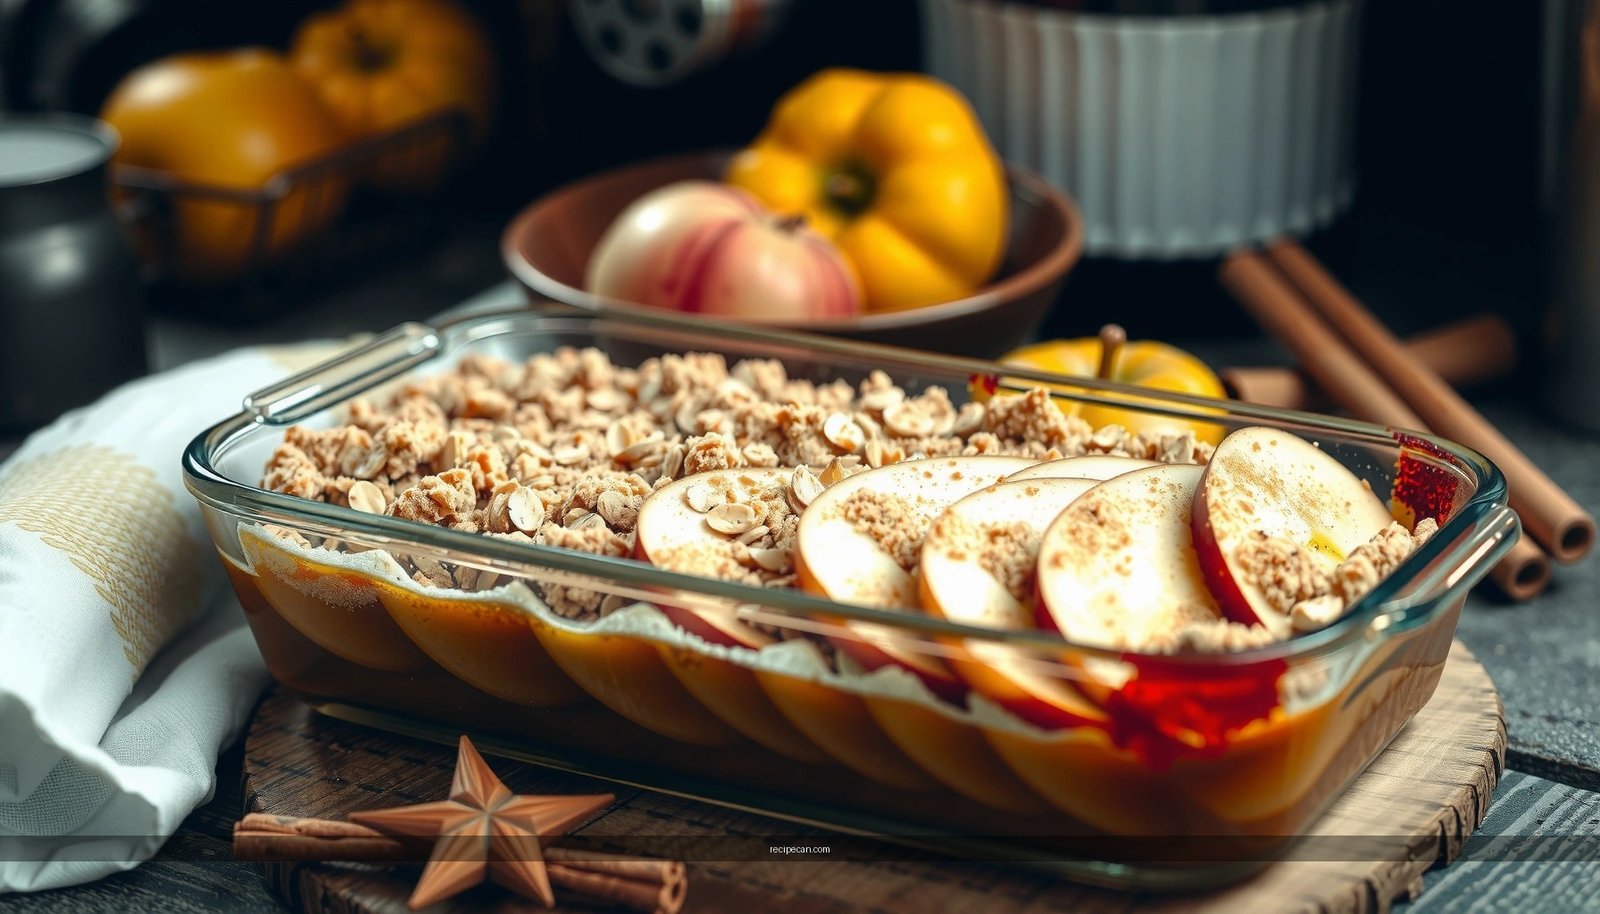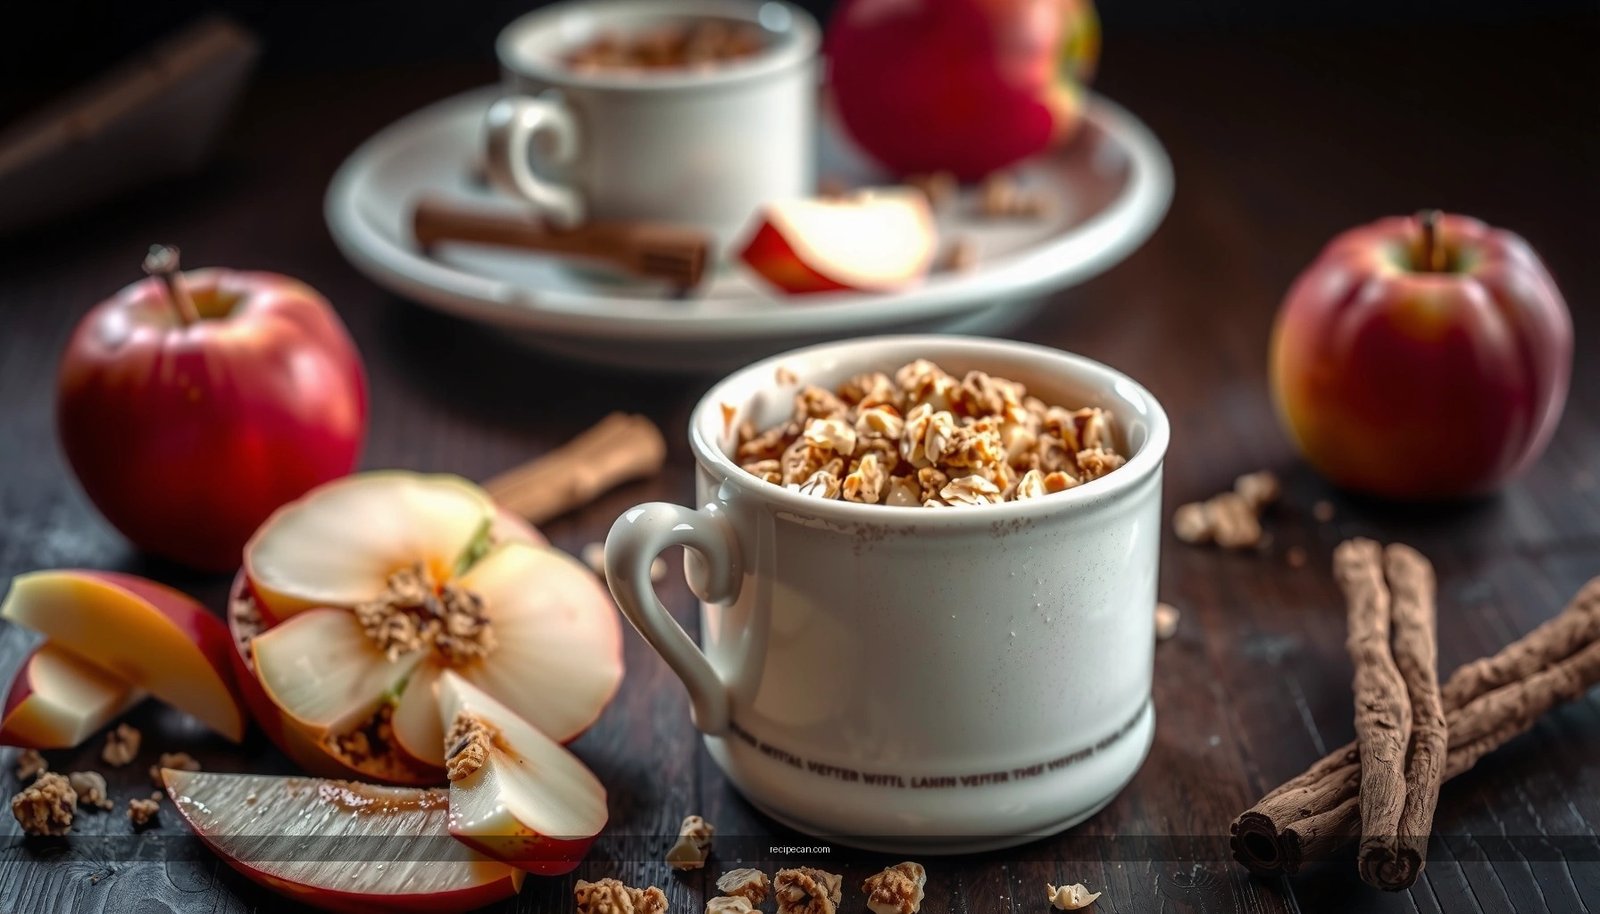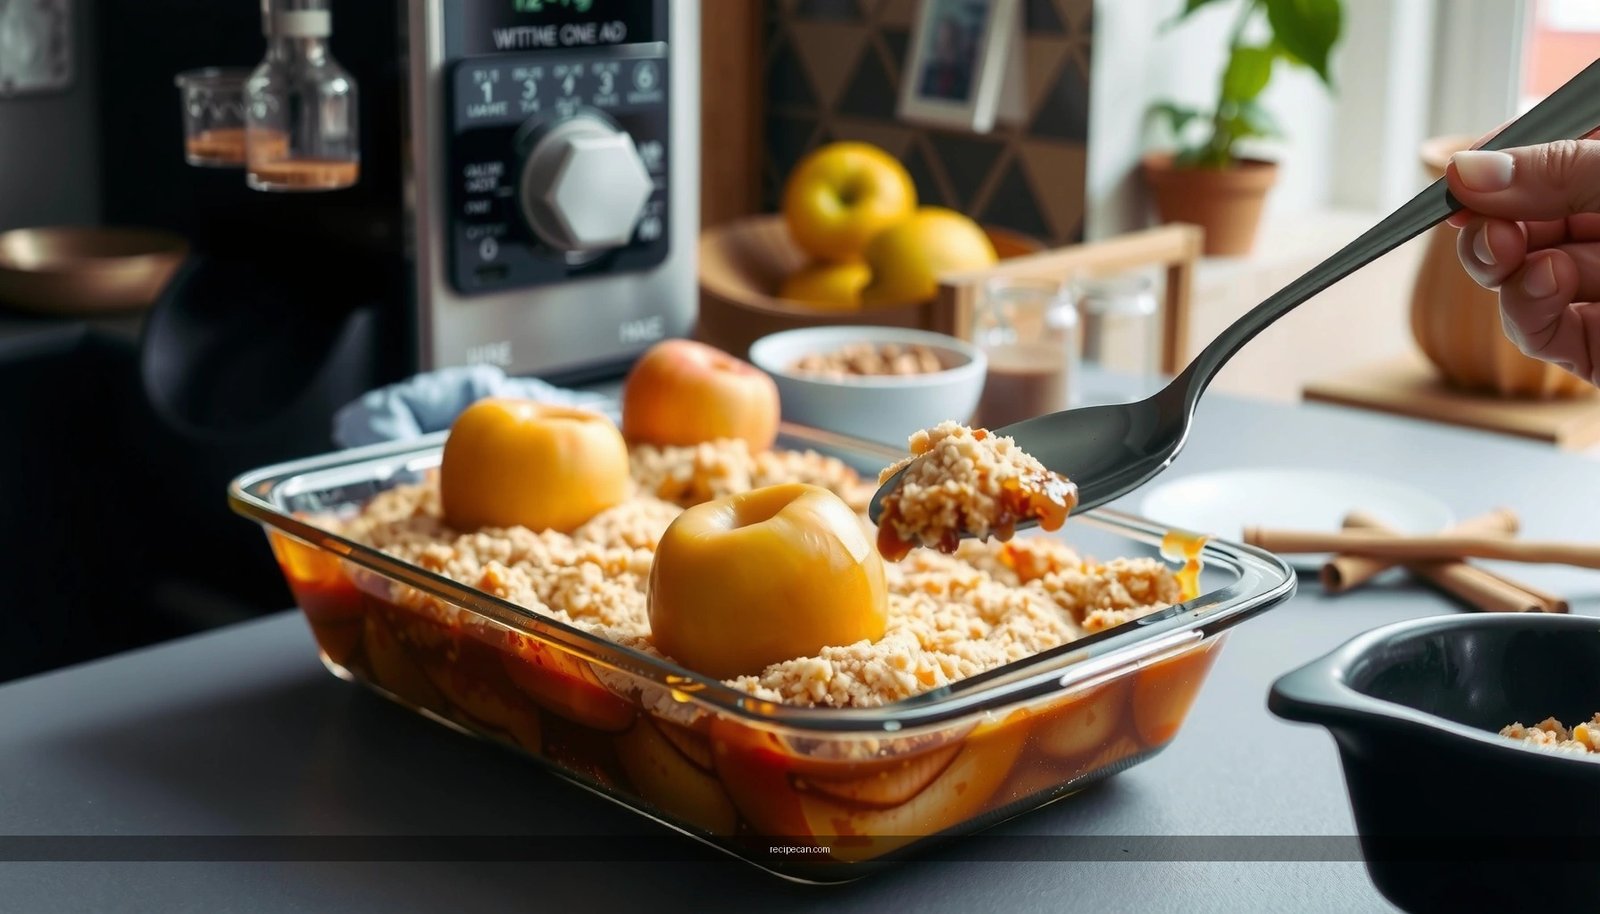
Need an apple crumble recipe microwave method that actually delivers a warm, spoonable dessert in minutes? This quick, step-by-step microwave approach is the clear winner when you want fast results without heating an oven. You’ll get the exact crumble texture and timing so the apples stay tender and the topping firms up instead of turning soggy.
Microwave an apple crumble by cooking the apples first, then adding a crumble topping and microwaving in short bursts until everything turns bubbly and set. You’ll get a warm, spoonable dessert in minutes—no oven required—by controlling moisture (soft apples, less-soggy topping) and timing (intervals instead of one long cook).
Microwave apple crumble is one of those “small process, big payoff” desserts: the apples need time to soften and release juices, while the topping needs just enough heat to hydrate without going pasty. Below is a practical, repeatable method with timing logic, texture troubleshooting, and serving guidance so you can consistently nail that classic crumble contrast—tender fruit, lightly crisp edges.
Microwave Settings for Apple Crumble (Typical Ranges)
| # | Microwave Power (Watts) | Apple Step Time | Crumble Step Time | Reliability |
|---|---|---|---|---|
| 1 | 700–800W | 4–6 min | 1.5–3 min | ★★★★☆ |
| 2 | 800–900W | 3.5–5 min | 1.5–2.5 min | ★★★★★ |
| 3 | 900–1000W | 3–4.5 min | 1–2.2 min | ★★★★★ |
| 4 | 1000–1100W | 2.5–3.8 min | 0.8–1.8 min | ★★★★☆ |
| 5 | 1100–1200W | 2.3–3.2 min | 0.7–1.5 min | ★★★☆☆ |
| 6 | Defrost/Low Power | 6–8 min | 2.5–4 min | ★★★☆☆ |
| 7 | Keep Warm/Slow Reheat | N/A (use reheat) | 20–40 sec | ★★★★☆ |
Ingredients for Microwave Apple Crumble
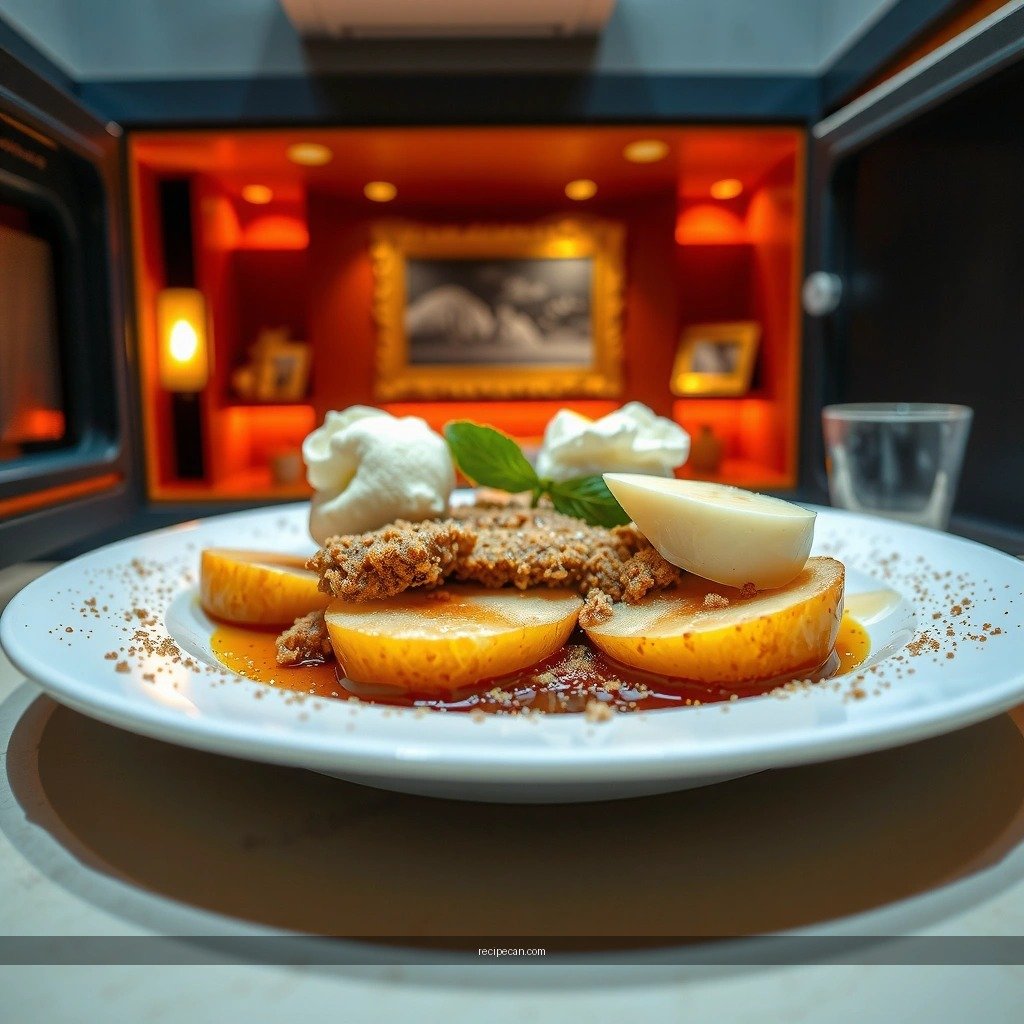
A microwave apple crumble works best when you balance fruit moisture with a topping that can set quickly. You can keep ingredients fairly classic while still adapting for speed.
– Apples, sugar (or sweetener), and cinnamon for the fruit base
Use enough sweetener to offset tart apples, but not so much that juices pool excessively. Cinnamon is your aroma anchor.
– Flour, oats, butter (or a substitute), and brown sugar for the crumble topping
Oats contribute texture and “crumble” structure; flour helps bind; butter (or a butter substitute) provides melting for browning-like flavor even without an oven.
For best results, prepare for one serving (or small ramekin): roughly 1 to 1½ cups diced apples plus topping sized to cover the fruit surface.
Practical ingredient choices (fast but smart)
– Apple variety: Honeycrisp, Gala, Braeburn, or Granny Smith all work—choose based on sweetness and firmness. Firm apples hold shape longer, creating a pleasant bite.
– Sweetener flexibility: Brown sugar, white sugar, maple syrup, or a sugar substitute can work, but liquid sweeteners can increase juiciness—factor that into shorter cooking times.
– Butter vs. substitutes: Butter melts readily and yields the best crumb texture. If using margarine or plant butter, aim for a similar fat content so the topping sets instead of turning gummy.
Prep the Apple Filling
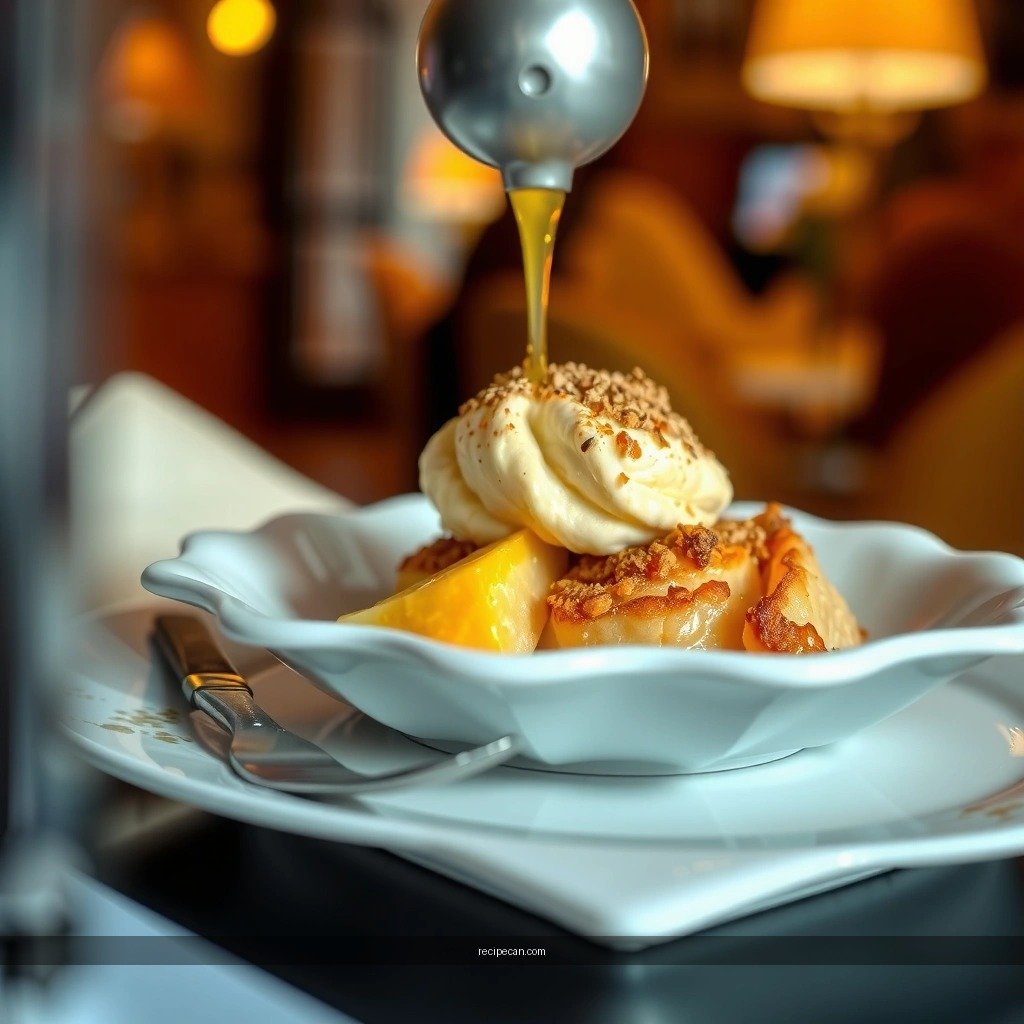
This step is what makes microwave apple crumble succeed: you’re essentially “baking” the filling in the microwave so the topping doesn’t have to do everything at once.
– Dice apples evenly so they cook at the same rate
Aim for pieces around 1/2-inch (about 1–1.3 cm). Uneven cuts leave some hard and others over-soft.
– Microwave the apples with a bit of sugar and spices until soft and juicy
Add sugar (or sweetener), cinnamon, and a small splash of water if your apples are very dry. Cover loosely to trap steam and soften efficiently.
Moisture control logic
Microwave fruit cooks by steaming and absorbing heat through the water content. Apples release additional moisture as they warm. If you start with too much liquid, the filling becomes watery and the crumble can go soggy. If your apples are too dry, add only 1–2 teaspoons of water for a small batch.
Quick prep workflow
1. Toss diced apples with cinnamon and your sweetener.
2. Microwave in a microwave-safe bowl (or the serving dish if it fits).
3. Stir halfway to promote even softening.
4. Stop when apples are tender but not collapsing—they will finish when topped.
Make the Crumble Topping
Crumble topping in a microwave environment needs a different mindset than oven-baking: it must hydrate fast, then “set” quickly rather than brown slowly.
– Mix oats/flour with brown sugar and butter until crumbly
Combine dry ingredients first, then work in butter until you see uneven crumbs rather than a smooth paste.– Keep topping slightly dry for the best crunchy texture
If the topping looks wet, add a bit more oats or flour. Crunch comes from fewer free liquids and a higher crumb-to-juice ratio.
Texture targets (what you should see)
– Before microwaving: topping should hold shape when pressed lightly, then fall back into crumbs.
– After microwaving: topping should look “set” and dry on top, with bubbly filling visible around edges.
Simple ratio to remember
A reliable crumble balance for microwave apple crumble is:
– Oats + flour for body
– Brown sugar for caramel notes
– Butter only as much as needed to bind (start with less, then add if it won’t clump)
Microwave Cooking Time & Method
Timing is everything. The goal is bubbly filling with a set topping—not a fully cooked “paste.”
– Spread crumble over hot apples and microwave in short intervals
Use short bursts so you can stop at the exact moment the topping firms up.
– Stop when the filling bubbles and the topping looks set, not wet
Bubbling indicates the fruit has reached hot, simmering temperatures. “Set” topping means the crumbs have tightened instead of sinking into the juice.
Step-by-step method (repeatable)
1. Cook apples first
Microwave until soft and juicy (start in the lower end of the range for your power level).
2. Add topping
Sprinkle crumble evenly across the hot apples so it heats uniformly.
3. Microwave in intervals
Typically 30–60 seconds at a time for the crumble step.
4. Check visually every interval
– Look for bubbles at the edges or through the topping.
– Ensure the top isn’t glossy-wet.
Why intervals matter
Microwaves heat unevenly due to standing waves and dish shape. Intervals reduce overcooking and help you correct in real time.
Tips for the Best Texture (Crispy vs. Soft)
Microwave apple crumble can swing either direction: crisp edges or soft, spoonable topping. You can control this by managing heat exposure and rest time.
– Use shorter bursts and rest time to avoid soggy topping
Pull it out when it’s nearly done; it will continue cooking from residual heat.
– If needed, add a little extra crumble and microwave briefly again
If your topping has melted into the fruit, add a thin layer of extra dry crumble and microwave 20–30 seconds to reset texture.
Crispy-leaning approach
– Use slightly drier crumble.
– Cover the apples while cooking, but do not cover during the final topping step (unless your microwave runs very hot; then cover loosely for 10–15 seconds only).
– Rest for 1–2 minutes before serving. This lets steam redistribute instead of soaking the crumb.
Soft-leaning approach
– Cook apples just until tender (not dry-soft).
– Keep topping a touch more bound (a little extra butter) so it becomes more cake-like.
– Microwave for one extra short interval if you prefer a uniformly soft spoonable dessert.
Serving Ideas & Storage
Microwave apple crumble is designed for immediate enjoyment, but it also stores well with correct reheating.
– Serve warm with vanilla ice cream or yogurt
Ice cream adds contrast—cold fat plus warm cinnamon-spiced fruit. Greek yogurt offers a tangy, lighter option.
– Refrigerate leftovers and reheat in the microwave in 20–30 second bursts
Reheating in bursts prevents the topping from turning leathery or fully soggy.
Best serving pairings
– Vanilla ice cream + cinnamon: classic and balanced.
– Plain yogurt + honey drizzle: brighter flavor, less sweetness needed.
– Caramel sauce (optional): adds depth but can increase perceived sweetness—reduce added sugar next time.
Storage guidance (practical)
– Store in an airtight container in the fridge for up to 2–3 days.
– Reheat in 20–30 second bursts, stirring gently if needed. For extra crisp, reheat uncovered and avoid overcooking.
Key takeaway: consistency beats guesswork
Microwave apple crumble is a fast, reliable way to get warm dessert results with tender apples and a crumble top that stays pleasantly set. By cooking the apples first, building a slightly dry crumble, and using short microwave intervals—then resting briefly—you’ll avoid sogginess and get that “bubbly around the edges, crumbly on top” finish. Make it tonight and adjust sweetness and spice to your preference; once you learn your microwave’s timing range, this becomes a dependable go-to treat.
Frequently Asked Questions
What is the best microwave apple crumble recipe for a quick dessert?
A good microwave apple crumble recipe uses thinly sliced apples (about 2 cups) cooked briefly until softened, then topped with a quick crumble made from oats, flour, butter (or oil), and sugar. Microwave the apple filling first for a few minutes to reduce excess water, then add the crumble topping and microwave again until the topping looks set. This method creates a fast apple crumble with minimal prep and no oven needed.
How do I make apple crumble in the microwave without a soggy topping?
To avoid soggy microwave apple crumble, cook the apples first so their moisture evaporates slightly, then let them sit for 1 minute before adding the topping. Use a thicker crumble mixture (less liquid, more dry ingredients) and spread it evenly so it doesn’t clump into wet spots. Microwaving in short bursts helps the crumble set rather than steam.
How long should I microwave apple crumble, and what power level works best?
Most microwave apple crumble recipes work best in 2–5 minute intervals at medium power (around 70–80%) to prevent the apples from bursting and the topping from going rubbery. Start by microwaving the apples for 3–4 minutes, then add the crumble topping and microwave for another 2–3 minutes. Check doneness as microwaves vary—look for bubbly filling and a topping that feels drier on top.
Why does my microwave apple crumble taste bland, and how can I boost flavor?
Bland apple crumble often happens when the apples aren’t cooked long enough to concentrate sweetness or when the crumble topping lacks spices. Add cinnamon, a pinch of nutmeg, and a little salt to the crumble, and consider mixing in lemon juice or zest with the apples for brightness. Brown sugar or a small amount of maple syrup can also deepen flavor without changing the apple crumble recipe microwave method.
Which apples are best for microwave apple crumble, and how should they be prepared?
The best apples for microwave apple crumble are firm, slightly tart varieties like Granny Smith or Honeycrisp, because they hold shape while softening in the microwave. Slice them evenly (about 1/4-inch thick) so they cook at the same rate, and toss with sugar and cinnamon before microwaving. If your apples are very watery, microwave the filling a minute longer before adding the crumble topping to keep the texture balanced.