Get the best cherry crumble recipe: easy, sweet, and reliably perfectly crispy—every time. This recipe answers whether you can nail a crunchy topping without complicated steps, while keeping the cherries juicy and flavorful. If you want the quickest route to a golden, spoon-ready crumble, this is the one to make.
This cherry crumble recipe delivers juicy, spoonable cherries under a buttery, crisp topping in about an hour—without complicated techniques. By using a simple thickened cherry filling (with cornstarch) and an uneven, coarse crumb topping, you’ll reliably get that “golden, bubbling, crispy” texture people expect from a classic dessert, even if you’re baking for the first time.
Gather Ingredients for Cherry Crumble

A dependable cherry crumble starts with choosing the right cherries and keeping the topping grounded in pantry staples. This recipe is designed for speed and consistency, so ingredient selection matters mainly in how the cherries release juice and how the topping browns.
C cherries: fresh or frozen both work
– Fresh cherries: Ideal for peak flavor. Pit them, then slice or leave them whole depending on preference.
– Frozen cherries: Convenient and consistent. Keep them frozen until you mix (especially if your filling thickener is cornstarch) to avoid excess early pooling.
Topping staples (the core of the crunch)
You’ll build the crumble from:
– Butter for flavor and crisping (cold butter cuts into flour for crumb texture).
– Flour to form structure.
– Sugar for sweetness and browning.
– Optional add-ins: a pinch of salt and/or cinnamon for depth.
Practical notes
– If using sweet cherries (like Bing), you may want the filling to lean a touch brighter with lemon juice.
– If using tart cherries, you’ll already get natural acidity—still, lemon helps sharpen the sweetness and intensify cherry flavor.
Cherry Crumble Baking Targets for Crisp & Bubble (Oven-Controlled)
| # | Baking Variable | Recommended Range | Why It Matters | Impact Score |
|---|---|---|---|---|
| 1 | Cherry Thickener (Cornstarch) | 2 tbsp per ~4 cups cherries | Prevents runny filling; creates glossy bubbling | High |
| 2 | Bake Temperature | 375–400°F (190–205°C) | Balances cherry bubbling + topping browning | High |
| 3 | Topping Particle Size | Uneven, pea-to-almond sized crumbs | Creates crisp peaks and tender centers | Medium-High |
| 4 | Dish Size (Depth) | 8×8 in or 9×9 in (1.5–2 in filled height) | Too deep = underbaked; too shallow = dry edges | Medium |
| 5 | Rest Time After Baking | 10–20 minutes | Thickens juices and sets crumb crispness | Medium-High |
| 6 | Cherry Flavor Balance | 1–2 tbsp lemon juice per 4 cups cherries | Brightens flavor; sharpens perceived sweetness | Medium |
| 7 | Covering During Bake (Avoid) | Uncovered throughout | Traps steam → softer topping and less browning | Negative |
Make the Cherry Filling

The filling is where cherry crumble turns from “baked fruit” into a cohesive dessert. The goal is a thickened, glossy cherry layer that bubbles through the topping and tastes rich rather than watery.
Core method
– Combine cherries with sugar to draw out juices.
– Add a thickener (cornstarch) to control how quickly the juices loosen.
– Stir in lemon juice to brighten the overall flavor and keep sweetness balanced.
– Optional: add vanilla for a softer, warmer aroma that complements cherries.
Why cornstarch works so well
Cornstarch gels as it heats, which creates that signature crumble filling texture—thick enough to hold shape, but still juicy. It also helps you avoid the common issue of “runny bottom” that can happen with fruit desserts that are either underbaked or lightly thickened.
Actionable adjustments
– If your cherries are very watery (common with some frozen packs), slightly increase cornstarch by a teaspoon.
– If you prefer a tarter profile, reduce sugar by 1–2 tablespoons and rely on lemon for lift.
– If you’re making it ahead, slightly thicker filling can actually hold up better when reheated.
Prepare the Crumble Topping
The crumble topping should be the crisp centerpiece—buttery, uneven, and lightly flour-dusted rather than uniformly smooth. That’s what yields contrast: crunchy peaks with a tender middle layer.
Simple, effective technique
– Cut cold butter into flour and sugar until the mixture resembles coarse crumbs.
– Don’t overmix to the point of paste. Your goal is to keep some fat pockets intact.
– For best texture, aim for uneven crumb sizes. Smaller bits will brown quickly; larger clumps will bake into crisp craters.
What to add for extra credibility
– Pinch of salt: intensifies sweetness and makes the cherry flavor pop.
– Cinnamon (optional): works especially well in fall-inspired versions.
– Oats (optional): if you want a more rustic crunch, replace 1/4 cup flour with rolled oats.
– Using melted butter: it can make a denser, less crumbly topping.
– Pressing crumbs flat: it limits air pockets that contribute to crispness.
– Skimping on topping: less crumb coverage means more exposed juice and less structural crunch.
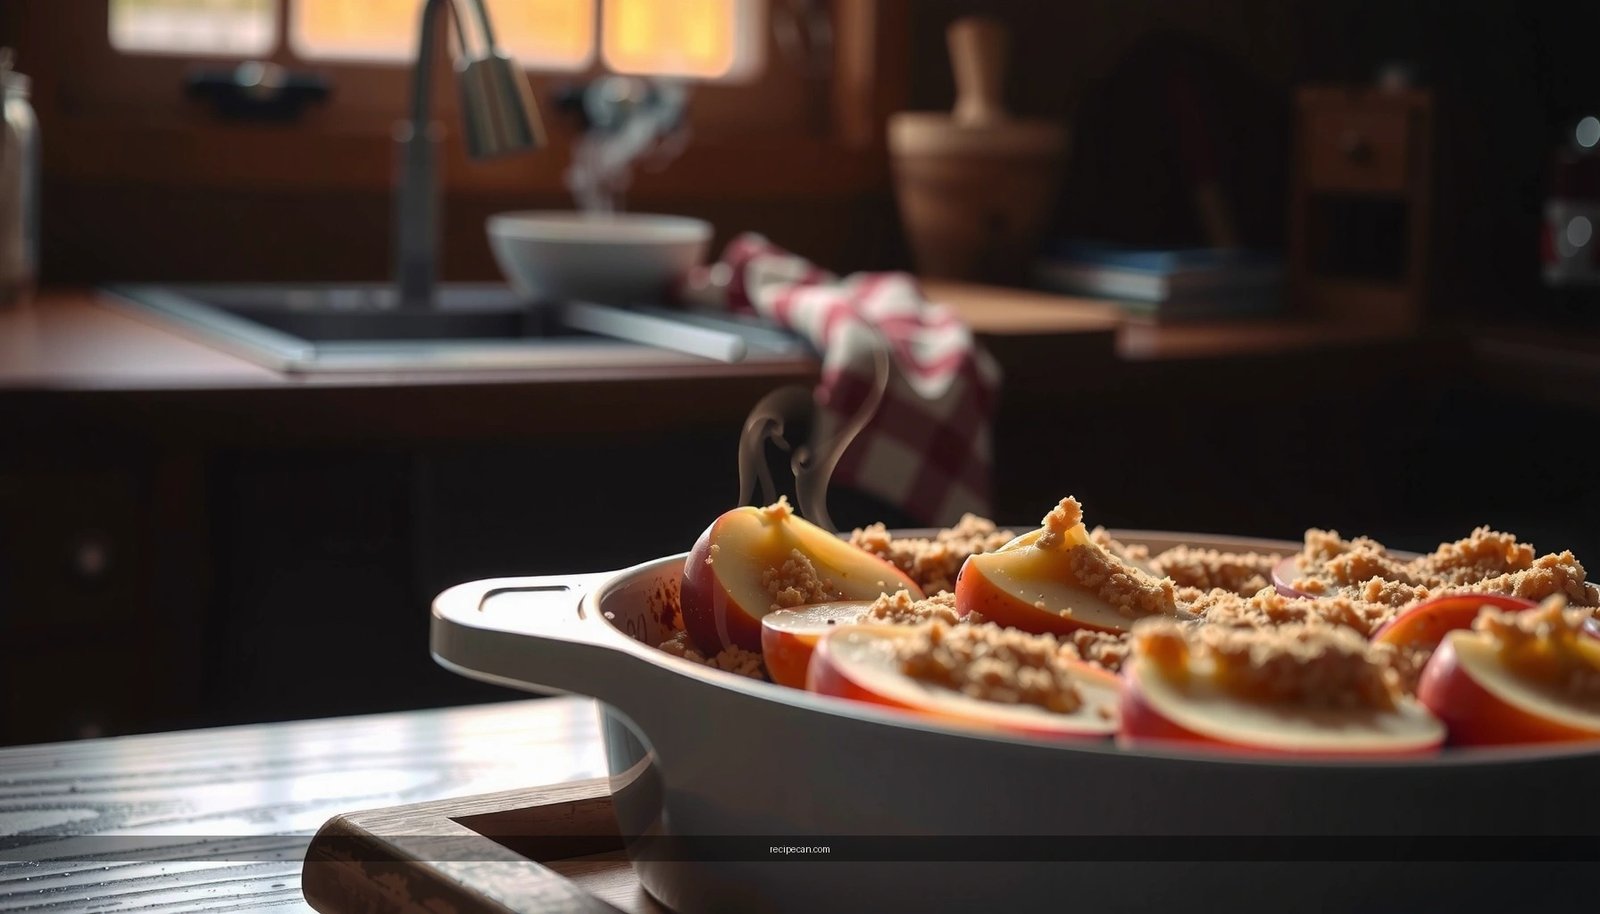
Assemble and Bake
Assembly is straightforward: you’re building two layers that bake into one dessert—fruit filling bubbling up slightly and topping turning golden and crisp.
How to assemble
– Spread the cherry filling in a baking dish evenly. Even distribution is important for consistent bubbling.
– Sprinkle the crumble topping generously over the top, ensuring coverage with visible crumb texture.
Bake until “bubbling and golden”
– Bake at 375–400°F (190–205°C) until you see steady bubbling at the edges and light-to-deep golden color across the top.
– Many ovens run hotter on top or have hot spots; rotate the dish halfway through if you notice uneven browning.
What success looks like
– Filling: bubbling and slightly thickened around the edges.
– Topping: golden brown with crisp-looking peaks.
– Smell: a nutty, buttery aroma rather than raw flour.
Get the Best Texture (Tips & Timing)
Crisp crumble texture is won in the timing and small finishing steps. Think of this as “control points” rather than strict rules: you’ll adjust based on your oven and fruit.
Let it rest briefly
After baking, let the cherry crumble rest 10–20 minutes. This matters because:
– The filling continues to thicken as starches set.
– The topping loses some steam, which improves crispness.
If you cut or scoop immediately, you may still get great flavor, but you’ll sacrifice structural thickness and your topping can soften faster.
Bake longer for deeper crisp
If your topping looks pale or you prefer a crunchier dessert:
– Add 5–10 minutes to the bake time.
– Watch closely during the final minutes to prevent over-browning.
Use a “steam check”
If bubbling is present but the top isn’t crisp yet, give it more time uncovered. Covering with foil usually reduces browning because it traps steam.
Practical serving strategy
For the best experience:
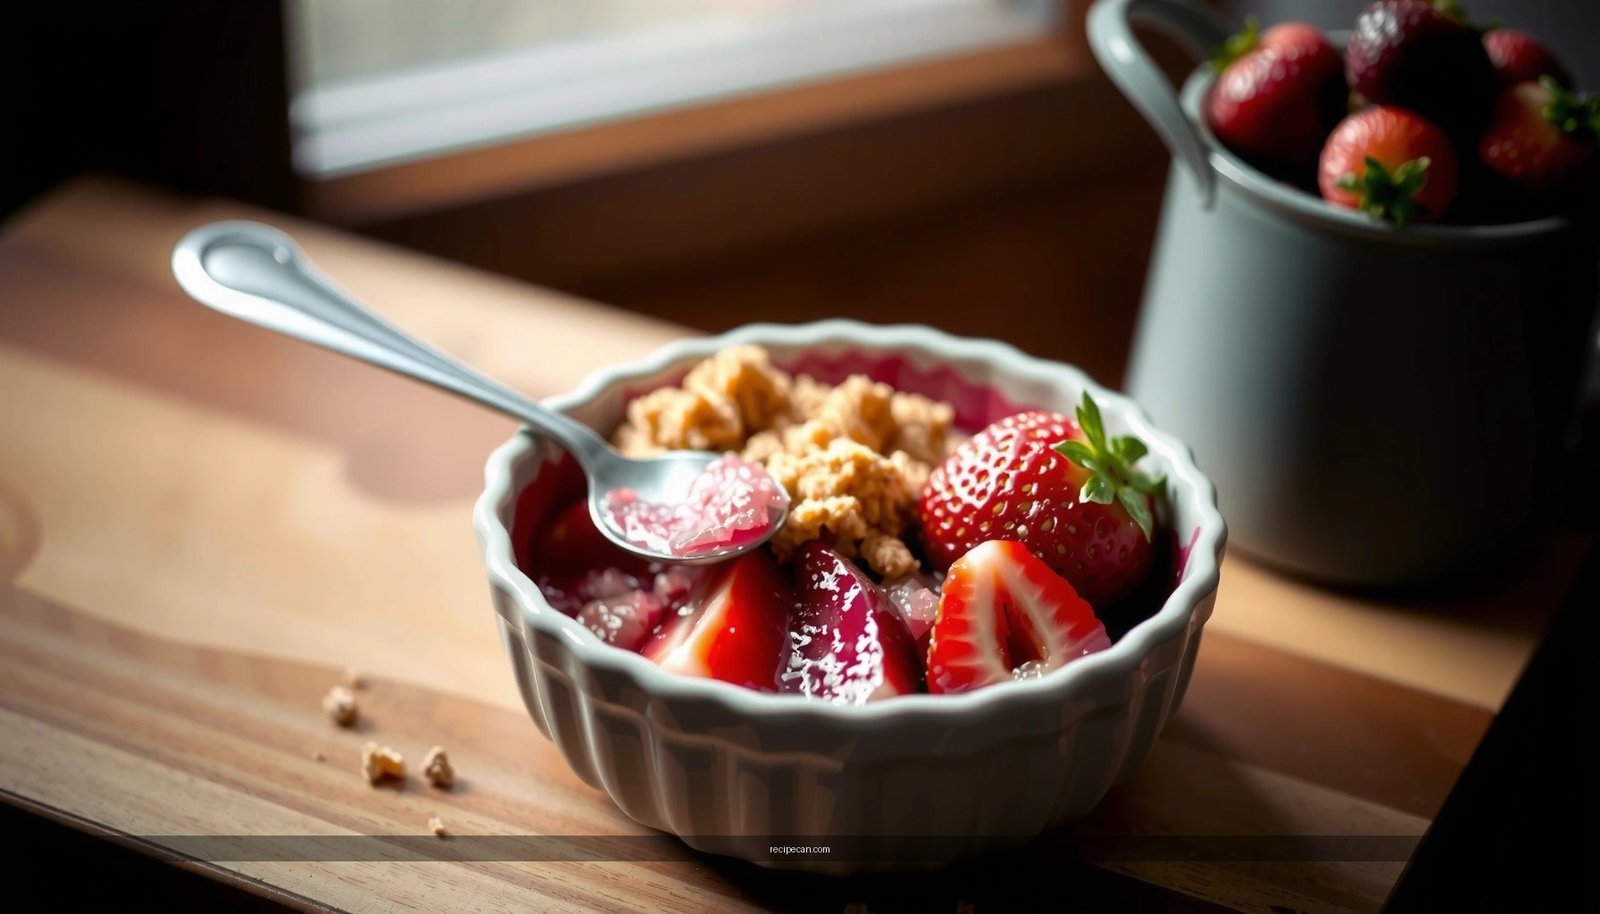
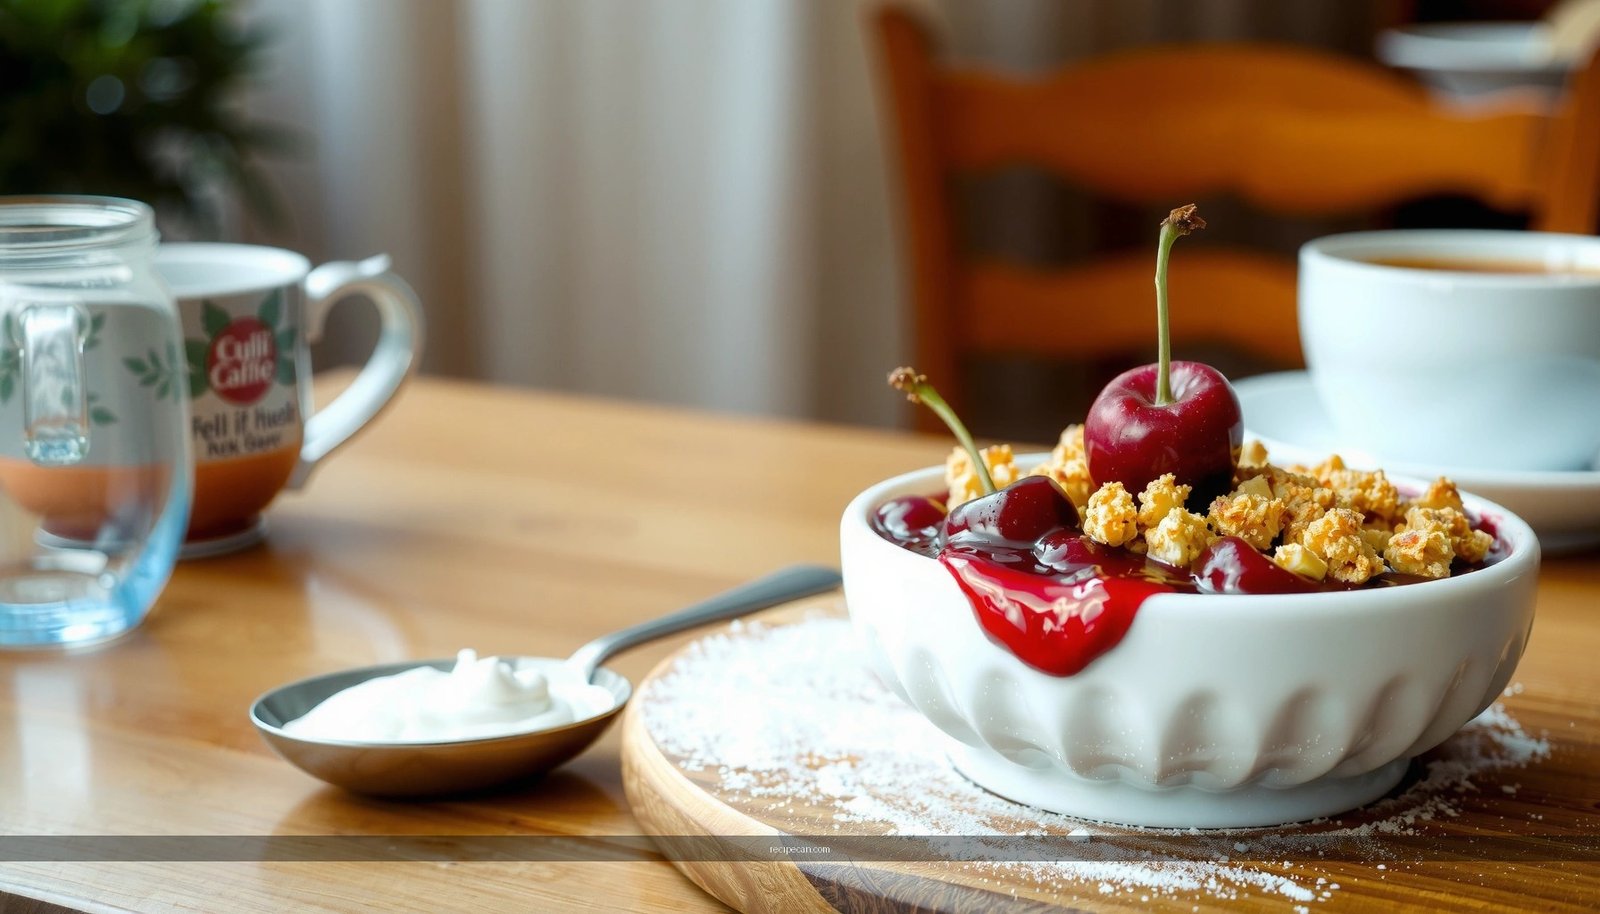
– Serve warm for flavor and aroma.
– Top with vanilla ice cream or whipped cream just before serving so the crumble remains crisp as long as possible.
Serve and Store Your Cherry Crumble
Cherry crumble is ideal for both immediate enjoyment and planned leftovers. Proper storage can preserve topping quality and keep the cherries tasting bright.
– Warm + vanilla ice cream: classic contrast of cold cream and hot, juicy cherries.
– Whipped cream: lighter sweetness that lets fruit flavor lead.
– Optional garnish: toasted sliced almonds for nutty crunch or a dust of powdered sugar for presentation.
– Cool completely, then cover and refrigerate.
– Store in the fridge for up to 3–4 days.
Reheating for best texture
– Reheat in an oven (or toaster oven) rather than the microwave when possible.
– Aim for 300–325°F (150–165°C) until warmed through. This helps the topping re-crisp.
Batch-friendly tip
If you’re hosting, bake a little closer to serving time for peak crispness. If you must bake earlier, rest longer at room temperature and reheat gently to avoid drying out the cherries.
After baking, let your cherry crumble rest, then serve warm for the crispiest topping and fullest cherry flavor. Follow the filling + crumble steps, watch for bubbling and golden edges, and you’ll have a reliable dessert every time—make it tonight and try it with your favorite toppings.
Cherry crumble works because it balances three variables: juicy, thickened fruit, buttery crumb texture, and controlled bake time so the topping turns golden without sacrificing the filling’s tenderness. With fresh or frozen cherries, cornstarch-thickened juices, and an uneven coarse topping, you’ll get the sweet, crispy, spoonable dessert that feels both classic and dependable—exactly what a weeknight baking win should be.
Frequently Asked Questions
What ingredients do I need for a cherry crumble recipe?
A classic recipe cherry crumble typically includes fresh or frozen cherries, sugar (or honey), a little lemon juice, and cornstarch or flour to thicken the filling. For the crumble topping, use flour, rolled oats, brown sugar, cinnamon, and cold butter to create a crisp, buttery texture. Optional add-ins like vanilla extract, almond extract, or chopped nuts can boost flavor while keeping the crumble method simple.
How do I make cherry crumble without the filling being runny?
The key is to thicken the cherry filling before baking—use cornstarch or a small amount of flour and cook just until it starts to bubble and thicken. If you’re using frozen cherries, let them thaw and drain excess liquid (or increase the thickener slightly) so the crumble topping doesn’t turn soggy. Also, let the cherry crumble cool for 10–15 minutes after baking so the filling sets properly.
Why does my crumble topping turn out soft instead of crunchy?
A soft topping usually happens when the butter isn’t cold enough or when the crumble mixture is too damp from wet cherries. Use cold butter cut into the dry ingredients and aim for uneven crumb sizes for better crunch. Baking at the right temperature until the edges are bubbling and the topping is golden helps the recipe cherry crumble achieve that crisp finish.
Which is the best way to bake cherry crumble for even browning?
Bake on the middle rack and use an oven temperature around 375–400°F (190–205°C) so the cherry filling bubbles while the topping browns. If your top isn’t browning but the filling is done, broil for 1–2 minutes at the end—watch closely to avoid burning. For best results, use a similar-size baking dish so the thickness of the cherry crumble stays consistent.
What’s the best cherry option for a cherry crumble recipe—fresh or frozen?
Both work well, but frozen cherries are often easier because they’re ready to use and typically consistent in flavor. Fresh cherries can be more vibrant, though they may release more juice depending on ripeness—so you may need a touch more thickener. No matter which you choose, sweet cherries still benefit from lemon juice for balance, and adjusting sugar helps the crumble taste delicious without becoming overly tart or overly sweet.