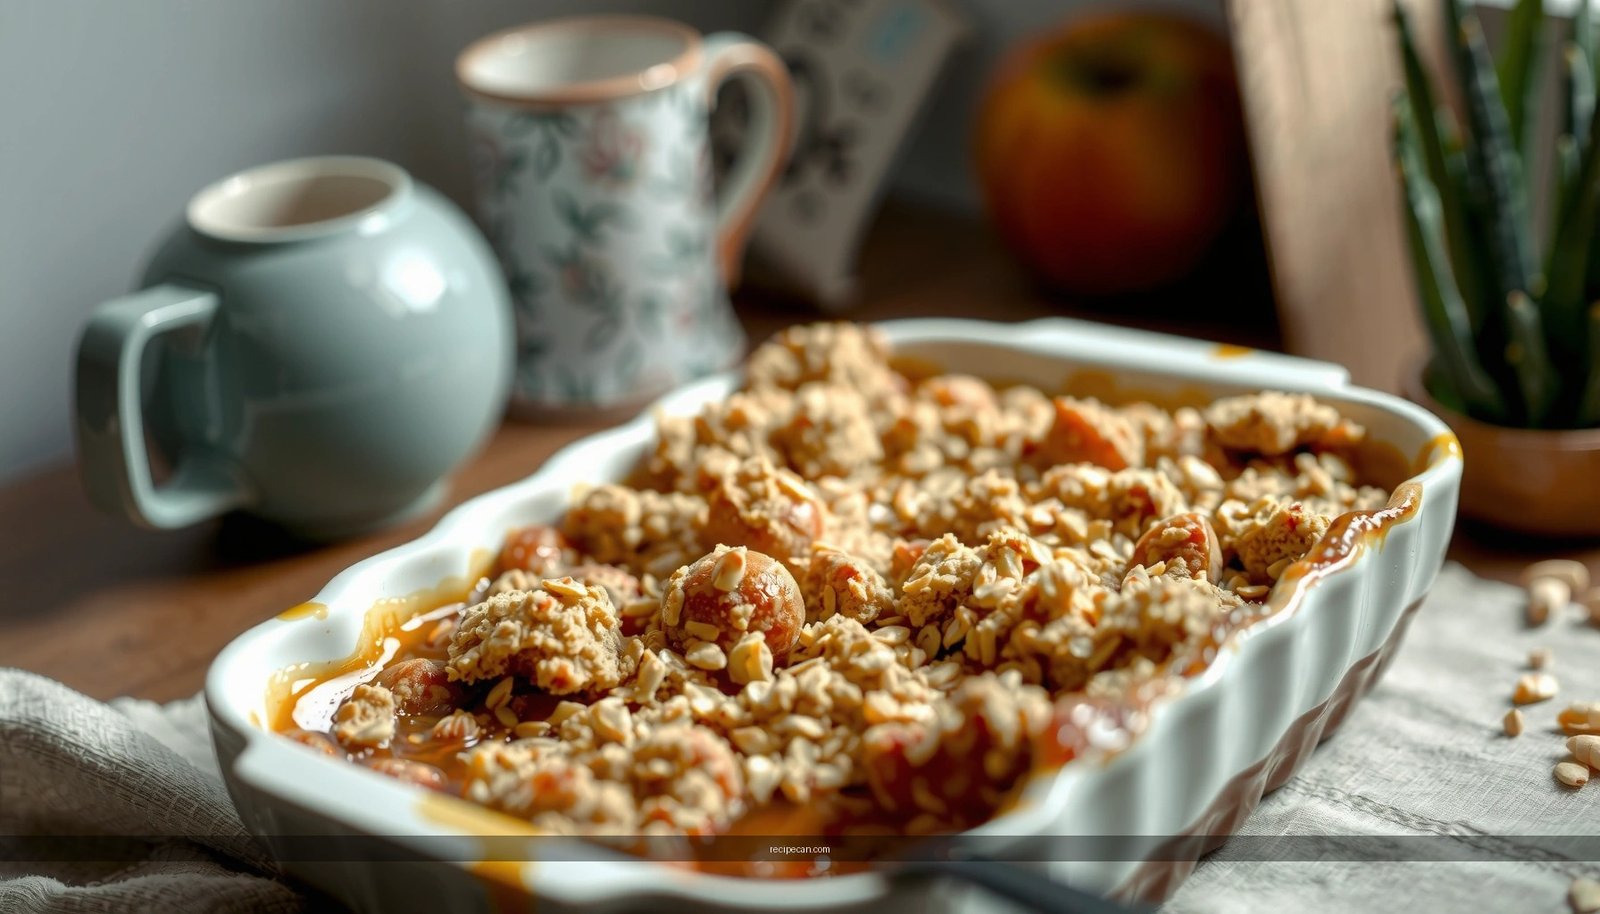
Find the best plum crumble recipe with easy steps that deliver a sweet, bubbling filling and a crisp, golden topping. This version tells you exactly how to cut the plums, build the crumb, and bake until the edges caramelize for maximum crunch. If you want a fast, reliable dessert with restaurant-style texture at home, this is the one.
This plum crumble recipe delivers a juicy, spoonable fruit filling with a buttery, crispy topping in about an hour—no advanced baking skills required. With the right ratio of plums to thickener and “cold” crumble technique, you’ll get a deep golden crust that stays crisp on top while the fruit underneath bakes into a rich, jammy layer.
Ingredients for Plum Crumble

A great plum crumble is built around two components: a flavorful fruit filling and a topping that bakes into uneven, crisp crumbs. For consistent results, focus on ingredient quality (especially butter) and use a thickener to prevent the filling from turning watery—particularly if you’re using frozen plums.
– Plums (fresh or frozen) as the main filling
Use firm, ripe plums for structured slices; if using frozen, keep them mostly thawed (so you don’t flood the dish with excess liquid).
– Rolled oats, flour, butter, and sugar for the crumble topping
Rolled oats contribute crunch and a bakery-style texture; flour provides structure; butter drives browning and crispness.
– Optional cinnamon or lemon for extra flavor
Cinnamon adds warm depth; lemon sharpens sweetness and highlights fruit acidity.
Pro tip for thickness: If your plums are very juicy (common with some varieties and with frozen fruit), consider using a slightly larger amount of thickener—this small adjustment is the difference between “set crumble” and “dessert that pools.”
Plums vs. Thickener: what you’re aiming for
You want the filling to bubble but not become runny. During baking, the thickener gelatinizes (or flour thickens) as the fruit releases liquid—this creates a cohesive, spoonable layer under the crisp topping.
—
Plum Crumble Ingredient Choices for Reliable Texture
| # | Ingredient Decision | Typical Amount (per 4 cups plums) | Texture Impact | Baking Outcome |
|---|---|---|---|---|
| 1 | Rolled oats in topping | 1 cup | Crisp edges & crunch | ★★★★★ |
| 2 | Butter kept cold | 1/2 cup (113 g) | Uneven crumb formation | ★★★★★ |
| 3 | Sugar for fruit layer | 1/3 to 1/2 cup | Balances plum tartness | ★★★★☆ |
| 4 | Flour thickener (all-purpose) | 2 tbsp | Reliable set when plums are fresh | ★★★★☆ |
| 5 | Cornstarch thickener (for frozen) | 1 tbsp | Tames extra fruit liquid | ★★★★★ |
| 6 | Salt in topping | 1/4 tsp | Enhances sweetness clarity | ★★★★☆ |
| 7 | Crumble topping thickness | ~1/2-inch (1.3 cm) even layer | More crunch, less sogginess | ★★★★☆ |
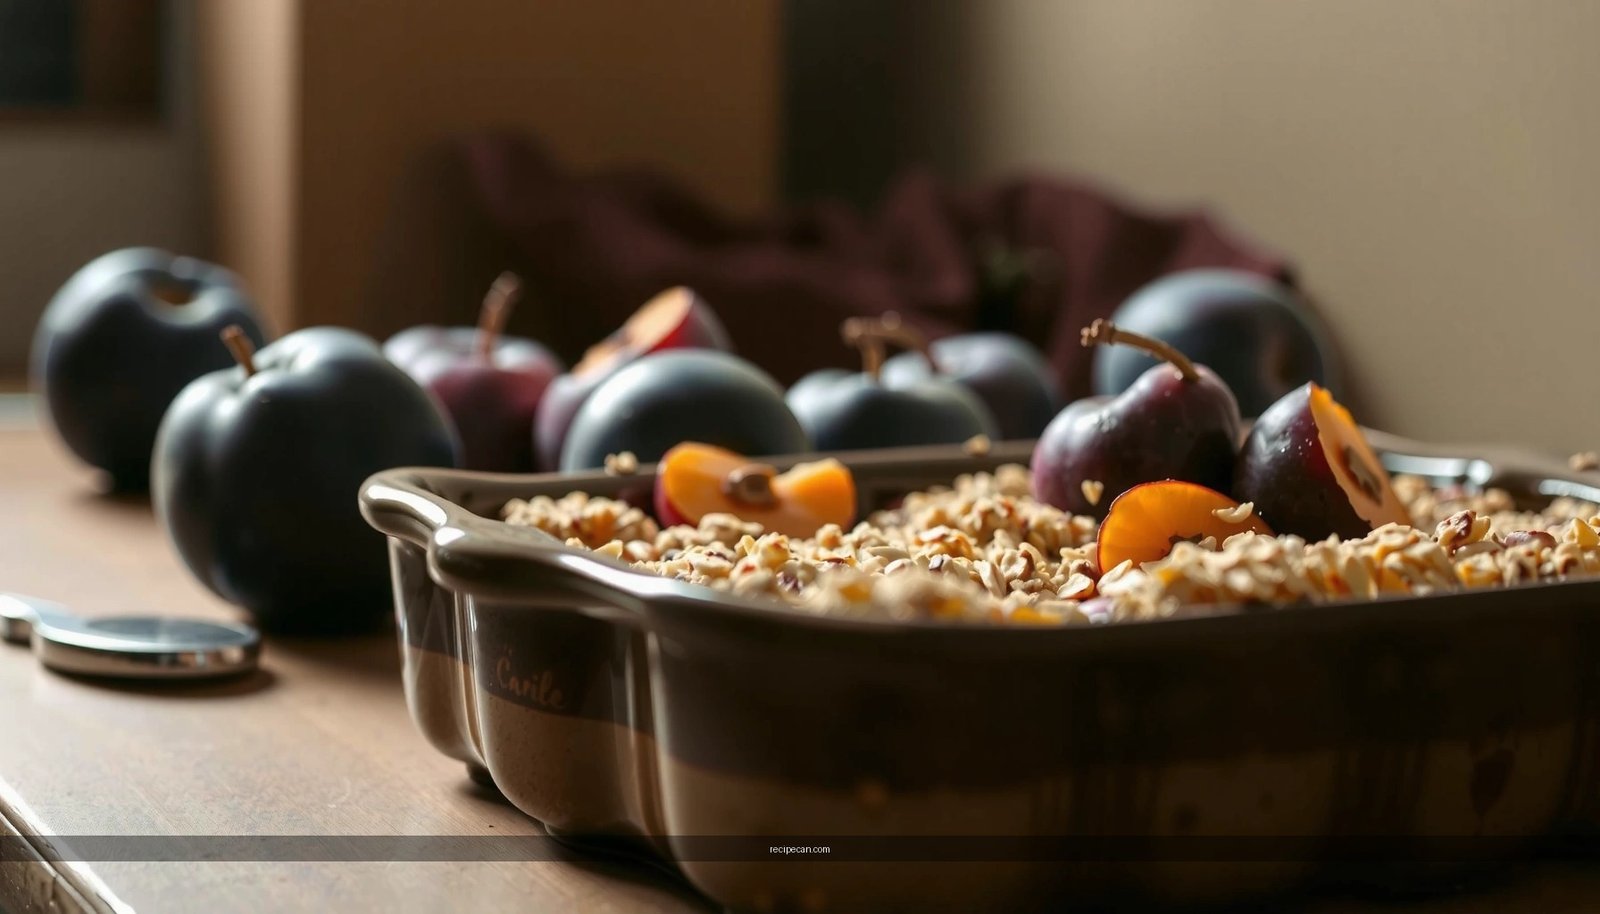
How to Prep the Plums

Preparation affects both flavor and texture. Even-sized slices bake more uniformly, and proper thickening keeps the filling cohesive under the crumble topping.
– Slice plums and remove pits; keep pieces evenly sized
Aim for similar thickness (roughly 1-inch chunks or slices). This reduces the risk of some pieces turning jammy while others stay firm.
– Toss plums with sugar and a thickener (like flour/cornstarch) if needed
– For fresh plums, flour often works well because they release less water.
– For frozen plums, cornstarch can be more effective for controlling runoff.
– Add a squeeze of lemon or pinch of cinnamon to balance sweetness
Lemon brightens plum flavor; cinnamon adds warmth without overpowering. A little goes a long way.
Actionable adjustment by sweetness:
Taste a plum slice (or a spoonful of thawed plums). If they’re tart, lean toward the higher end of sugar. If they’re already sweet, use less sugar and rely on lemon to keep the flavor “alive.”
Quick thickener technique that prevents lumps
After you slice plums, sprinkle sugar and thickener over the fruit, then toss thoroughly until everything looks lightly coated. If you’re using cornstarch, keep it dry and dispersed; wet clumps can form if you dump it on damp fruit without mixing.
Make the Crumble Topping
The topping is where the “crisp” in plum crumble comes from. The core principle: cold fat + dry ingredients + uneven crumbs. When cold butter hits the oven, it creates steam and structure—resulting in a crisp, golden top rather than a dense layer.
– Mix flour, oats, sugar, and salt, then cut in cold butter
Use cold butter straight from the fridge. Cut it into small cubes so it disperses evenly.
– Rub or combine until you get crumbly, uneven chunks
The goal is not a smooth dough. You want varied sizes—from sandy bits to pea-sized clumps—so some areas bake more deeply and crisp.
– Keep butter cold to ensure a crisp, golden finish
If your kitchen is warm, chill the topping mix for 10 minutes before assembling.
Best practice for professional-style crumble:
Avoid overmixing. When flour and butter combine too thoroughly, you can end up with a uniform paste that bakes into a chewy “cookie top” rather than a true crumble.Optional upgrades (still easy)
– Brown sugar (instead of part of white sugar): deeper caramel notes.
– Ground cinnamon: pairs especially well with darker plum varieties.
– Vanilla extract (a teaspoon into the fruit): boosts aroma without adding complexity you can’t taste.
Assemble and Bake
This is the step where timing and evenness determine the final texture. Your goal: bubbly fruit filling with a top that is visibly crisp and deeply golden.
– Spread the plum filling evenly in a baking dish
Use a dish that fits the quantity well—too large and the filling dries out; too small and it overflows. A common choice is a 9-inch (23 cm) square or similar capacity.
– Sprinkle crumble topping generously over the fruit
Cover thoroughly, especially near edges where fruit tends to bubble faster. A thicker topping layer reduces the chance of soggy crumbs.
– Bake until bubbling and the top is deep golden brown
Bake at a moderate-to-hot oven temperature (typically around 190°C / 375°F) until you see steady bubbling at the edges and the topping turns golden brown.
How to tell it’s done (without guessing):
Look for two cues:
1. Fruit bubbles around the perimeter of the dish (a sign the filling has thickened).
2. Top looks dry and crisp, not pale or slightly glossy.
Common problem: runny filling
If your crumble comes out watery, the likely cause is insufficient thickener or underbaking. Bake a few minutes longer next time; also consider using cornstarch for frozen plums.
Serving Suggestions
Plum crumble is at its best when served warm, when the topping is crisp but the filling is fluid enough to spoon. Serving temperature matters: too hot and it can seem runny; too cool and the fruit can set too firmly.
– Serve warm with vanilla ice cream or whipped cream
The cold dairy contrasts perfectly with the warm, jammy fruit and buttery crumble.
– Pair with tea, coffee, or a dollop of yogurt
Yogurt adds tang that echoes the lemony brightness in the filling. Coffee or tea makes it feel like a deliberate dessert “moment,” not an afterthought.
– Let it cool briefly for thicker filling and cleaner slices
Rest for 10–15 minutes. This sets the fruit slightly and helps crumbs stay intact when you serve.
Professional serving tip:
If you’re portioning for guests, use a spoon and scoop from the edge where the topping meets the fruit. That delivers the best “crumble-to-filling” ratio every time.
Storage and Reheating Tips
Crumble is forgiving, but reheating controls whether the topping stays crisp. Proper storage prevents moisture absorption, which is the enemy of a golden crumble top.
– Store leftovers covered in the fridge up to 3-4 days
Cool the crumble first, then cover tightly to reduce drying and fridge odors.
– Reheat in the oven or toaster oven to restore crispness
Oven reheating (rather than microwave) re-crisps the topping. Heat until warmed through; avoid overheating or the topping can become too dry.
– Freeze assembled crumble before baking for convenient future desserts
For best texture, freeze the assembled dish before baking. When ready, bake from frozen (you may need a few extra minutes). This preserves the cold-butter crumb technique that produces crisp results.
If you already baked it and want crisp again:
Spread individual portions on a baking tray, then reheat uncovered. This allows moisture to escape, keeping the crumble crunchy instead of soft.
—
A reliable plum crumble comes down to three controllable factors: preparing evenly cut plums and using the right thickener, making the crumble topping with cold butter for crisp uneven crumbs, and baking until you see bubbling fruit plus a deep golden top. Follow these steps, and you’ll consistently get a sweet, juicy filling with a buttery, crunchy finish—ideal for weeknight desserts, entertaining, or meal-prep-friendly make-ahead baking.
Frequently Asked Questions
What is the best plum crumble recipe for a juicy filling?
A great plum crumble recipe starts with ripe, slightly firm plums so they release juice without turning watery. Toss sliced plums with sugar (and a little lemon juice) to balance tartness, then let them sit for 10–15 minutes before assembling. For the topping, use a mix of flour, oats, brown sugar, and cold butter to create a crisp, golden crumble that contrasts the juicy baked fruit.
How do you keep plum crumble from getting watery?
To prevent watery plum crumble, avoid using overly soft plums and cut them evenly so they cook consistently. Toss the fruit with a thickening agent like cornstarch or flour (about 1–2 tablespoons per 4–5 cups of plums) and bake until the filling bubbles around the edges. Let the crumble rest for at least 10–15 minutes after baking so the plum filling firms up before serving.
Why is my crumble topping not crunchy, and how can I fix it?
If your crumble topping turns soft, it’s usually because the butter is too warm or you didn’t mix until it resembles coarse crumbs. Use cold butter and rub it into the dry ingredients, then chill the topping for 10 minutes if your kitchen is warm. Baking at the right temperature and giving it enough time to brown—especially on top—also helps ensure a crunchy crumble topping.
Which spices pair best with plums in a crumble recipe?
Warm spices like cinnamon and nutmeg are classic for plum crumble and enhance the fruit’s natural sweetness. A pinch of ground ginger or cardamom can add complexity without overpowering the filling. If you like a slightly more “dessert bakery” flavor, adding a small amount of vanilla extract to the plum mixture works well too.
How do you make a plum crumble recipe ahead of time and store it?
You can prepare the plum filling and crumble topping separately up to 24 hours in advance, then assemble and bake when you’re ready. For fully baked storage, cool the crumble completely, cover, and refrigerate up to 3 days. Reheat in the oven at 325°F/160°C for 10–15 minutes to re-crisp the topping, rather than microwaving, which can soften the crumble.