Want an apple crumble recipe that’s genuinely easy and turns out perfect every time? This step-by-step guide shows exactly how to make apple crumble—from prepping the apples to mixing the crumb topping and baking until golden. Follow these instructions and you’ll get a crisp, buttery topping with juicy, spiced apples, without guesswork.
Use this method to cook the apples until they turn juicy and jammy, then top them with a buttery crumb and bake until deeply golden and bubbling. This step-by-step apple crumble recipe walks you through exactly what to prep, how to build the topping for maximum crunch, and when to stop baking so your dessert sets cleanly.
This classic baked dessert is loved because it’s forgiving: even if your apples vary slightly in sweetness or firmness, the crumble format still delivers a balanced bite—tender fruit underneath and a crisp, fragrant topping above. The key is controlling moisture (so it doesn’t go soggy), building the crumb with cold butter (so it stays crisp), and baking long enough for golden edges and active bubbling.
Gather Ingredients for Apple Crumble

Before you start cooking, assemble the right ingredients for an apple crumble that’s fragrant, cohesive, and properly crunchy. For the best flavor and texture, focus on apple variety and butter quality—those two factors do most of the work.
– Apples: choose tart-sweet varieties like Granny Smith for the best flavor
Tart apples hold their shape and balance the sweetness of the topping. If you prefer a sweeter profile, you can mix Granny Smith with Honeycrisp or Pink Lady (or another crisp, juicy variety).
– For the topping: flour, sugar, butter, and optional cinnamon or oats
Flour provides structure; sugar promotes caramelized browning; butter is what creates the sandy crumb. Optional cinnamon adds warmth, and oats can add extra crunch and chew.
– Optional add-ins: lemon juice, vanilla, or a pinch of salt to enhance taste
Lemon juice sharpens apple flavor and helps prevent greying. A small amount of salt makes the overall dessert taste “complete,” even though it won’t taste salty.
Recommended baking yield: This recipe is ideal for an 8×8-inch (20×20 cm) baking dish or similar volume (about 6–8 servings).
Apple Variety Guide for Apple Crumble Texture (Best Use)
| # | Apple variety | Flavor profile | Baking behavior | Best for |
|---|---|---|---|---|
| 1 | Granny Smith | Tart, crisp | Holds shape; juicy | Balanced filling + structure |
| 2 | Honeycrisp | Sweet-tart | Softens; very juicy | High-fruit flavor |
| 3 | Pink Lady (Cripps Pink) | Sweet, aromatic | Tender; caramelizes well | Dessert that tastes bakery-level |
| 4 | Braeburn | Balanced, tangy | Moderate softening | Reliable everyday crumble |
| 5 | Golden Delicious | Mild, sweet | Breaks down easily | Can go mushy without thickening |
| 6 | Jonagold | Sweet with tart edge | Soft but flavorful | Warm spice-friendly fillings |
| 7 | Cox’s Orange Pippin | Tangy, fragrant | Keeps texture; aromatic | Complex flavor with minimal spice |
Prep and Cook the Apple Filling

The apple filling is the foundation of your crumble. Cook it just enough so juices thicken and cling to fruit, which improves sliceability and prevents a watery bottom.
– Peel and slice apples, then toss with sugar, lemon juice, and cinnamon
Slice consistently (about 1/4-inch / 6 mm thick). This ensures even softening. Cinnamon is optional, but it plays especially well with tart varieties like Granny Smith.
– Cook briefly on the stove to thicken juices (or bake longer if skipping)
A short stovetop simmer—roughly 6–10 minutes—reduces excess liquid and concentrates flavor. If you skip stovetop cooking, plan for a longer bake so the filling fully sets in the oven.
– Add a thickener if desired (like flour/cornstarch) for a firmer filling
If your apples are very juicy (Honeycrisp, for example) or if you want a sliceable crumble for serving guests, use a small thickener. Flour adds mild body; cornstarch thickens more assertively. Start with a light hand—too much can taste pasty.
Practical guideline: Your filling should look glossy and slightly thick, not dry and not thin like soup. When you spoon it, it should mound and hold for a moment.
Quick timing targets
– Stovetop method: simmer 6–10 minutes, then assemble and bake to brown the topping.
– No-stovetop method: assemble and bake longer so juices evaporate and thicken naturally (often closer to the upper end of the bake window).
Moisture control for professional results
Moisture is the #1 reason crumble toppings lose crunch. Even with a great topping, a loose filling can steam and soften the crumb. To avoid that, aim for:
– properly sliced apples (more surface area = easier thickening)
– reduced juices (brief simmer)
– optional thickener when fruit is very juicy
– correct baking temperature (enough heat to drive off liquid and brown crumb)
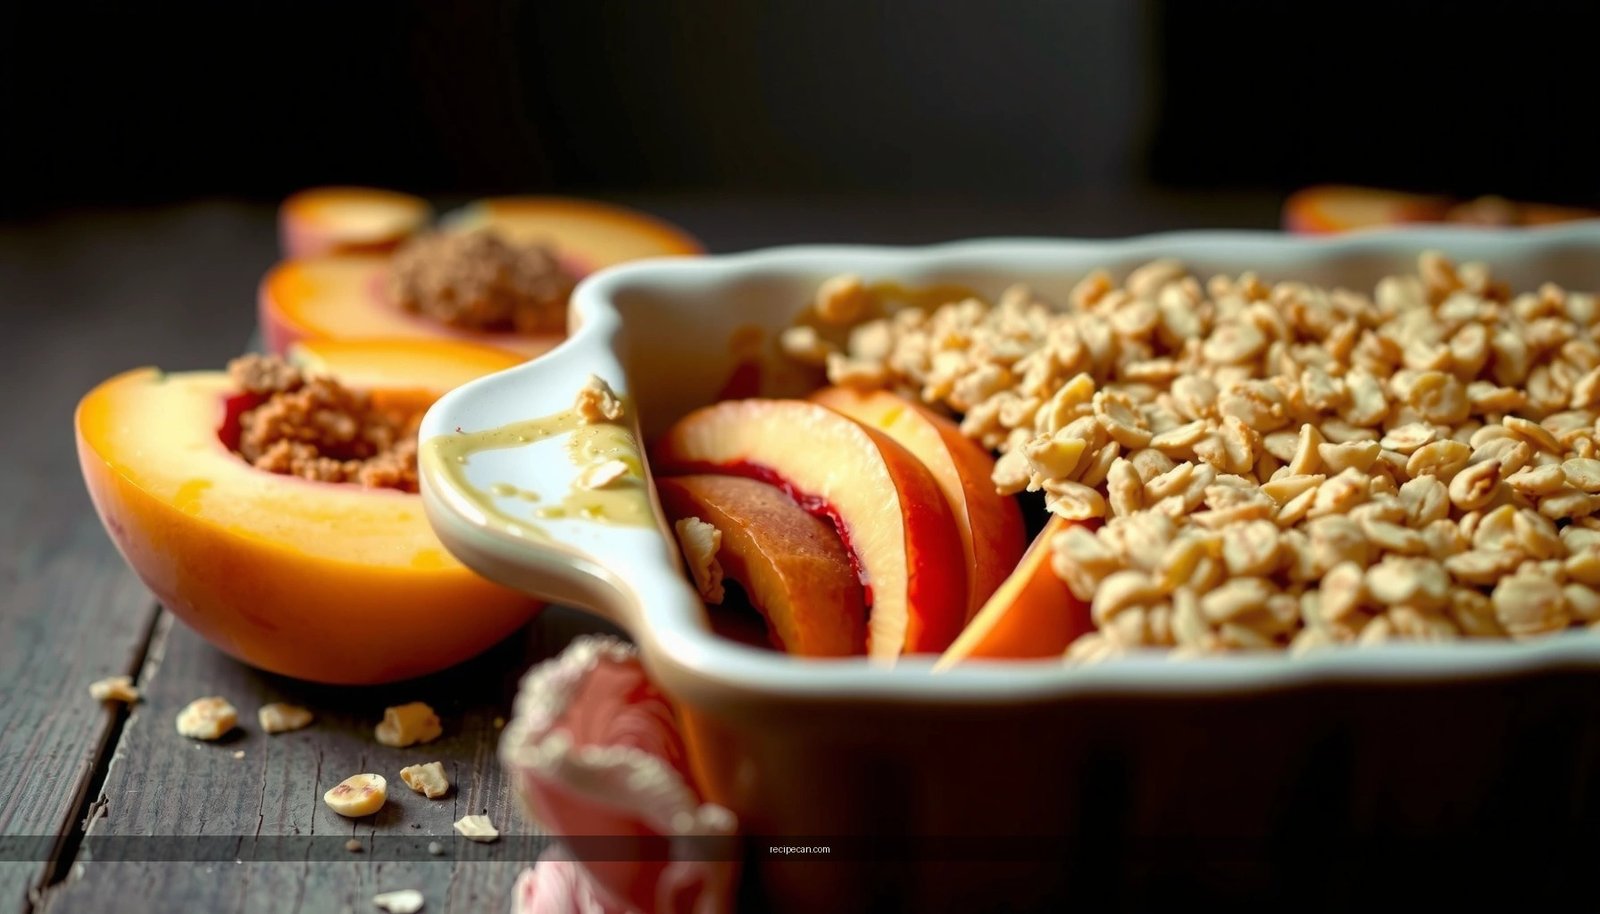
Make the Crumble Topping
Crumble topping is all about texture: sandy, buttery crumbs with some larger pieces for crunch. The biggest lever you control here is cold butter and how you mix.
– Mix dry ingredients, then cut in cold butter until you get sandy crumbs
Combine flour and sugar first. Then add cold butter and use a pastry cutter, fork, or your fingertips to work it in until you see uneven crumb sizes.
– Leave some larger chunks for extra crunch
If you mix until everything is uniform, you’ll bake a finer texture that can be less crisp. Larger clumps brown more and stay crunchy longer.
– Chill the topping briefly if your kitchen is warm
Warm butter melts faster and can cause the topping to become greasy or collapse. A 10–20 minute chill helps it hold its shape.
Texture checklist: You’re aiming for crumbs that look like coarse sand with a few walnut-sized lumps. No liquid butter should pool in the bowl.
Oats and spice in the topping (optional but recommended)
– Oats: add to the crisp edge and provide a rustic flavor. Use them partially (not necessarily all of the flour).
– Cinnamon: sprinkle a small amount into the crumb for aromatic depth.
– Vanilla (tiny amount): can be added to the apple filling rather than the topping for a more integrated sweetness.
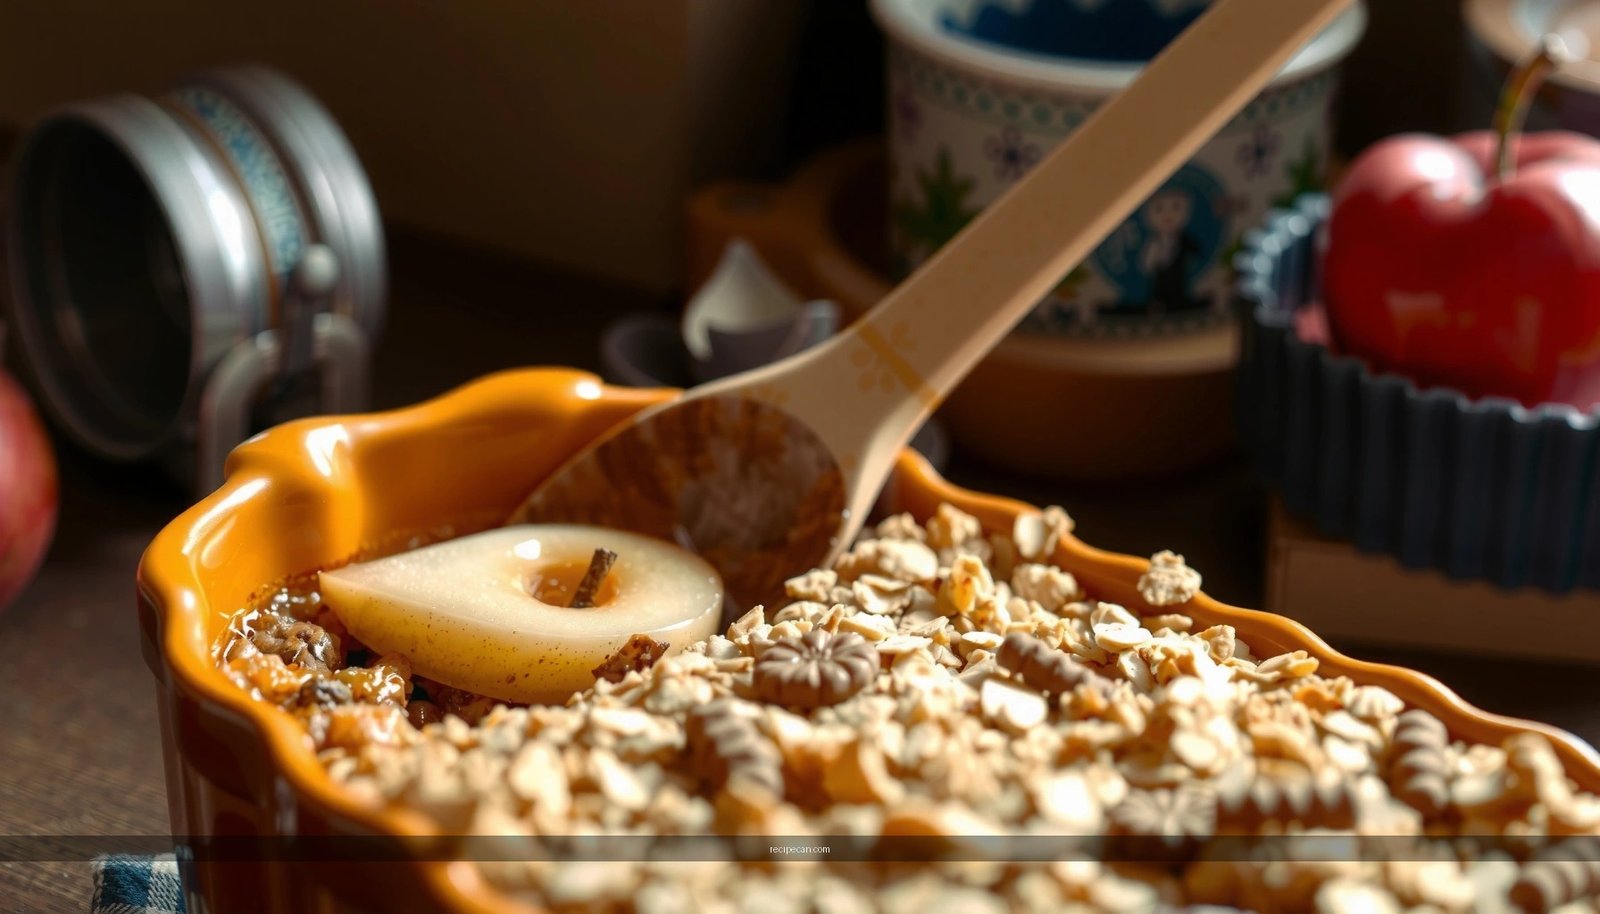
Assemble the Apple Crumble
Assembling is where you prevent “uneven bites,” burnt edges, or topping gaps. Treat this like portioning: fruit coverage matters as much as crumb distribution.
– Spread the apple filling evenly in a baking dish
Keep the layer fairly even so the apples cook at the same rate. If using an 8×8 dish, don’t overfill so juices can bubble without overflowing.
– Cover with an even layer of crumble topping
Ensure you have full coverage—not a thin scatter. Every area should get crumb contact so the top browns consistently.
– Ensure the apples are fully topped so every bite is balanced
Pay extra attention to corners and edges. Those areas can dry out or brown too quickly if exposed.
Optional step for extra crispness: Place the dish on the center rack and avoid covering it with foil unless the topping browns too fast. If you need to protect browning, cover loosely during the first half of baking, then uncover to finish.
Bake Until Golden and Bubbling
Baking is where crumble transforms from “ready to bake” into “restaurant-style.” The correct temperature and cues—golden color and bubbling—indicate that apples are tender and juices have thickened.
– Bake at a hot temperature (typically 350–375°F / 175–190°C) until golden
Most home ovens perform best around 375°F / 190°C for a crisp top and dependable fruit softening.
– Look for bubbling filling around the edges as your doneness cue
When juices bubble at the perimeter, it usually means the filling has reduced and thickened enough. If you only see bubbling in the center, the edges may be underdone or the dish may be too deep.
– Let it cool slightly so the filling sets and slices cleanly
Cooling is not optional if you want clean servings. Give it 10–20 minutes. The crumble will continue to set as steam dissipates.
Troubleshooting guide
– Watery filling: apples may have been too juicy, thickener skipped, or bake time too short. Next time, simmer apples briefly or bake closer to the upper temperature range.
– Topping too pale: increase bake time by 5–10 minutes, or ensure oven is fully preheated.
– Topping too greasy: butter may have been too warm or crumb mixed too aggressively. Use colder butter and chill the topping.
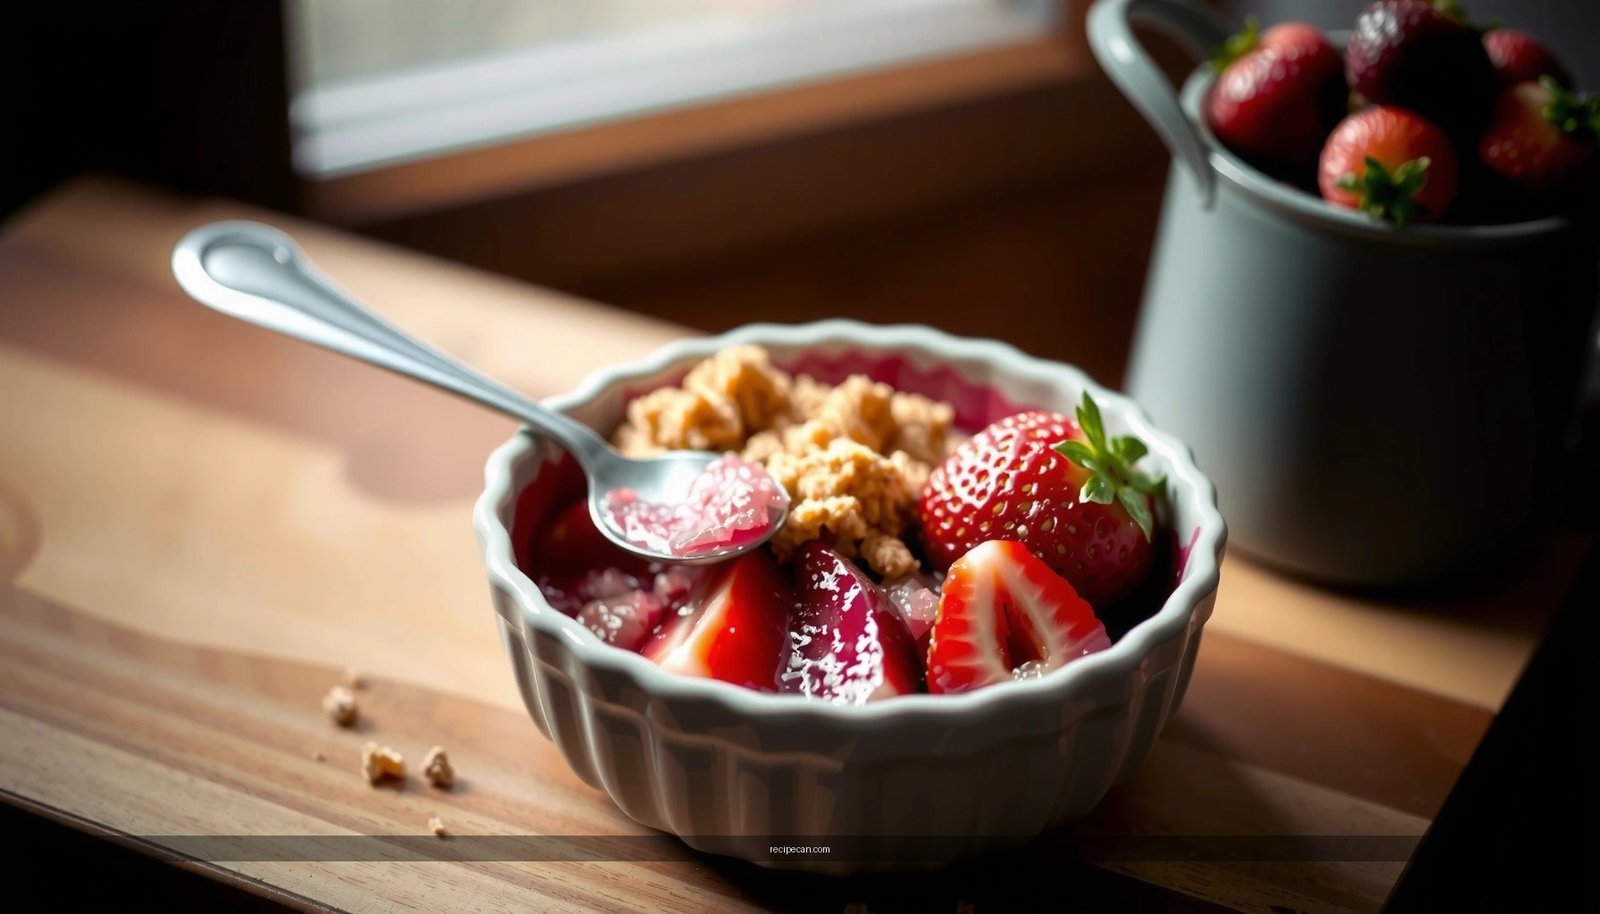
Serve and Customize Your Apple Crumble
Serving is where you maximize flavor contrast: warm fruit and crisp topping pair beautifully with cooling, creamy add-ons.
– Serve warm with vanilla ice cream, whipped cream, or Greek yogurt
Ice cream is the classic option because it melts slightly over the warm filling, intensifying aroma and sweetness.
– Make it your own with oats, nuts (walnuts/pecans), or extra spices
– Walnuts/pecans: add toasty crunch and a richer mouthfeel. Fold into the topping after cutting in the butter.
– Extra spices: consider cardamom, ginger, or nutmeg—use sparingly to avoid overpowering apple flavor.
– Oats: increase crispness and keep the topping rustic.
– Store leftovers and reheat for best texture
Refrigerate covered. For best results, reheat in an oven or toaster oven at around 325°F / 165°C until warmed and the topping regains some crunch. Microwaving works, but it tends to soften crumb texture.
Make-ahead and batch planning (helpful for hosting)
– Make filling ahead: it holds well in the fridge for a day; assemble and bake when ready.
– Freeze assembled (optional): some bakers freeze crumb-topped apple dishes before baking. If you do, bake from frozen, extending time slightly and watching top browning.
Warm, juicy apples with a crisp, golden crumble topping are the result when you prep the filling, build the topping correctly, and bake until it’s bubbling. Follow the steps above, choose your preferred apple variety, and serve it immediately for the best crunch—then experiment with oats, nuts, or spices next time.
Frequently Asked Questions
How do you make an easy apple crumble recipe from scratch?
Start by preheating your oven to 350°F (175°C). Peel and slice apples, then toss them with sugar, cinnamon, and a squeeze of lemon to keep the fruit flavorful and not overly watery. For the topping, combine flour, rolled oats, brown sugar, cinnamon, and cold cubed butter, then rub it together until crumbly. Bake until the apples are bubbling and the crumble is golden brown, usually 35–45 minutes.
How do you prevent apple crumble from becoming watery?
Watery apple crumble usually comes from too much liquid released by the apples. Choose firm, baking apples (like Granny Smith or Honeycrisp) and slice them evenly so they cook at the same rate. Add a little lemon juice and use the right amount of sugar and spices; you can also toss the apples with 1–2 teaspoons of cornstarch for extra thickening. Bake until you see bubbling in the filling, which is the sign the juices have reduced and thickened.
Why is my apple crumble topping not crispy, and how can I fix it?
If your crumble topping is soft or doesn’t crisp, it’s often because the butter was too warm or the topping was overmixed. Use cold butter and mix only until you get coarse crumbs, not a smooth dough. Baking at the right temperature helps crisp the oat-and-flour topping; if needed, bake a few minutes longer until the edges are deeply golden. Let the crumble rest for 10 minutes before serving so the topping firms up.
Which apples are best for an apple crumble recipe?
The best apples for apple crumble are firm varieties that hold their shape while baking, such as Granny Smith for tart flavor or Honeycrisp for sweetness and texture. For a balanced filling, you can mix sweet and tart apples (like Golden Delicious plus Granny Smith). Avoid very soft apples, since they can break down and create a mushy filling. Taste the apples before adding sugar—tart apples may need less sweetener.
What’s the best way to prepare apple crumble topping ahead of time?
You can prep the apple crumble topping in advance by combining the dry ingredients (flour, oats, sugar, cinnamon) and storing them separately from the cold butter. When you’re ready to bake, add cold cubed butter and rub it together to form crumble, then top the prepared apple filling. Alternatively, assemble the crumble in the dish and refrigerate it briefly, but bake within a day for best texture. If freezing, freeze unbaked for up to a month and bake directly from frozen, adding extra time as needed.