You can make an apple pie recipe with crumble topping that delivers a crisp, buttery crunch on top and a flaky base without guesswork. This easy, step-by-step method answers whether crumble topping is the best route to a more flavorful, less fussy pie—and the answer is yes. Expect tender, cinnamon-spiced apples under a golden crumble that sets cleanly for slicing.
Bake an apple pie with tender, spiced apples and a buttery crumble topping that turns golden and crisp in the oven—no guesswork needed. This recipe walks you through cooking the filling to avoid a watery pie, assembling it with a flaky crust, and baking it until the top is deeply browned and irresistibly crunchy.
This is the kind of apple pie that works for busy schedules and still delivers “bakery-quality” results: a supportive crust base, a flavorful filling with the right thickness, and a crumble that stays crisp rather than sinking. Along the way, you’ll learn the practical mechanics behind great apple pie—how apple slice size affects tenderness, how pre-cooking or macerating improves texture, and how to time the bake so you get both bubbling filling and a crunchy topping.
Classic Apple Pie Crust Base

– Use a homemade or store-bought flaky pie crust for reliable structure
– Keep the crust chilled before baking to prevent shrinking and soggy bottoms
A great apple pie starts with crust that can handle moisture and heat. Whether you make your own pie dough or use a high-quality store-bought crust, the objective is the same: create a structural barrier that supports the filling without becoming soft or shrinking.
How to choose your crust
– Homemade: Opt for a flaky, butter-forward dough (rather than a sweet pastry dough) so it bakes crisp and golden. If you’re using a standard all-butter recipe, you’ll get strong flavor and reliable layering.
– Store-bought: Pick a crust labeled “flaky” (not “deep dish” unless you’re intentionally scaling the recipe). For best results, use a brand that specifies it’s designed for baking pies—not par-baking tarts.
Chill for performance
Chilling is not optional—it’s the difference between:
– A crust that holds shape (clean edges, even browning), and
– A crust that slumps (uneven bake, gaps for juices to leak).
Before baking:
1. Assemble the pie and place it in the refrigerator for 15–30 minutes (even 10 minutes helps).
2. If the kitchen is warm, chill longer. Butter needs to firm up again before it hits the oven.
Optional improvement: protect the bottom
If you want extra insurance against sogginess, consider:
– Lightly dusting the bottom crust with 1–2 teaspoons of flour or
– Using a thin layer of breadcrumbs (they absorb moisture without changing flavor much).
This technique is especially helpful when apples release juice quickly.
Spiced Apple Filling (Sweet + Tender)

– Slice apples evenly so they cook at the same rate
– Cook or macerate with sugar, cinnamon, and a thickener to avoid watery pie
Most “watery apple pie” problems aren’t caused by your oven—they’re caused by filling ratios and water management. Apples are mostly water, and without enough sugar/thickener interaction, they can’t thicken properly once baked.
Start with the right apples
Choose apples that maintain texture while softening:
– Honeycrisp (sweet, holds shape well)
– Granny Smith (tart, balances sweetness)
– Braeburn or Gala (solid everyday options)
For a more complex flavor profile, use two varieties (e.g., Honeycrisp + Granny Smith).
Slice size = tenderness control
Even slices cook evenly. Aim for roughly:
– 1/4-inch (6 mm) slices for faster, consistent tenderness
– Thicker slices can work, but they may require a longer bake time
Macerate vs. cook (and why both work)
You have two reliable filling strategies:
1. Macerate (pre-soak): Toss sliced apples with sugar and spices, then let sit so juices release. This “sets up” the thickener to work in the oven.
2. Cook briefly (recommended for a thicker result): Simmer spiced apples with sugar and thickener until glossy. This reduces the risk of a runny center and speeds up the final bake.
For crumble-topped apple pie, cooking the filling briefly is particularly effective because you’ll be adding a thick, crisp layer on top—your filling needs to be proportionally thick to match.
What “perfect” filling looks like
After cooking or macerating:
– Apples should be tender but not mushy
– The juices should be syrupy, not watery
– The filling should lightly cling to the spoon
If it looks thin at this stage, you can fix it: simmer 1–3 minutes longer to reduce liquid or add a small amount more thickener next time (details below).
Quick thickener guidance (practical and accurate)
Common options include:
– Cornstarch: great for glossy pie filling; typically used around 1 tablespoon per 5–6 cups apples (adjust based on apple juiciness).
– Flour: works too, but may require a bit more simmering and can be slightly less “silky.”
– Clear-drying thickeners: can be helpful if you want a translucent look.
Because apples vary by variety and ripeness, the best approach is to check consistency and adjust through reduction.
To make this more concrete, here’s a data table you can reference as you build your filling. It reflects typical results when cooking a crumble-topped apple pie filling for a standard 9-inch pie (about 5–6 cups sliced apples).
Filling Consistency Benchmarks for a 9-Inch Crumble Apple Pie
| # | Filling Stage | Target Texture | Typical Cook/Macerate Time | Juice Thickness Rating |
|---|---|---|---|---|
| 1 | Raw sliced apples + sugar + cinnamon | Dry-ish, apples beginning to release moisture | 5–10 min | 2/5 |
| 2 | Macerated apples (before thickener) | Juices pooled, apples slightly glossy | 20–30 min | 2.5/5 |
| 3 | After adding cornstarch + simmering | Coating syrup starts forming | 2–4 min | 3.5/5 |
| 4 | Reduced filling for assembly | Glossy, spoon leaves tracks | 5–8 min | 4/5 |
| 5 | After full bake (center set) | Bubbles, filling thickens as it cools | 35–55 min | 4.5/5 |
| 6 | Under-reduced filling (risk) | Watery pooling around apples | <3 min simmer | 1.5/5 |
| 7 | Over-reduced filling (risk) | Very thick paste; apples tight | >12 min simmer | 3/5 |
This benchmark-based approach helps you tune your filling for the apples you have today—whether they’re crisp and juicy or softer and sweeter.
Crumble Topping Ingredients
– Combine flour, butter, sugar (and optional oats) for a crisp texture
– Build the crumble so it’s coarse—bigger bits bake up better
A crumble topping should taste buttery and bake into a crisp, crunchy layer—not a fine dust. To achieve that, focus on crumb size and fat distribution.
Core ingredients (what they do)
– Flour: structure for a golden crumb.
– Butter: provides flavor and browning; determines “crispness.”
– Sugar: sweetness plus caramelized crunch.
– Optional oats: adds texture and helps create a more robust crunch.
How to form coarse crumbs
After you combine dry ingredients, cut in cold butter until you see:
– pea-sized and oat-sized clumps
– some small sand-like bits mixed in (that balance is good)
Then crumble it loosely across the filling. If you overwork it until everything is uniform, you’ll get a thinner, more dense top.
Best practice: butter temperature
Use cold butter directly from the fridge. If it’s too warm, the topping becomes greasy and can melt into the filling rather than crisping.
Flavor upgrades that stay “apple-pie appropriate”
– A pinch of nutmeg or extra cinnamon
– Brown sugar for deeper caramel notes
– A small amount of salt to sharpen sweetness (usually 1/8 to 1/4 teaspoon in a standard topping)
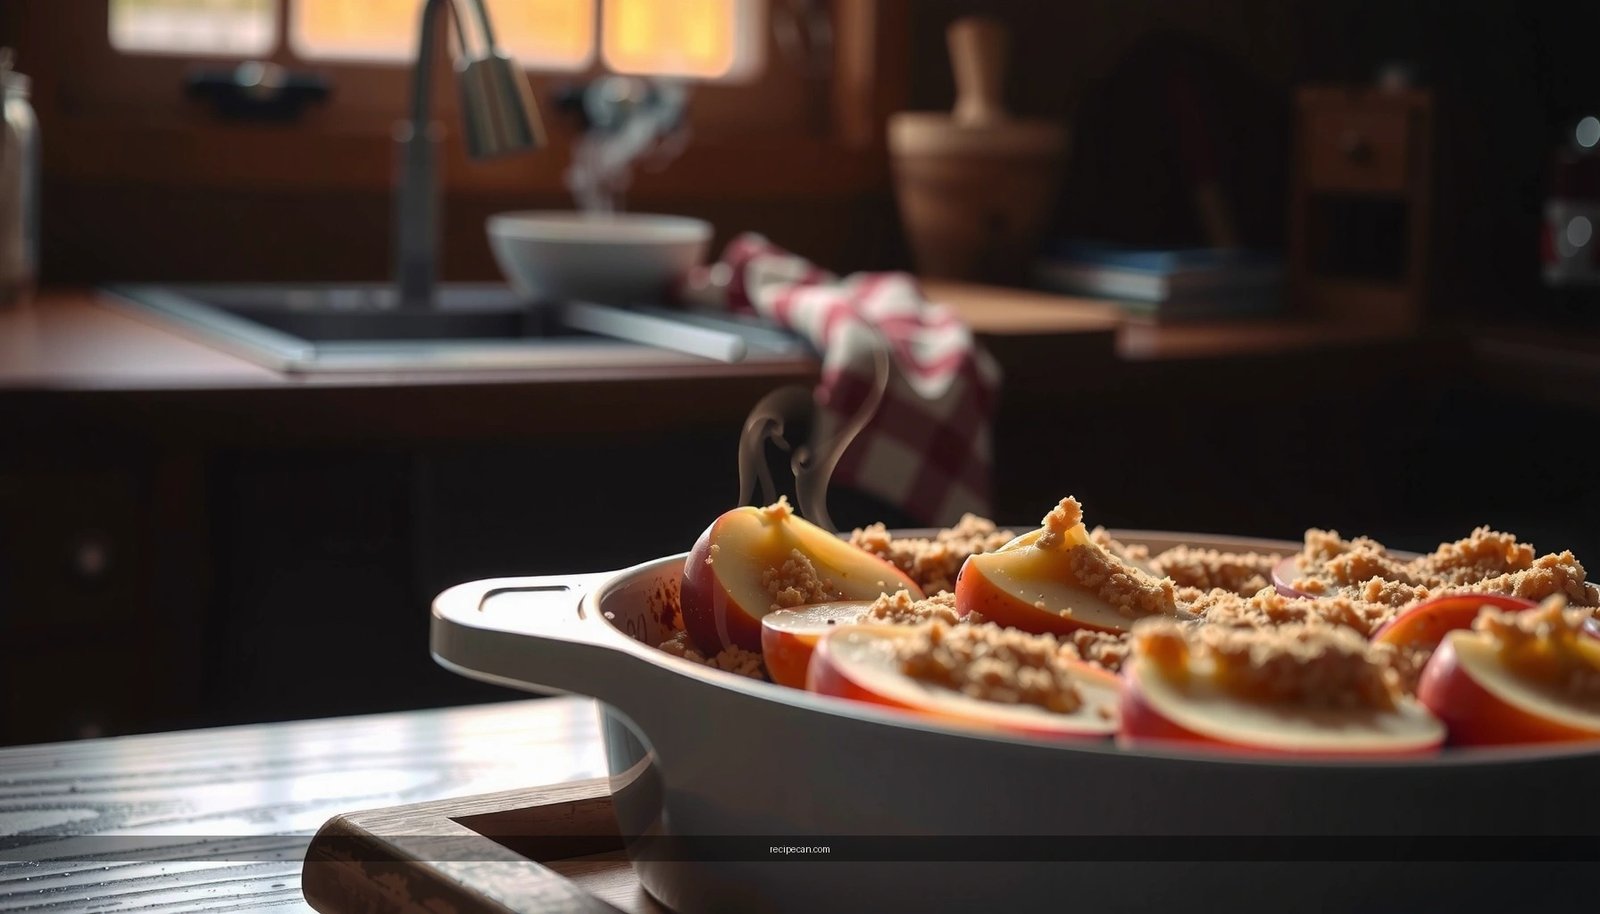
Assemble the Apple Pie
– Pour spiced apples into the crust, leaving a small gap near the edges
– Sprinkle crumble generously over the top for even coverage
Assembly is where you prevent leaks and promote even baking. A pie that looks great going into the oven has to be positioned correctly to come out with a clean shape and balanced cook time.
Simple assembly steps
1. Line your pie dish with your chilled crust (if making a two-crust pie, you’ll have different steps—this recipe is single crust + crumble).
2. Pour the spiced apples into the crust.
– Leave a small gap around the rim so the filling doesn’t overflow when it bubbles.
3. Let the filling steam settle briefly (2–5 minutes) if it’s very hot—this helps the crumble stay on top.
4. Sprinkle crumble topping evenly.
– Aim for generous coverage; you want a consistent layer, not sparse clumps.
Edge protection
If you notice your crust edges brown faster than the top, plan to cover them:
– Tent with aluminum foil once the edges are golden.
– This also reduces the chance of over-browning a crumble that’s already close.
Bake Time and Temperature Tips
– Bake until the filling bubbles and the topping is deep golden brown
– If the top browns too fast, tent with foil to keep it from burning
Apple pie baking is about hitting two signals at once:
1. Filling bubbling (the thickener is working and the center is hot enough)
2. Deep golden crumble (browning and crisping have completed)
Temperature and timing
A reliable approach:
– Bake at 400°F (205°C) to drive browning and activate thickening effectively.
– Then, if needed, reduce to 375°F (190°C) mid-bake if the top is coloring too quickly.
Total bake time is commonly 35–55 minutes, depending on:
– apple slice thickness,
– whether you pre-cooked the filling,
– oven variance and pie depth.
What to look for
– Bubbling around the center and along the edges = done.
– Topping should be deep golden, not pale beige.
If the top browns too fast
Tent loosely with foil—this slows browning without fully stopping heat transfer. Do this when:
– crumble is getting dark before the filling bubbles consistently.
Resting matters
Let the pie cool at least 30–45 minutes before slicing. Thickened apple filling continues to set as steam dissipates. If you cut too soon, the pie may “run” even though it’s technically baked through.
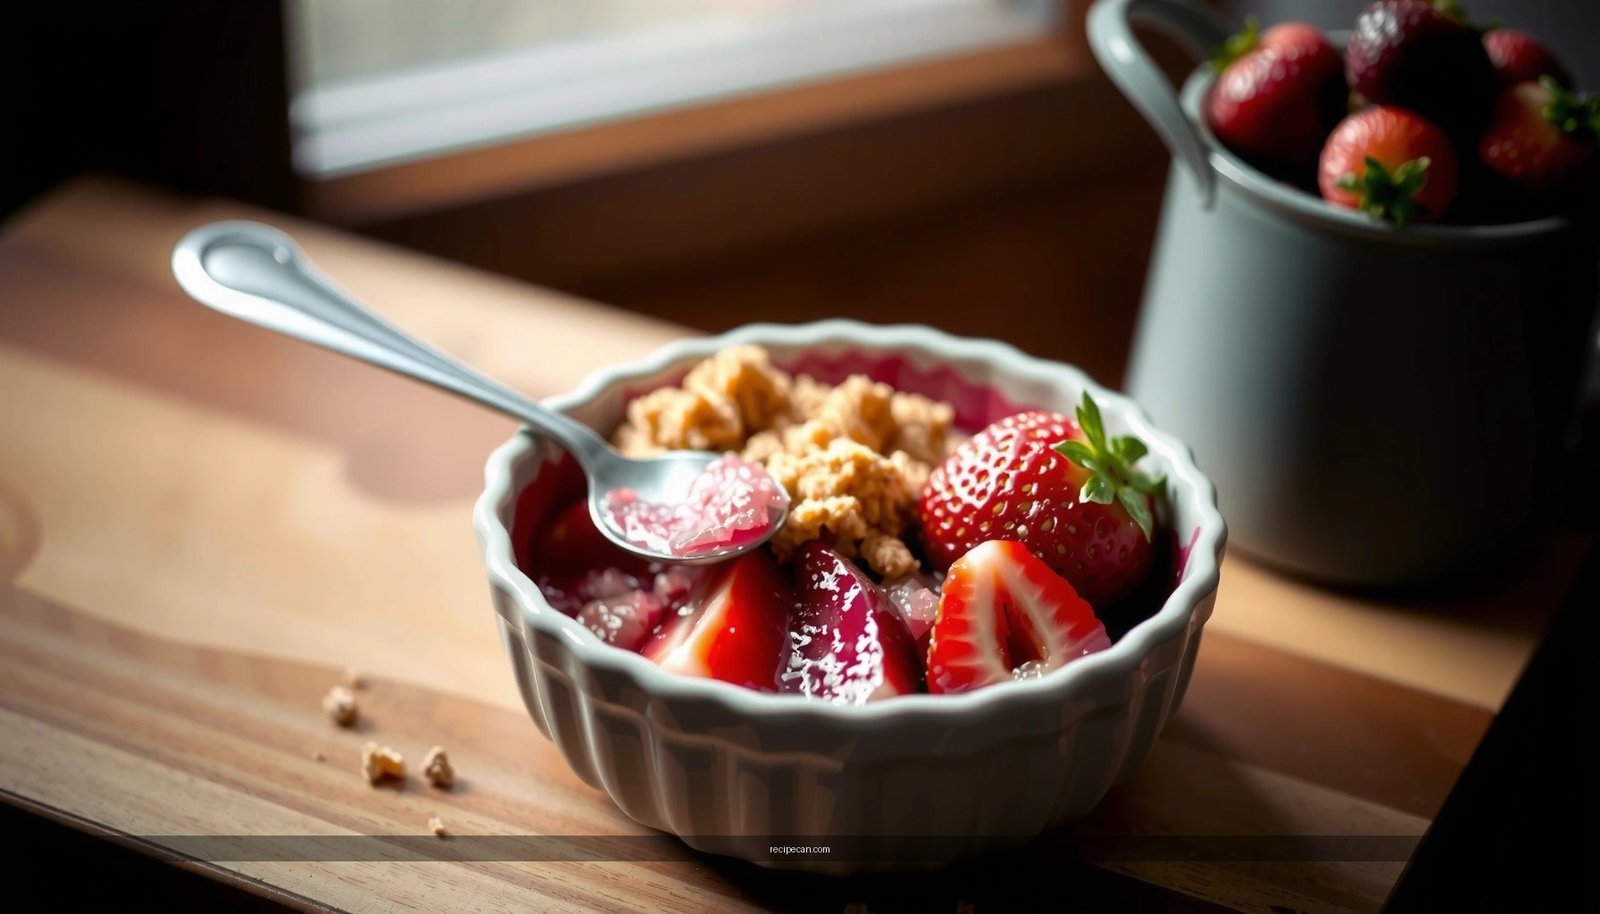
Serving, Storage, and Reheating
– Let the pie cool slightly so the filling sets
– Store covered and reheat for a crispier topping (oven or toaster oven works best)
The best apple pie experience isn’t just about baking—it’s about how you serve and reheat it.
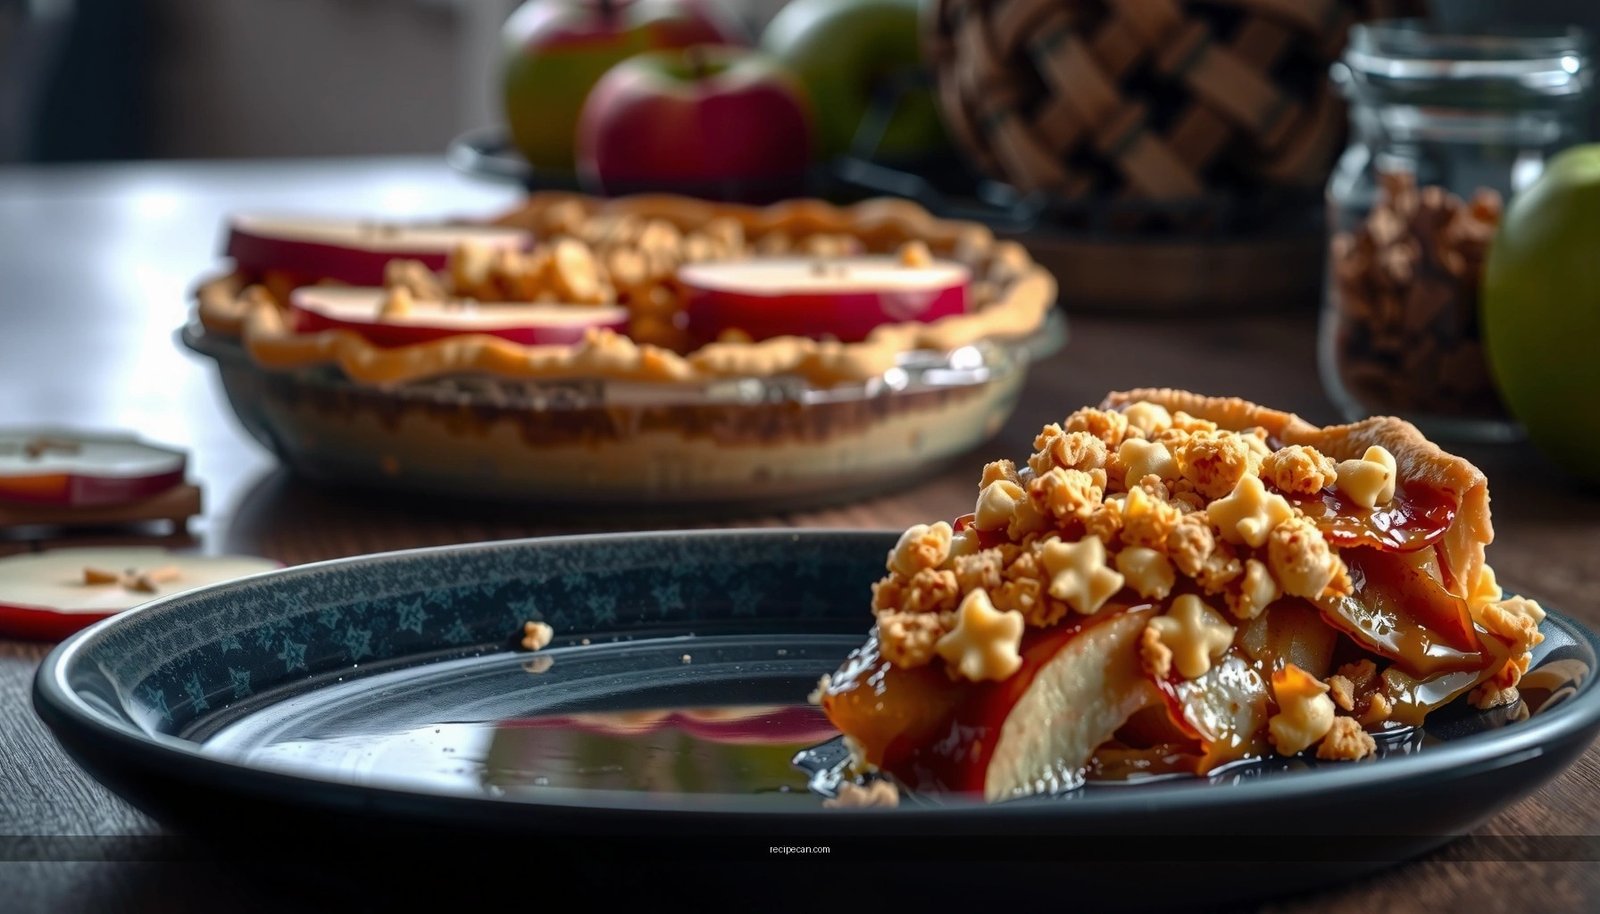
Serving
– Serve warm for the most aroma and softer crumble contrast.
– Pair with vanilla ice cream or lightly sweetened whipped cream if you want a classic dessert presentation.
Storage
– Cover and refrigerate within 2 hours of baking.
– Properly stored, pie typically keeps 3–4 days in the fridge.
Reheating for a crisp top
Microwave reheating can soften the crumble. For best results:
– Reheat slices in a toaster oven or conventional oven at 325°F (165°C) for about 10–15 minutes (until warmed and crisp again).
– If the top is already browned, tent with foil for the last few minutes.
Freezing (optional)
If you want to plan ahead:
– Freeze after baking and cooling completely.
– Wrap tightly to reduce freezer burn.
– Reheat from frozen in the oven (lower and longer) so the crumble doesn’t over-brown before the center warms.
Bake once, enjoy twice—this crumble-topped pie holds up well for make-ahead dessert planning.
Bake your apple pie with crumble topping using tender, spiced apples and a coarse, buttery crumble for the best flavor and texture. By simmering or macerating the apples until the filling turns glossy, assembling with a chilled crust, and baking until you see both bubbling filling and deep golden crunch, you’ll avoid the most common pitfalls—sogginess and pale topping. Slice after a short rest, serve warm, and store/reheat properly to keep that signature crisp crumble you want every time.
Frequently Asked Questions
What’s the best apple pie recipe with crumble topping for a flaky crust?
Use a proven double-crust apple pie recipe with a sturdy crumble topping made from flour, butter, sugar, and cinnamon. For a flaky crust, keep your butter cold, avoid overmixing the dough, and chill the assembled pie before baking. Toss sliced apples with sugar, cinnamon, and a thickener like cornstarch or flour to prevent a watery apple pie filling. Bake until the crust is golden and the crumble is visibly set and lightly browned.
How do I keep apple pie filling from getting runny when using a crumble topping?
Runny filling usually happens when the apples release too much moisture without enough thickener. Toss apples with cornstarch (or another thickener), sugar, and spices, and let the mixture sit briefly so juices start to combine before you fill the crust. Bake your apple pie on a lower rack and check for bubbling in the center; that’s the best sign the filling is thickened. If the crumble browns too fast, loosely cover the top with foil while the bottom finishes baking.
Which apples are best for an apple pie recipe with crumble topping?
Choose apples that hold their shape but still soften, such as Honeycrisp, Granny Smith, or a mix of sweet and tart apples. Honeycrisp adds sweetness and stays tender, while Granny Smith brings a bright tang that balances cinnamon and sugar. Using a blend helps your apple pie filling taste complex and reduces the risk of mushy apples. Peel and slice evenly so the crumble topping and filling bake at the same rate.
Why does my crumble topping turn soggy on apple pie, and how can I prevent it?
Soggy crumble usually occurs when the apple pie filling is too wet or hasn’t thickened enough before the topping sets. Make sure your apple pie filling bubbles vigorously during baking, and use the right crumble ratio (cold butter with just enough flour for a crumbly texture). Spreading the crumble evenly and avoiding an overly thick layer also helps it bake through. You can also bake the pie until the topping looks dry and crisp rather than just lightly golden.
How long should I bake apple pie with crumble topping, and when is it done?
Most apple pie recipes with crumble topping bake around 40–55 minutes at 375–400°F (190–205°C), but timing depends on your crust thickness and apple variety. The pie is done when the filling is bubbling through the vents or edges and the crumble topping is browned with a set texture. Let the pie cool at least 2–4 hours so the filling firms up—cutting too early can make it seem runny even if it was fully baked.