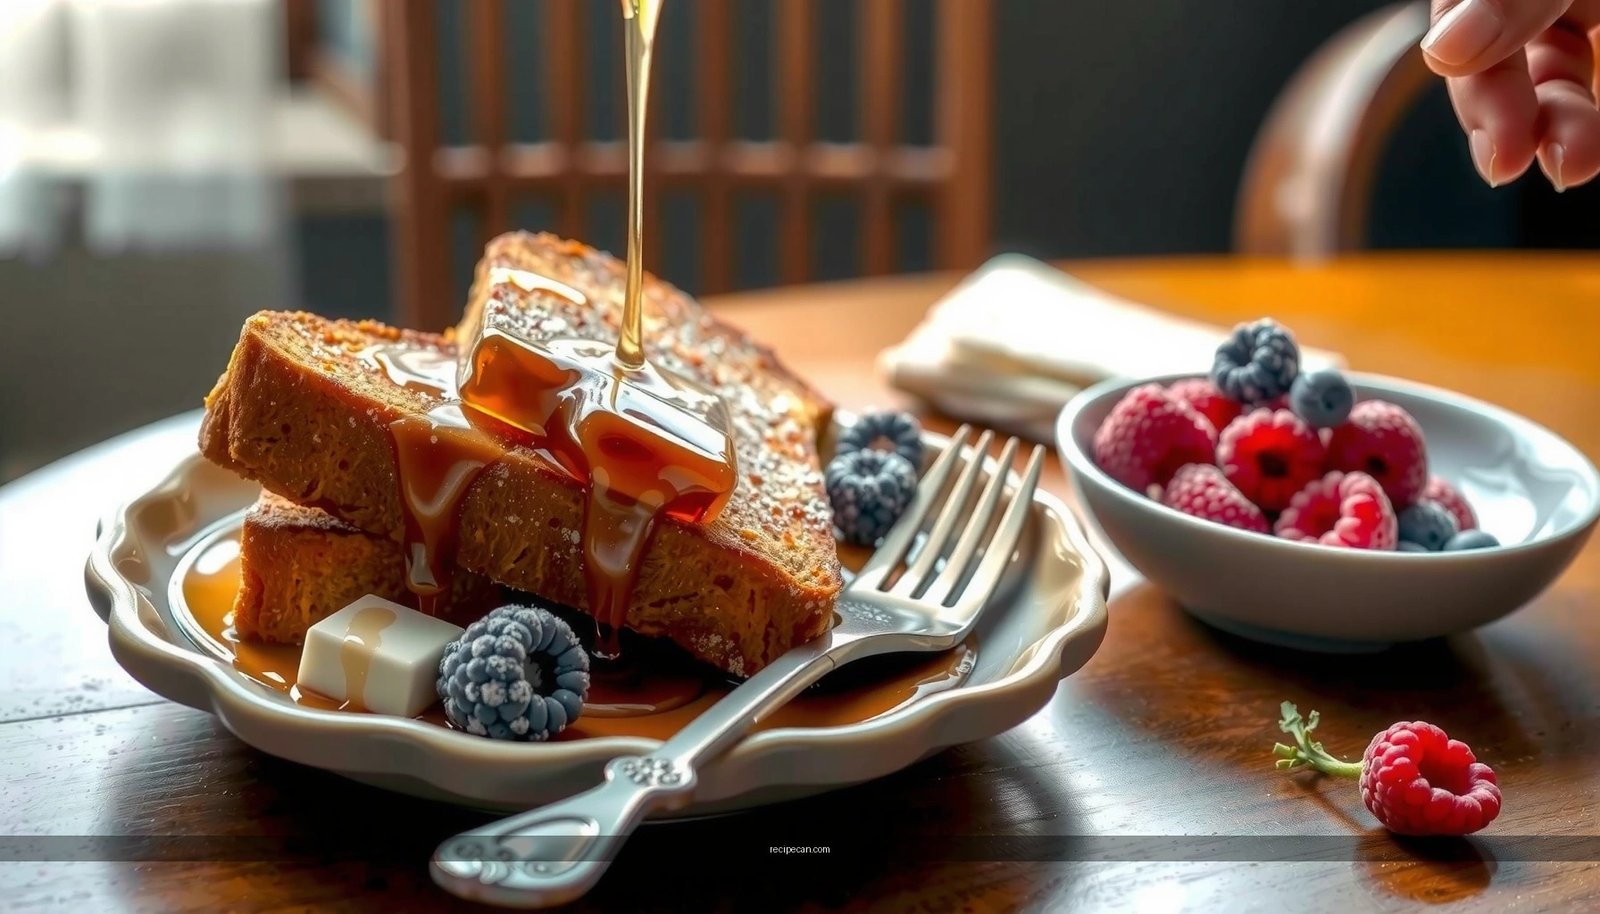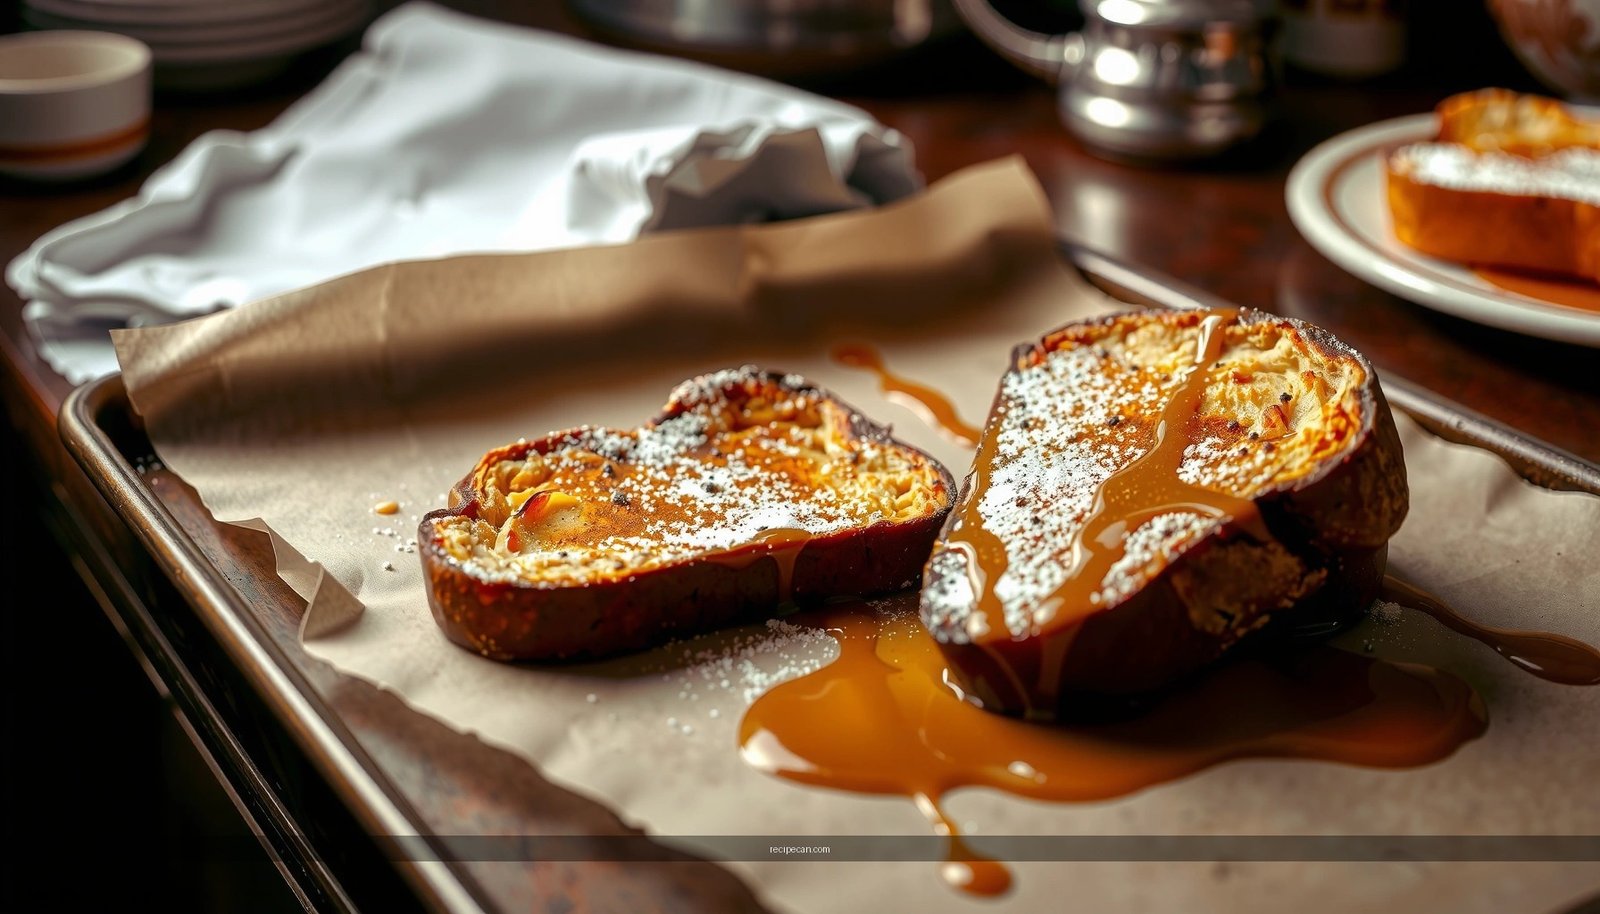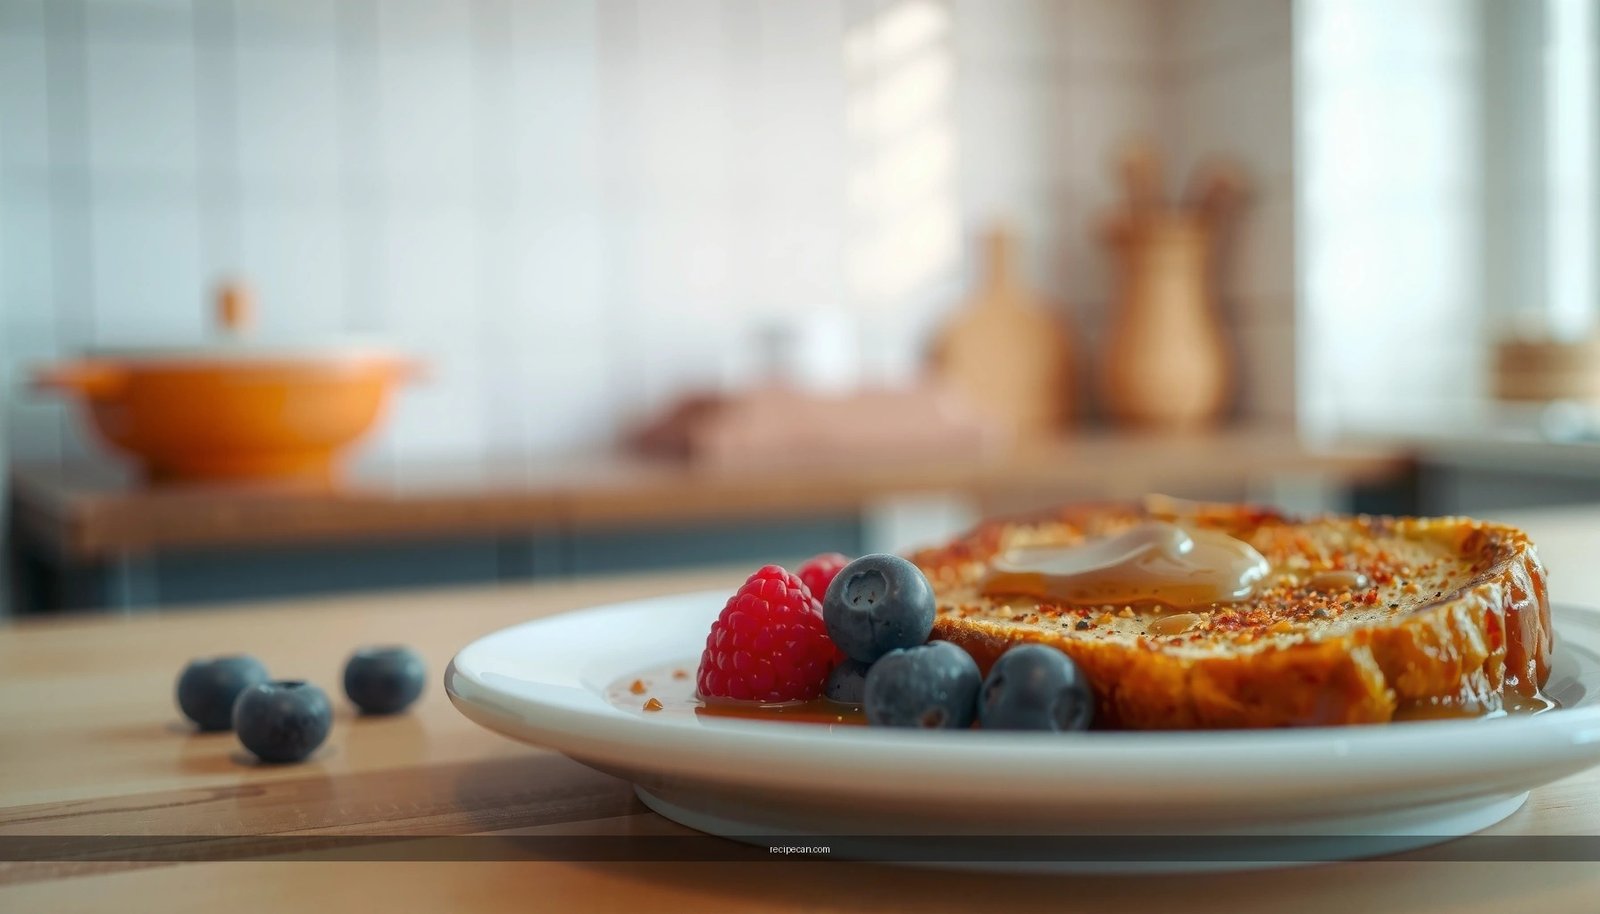
Want a baby french toast recipe that’s truly soft, easy, and baby-safe? This recipe delivers thick, custardy slices made with simple ingredients and an age-appropriate approach so babies can actually enjoy the first bite. If you’ve struggled with runny centers or tough toast, this is the clear winner for smooth texture and stress-free morning prep.
This baby French toast recipe delivers soft, lightly sweet strips that are easy for little mouths to chew—without oversoaking or aggressive browning. By choosing the right bread, dipping briefly, and cooking on gentle heat, you can create tender, baby-safe French toast your child will actually enjoy, while keeping texture and allergy considerations front and center.
Use this baby french toast recipe to make soft, lightly sweet strips that are easy for little mouths to chew. You’ll learn how to choose the right bread, soak it just enough, and cook it gently so it stays tender and safe.
Ingredients for Baby French Toast
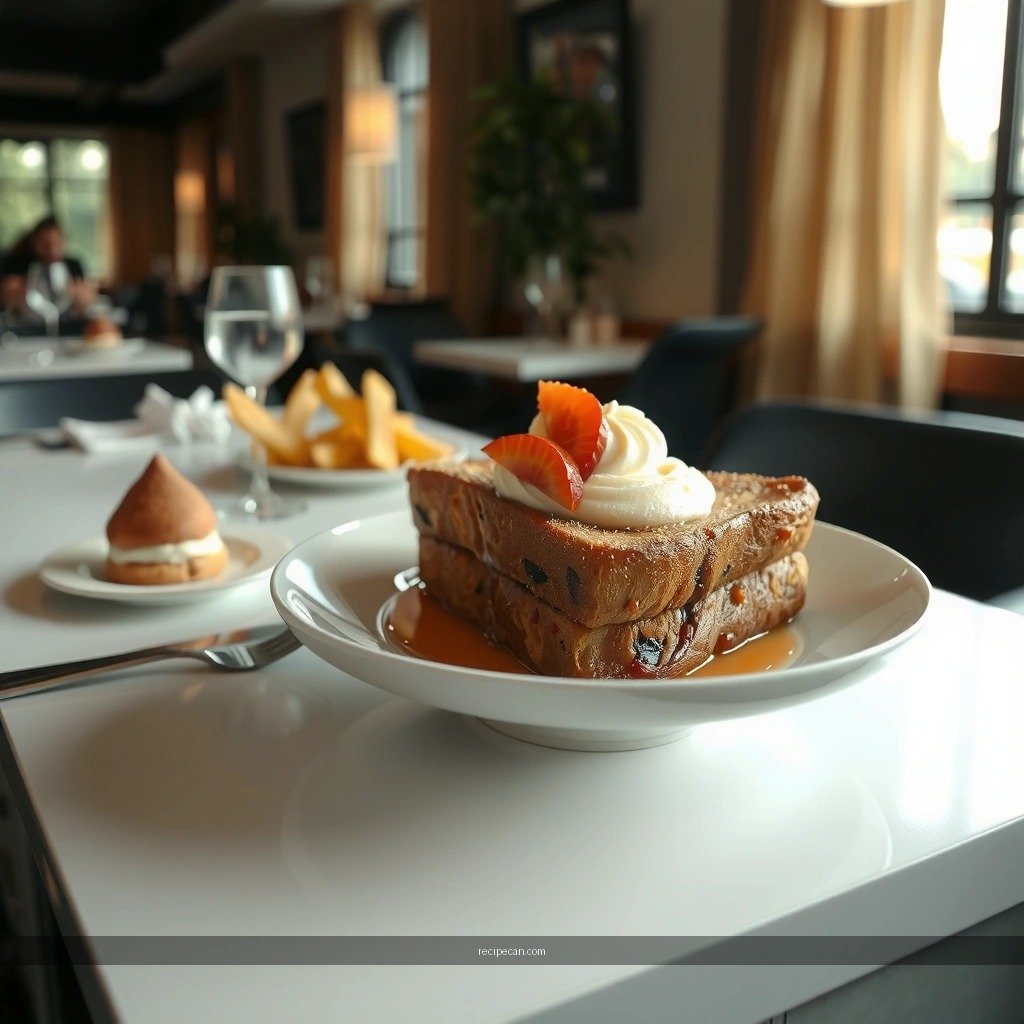
– Use soft bread (brioche or white sandwich bread) cut into finger-friendly strips
– Choose a simple binder like egg and milk (or dairy-free alternatives)
– Add flavor carefully with a small amount of cinnamon or vanilla
A baby-safe French toast is less about “French” technique and more about controlled texture: bread that breaks down easily, a custard mixture that penetrates without turning gummy, and cooking heat that sets the exterior while preserving softness inside. Start with bread that already has a tender crumb—brioche or standard white sandwich bread are reliable because they absorb moisture consistently.
Bread choice (what works best for baby texture):
– Brioche: naturally tender and slightly sweet, which reduces the need for added sugar.
– White sandwich bread: consistent slice thickness and soft structure; great for uniform strips.
– Avoid crust-heavy or artisan loaves for very young babies because crust can stay tougher even after cooking.
Binder and flavor (keep it simple and predictable):
Traditional French toast uses eggs and milk (or a dairy-free milk) to create a custard. For baby portions, aim for a light coating rather than soaking. Cinnamon and vanilla are optional—use them sparingly so the flavor doesn’t become “too strong” or turn into a sensory overload for younger eaters.
Quick ingredient options by preference:
– Dairy version: egg + milk (or half milk/half cream for extra tenderness—if tolerated)
– Dairy-free version: egg + unsweetened oat milk/almond milk/coconut milk (unsweetened), adjusted as needed for thickness
– Cinnamon: start with a pinch per serving—baby French toast should taste gently warm, not like dessert
– Vanilla: a few drops or a small splash delivers aroma without overpowering
Below is a practical “ingredient-to-effect” guide to help you dial in softness, chewability, and baby-friendly flavor.
Ingredient Choices and Expected Texture Impact (Baby French Toast)
| # | Ingredient choice | Role in recipe | Texture outcome | Baby-friendliness |
|---|---|---|---|---|
| 1 | White sandwich bread | Base | Soft crumb; easy mash | ★★★★☆ |
| 2 | Brioche | Base | Extra tender; naturally mild sweetness | ★★★★★ |
| 3 | Egg + milk (dairy) | Binder + custard set | Creamy interior; holds shape | ★★★★☆ |
| 4 | Egg + oat milk (unsweetened) | Dairy-free binder | Tender crumb; slightly softer set | ★★★★☆ |
| 5 | Pinch cinnamon | Warm flavor | Aromatic, low-sugar taste | ★★★☆☆ |
| 6 | Vanilla extract (few drops) | Gentle aroma | Fragrant without adding sweetness | ★★★★☆ |
| 7 | No added sugar | Keeps it baby-appropriate | Naturally sweet from bread | ★★★★★ |
How to Make Baby French Toast (Step-by-Step)
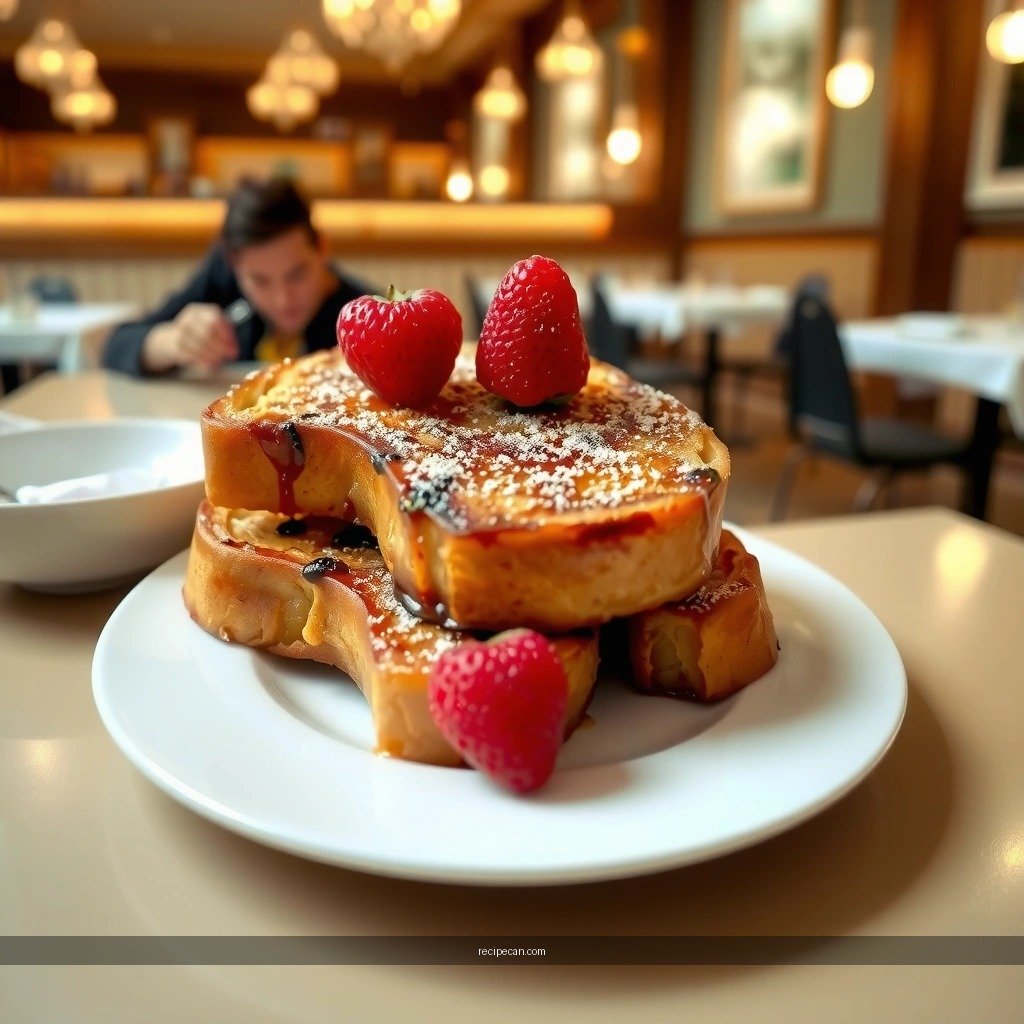
– Whisk egg and milk, then dip bread briefly—don’t oversoak
– Cook on a low or medium-low heat until golden and tender
– Cut into small, manageable pieces before serving
The core principle for soft baby French toast is time + heat control. If bread is dipped too long or the pan is too hot, the custard can turn rubbery outside while the inside becomes soggy or gummy—both are harder to chew and more likely to fall apart.
Step-by-step method
1. Prepare the bread:
Cut bread into finger-friendly strips (for self-feeding) or smaller squares (for earlier stages). Uniform pieces cook more evenly, which supports safety and consistency.
2. Whisk the custard:
In a shallow bowl, whisk:
– 1 egg
– 1/3 to 1/2 cup milk (or unsweetened dairy-free milk)
– Optional: a pinch of cinnamon and/or a few drops of vanilla
For thinner bread, slightly reduce the milk; for thicker bread, a touch more helps absorption without oversoaking.
3. Dip quickly (the “brief dunk”):
Dip one side of a strip for about 1–2 seconds, flip, and dip the other side for another 1–2 seconds. Transfer immediately to the pan. You’re aiming for a coating, not a soaking.
4. Cook gently:
Heat a nonstick skillet over low to medium-low. Add a thin coating of butter or a baby-safe oil (a light smear is enough). Cook each side until:
– the surface looks set and lightly golden
– the center feels tender (not raw, not dry)
Typically this takes 2–4 minutes per side, depending on your pan and strip thickness.
5. Rest and check texture:
Let pieces rest for 30–60 seconds. This brief pause helps custard finish setting so strips are less fragile.
6. Cut for your baby’s stage:
– Self-feeding babies: serve strips or half-strips they can grasp
– Younger babies: cut into small, chewable pieces with soft edges
A “tenderness test” you can use immediately
Gently press a piece with a fork:
– Perfect: it yields easily with minimal resistance, and the crumb looks custardy
– Too firm: pan heat was high or cooked too long—lower heat next time
– Too wet: oversoaked—dip for less time next batch
Texture Tips for a Baby-Friendly Result
– Aim for soft centers by using gentler heat and shorter cook times
– Avoid browning too quickly by lowering the pan temperature
– Let it rest briefly so it firms up without becoming dry
Baby French toast should be soft enough to mash yet structured enough to stay intact during handling. Texture is a safety issue as much as it is a preference: hard edges and overly crisp surfaces increase the chance of discomfort and reduce self-feeding success.
How to get the right softness
– Lower the pan temperature:
If you notice rapid browning or a dry-looking exterior, reduce heat. A low, steady cook gives time for custard to set without turning crisp.
– Use shorter cook windows:
Check early. Many batches improve by removing pieces sooner rather than letting them “go one more minute.”
– Watch the color, not the clock:
Light golden is ideal. Deep brown can mean the exterior has dried out even if the interior still feels soft.
– Rest strategically:
Resting does two things: it slightly thickens the custard and makes pieces less likely to crumble.
Manage common problem outcomes
– Problem: bread breaks apart immediately
Likely undercooked or dipped too briefly. Increase cook time by 30–60 seconds or dip both sides by 1 second more (not longer).
– Problem: custard leaks out or feels gummy
Likely oversoaked or too hot. Shorten dip time and reduce heat.
– Problem: edges are chewy or tough
Pan too hot or strips too thick. Slice thinner or lower heat and cook a bit longer more gently.
For a consistent “baby-ready” bite, consider making strips about the width of your baby’s finger and thinner than adult toast. That balance helps the custard set evenly.
Serving Ideas (Baby-Safe and Simple)
– Serve plain or with a thin layer of yogurt (if tolerated)
– Offer mashed fruit like banana or applesauce on the side
– Skip added sugar toppings for younger babies
Serving baby French toast is where you can tailor flavor and nutrition without compromising chewability. Keep toppings minimal and side-focused so the toast remains the texture anchor while fruits or yogurt provide moisture.
Simple, baby-friendly pairings
– Plain with gentle warmth:
Many babies enjoy French toast without any topping. The mild sweetness from bread and vanilla/cinnamon is often enough.
– Thin yogurt layer (only if tolerated):
Use a small amount of plain yogurt to add creaminess and help moisture. Avoid thick, cold clumps that may slip from the toast.
– Mashed banana or applesauce:
Place mashed fruit on the side so your baby can dip or mash it with the toast. This reduces the chance of sticky overload.
Avoid these common “too much sweetness” moves
– Maple syrup or honey (especially for younger babies):
If you choose to introduce syrup later, keep it very light. For infants, honey is not recommended.
– Sugar-heavy spreads:
Sweet spreads increase the “dessert” effect and can contribute to higher sugar intake.
Practical portion approach
Start with a small offering:
– 1–3 strips or a few pieces, depending on age and appetite
– Observe chewing and tolerance
– Adjust thickness and cook time next breakfast
Allergy and Safety Notes for Baby French Toast
– Use allergy-friendly ingredients and check tolerances for egg and dairy
– Ensure the toast is cool enough and cut into safe bite sizes
– Avoid choking hazards by keeping pieces soft and not too crisp
Safety is not optional with baby foods—especially finger foods that are cooked and handled quickly.
Allergens to consider
Baby French toast commonly includes:
– Egg (a top allergen for many families)
– Dairy (milk and sometimes butter)
If egg or dairy is being introduced, do so according to your pediatric guidance and your allergen plan. Consider:
– using unsweetened dairy-free milk if dairy is tolerated but milk isn’t
– using an allergy-safe egg alternative only if it aligns with your child’s allergy management plan (and the alternative is appropriate for cooking)
Temperature and bite-size
– Cool before serving:
Let toast cool enough to avoid burns. Custard remains hot longer than you might expect.
– Cut to reduce choking risk:
Serve soft pieces appropriate for your baby’s developmental stage. For babies just starting solids, smaller bite-size pieces are usually safer.
Avoid overly crisp edges
Crisp toast can become difficult to chew and increase choking risk. Aim for light browning and soft centers. If you prefer the look of “restaurant French toast,” resist—it’s not the texture target for baby.
Make-Ahead and Storage
– Store leftovers in an airtight container in the fridge up to 2 days
– Reheat gently (microwave briefly or warm in a skillet with a splash of water)
– Freeze in portions for quick breakfasts and thaw before reheating
Batch cooking helps when mornings are rushed. Baby French toast reheats well when you respect moisture and avoid overheating.
Refrigerator storage
– Cool completely, then store in an airtight container in the fridge for up to 2 days.
– Keep pieces separated if possible to reduce sticking.
Reheating tips (to preserve softness)
– Microwave: heat briefly in short bursts until warmed through. Overheating can dry edges.
– Skillet method (best for texture): warm in a skillet on low heat with a small splash of water and cover briefly to steam gently.
Freezing for convenience
– Freeze in individual portions so you can grab exactly what you need.
– Thaw in the fridge overnight, then reheat gently (microwave or covered skillet).
If you’ve ever noticed reheated French toast becomes dry, it’s usually due to too much heat for too long. Gentle reheating with a bit of moisture prevents that.
This baby french toast recipe is a simple, reliable way to serve a breakfast your baby will actually enjoy—soft, gently cooked, and easy to handle. Focus on tender bread, brief dipping, and low heat for the best chewable texture, then serve it with plain yogurt (if tolerated) or mashed fruit for variety. With proper cooling, allergy awareness, and smart reheating, you can confidently make a batch for busy mornings and feel good about the result.
Frequently Asked Questions
What is the best baby French toast recipe for toddlers?
A great baby-friendly French toast uses soft, eggy bread that’s cut into tiny pieces so it’s easy to mash. Choose thick slices of soft bread (like brioche or challah), dip briefly in a mixture of whisked eggs and milk, then cook on a lightly greased pan until golden. Keep the texture gentle and avoid large chunks so your little one can eat comfortably. For safety and taste, you can serve with unsweetened fruit purée or a thin spread of yogurt instead of added syrup.
How do you make baby French toast without burning the eggs?
Cook baby French toast on medium-low heat and use a nonstick skillet or well-seasoned pan to prevent sticking and browning too fast. Dip the bread quickly—about a second or two per side—so it absorbs the egg mixture without becoming soggy or cooking unevenly. If the outside browns before the center is fully set, lower the heat and cover for 30–60 seconds to help it finish cooking. Let it cool slightly, then cut into small, bite-size strips.
Which bread works best for baby French toast?
For the easiest, most toddler-friendly texture, use soft bread with a sturdy crumb such as brioche, challah, sandwich bread, or French bread that’s not too crusty. Stale bread can work, but for younger babies you’ll want it softer to avoid tough bites; you can toast lightly beforehand and then dip briefly. Avoid very dense whole-grain loaves if your child struggles with chewing, and skip hard crusts by trimming the edges. Using the right bread helps create smooth baby French toast that holds together well.
Why is baby French toast a good breakfast option?
Baby French toast offers a balanced meal with protein from eggs and added calories from milk, helping keep little energy levels steady. It’s also a flexible recipe: you can customize flavors with cinnamon (if age-appropriate), mashed banana, or a drizzle of warm berry purée instead of sugary syrup. Because it’s simple to cut into strips and serve with fruit, it supports easy self-feeding. When made with minimal added sugar, it can be a nutritious breakfast you’ll feel good about.
Can you make baby French toast ahead of time and reheat it?
Yes—cook a batch of baby French toast and store cooled pieces in an airtight container in the fridge for up to 2 days. Reheat in the toaster oven or skillet over low heat until warmed through, which helps maintain a soft interior without becoming rubbery. For longer storage, freeze portions on a tray first, then move to a freezer bag for up to 1–2 months. Reheat from frozen in a toaster oven or air fryer at a low temperature until hot, then cool before serving to your baby.
References
- French toast
https://en.wikipedia.org/wiki/French_toast - Easy French toast recipe | Good Food
https://www.bbcgoodfood.com/recipes/french-toast - https://www.theguardian.com/lifeandstyle/2010/jun/30/french-toast-recipe
https://www.theguardian.com/lifeandstyle/2010/jun/30/french-toast-recipe - https://www.nytimes.com/guides/cooking/how-to-make-french-toast
https://www.nytimes.com/guides/cooking/how-to-make-french-toast - https://www.usda.gov/media/blog/2016/10/12/how-keep-eggs-safe
https://www.usda.gov/media/blog/2016/10/12/how-keep-eggs-safe - Google Scholar Google Scholar
https://scholar.google.com/scholar?q=baby+french+toast+recipe - Google Scholar Google Scholar
https://scholar.google.com/scholar?q=infant+egg+introduction+guidelines+allergy+prevention - baby french toast recipe – Search results
https://en.wikipedia.org/wiki/Special:Search?search=baby+french+toast+recipe - https://www.ncbi.nlm.nih.gov/search/research-articles/?term=baby+french+toast+recipe
https://www.ncbi.nlm.nih.gov/search/research-articles/?term=baby+french+toast+recipe