The best cannoli cake recipe Giada makes at home is the one that nails the signature ricotta filling and crisp-sweet cannoli flavor without turning into a soggy dessert. If you’ve been searching for how to make Giada’s cannoli cake—step by step, with timing and ingredient guidance that actually work—this is your straight path to a slice that holds its shape. Expect a clear verdict: follow her method for the most reliable texture, the cleanest bake, and the flavor payoff that tastes like classic cannoli in cake form.
If you want a true “cannoli” flavor in cake form, the secret is nailing the ricotta filling texture and assembling on fully cooled layers so the cream stays thick and sliceable. Follow this Giada-inspired approach—drain ricotta well, fold in chocolate chips, chill briefly, then layer and chill the finished cake—and you’ll get that creamy, vanilla-citrus, cannoli-style character at home without guesswork.
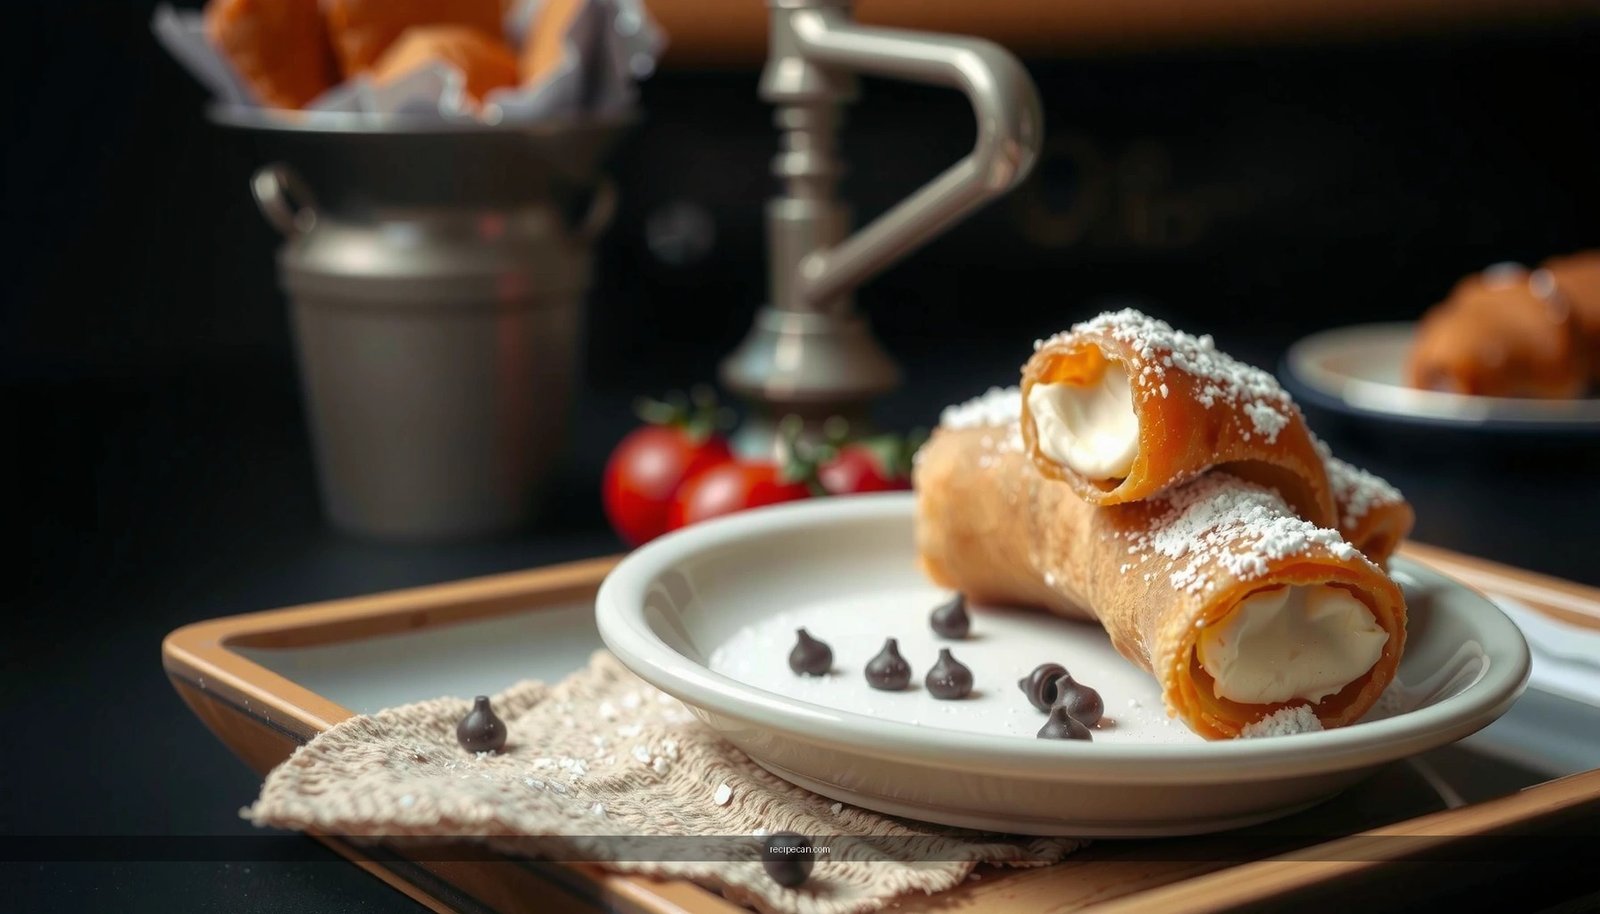
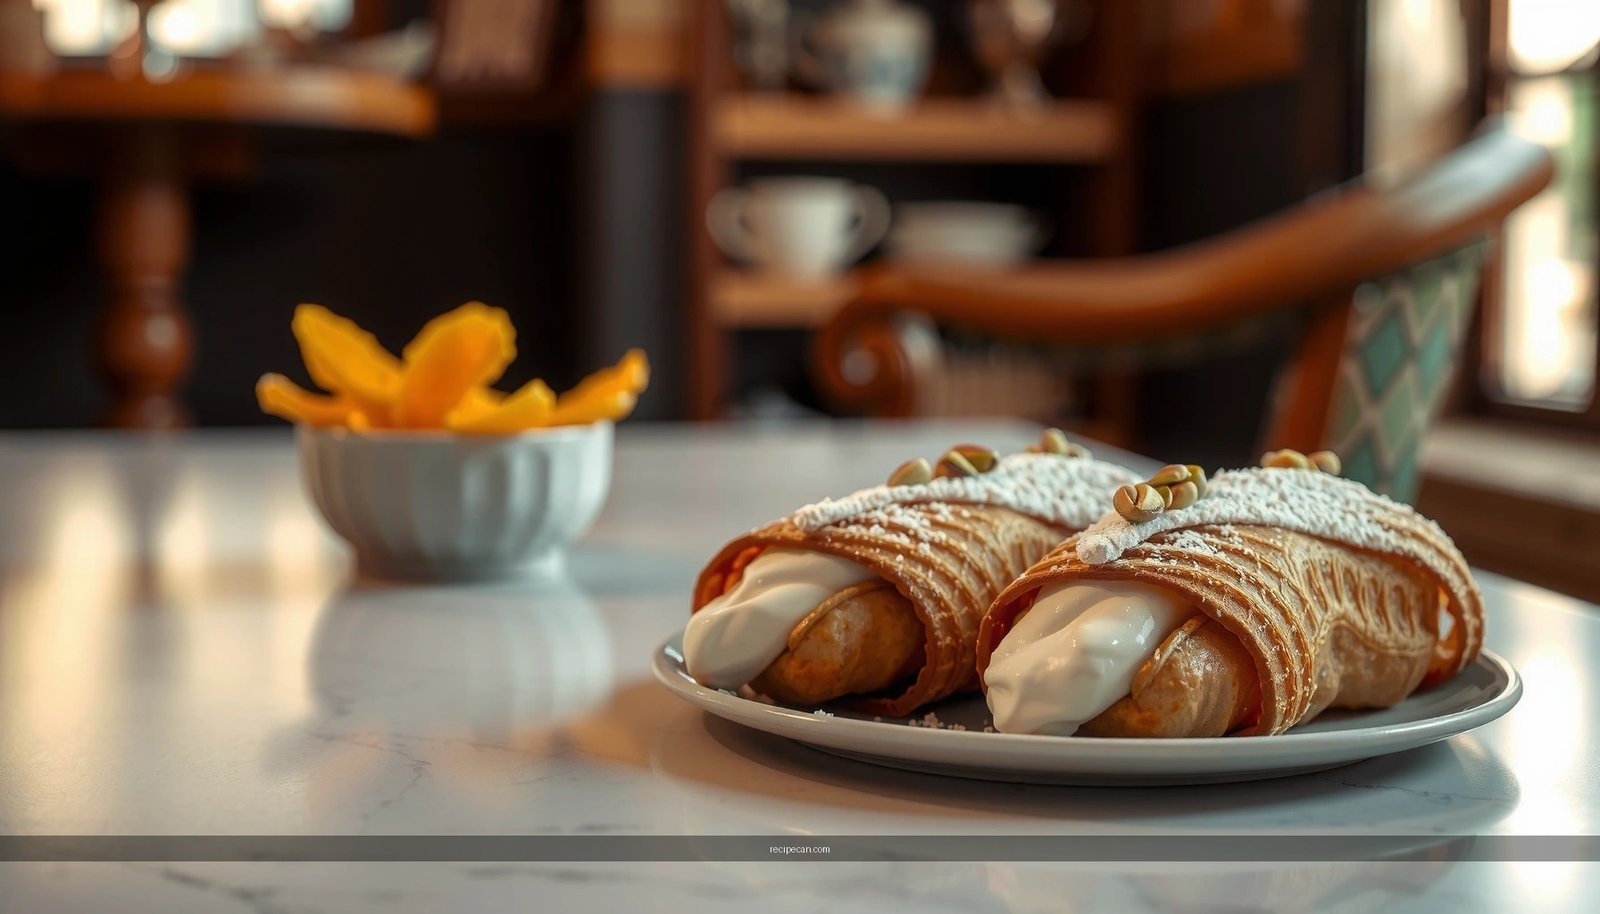
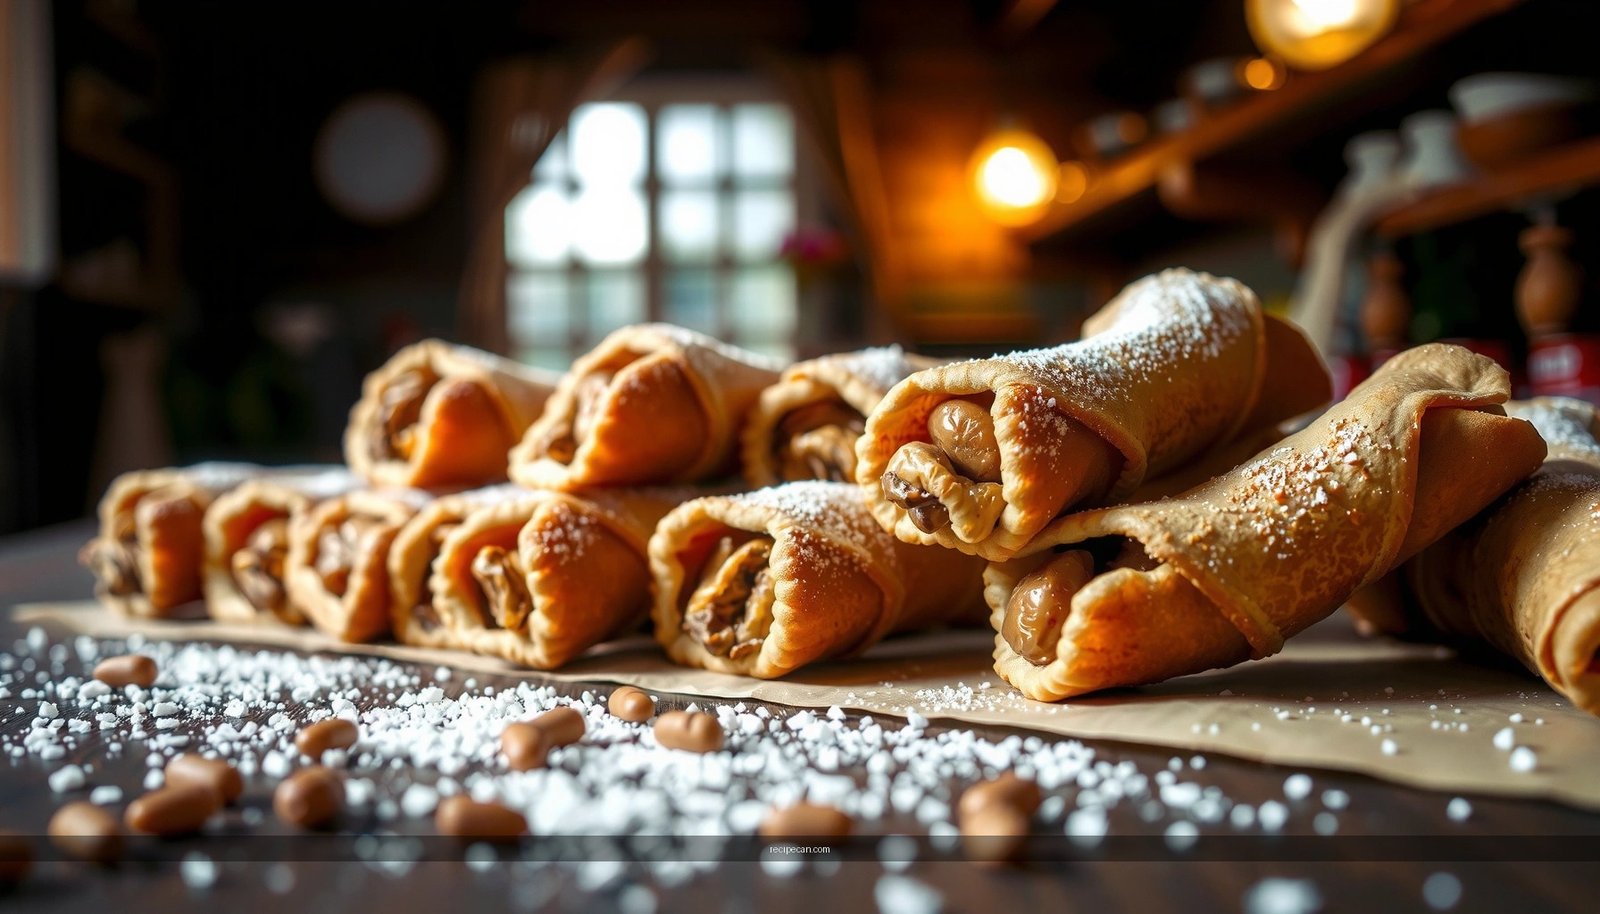
Giada’s cannoli cake concept translates classic cannoli flavors—sweetened ricotta, vanilla warmth, and chocolate studding—into a layered dessert that looks impressive but is very doable if your process is disciplined. This guide breaks down ingredients, critical techniques, assembly strategy, and the practical troubleshooting details that separate a “tasty attempt” from a clean, bakery-style presentation.
Ingredients You’ll Need

To make a cannoli cake that tastes right (not just “ricotta-ish”), focus on balance: tender cake crumb + thick ricotta filling + cannoli cues like vanilla, chocolate chips, and optional citrus.
What’s in the cake (basics)
– All-purpose flour (structure and tenderness)
– Granulated sugar (sweetness and browning)
– Eggs (lift and richness)
– Baking powder and/or baking soda (depending on your leavening approach)
– Salt (enhances flavor and prevents the sweetness from tasting flat)
– Milk or buttermilk (tender crumb; buttermilk adds subtle tang)
– Neutral oil or melted butter (moisture and a soft mouthfeel)
– Vanilla extract (optional in the cake layer, but it supports cannoli flavor)
What’s in the cannoli-style filling
– Ricotta cheese (the star—full-fat is best for body)
– Powdered or granulated sugar (choose based on how smooth you want it)
– Vanilla extract (cannoli signature)
– Mini chocolate chips (distributed evenly so every slice has chocolate)
– Pinch of salt (makes the ricotta taste more “dessert-like”)
Optional flavor boosts (highly recommended)
– Orange or lemon zest (bright cannoli vibe; use sparingly so it doesn’t taste perfumey)
– Warm spices (optional) like a tiny pinch of cinnamon (only if you enjoy that bakery-style twist)
> Practical note: Different ricottas vary in water content. “Low moisture” is ideal, but if yours is wet, your process should compensate (more on that below).
Ricotta Consistency Guide for a Thick Cannoli Filling (Home Kitchens)
| # | Ricotta Type | Typical Drain Time | Filling Thickness Target | Recommended Sugar Level |
|---|---|---|---|---|
| 1 | Full-fat supermarket ricotta (standard moisture) | 20–30 minutes | Holds peaks slightly | 1.5–2.0 tbsp per cup |
| 2 | “Low moisture” ricotta | 10–15 minutes | Spoonable, slow slump | 1.25–1.75 tbsp per cup |
| 3 | Fresh whole-milk ricotta (farm-style) | 25–40 minutes | Thick enough to spread evenly | 1.5 tbsp per cup (start here) |
| 4 | Part-skim ricotta | 30–45 minutes | Firm, creamy—not runny | 1.75–2.25 tbsp per cup |
| 5 | Ricotta “spread” (very soft) | 35–55 minutes | Coats spoon, holds shape briefly | Reduce to 1.25–1.5 tbsp per cup |
| 6 | Frozen ricotta, thawed | 45–60 minutes | Stable spread, minimal weeping | Aim for 1.0–1.25 tbsp per cup |
| 7 | “Ricotta-like” cottage blend (in a pinch) | 60+ minutes | Only use if drained well | Lower sweetness; taste first |
Preparing the Cannoli-Style Filling

Giada’s cannoli cake is only as good as its ricotta filling consistency. You’re aiming for a cream that spreads smoothly, tastes bright and dessert-like, and doesn’t turn watery between cake layers.
1) Drain ricotta well (this is non-negotiable)
– Transfer ricotta to a fine-mesh sieve lined with cheesecloth or paper towels.
– Refrigerate while draining for 20–30 minutes (longer for softer ricottas).
– You’re not just removing liquid—you’re preventing the filling from breaking down later.
Quality signal: After draining, ricotta should look thicker and slightly more textured, not loose and glossy.
2) Mix until smooth, then add chocolate chips
– Mix ricotta with sugar and vanilla until smooth.
– If your ricotta is slightly grainy, blend briefly—don’t overmix once it’s smooth.
– Fold in mini chocolate chips last so they stay suspended and don’t bleed into the cream.
3) Chill briefly before layering
– Chill the filling for 15–30 minutes.
– This firms the texture so it spreads without sliding off the cake.
– Think of it as “assembly insurance.”
Flavor calibration tip
Taste the filling before assembling. Ricotta can range from mild to tangy; adjusting sweetness in small increments prevents an over-sugared cake that feels cloying rather than cannoli-like.
Baking and Cooling the Cake Layers

The goal of the cake layers is tenderness and structure. If you underbake, the center will collapse; if you warm-assemble, the filling can melt and soak into the crumb.
Bake for set centers and gentle color
– Bake until the center is fully set (toothpick comes out clean or with moist crumbs).
– Look for light golden edges—dark browning can add bitterness that clashes with sweet ricotta.
Cool completely before assembly
– Cool layers to room temperature, then refrigerate briefly if needed.
– Assembly on warm cake can cause the filling to soften and “slide,” leading to uneven layers.
Level for a clean stack
– If domed, level with a serrated knife so each layer sits flat.
– A leveled stack helps the cake look professional even if your filling is homemade (which it is!).
Assembling the Cannoli Cake
Assembly is where the cannoli flavor becomes cake “logic.” Even spreads and stable temperatures produce clean slices and consistent cannoli texture in every bite.
Spread filling evenly between layers
– Use an offset spatula for controlled spreading.
– Keep a consistent thickness from edge to center so flavors distribute throughout the slice.
– Avoid overfilling; too much cream can push layers out of alignment.
Stack and frost/cover as directed
– Place the next cake layer gently—don’t press down aggressively.
– Finish the outside with remaining cream or filling mixture for a rustic cannoli vibe.
– For a smoother look, chill the cake after stacking, then do a final exterior pass.
Finish with classic cannoli cues
If you want the cake to read “cannoli” at first glance:
– Add extra chocolate chips on top.
– Sprinkle zest (orange or lemon) lightly.
– Optional garnish: a few candied citrus pieces or finely chopped toasted nuts for crunch.
Chilling, Serving, and Storage Tips
Cannoli-style desserts improve after resting. Chilling does three things: it melds flavors, firms the filling, and improves slice integrity.
Chill before serving
– Refrigerate at least 4 hours, ideally overnight.
– If you’re serving the next day, the flavors become more cohesive and the texture becomes more uniform.
Slice correctly
– Use a sharp knife and wipe between cuts.
– For the cleanest layers, briefly chill the cake, then slice.
Storage
– Cover and store in the refrigerator.
– Expect best texture within 2–3 days (the cake remains tender, but dairy fillings can gradually soften over time).
Quick Troubleshooting for Common Issues
Even experienced bakers face variability in ricotta, ovens, and layer thickness. Here’s how to diagnose quickly and fix in the next batch.
Watery filling
Symptom: Liquid pools around the cake or filling weeps between layers.
Fix: Drain ricotta longer and chill the mixed filling before assembling. Consider reducing added liquid ingredients in your process and use higher-fat ricotta when possible.
Layers sliding or uneven stacks
Symptom: Cake layers shift, edges bulge, or slices look misaligned.
Fix: Make sure layers are fully cooled and your filling is chilled and thick. Use a leveled cake stack and apply an even, sufficient layer of filling—not too thin.
Not sweet enough
Symptom: Ricotta tastes flat or tangy compared with the dessert expectation of cannoli.
Fix: Increase sugar slightly in small increments. Some ricotta brands need more sweetness, especially if they’re lower in fat or more acidic.
Too sweet or cloying
Symptom: Overall dessert tastes heavy or sugary.
Fix: Add a touch more zest or vanilla warmth (small amounts), and next time slightly reduce sugar. Balance matters more than any single ingredient.
Giada’s cannoli cake comes together when you master the ricotta filling texture, bake and cool the layers properly, and assemble with even spreads. Use the tips above to avoid common problems like runny filling and messy slices. If you want, try making one test bake, then follow the full layering steps for a perfect cannoli-inspired centerpiece.
A well-executed cannoli cake at home is less about fancy techniques and more about method: drain ricotta thoroughly, chill the filling so it behaves, cool cake layers completely, and stack with consistent spreads. Do that, and you’ll end up with a tender, showstopping dessert that delivers authentic cannoli flavor—creamy ricotta, vanilla aroma, and chocolate bursts—in every slice.
Frequently Asked Questions
What is a cannoli cake recipe by Giada that includes cannoli cream and cake layers?
A cannoli cake recipe Giada-style typically layers tender vanilla or vanilla-mascarpone cake with a rich cannoli-inspired filling made from ricotta (often strained), sugar, and vanilla, sometimes with mini chocolate chips. Many versions mimic cannoli flavors by adding orange zest and a touch of cinnamon, then finishing with a candied fruit or chocolate-dip garnish. Look for recipes that specifically mention “ricotta mixture” and “cake layers,” since that’s what separates cannoli cake from simple cannoli cups.
How do you make Giada’s cannoli cake filling so it doesn’t turn runny?
The most common pain point with cannoli cake is watery ricotta; strain the ricotta through cheesecloth for at least 2–4 hours (or overnight) to remove excess moisture. Mix the strained ricotta gently with sugar and flavorings, and fold in chocolate chips only at the end so the mixture stays smooth. For best structure, chill the cannoli cake filling before assembling the layers.
Why does the cannoli cake taste better when you use orange zest and mini chocolate chips?
Cannoli flavor is built on contrasting notes: bright citrus from orange zest plus the sweetness and richness of mini chocolate chips. Giada’s cannoli cake recipes often lean on these classic cues to create a true cannoli profile rather than a plain cheesecake-style frosting. Adding a small amount of citrus zest helps the cake taste “fresh” even though it’s rich and creamy.
What’s the best way to assemble a cannoli cake recipe Giada-style for clean slices?
Assemble cannoli cake on a flat cake board and chill between layers so the filling firms up and won’t ooze. If your cake is slightly soft, use a dam of frosting or pipe a thick ring of filling around each layer to keep the cannoli cream contained. After assembling, refrigerate until set (often several hours) and slice with a warm, wiped knife for neat edges.
Which baking pan size and bake time should you use for a cannoli cake recipe Giada?
Most Giada-inspired cannoli cake recipes are designed for standard round cake pans (commonly 8- or 9-inch) and use conventional baking times until the center springs back and a toothpick comes out clean. If you use a different pan size, start by checking 5–10 minutes earlier or later than the original recipe, since thickness affects doneness. For accuracy, cool completely before frosting with cannoli cream, because warm cake can cause the filling to slide.
References
- Google Scholar Google Scholar
https://scholar.google.com/scholar?q=Giada+De+Laurentiis+cannoli+cake+recipe - Google Scholar Google Scholar
https://scholar.google.com/scholar?q=cannoli+cake+recipe - Google Scholar Google Scholar
https://scholar.google.com/scholar?q=cannoli+history+ricotta+sugar - Cannoli
https://en.wikipedia.org/wiki/Cannoli - Ricotta
https://en.wikipedia.org/wiki/Ricotta - Marsala
https://en.wikipedia.org/wiki/Marsala - Italian cuisine
https://en.wikipedia.org/wiki/Italian_cuisine - Cake
https://en.wikipedia.org/wiki/Cake - Dessert
https://en.wikipedia.org/wiki/Dessert - https://www.britannica.com/topic/cannoli
https://www.britannica.com/topic/cannoli