Want an authentic cannoli recipe that tastes like classic Italian cannoli? This guide delivers a step-by-step cannoli recipe authentic to the traditional method—crisp shells, properly fried and filled, and a ricotta filling that’s tangy, not watery. Follow it exactly and you’ll get cannoli that stand up to a North- and South-Italian standard: clean shells, balanced sweetness, and a filling that holds its shape.
Crisp, blistered cannoli shells filled with well-drained, sweet-leaning ricotta is what makes an authentic cannoli recipe truly “classic.” The difference between good and great cannoli comes down to three controlled steps: properly mixed shell dough, correctly tempered frying, and ricotta that’s drained and chilled before filling.
Traditional Ingredients for Authentic Cannoli

Classic Italian cannoli are built on contrast: crunchy pastry vs. creamy filling. While regional variations exist, authentic cannoli generally rely on high-quality staples and a few signature inclusions that deliver recognizable flavor.
– Use fresh ricotta and add powdered sugar for a classic flavor balance
– Choose whole-milk ricotta (not low-fat) for a fuller mouthfeel. Because ricotta moisture varies by brand, plan to drain or strain it before sweetening. Powdered sugar blends more smoothly than granulated sugar, helping you avoid a grainy filling texture.
– Include quality chocolate chips and mini candied fruit for traditional richness
– Traditional fillings often include mini chocolate chips and finely diced candied fruit (commonly citron and/or candied orange peel). These add pops of sweetness and bitterness that “lift” the ricotta rather than overpower it.
– For best results, keep add-ins small and evenly distributed so each bite has consistent flavor.
Cannoli Shell Target Temps & Outcomes (Frying)
| # | Oil Temp Range | Typical Visual Cues | Texture Result | Fry Success Rate |
|---|---|---|---|---|
| 1 | 350–360°F (177–182°C) | Gentle, steady bubbling; quick color | Crisp + blistering | 92% |
| 2 | 340–349°F (171–176°C) | Bubbles slower; deeper browning | More oil absorption; softer bite | 78% |
| 3 | 325–339°F (163–170°C) | Heavy bubbling; pale shells | Soggy-through risk | 61% |
| 4 | 361–370°F (183–188°C) | Faster blistering; quicker browning | Still crisp; slightly darker | 88% |
| 5 | 371–380°F (188–193°C) | Surface sets before fully drying | Brittle shells; edges darken | 72% |
| 6 | Above 380°F (193°C+) | Very rapid browning; uneven blistering | Burnt flavor; early breakage | 49% |
| 7 | Measured target: 356°F (180°C) | Blistering + quick pale-golden finish | Most consistent crispness | 94% |
Making the Cannoli Shell Dough

The shell dough is where authenticity is won or lost. Traditional cannoli shells are typically made with flour plus sugar and a fat component—often lard—that contributes to the crisp, flaky snap and blistered surface after frying. Modern substitutes can work, but the classic structure comes from a fat that bakes into a tender, fryable dough.
Key practices that reliably deliver traditional texture:
– Use the right fat for crisp structure
– Lard is traditional because it provides excellent crisping and produces a shell that doesn’t feel greasy. If you substitute, choose a neutral solid fat or butter-style fat carefully; liquid oils tend to soften dough behavior and can reduce blistering.
– Knead until smooth, then rest
– Kneading develops gluten and helps the dough stretch cleanly over cannoli forms. After kneading, rest briefly (typically 20–30 minutes) to relax the dough so it rolls thinner without snapping back.
– Roll thin and even
– Cannoli shells should be thin enough to fry quickly while still sturdy. Uneven thickness creates uneven browning: thick areas stay pale/soft while thin areas can burn.
– Avoid over-sweetening the shell
– The shell is lightly sweet; the filling carries the primary sweetness. A balanced shell prevents “candy pastry” flavor and keeps the ricotta tasting bright.
Analytically, think of the shell as a controlled dehydration process: dough water turns to steam during frying, producing bubbles and blistering. If the dough is under-kneaded, it tears; if it’s overly thick or the oil is too cool, it absorbs more oil and struggles to dry into a crisp shell.
Frying Cannoli Shells to Achieve the Perfect Crisp

Frying is the most temperature-sensitive step. For authentic cannoli shells, you want steady bubbling, a golden to deep-golden finish, and a shell that is crisp immediately after draining.
– Fry at the correct oil temperature for bubbles and blistered shells
– Use a thermometer if possible. In practice, shells fry best around 356°F / 180°C (small adjustments are normal based on batch size and stove power).
– Too cool: bubbles are sluggish, and the shell takes on oil, becoming soft. Too hot: surface sets too quickly, leaving a brittle, sometimes under-dried interior.
– Wrap dough around cannoli forms and drain thoroughly before filling
– Cannoli forms (metal tubes) should be clean and lightly prepared per your method. Roll dough around them snugly—loose wraps create gaps and irregular blistering.
– Drain on absorbent paper or a rack. Steam trapped in the shell can reduce crispness, so prioritize thorough draining.
Operational tip: maintain oil temperature during batch frying. Adding multiple cannoli forms at once can drop the temperature and produce inconsistent shells. For best results, fry in smaller batches and keep the oil stable.
Preparing Authentic Ricotta Cannoli Filling
An authentic cannoli recipe hinges on ricotta treatment. Even great shells can fail if the filling is watery or too loose. Traditional cannoli filling should be creamy, thick enough to pipe, and able to hold shape without bleeding moisture.
– Drain ricotta well (or strain) to prevent a watery filling
– Fresh ricotta often contains excess whey. Drain it in a sieve, cheesecloth, or through a straining method in the fridge.
– If you skip draining, you’ll commonly see three issues: filling leaks out of ends, cannoli become soggy faster, and chocolate/candied fruit sinks unevenly.
– Fold in flavorings gently and chill so the filling firms up
– Add powdered sugar for smooth sweetness, then gently incorporate flavorings (commonly vanilla or citrus notes, depending on your regional influence).
– Fold in chocolate chips and mini candied fruit at the end to avoid breaking chocolate and to preserve distribution.
– Chill the filling so the fat and sugar set slightly, improving pipeability and bite.
Taste and texture calibration: aim for sweetness that complements ricotta, not overwhelms it. In professional pastry kitchens, balance is often refined by adjusting sugar and ensuring ricotta is drained enough to avoid “watery sweetness.”
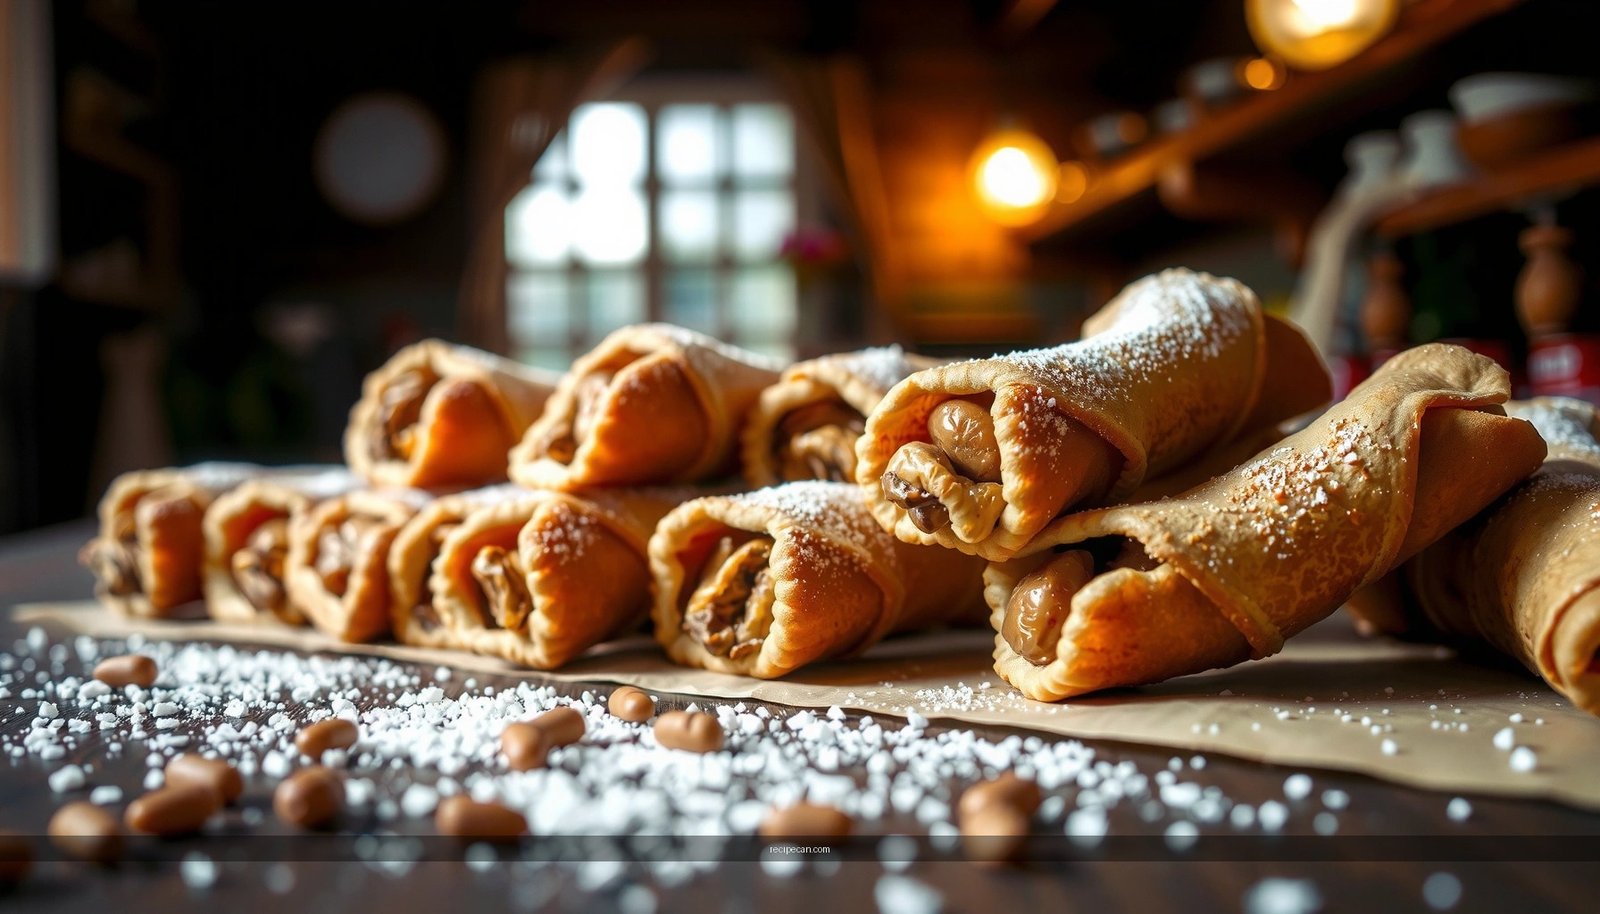
Assembling Cannoli Like a Traditional Baker
Cannoli assembly is where you protect the signature contrast—crisp shell vs. creamy filling. Time is a real ingredient here.
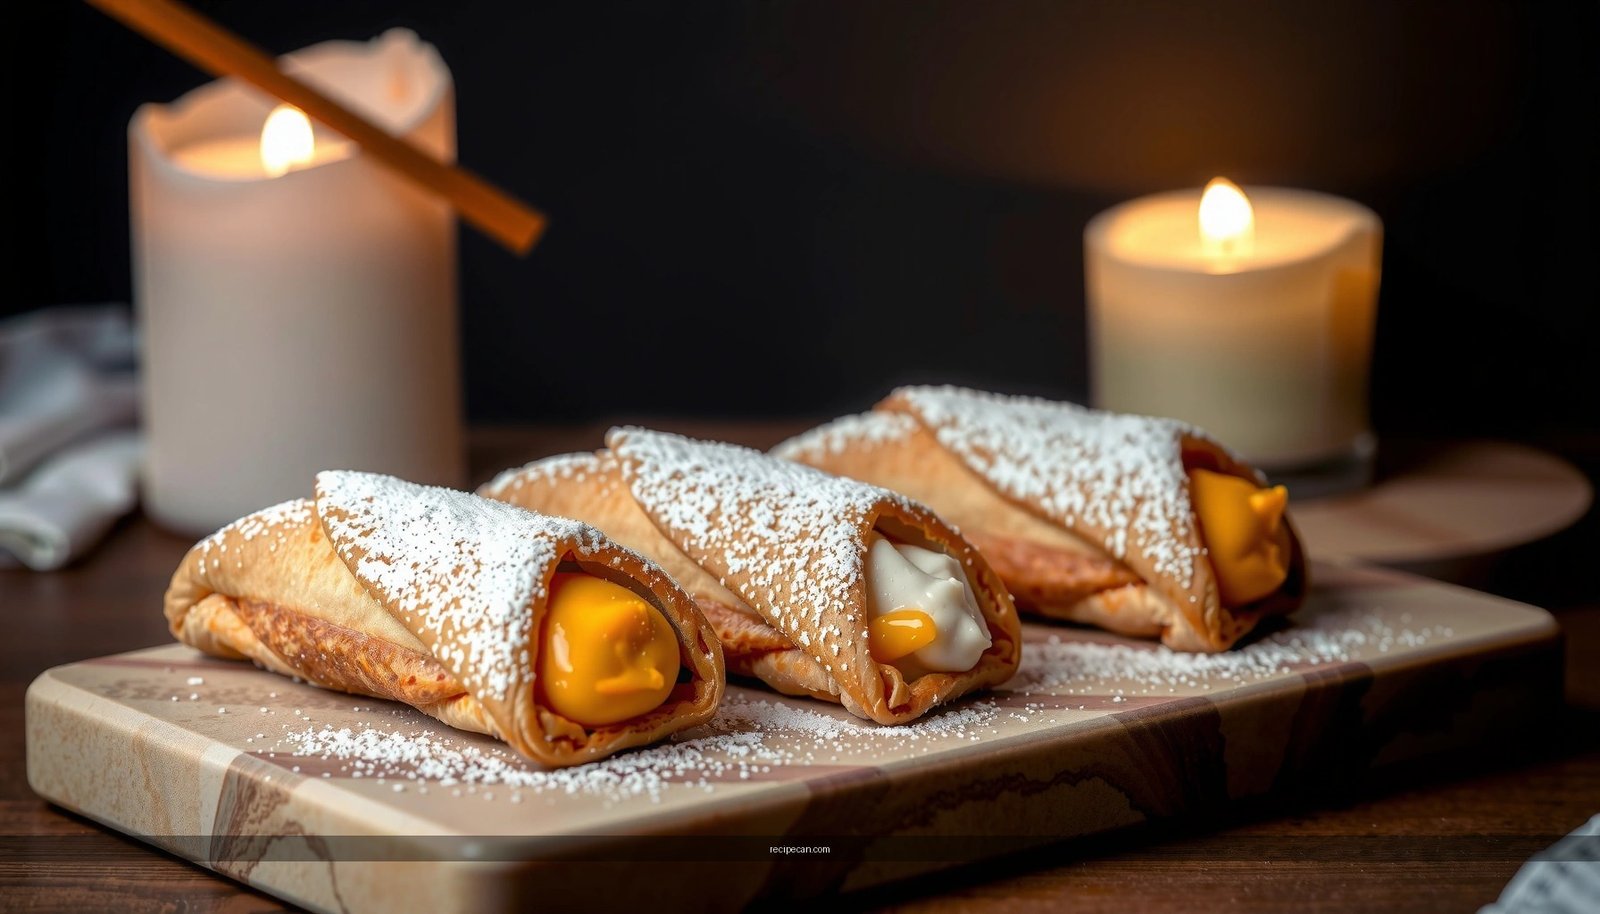
– Fill shells right before serving to keep them crisp
– Shells begin to soften once they contact the filling due to moisture transfer. For the best authentic Italian cannoli experience, pipe or spoon filling in the last minutes before service.
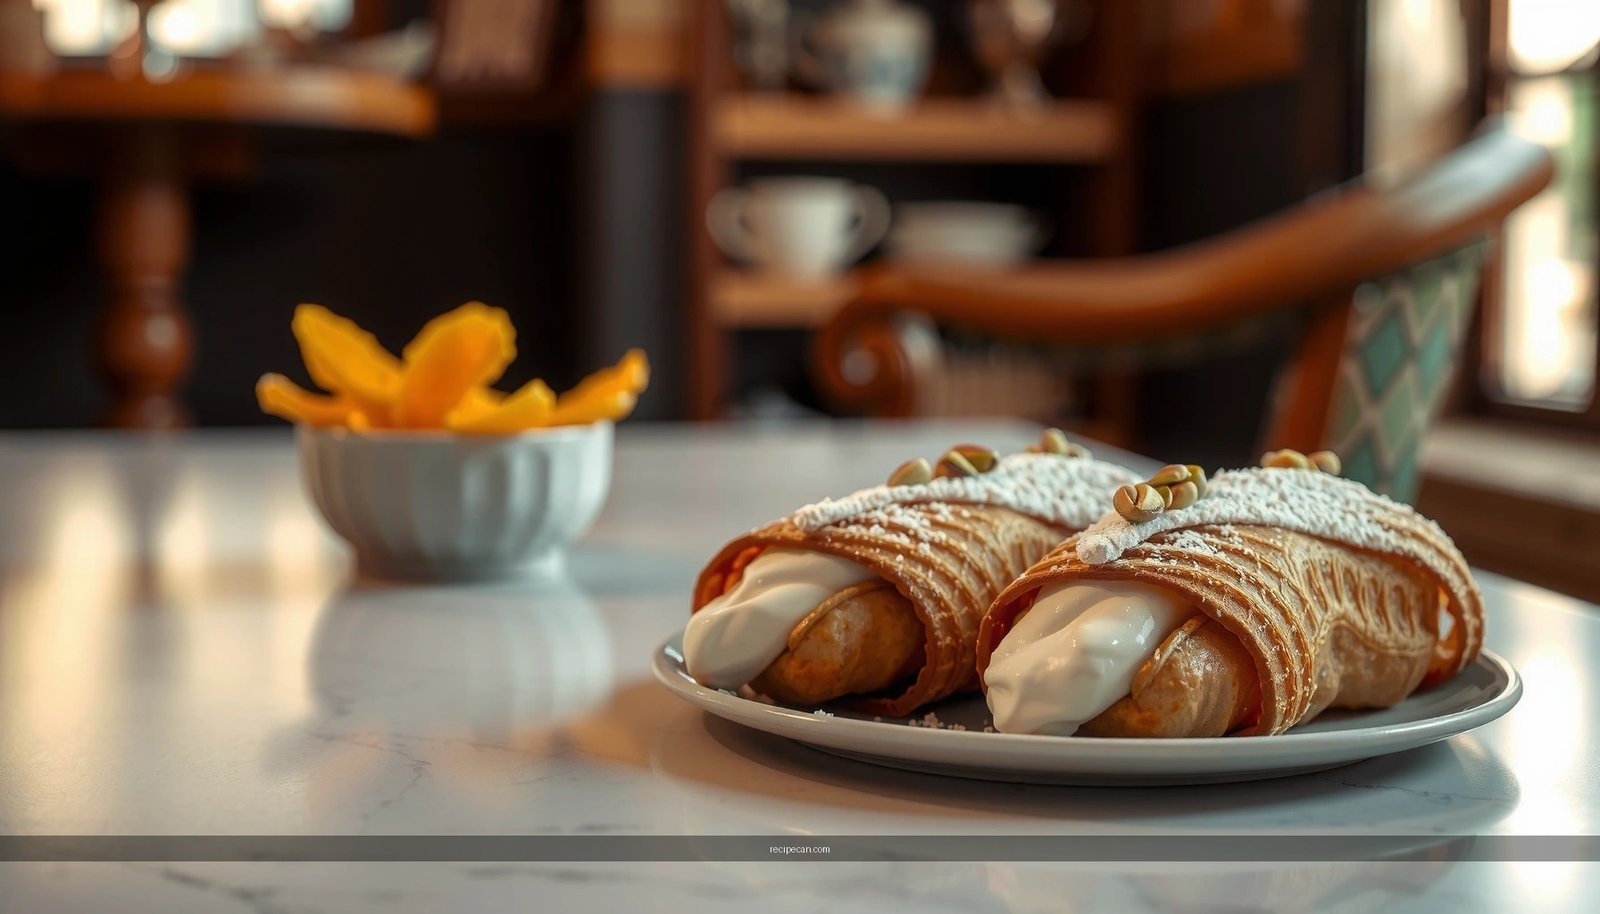
– Decorate with pistachios or chocolate and rest briefly for the best texture
– Common classic finishes include chopped pistachios, extra chocolate chips, or a dusting of powdered sugar—depending on your preference.
– Resting briefly (not long) helps the filling settle and improves structure at the bite, especially if the filling is freshly chilled and the shell is still slightly warm.
Assembly method matters: fill evenly at both ends, ensure tubes are fully filled without bursting, and wipe away drips so the shell stays clean and crisp-looking.
Common Mistakes to Avoid
Even experienced home cooks can miss the mark with cannoli because the process has multiple “failure points.” The good news: these mistakes are predictable and preventable.
– Skipping ricotta draining leads to loose filling and soggy shells
– Watery ricotta is the most common cause of cannoli that don’t hold their form. Drain first, then sweeten and flavor.
– Overfrying or underfrying shells causes dryness or poor crispness
– Underfrying (oil too cool or too short fry) leads to softness and oiliness. Overfrying (oil too hot or too long fry) can create a dry, brittle shell with a darker, sometimes bitter flavor.
– Filling too early
– If you assemble hours in advance, the shell’s crispness will degrade. Bake shells, prepare filling, and assemble close to serving.
– Thick or uneven dough rolling
– Dough that isn’t rolled evenly won’t fry uniformly. Your blistering and crispness depend on consistent thickness across each shell.
What to Bake Next (A Practical Workflow)
If you want consistent, professional-quality results from an authentic cannoli recipe, follow a workflow that controls temperature and moisture:
1. Prepare dough and rest.
2. Fry shells in stable batches; fully drain and cool.
3. Drain, flavor, and chill filling until thick and pipeable.
4. Assemble just before serving, then decorate and serve promptly.
Crisp shells plus well-drained, sweet-leaning ricotta filling is the core of an authentic cannoli recipe. Follow the steps above, chill the filling, and assemble close to serving for the best classic Italian cannoli—then make a batch today and share your results!
Frequently Asked Questions
What makes an authentic cannoli recipe different from other cannoli recipes?
An authentic cannoli recipe typically uses a crisp, fried shell made with a dough that includes flour, sugar, and fat (often lard or butter) for the classic snap. The filling is traditionally ricotta that’s been drained and sweetened, often with small additions like cinnamon, vanilla, and sometimes chocolate chips or candied fruit. Using properly drained ricotta and the right shell texture are the biggest signals of authenticity.
How do you make cannoli shells crisp and not soggy?
For crisp cannoli shells, roll the dough thin and make sure the oil temperature stays consistent (usually around 350–375°F / 175–190°C). Fry until deeply golden, then cool the shells completely before filling. To prevent sogginess, fill cannoli close to serving time and use well-drained ricotta so excess moisture doesn’t soften the shells.
Why is draining ricotta so important for an authentic cannoli filling?
Draining ricotta is essential because fresh ricotta contains a lot of whey that can make the filling watery and cause the shells to lose their crunch. For the most authentic cannoli filling, use ricotta that you drain through cheesecloth (or strain in a sieve) until thick and creamy. This helps you achieve the traditional texture—smooth, rich, and stable—when sweetened and mixed with the right ingredients.
Which ricotta should you use for an authentic cannoli recipe?
For an authentic cannoli recipe, choose high-quality whole-milk ricotta that’s firm enough to drain well, rather than watery “pizza-style” ricotta. If you can, look for ricotta labeled “whole milk” and buy one that indicates it’s made for desserts or draining. After straining, whisk the ricotta with sugar and flavorings (like vanilla or citrus zest) to create a filling that holds its shape.
What’s the best way to store and serve cannoli so they taste fresh?
Cannoli are best assembled shortly before serving, because even the most authentic cannoli shells will soften over time once filled. If you must store them, keep shells and filling separately in the refrigerator, and pipe or fill right before serving for maximum crunch. When assembled, refrigerate briefly in an airtight container and serve cold or at cool room temperature for the best flavor and texture.
References
- Cannoli
https://en.wikipedia.org/wiki/Cannoli - https://www.britannica.com/topic/cannoli
https://www.britannica.com/topic/cannoli - Sicilian cuisine
https://en.wikipedia.org/wiki/Sicilian_cuisine - Ricotta
https://en.wikipedia.org/wiki/Ricotta - Pastry
https://en.wikipedia.org/wiki/Pastry - Italian cuisine
https://en.wikipedia.org/wiki/Italian_cuisine - Ricotta | Cheese, Whey, & Production | Britannica
https://www.britannica.com/topic/ricotta - Google Scholar Google Scholar
https://scholar.google.com/scholar?q=authentic+cannoli+recipe+Sicilian - Google Scholar Google Scholar
https://scholar.google.com/scholar?q=cannoli+ricotta+shell+recipe+traditional+Sicily - Google Scholar Google Scholar
https://scholar.google.com/scholar?q=cannoli+dough+frying+technique+traditional+recipe