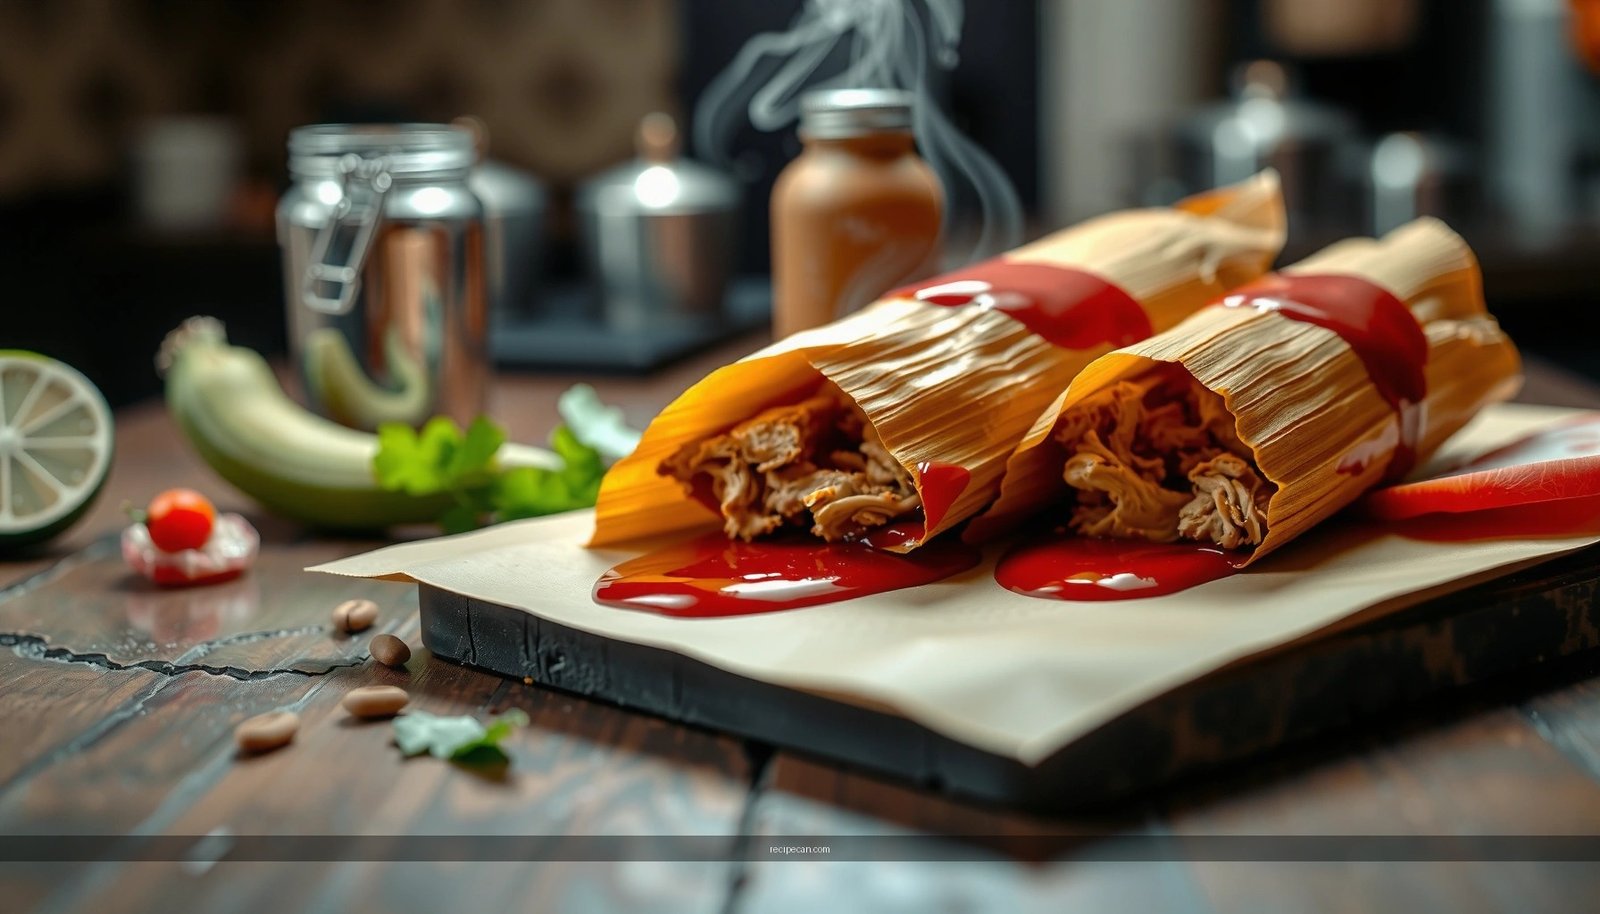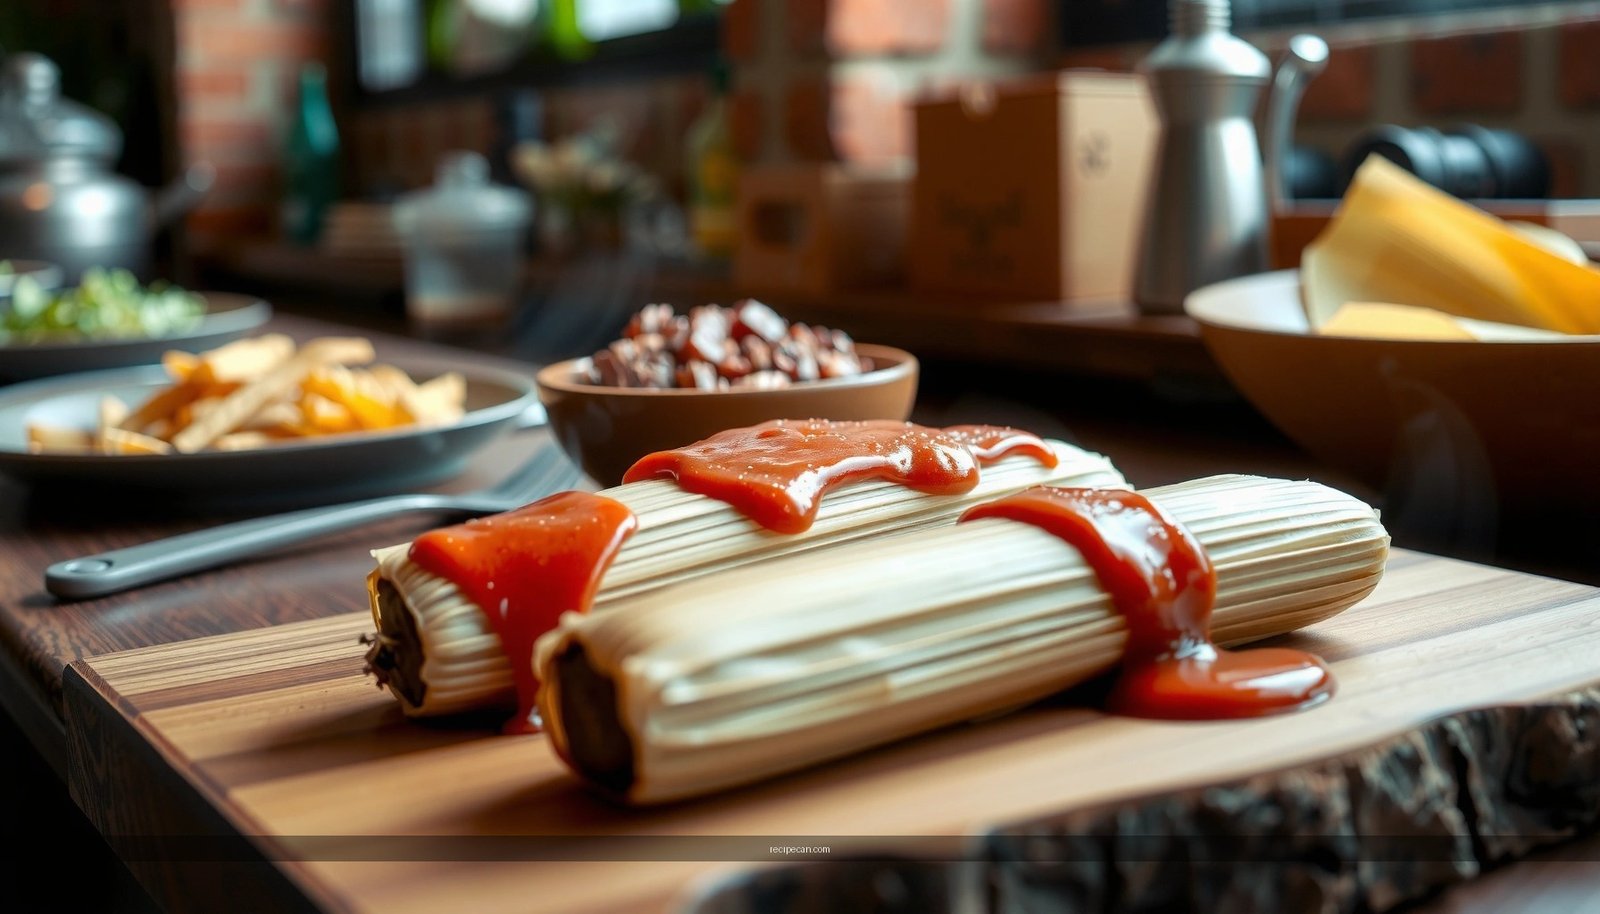
This green chili tamales recipe delivers the best, reliably tender masa and the right heat level every time, with a step-by-step method from soaking the corn husks to steaming a perfect batch. You’ll get the exact cook times, filling technique, and folding guidance that prevent dry tamales or runny centers. If you want a dependable green chili tamales outcome—not a guess-and-check version—this is the playbook.
Green chili tamales are easier to make than they look: focus on smooth masa, flavorful filling, tight assembly, and steady steaming. Follow this step-by-step green chili tamales recipe to produce tender, authentic tamales with masa that sets cleanly and filling that stays juicy—not watery.
Gather Ingredients & Tools
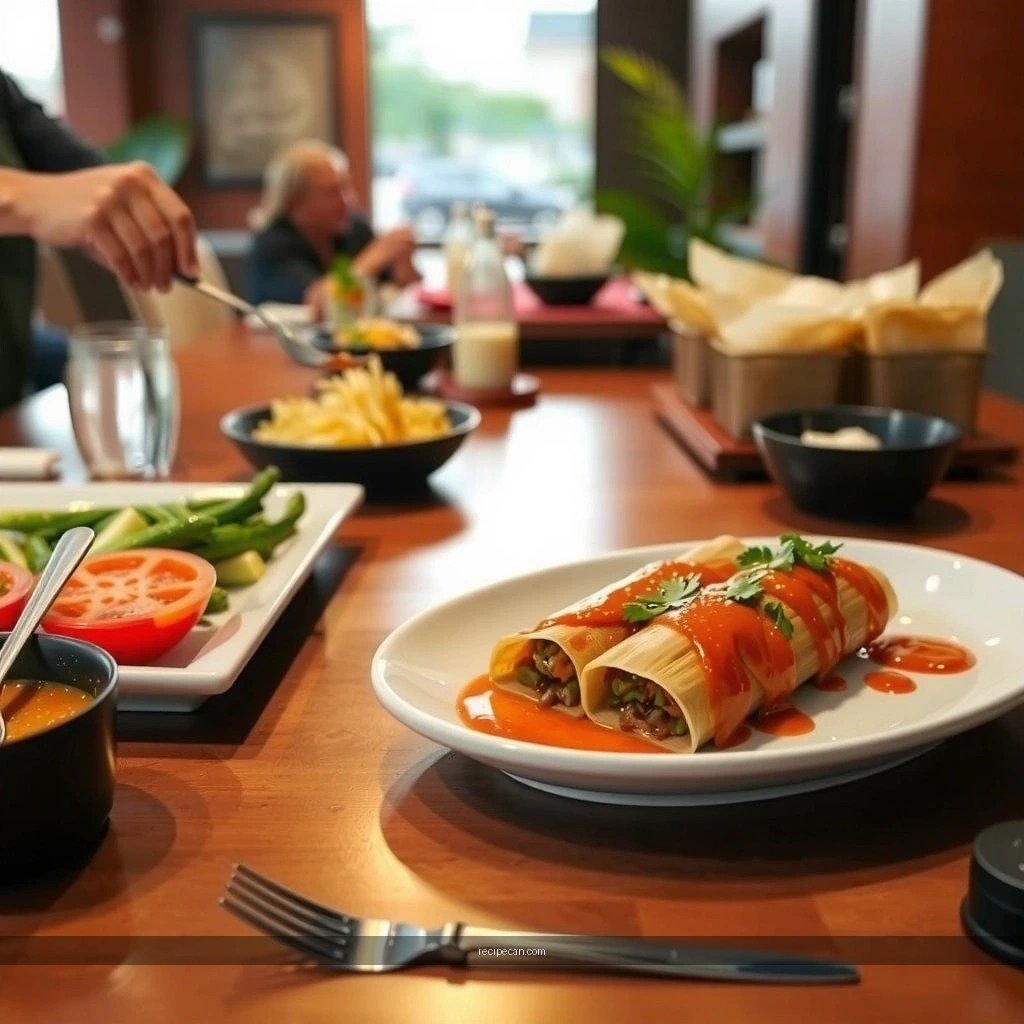
Start with ingredients that behave predictably—tamales are a “process” recipe, so reliable components make everything smoother. This is especially true for masa harina, corn husks, and the type/heat level of green chiles.
Core ingredients to plan for
– Masa harina (corn flour): Look for *nixtamalized* masa harina made for tamales (not baking mixes). This gives the masa the right hydration response.
– Corn husks: Choose fresh or packaged dried husks. Dried husks are common and work well once soaked correctly.
– Green chiles: Use diced roasted green chiles for convenience, or cook fresh/whole hatch-style chiles for a more traditional, layered flavor. If you want restaurant-style depth, include a small amount of roasted Anaheim or poblano along with your hotter chiles.
– Filling seasonings: Onion, garlic, cumin, Mexican oregano, and salt are the backbone of a well-rounded green chili filling.
– Fat for the masa: Lard gives classic flavor and texture; neutral oil or vegetable shortening can work, but masa made with lard typically has superior mouthfeel.
– Broth (or water): Chicken broth adds savory depth; water works if your filling is well seasoned.
– Tamale steamer (ideal) or large pot + rack: You need consistent steam—not boiling water.
– Mixing bowls and spatula: For evenly hydrated masa.
– Spoon and butter knife or small offset spatula: For spreading masa smoothly.
– Kitchen scale (optional but helpful): For consistent tamale sizing.
– Tongs and towels: For safe handling during steaming.
Prepping corn husks
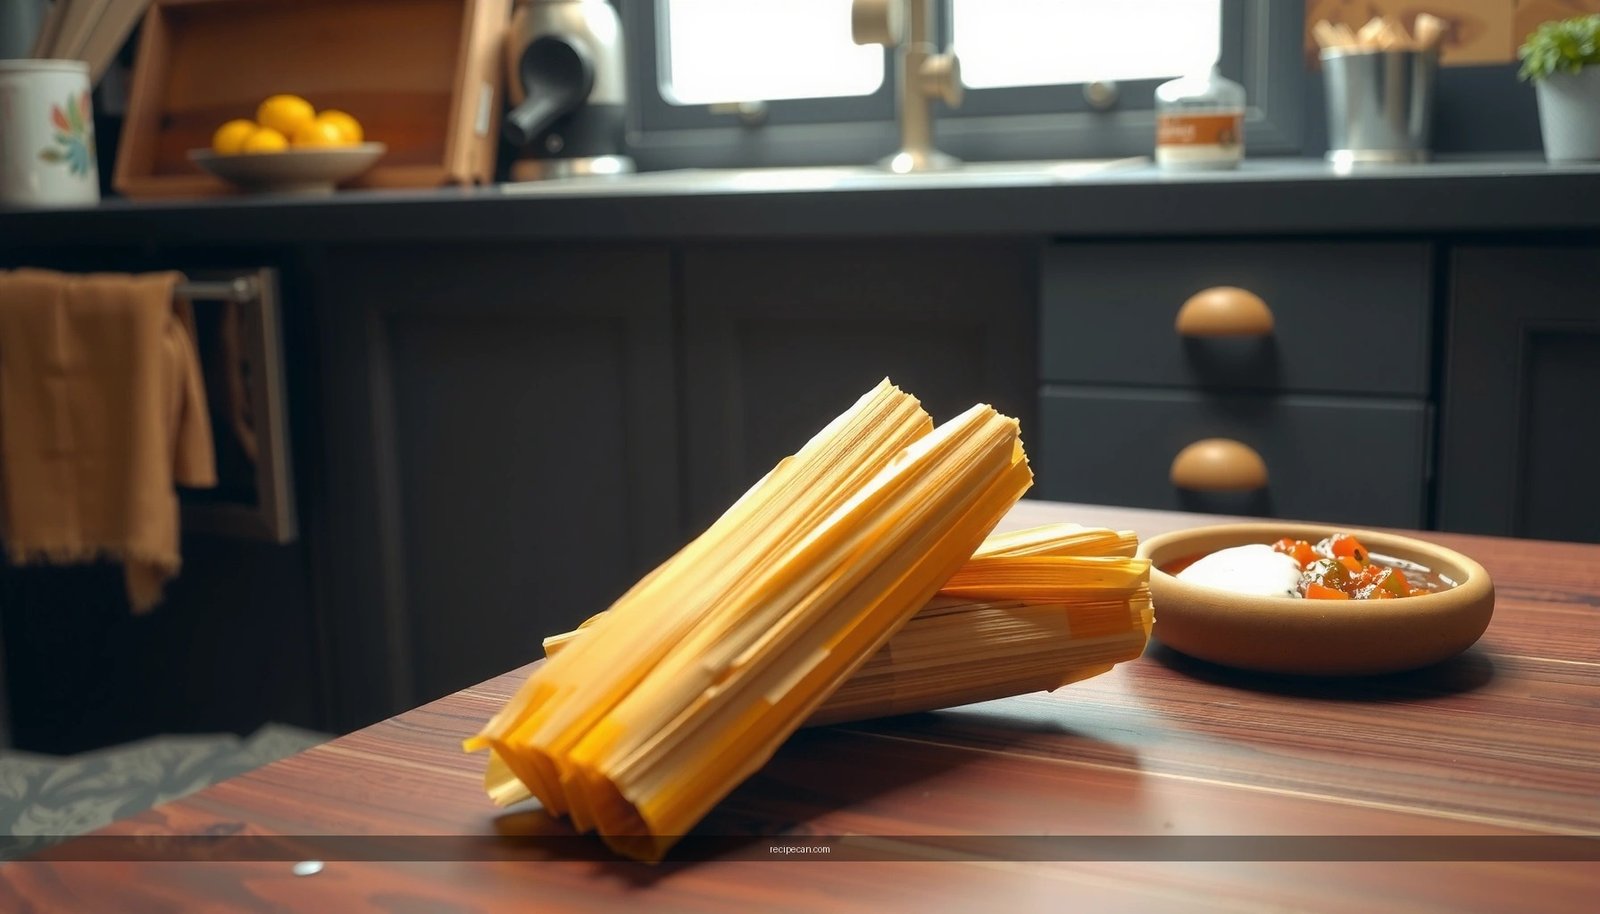
Soak husks until pliable (typically 30–60 minutes for dried husks, longer if very dry). You want them flexible enough to fold without tearing, but not so saturated that they collapse. If they still feel stiff, soak longer; if they turn slimy, you’ve gone too far—next time reduce time or refresh the soaking water.
Make the Green Chili Filling
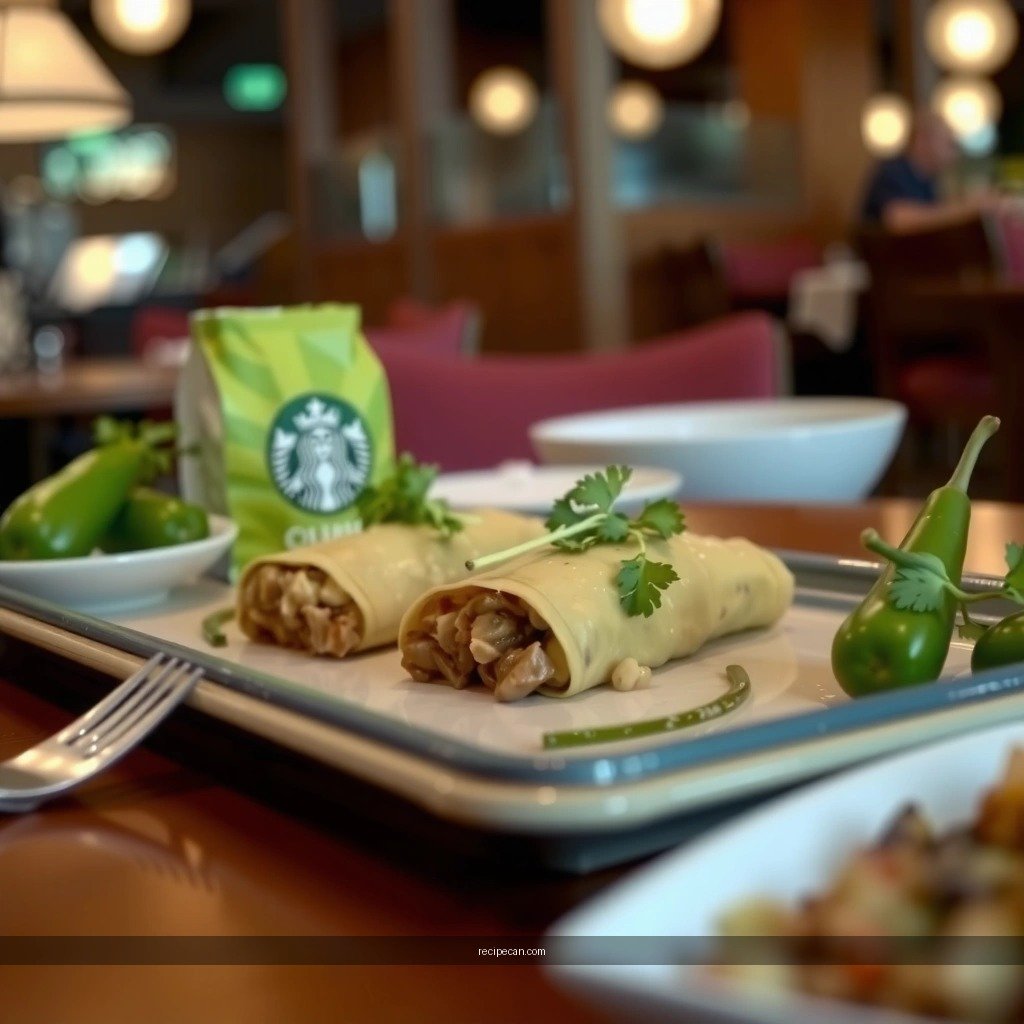
The filling is where “green” tamales become truly memorable. Aim for a mixture that is thick enough to hold its shape when spooned—too loose and it will leak into the masa as it steams.
Step approach for a thick, flavorful filling
1. Cook aromatics first: Sauté diced onion in a little oil until translucent, then add minced garlic briefly (about 30–60 seconds) so it stays fragrant, not bitter.
2. Add green chiles and spices: Stir in your green chiles along with cumin, Mexican oregano, and salt. If using fresh chiles, roast first, peel, then chop.
3. Simmer until reduced: Cook until the mixture thickens and looks cohesive. A good test: when you drag a spoon through it, the line holds for a moment.
Optional protein choices
– Shredded pork (classic): Simmered until tender, then shredded and folded in.
– Shredded chicken: Works well for a lighter profile.
– Vegetarian option: Add sautéed mushrooms, roasted corn, or extra sautéed onion for body.
If you’re working from a larger batch (or cooking in advance), cool the filling slightly before assembly. Hot filling can soften masa prematurely, increasing the chance of separation or sogginess.
Quick planning note
Aim to have filling and masa at a similar temperature by the time you assemble. That means: make filling first, simmer to thickness, then cool; make masa next or keep it covered while you assemble.
📋 Green Chili Tamale Filling Yield & Flavor Guide (Practical Reference)
Use this table to choose the heat level and ingredient approach that best matches your tamales. It also helps you estimate how much filling to make per batch.
Green Chile Filling Options (Estimated for ~24 Tamales)
| # | Filling Style | Chile Base (example) | Added Heat | Simmer Target | Taste Result |
|---|---|---|---|---|---|
| 1 | Mild & Bright | Anaheim + roasted poblano | Low | 15–20 min | Balanced, family-friendly |
| 2 | Classic Hatch-Style | Hatch green chiles | Medium | 20–25 min | Deep roasted chile flavor |
| 3 | Spicy New Mexican | Hatch + serrano | High | 25–30 min | Bold heat, vivid spice |
| 4 | Vegetarian Chile Verde | Roasted poblano + corn | Medium | 18–22 min | Hearty, filling texture |
| 5 | Pork Chile Relleno Style | Anaheim + hatch mix | Medium | 22–28 min | Rich and savory |
| 6 | Chicken Verde | Poblano + mild green chiles | Low–Medium | 20–24 min | Clean flavor, balanced fat |
| 7 | Smoky & Roasted-Forward | Roasted chiles + chipotle (optional) | Medium | 24–30 min | Restaurant-style aroma |
Prepare the Masa (Dough)
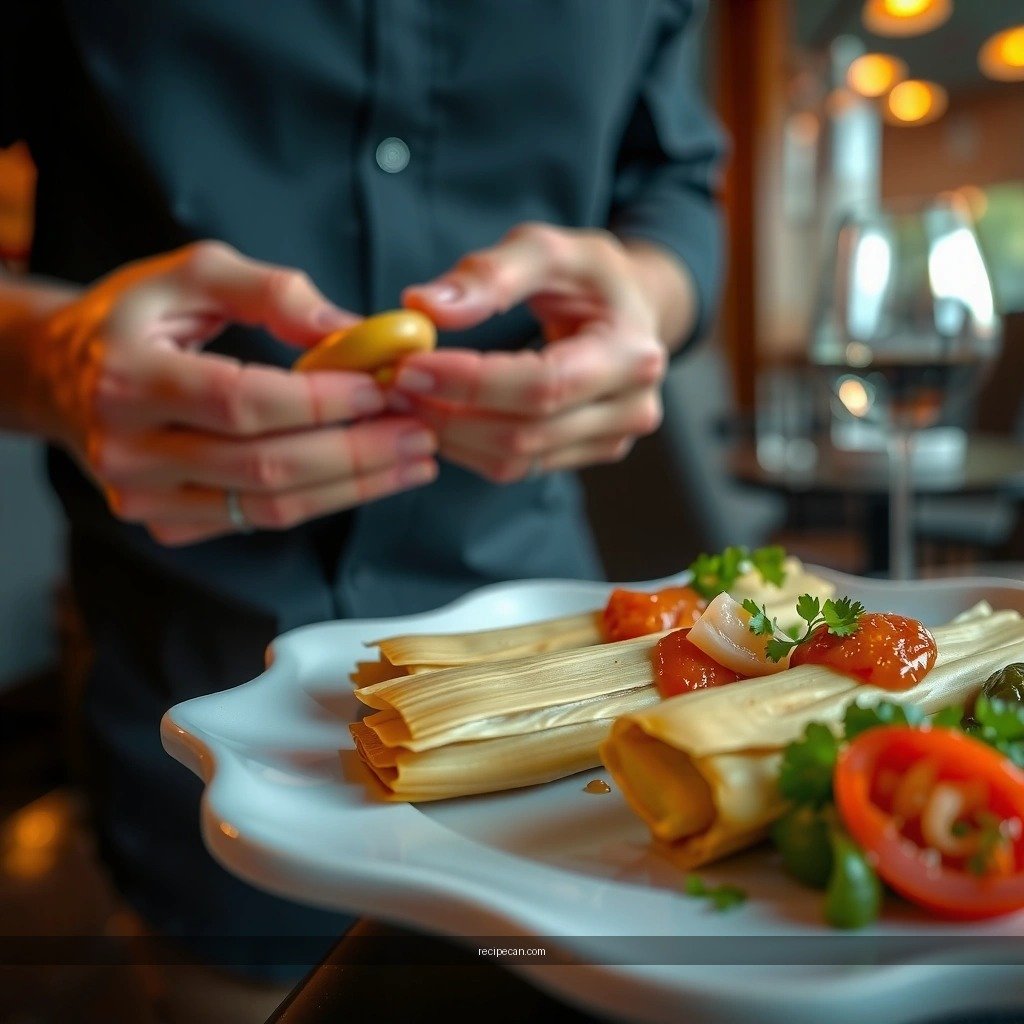
Great tamales depend on masa consistency more than any single ingredient. Think of masa as a batter that must spread, then set firmly in steam.
Typical masa formula logic
– Masa harina: Provides structure.
– Broth/water: Hydrates proteins and starches.
– Fat (lard or oil): Adds tenderness and helps masa stay cohesive.
– Salt: Makes the masa taste complete even before the filling.
How to mix for best texture
1. Combine dry + liquids gradually: Add broth slowly while mixing to avoid lumps.
2. Incorporate fat: Mix until fat is fully integrated; masa should look slightly matte and creamy.
3. Rest briefly (optional but helpful): 10–15 minutes lets hydration settle, reducing cracking later.
Consistency targets (the “feel” test)
– Masa should hold together when scooped.
– It should spread onto a husk without tearing.
– If it’s too stiff, add warm broth a tablespoon at a time.
– If it’s too loose, mix in more masa harina gradually—small adjustments prevent over-correction.
Seasoning the masa
Even though the filling is flavorful, masa must also taste good. Salt it appropriately and taste a small bit after steaming a tiny test portion (or taste a raw spoonful carefully—masa seasoning matters for final results).
Assemble the Tamales
Assembly is where your method affects your final texture: tight rolls trap steam, and even portioning prevents uneven cooking.
Step-by-step assembly
1. Drain and dry husks slightly: They should be pliable, not dripping.
2. Spread masa: Place a portion of masa on the husk and spread into a thin, even layer—usually thick enough to contain the filling but not so thick that it dominates.
3. Add filling: Spoon green chili filling in a line down the center. Keep the filling a little away from the edges to reduce leakage.
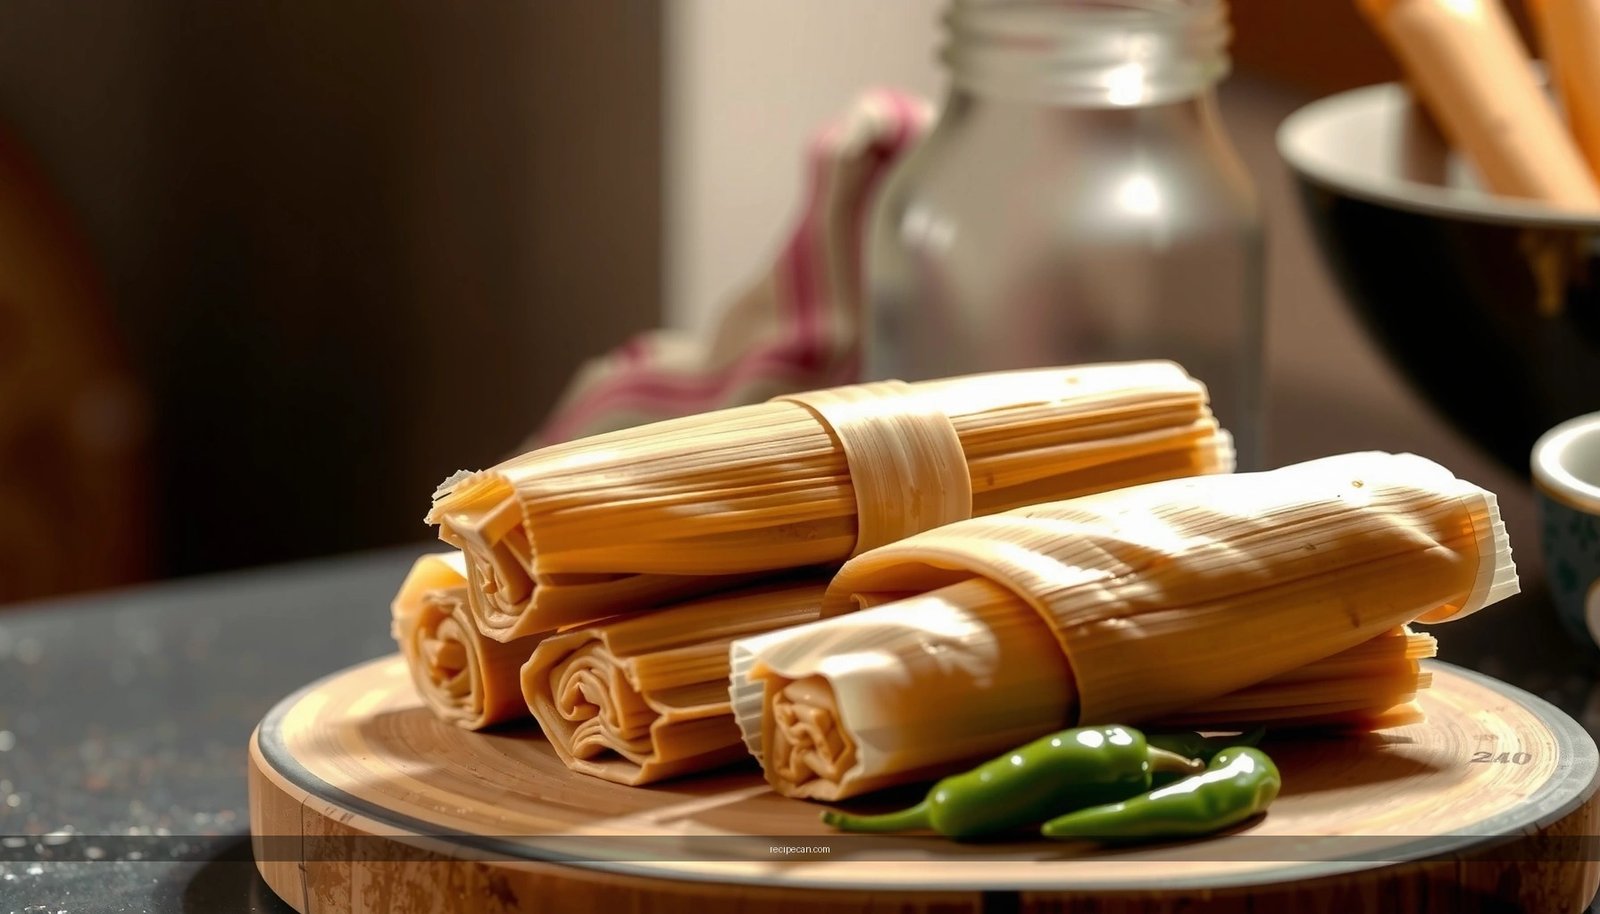
4. Roll and fold tightly: Fold sides inward and roll so the seam faces down or is tucked. Tight rolls help the tamale keep shape and steam properly.
5. Tie or arrange seams down: Tie with kitchen string if needed, especially for very delicate husks. Otherwise, arrange carefully in the steamer.
Portioning and pacing
– Keep masa thickness consistent across tamales.
– Use the same scoop/measure for filling each time.
– Work in batches—if you assemble slowly while filling cools, your texture stays stable.
Steam the Tamales
Steaming is the “set” phase. The goal is to cook masa through while keeping moisture inside so tamales remain tender.
Steam setup and water management
– Use a rack so tamales aren’t in direct contact with water.
– Maintain steady simmering rather than a hard boil. Hard boiling can splash water into the tamales and cause uneven cooking.
How to tell when they’re done
Look for these indicators:
– Masa pulls back slightly from the husk.
– Tamales feel firm, not jiggly.
– A quick test: unwrap one carefully—masa should be cooked and cohesive, not gummy.
Resting for best unwrapping
After steaming, rest tamales about 10–15 minutes. This helps the masa firm up a bit, making husk removal cleaner and reducing tearing.
Storage, Reheating, and Make-Ahead Tips
Tamales are ideal for meal prep because their flavor often improves after resting. Proper storage also reduces the most common issue—dryness after reheating.
Refrigerate
– Cool tamales fully before storing.
– Place in an airtight container or bag.
– Refrigerate up to about 3–4 days for best texture.
Freeze
– Freeze cooked tamales individually first (on a tray) so they don’t stick together.
– Store in freezer bags for up to 2–3 months.
– Reheat from frozen when possible—this helps reduce texture loss.
Reheating methods
– Best texture: Steam again until warmed through. This restores moisture and keeps masa tender.
– Microwave (fast option): Wrap in a damp paper towel and heat in short intervals, flipping if needed. Avoid overcooking, which dries masa.
Make-ahead workflow
– Prepare filling and masa a day ahead.
– Assemble and steam the day you plan to serve, or assemble ahead and refrigerate briefly (tightly covered) before steaming.
If you want consistent results, keep notes on your chile heat level and masa consistency—small adjustments can make a noticeable difference over multiple batches.
Green chili tamales come out tender, flavorful, and ready to enjoy with minimal effort once you commit to the fundamentals: prep pliable husks, cook a thick chile filling, mix smooth seasoned masa, assemble tightly with even portions, and steam until the masa releases cleanly. Make a batch this week, try a pork, chicken, or vegetarian variation, and you’ll have a go-to homemade meal that scales beautifully for family gatherings.
Frequently Asked Questions
How do I make green chili tamales from scratch?
Start by preparing a chile verde filling with roasted green chiles, onion, garlic, and seasonings, then simmer until thick. For the masa, mix masa harina with warm water or broth and add fat (lard or vegetable shortening) plus salt until spreadable. Assemble tamales by spreading masa on soaked corn husks, adding filling, and folding tightly before steaming until set. The key to success is balancing moisture in the masa so it spreads easily and cooks without drying out.
What’s the best way to steam green chili tamales so they don’t turn out gummy?
Use a steamer setup that keeps steady steam and maintain enough water to prevent the pot from running dry. Arrange tamales upright or in a way that allows steam circulation, and steam in batches if your pot is crowded. Check doneness by seeing if the masa pulls away slightly from the husk and feels firm rather than sticky when you open one. For even results, keep the lid closed most of the time and avoid frequent lifting during cooking.
Which masa harina consistency works best for green chili tamales?
Aim for a masa that is smooth, spreadable, and holds shape when scooped, similar to thick peanut butter. If it’s too stiff, add warm broth a little at a time; if it’s too loose, add a small amount of masa harina and re-mix. A common method is the spoon test: the masa should be thick enough to mound and slowly soften, not pour. Getting the masa texture right is crucial for tamales that cook evenly and stay tender.
Why do my green chili tamales come out dry or bland?
Dry tamales usually come from over-steaming, under-fatting the masa, or using masa with too little moisture. Bland tamales typically mean the chile verde filling needs more salt, acidity, or roasted chile flavor—tasting as you cook helps. Using flavorful green chiles (such as Anaheim or Hatch-style) and salting in layers—masa and filling—improves overall balance. If your tamales are dry, try reducing cook time next batch and wrap them more tightly to retain steam.
Best filling options for green chili tamales—chicken, pork, or cheese?
Pork is classic because it stays juicy during steaming and pairs well with rich roasted green chile sauce, but chicken works wonderfully for a lighter option. If you want a vegetarian version, use a chile rajas filling or add cheese (like Oaxaca or Monterey Jack) for creaminess—just note it may melt more quickly during steaming. For the most flavorful tamales, cook the meat with spices, then simmer in the green chili sauce so every bite tastes seasoned. Choose based on your preference, but keep the filling thickness moderate so it doesn’t make the masa soggy.
References
- Tamale
https://en.wikipedia.org/wiki/Tamale - Chili con carne
https://en.wikipedia.org/wiki/Chile_verde - Masa
https://en.wikipedia.org/wiki/Masa_harina - https://www.britannica.com/topic/tamale
https://www.britannica.com/topic/tamale - https://pubmed.ncbi.nlm.nih.gov/?term=tamales
https://pubmed.ncbi.nlm.nih.gov/?term=tamales - https://pubmed.ncbi.nlm.nih.gov/?term=nixtamalization+masa+harina
https://pubmed.ncbi.nlm.nih.gov/?term=nixtamalization+masa+harina - https://www.sciencedirect.com/search?qs=nixtamalization%20masa%20harina
https://www.sciencedirect.com/search?qs=nixtamalization%20masa%20harina - Google Scholar Google Scholar
https://scholar.google.com/scholar?q=green+chili+tamales+recipe - Google Scholar Google Scholar
https://scholar.google.com/scholar?q=tamales+masa+harina+nixtamalization - Google Scholar Google Scholar
https://scholar.google.com/scholar?q=chile+verde+tamales+recipe