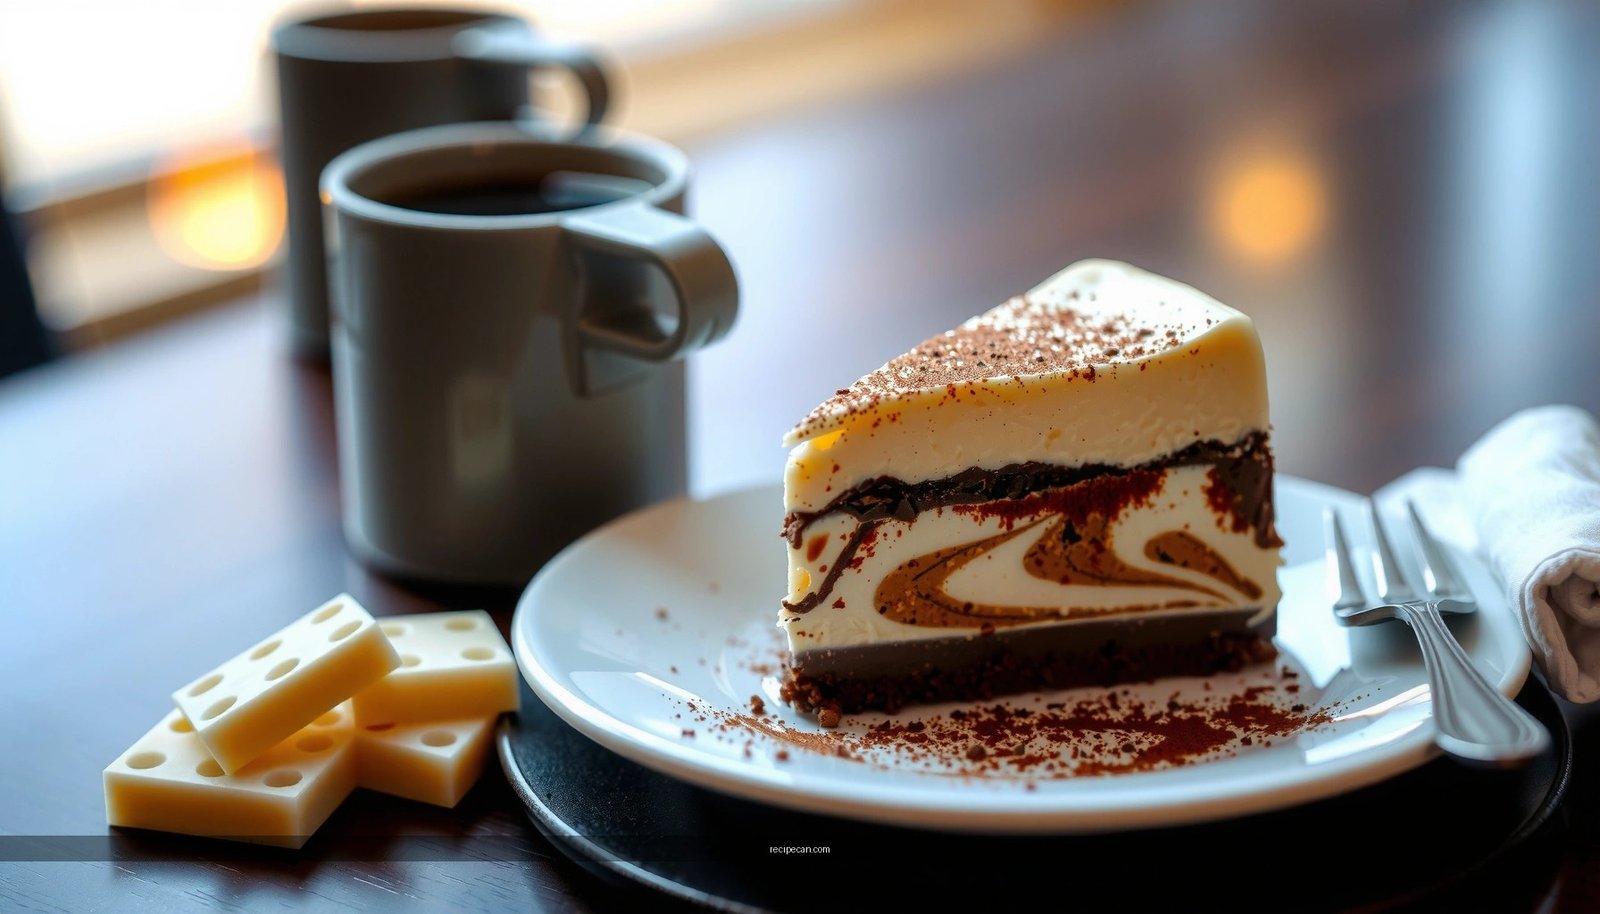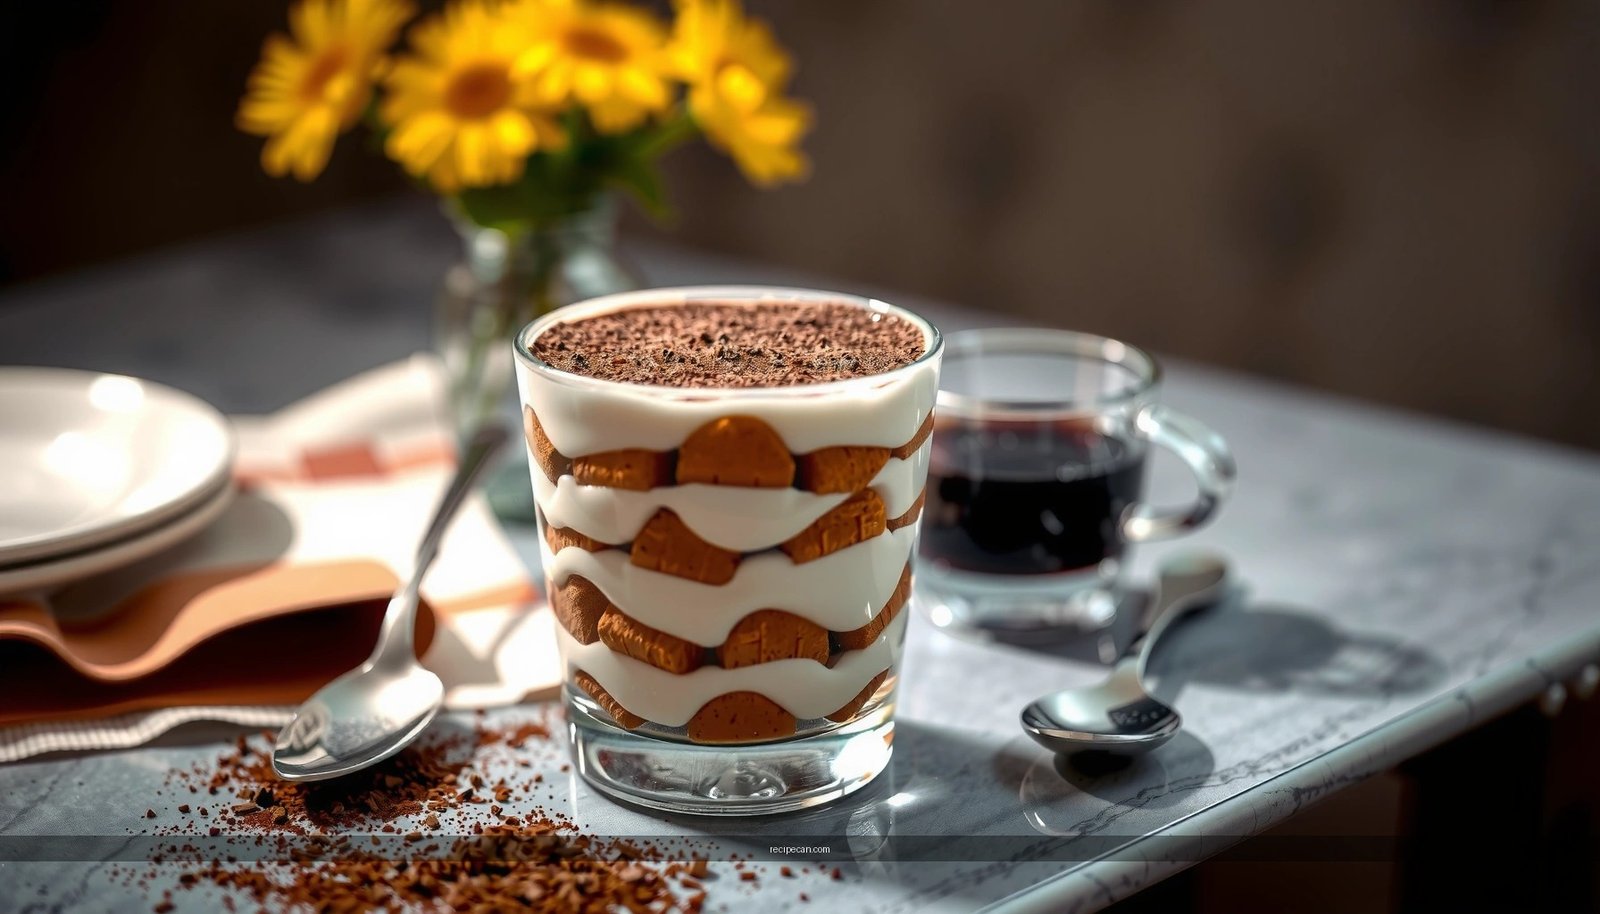
This eggnog tiramisu recipe delivers the closest thing to classic tiramisu with a bold holiday twist—creamy custard layers soaked in eggnog and finished with espresso-kissed mascarpone in minutes. If you want a festive, no-fuss dessert that still tastes rich and elegant, this is the clear winner for weeknight prep and impressive holiday gatherings. Follow the steps and you’ll get clean, scoopable layers every time without the long bake or complicated technique.
Eggnog tiramisu is a make-ahead dessert that delivers classic tiramisu flavor with a rich holiday twist—by combining eggnog, mascarpone, and espresso-soaked ladyfingers into clean, sliceable layers. If you follow the key technique (quick dipping + sufficient chilling), you’ll get a creamy texture that sets properly instead of turning soggy.
Eggnog tiramisu is an easy holiday twist on classic tiramisu, combining creamy eggnog with ladyfingers and rich mascarpone. In this recipe, you’ll learn how to layer, chill, and flavor it so it tastes festive, creamy, and sliceable.
What You Need for Eggnog Tiramisu

– Gather mascarpone, eggnog, egg yolks (or a no-cook option), and whipped cream
– Use strong coffee or espresso plus ladyfingers for the classic base
– Have cocoa powder and nutmeg ready for topping
To make eggnog tiramisu successfully, think in terms of three building blocks: (1) a thick, stable mascarpone-eggnog cream, (2) brief coffee exposure for structure (not soup), and (3) a finish that locks in holiday aroma. Mascarpone provides the signature body of tiramisu; eggnog contributes sweetness, vanilla notes, and spice (often nutmeg) that reads unmistakably “holiday” without extra complicated flavoring.
Coffee choice matters. Strong espresso or brewed coffee gives enough bitterness to balance the sweetness of eggnog. If your coffee is mild, the dessert can taste one-note—sweet rather than layered and dimensional.
Ingredients and Substitutions
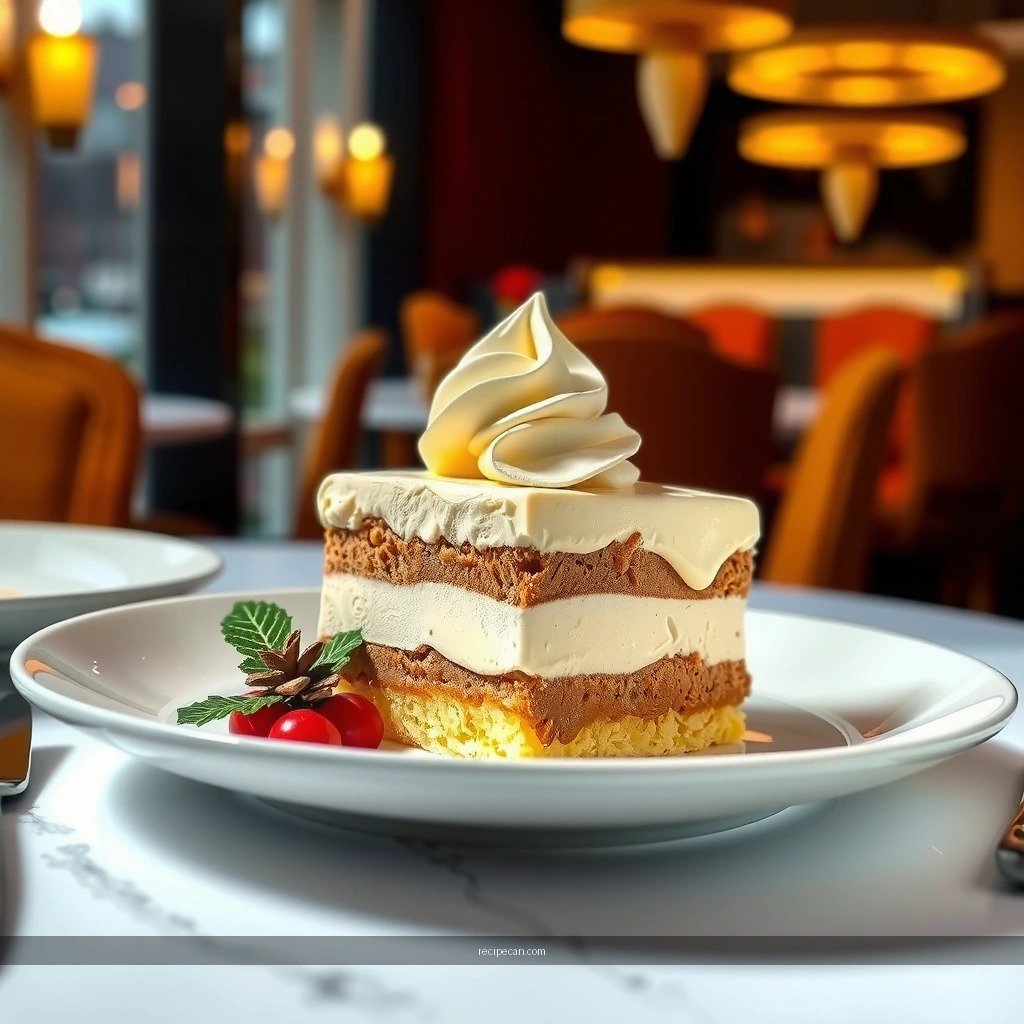
– Choose full-fat eggnog for the best creamy texture
– Swap rum or bourbon with rum extract or omit for an alcohol-free version
– Use gluten-free ladyfingers if needed
Eggnog selection (full-fat) is the texture lever. Full-fat eggnog contains more milk solids and fat, which help the cream feel luxuriously thick and help the tiramisu set while chilling. Lower-fat eggnog can taste fine but may produce a softer structure that’s harder to slice.
Alcohol flexibility without flavor loss. Traditional eggnog flavors often include rum or bourbon. If you want to keep the dessert approachable for all guests, either omit alcohol entirely or use rum extract. Rum extract is especially useful because you can add aroma in small amounts without increasing moisture.
Gluten-free ladyfingers work well, but treat them gently. Gluten-free ladyfingers can absorb coffee differently than traditional ones—sometimes faster. If you choose them, dip for less time and assemble promptly so the layers remain defined.
Below is a practical “workflow control table” showing what typically makes eggnog tiramisu set cleanly and taste balanced.
Eggnog Tiramisu Success Parameters (Standard 8–10 Servings)
| # | Parameter | Target Value | Purpose | Impact Rating |
|---|---|---|---|---|
| 1 | Coffee strength | Espresso or 2× brewed coffee | Balances eggnog sweetness | ★★★★★ |
| 2 | Ladyfinger dip time | 1–2 seconds per side | Prevents sogginess | ★★★★★ |
| 3 | Cream mixing tempo | 30–60 seconds per step | Avoids lumps & overmixing | ★★★★☆ |
| 4 | Chill duration | 6–8 hours minimum | Sets layers for clean slices | ★★★★★ |
| 5 | Storage window | Up to 3 days refrigerated | Best texture and flavor | ★★★★☆ |
| 6 | Nutmeg dosage (cream) | 1/8–1/4 tsp per batch | Adds aroma without overpowering | ★★★★☆ |
| 7 | Cocoa timing | Dust right before serving | Keeps topping dry and defined | ★★★★☆ |
Step-by-Step Instructions
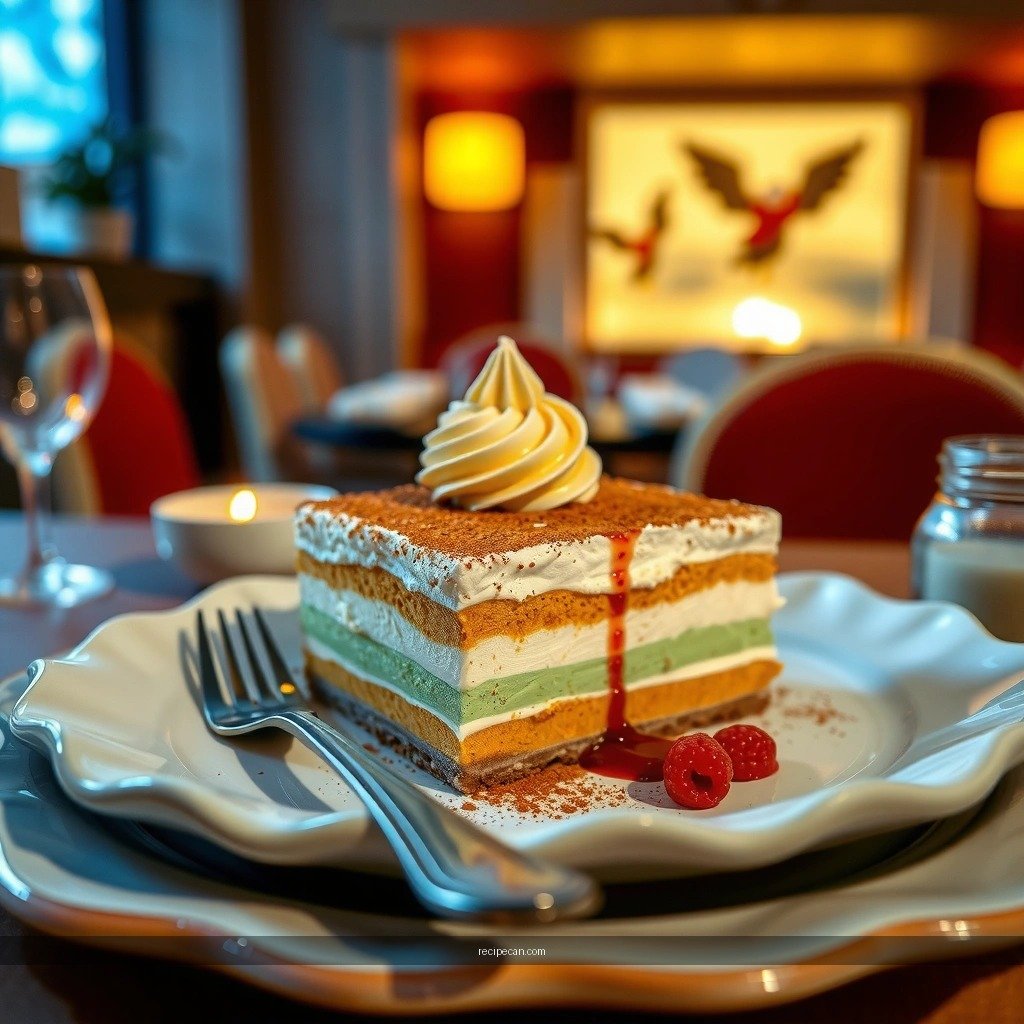
– Whisk egg yolks (if using) and fold into mascarpone for a smooth cream
– Dip ladyfingers quickly in coffee/espresso (don’t soak too long)
– Layer mascarpone cream and ladyfingers, then repeat for thickness
1) Make the eggnog-mascarpone cream
Start with mascarpone as your base. If you’re using egg yolks, whisk them until smoother, then incorporate them into the mascarpone gradually. The goal is a cohesive cream that holds shape—lumps usually come from rushing or adding too much liquid at once.
If you prefer a no-cook approach, you can skip the egg yolk step and rely on whipped cream plus eggnog to achieve a stable, airy structure. Even then, beat thoroughly enough to eliminate graininess, but stop before the mixture becomes loose.
2) Prepare espresso/coffee for dipping
Brew strong coffee and let it cool slightly if it’s very hot. Hot liquid can make ladyfingers soften too quickly and destabilize the cream. Use a shallow bowl to make dipping fast and consistent.
3) Dip and layer (the technique that determines texture)
Dip ladyfingers one at a time, quickly—think “coat,” not “soak.” A short dip allows the coffee to flavor the biscuit while preserving structure. Then arrange them immediately in your dish.
Spread a layer of cream over the ladyfingers, then repeat with another coffee-dipped layer and more cream. Two layers is elegant; three layers create a more dramatic, celebratory slice.
How to Make It Extra Festive
– Add nutmeg to the cream and a pinch to the coffee dip
– Mix a little cocoa powder into the layers for deeper flavor
– Finish with cocoa dusting and a light cinnamon or nutmeg sprinkle
Eggnog tiramisu is already festive by virtue of eggnog and nutmeg, but a few targeted moves make it feel “special” rather than merely seasonal.
Nutmeg strategy: aroma distribution. Add nutmeg to the cream for a persistent flavor in every bite, then add a pinch to the coffee dip so the bottom layers echo the same holiday profile. This creates a more unified taste across the slice.
Cocoa inside the layers, not just on top. A small amount of cocoa powder stirred into the cream adds depth and a mild bitterness that counterbalances sweetness. Keep it modest—too much cocoa can dry the cream or dull the eggnog character.
Finish with a clean, attractive dusting. Dust cocoa powder right before serving to prevent it from dissolving into the cream. For extra visual contrast, finish with a light pinch of cinnamon or a few micro-shavings of nutmeg. The goal is subtlety: enough to signal “holiday,” not overwhelm.
Chilling and Serving Tips
– Chill at least 4–6 hours (overnight is best) for clean slices
– Serve cold and garnish right before serving for best presentation
– Store covered in the fridge and enjoy within a few days
Chilling is not just a formality—it’s what turns a creamy mixture into a sliceable holiday dessert. During the chill window, fats in mascarpone and cream firm up, while coffee moistened from the ladyfingers redistributes slightly, creating a uniform texture.
Plan for best slicing. If you want perfect edges, chill at least 6–8 hours and ideally overnight. When ready, use a sharp knife and wipe between cuts to keep layers crisp.
Garnish timing improves presentation. Cocoa dustings tend to absorb moisture over time. Dust the top shortly before serving, then add any final nutmeg/cinnamon immediately at the table.
Storage practices. Cover tightly and refrigerate. Eggnog tiramisu generally tastes best within 2–3 days because the ladyfingers continue to soften over time, which can reduce the “layered” contrast.
Common Mistakes to Avoid
– Over-soaking ladyfingers can make the tiramisu soggy
– Under-mixing mascarpone can leave lumps—mix gently but thoroughly
– Skipping chilling may prevent the layers from setting properly
1) Over-soaking ladyfingers (most common issue). If ladyfingers sit too long in coffee, they break down and release liquid into the cream. The result is a soft, blurred dessert rather than a sliceable one. Use a fast dip and work in batches.
2) Lumpy mascarpone from rushed mixing. Mascarpone is thick and can hold lumps if you don’t incorporate smoothly. Mix gently but thoroughly, scraping the bowl and ensuring full blending before folding in any whipped components.
3) Cutting corners on chill time. Skipping or shortening chilling prevents fat-based creams from firming. Even if it tastes great, it may not slice cleanly and can appear overly loose.
Eggnog tiramisu delivers classic tiramisu flavor with a creamy, holiday eggnog twist—perfect for make-ahead desserts. Follow the layering steps, chill until set, and finish with cocoa and nutmeg for that festive touch. Make it this week, and be sure to share your final slice with your holiday crowd!
Frequently Asked Questions
What is an eggnog tiramisu recipe and how is it different from classic tiramisu?
An eggnog tiramisu recipe is a holiday twist on classic Italian tiramisu that swaps traditional coffee-soaked layers with eggnog and adds warm spices like nutmeg and cinnamon. Instead of brewed espresso, eggnog (often warmed slightly) helps flavor the ladyfingers while keeping the dessert creamy. You’ll still use a mascarpone-egg mixture for richness, but the eggnog flavor becomes the star.
How do you make eggnog tiramisu without curdling the eggs?
To prevent curdling, use gentle heat when combining eggs (or tempering the eggs) and keep the mixture below a simmer. Gradually whisk a small amount of warm eggnog or sugar mixture into the eggs, then return everything to low heat while stirring constantly until it thickens slightly. Afterward, cool the custard completely before folding it into mascarpone so your eggnog tiramisu stays smooth and silky.
How long do you need to chill eggnog tiramisu for the best texture?
For the best set and flavor absorption, chill eggnog tiramisu for at least 4–6 hours, though overnight is even better. The longer it rests, the more the ladyfingers soften and the tiramisu layers become cohesive. If you’re in a rush, aim for a minimum of 4 hours, but expect a slightly firmer texture than an overnight chill.
Which eggnog should you use—store-bought or homemade—and what changes in the recipe?
Store-bought eggnog is the easiest choice for an eggnog tiramisu recipe because it’s consistent in sweetness and thickness. If you use homemade eggnog, consider reducing it slightly if it’s thinner, since overly runny eggnog can make the layers watery. Regardless of which you choose, taste first—some eggnog brands are sweeter, so you may want to adjust added sugar in the mascarpone or custard.
Best ways to prevent watery layers in eggnog tiramisu?
Watery layers usually come from over-soaking the ladyfingers or using eggnog that’s too warm or thin. Quickly dip ladyfingers in eggnog (don’t soak), then assemble promptly so the cookies hold structure. Also chill the custard thoroughly before layering and consider thickening concerns by using full-fat mascarpone and cooking the eggnog mixture until it lightly coats a spoon, which helps the dessert set cleanly.
References
- Eggnog
https://en.wikipedia.org/wiki/Eggnog - Tiramisu
https://en.wikipedia.org/wiki/Tiramisu - Eggnog | Origins, Ingredients, Holiday Traditions, & Recipe | Britannica
https://www.britannica.com/topic/eggnog - Tiramisu | Meaning, Ingredients, Origin, Desserts, & Taste | Britannica
https://www.britannica.com/topic/tiramisu - https://www.cdc.gov/features/eggsafety/index.html
https://www.cdc.gov/features/eggsafety/index.html - Eggs | Food Safety and Inspection Service
https://www.fsis.usda.gov/food-safety/safe-food-handling-and-preparation/eggs - https://www.fda.gov/food/buy-store-serve-safe-food/safe-handling-eggs
https://www.fda.gov/food/buy-store-serve-safe-food/safe-handling-eggs - Google Scholar Google Scholar
https://scholar.google.com/scholar?q=eggnog+tiramisu+recipe - Google Scholar Google Scholar
https://scholar.google.com/scholar?q=tiramisu+raw+eggs+food+safety - Google Scholar Google Scholar
https://scholar.google.com/scholar?q=eggnog+pasteurization+eggs+recipe