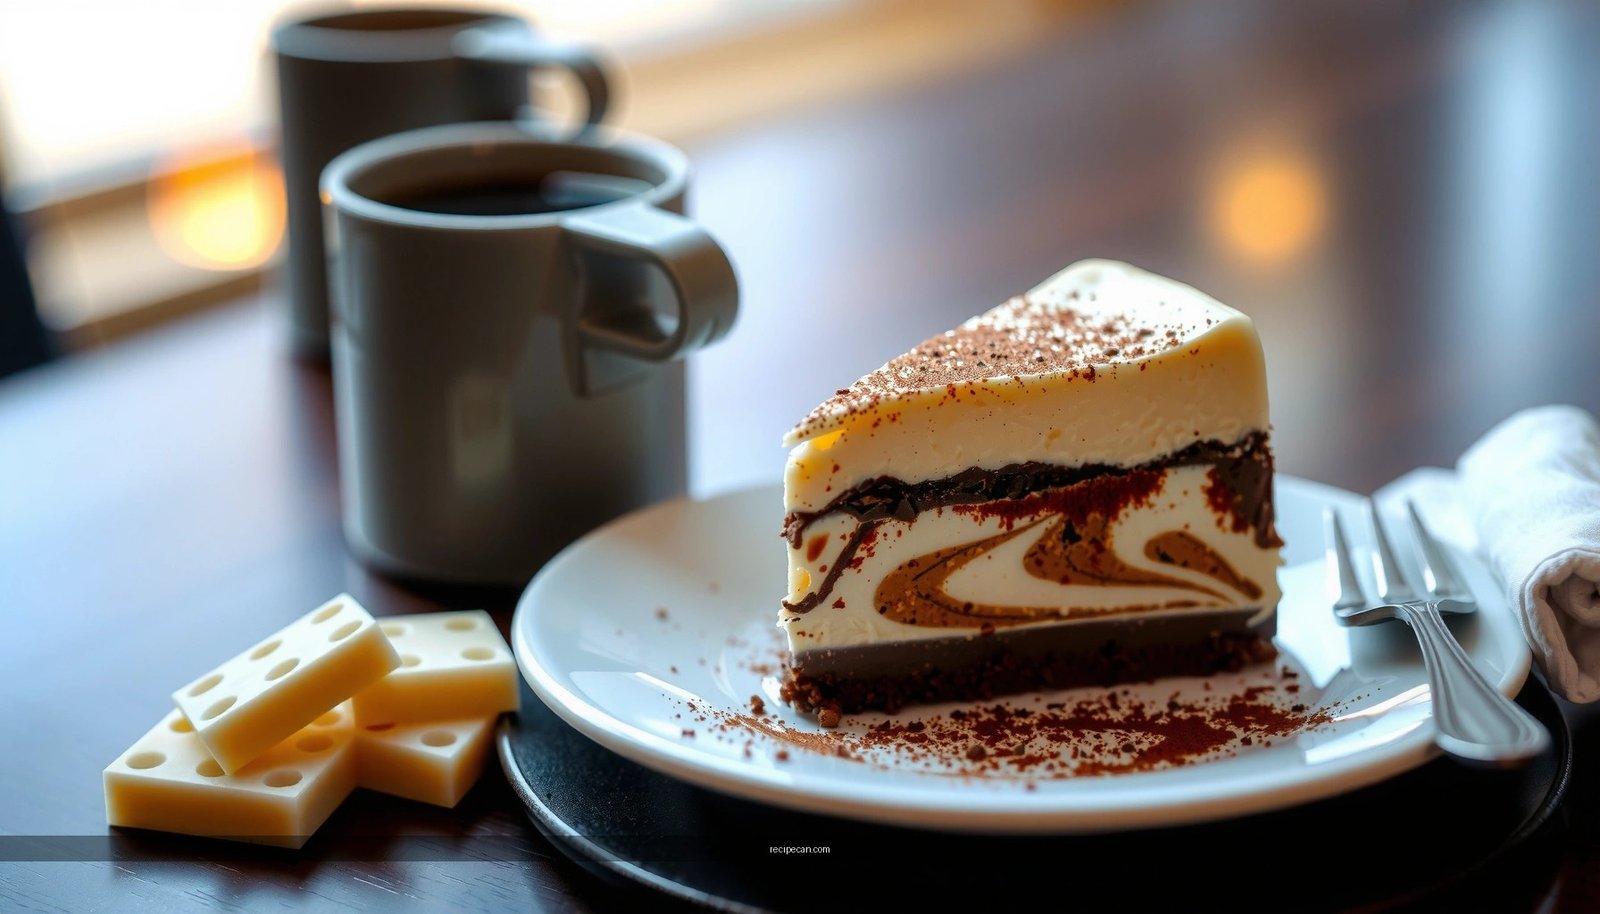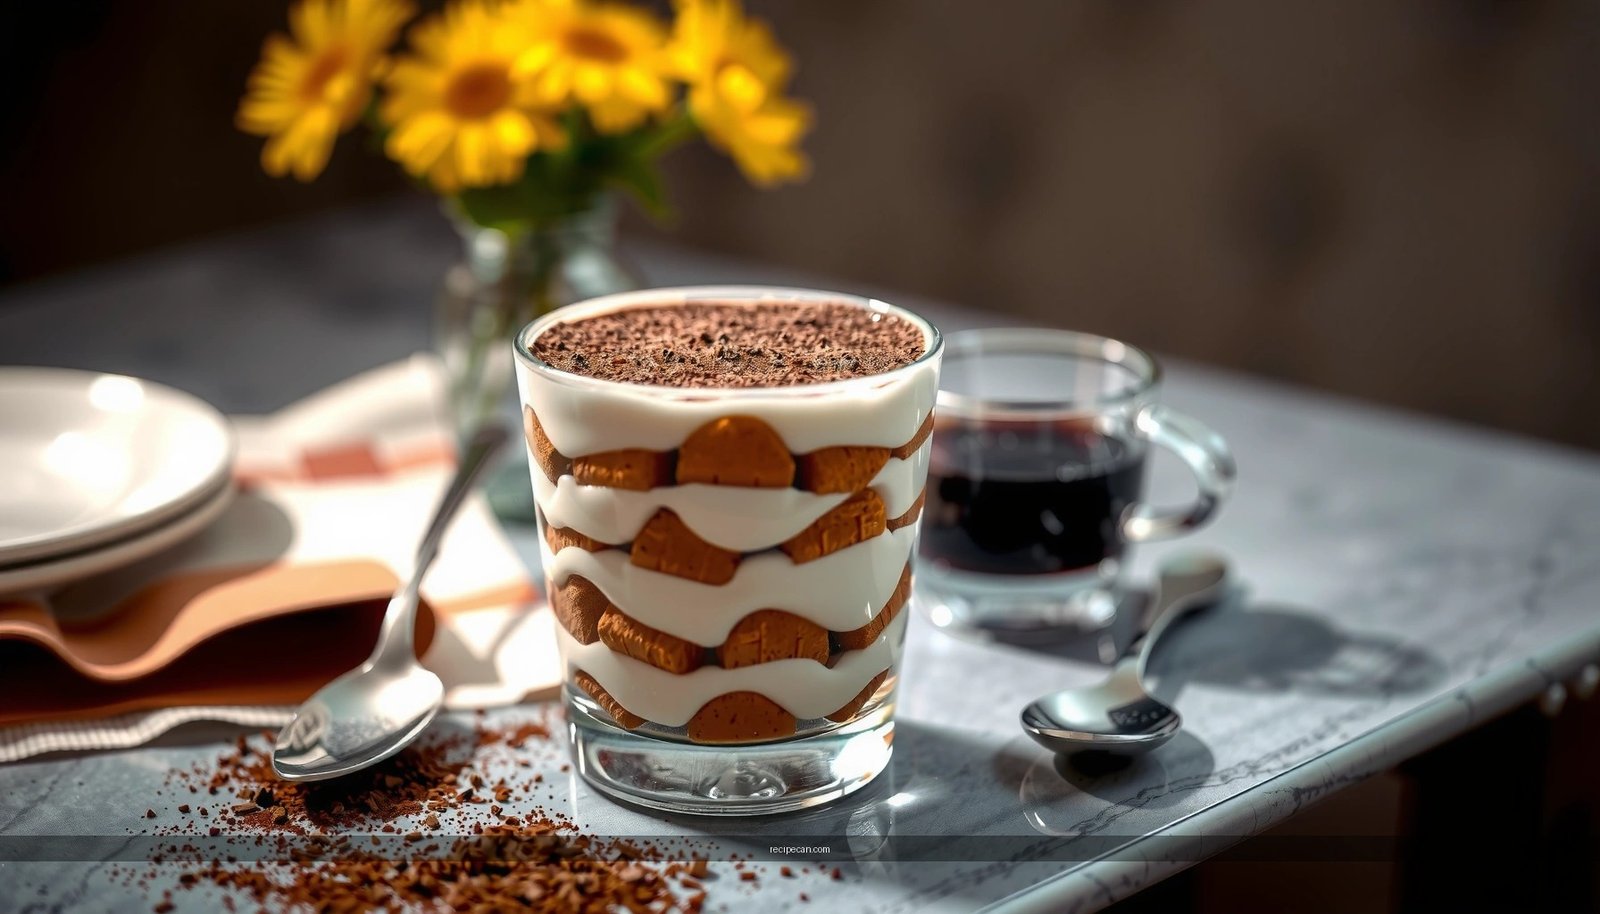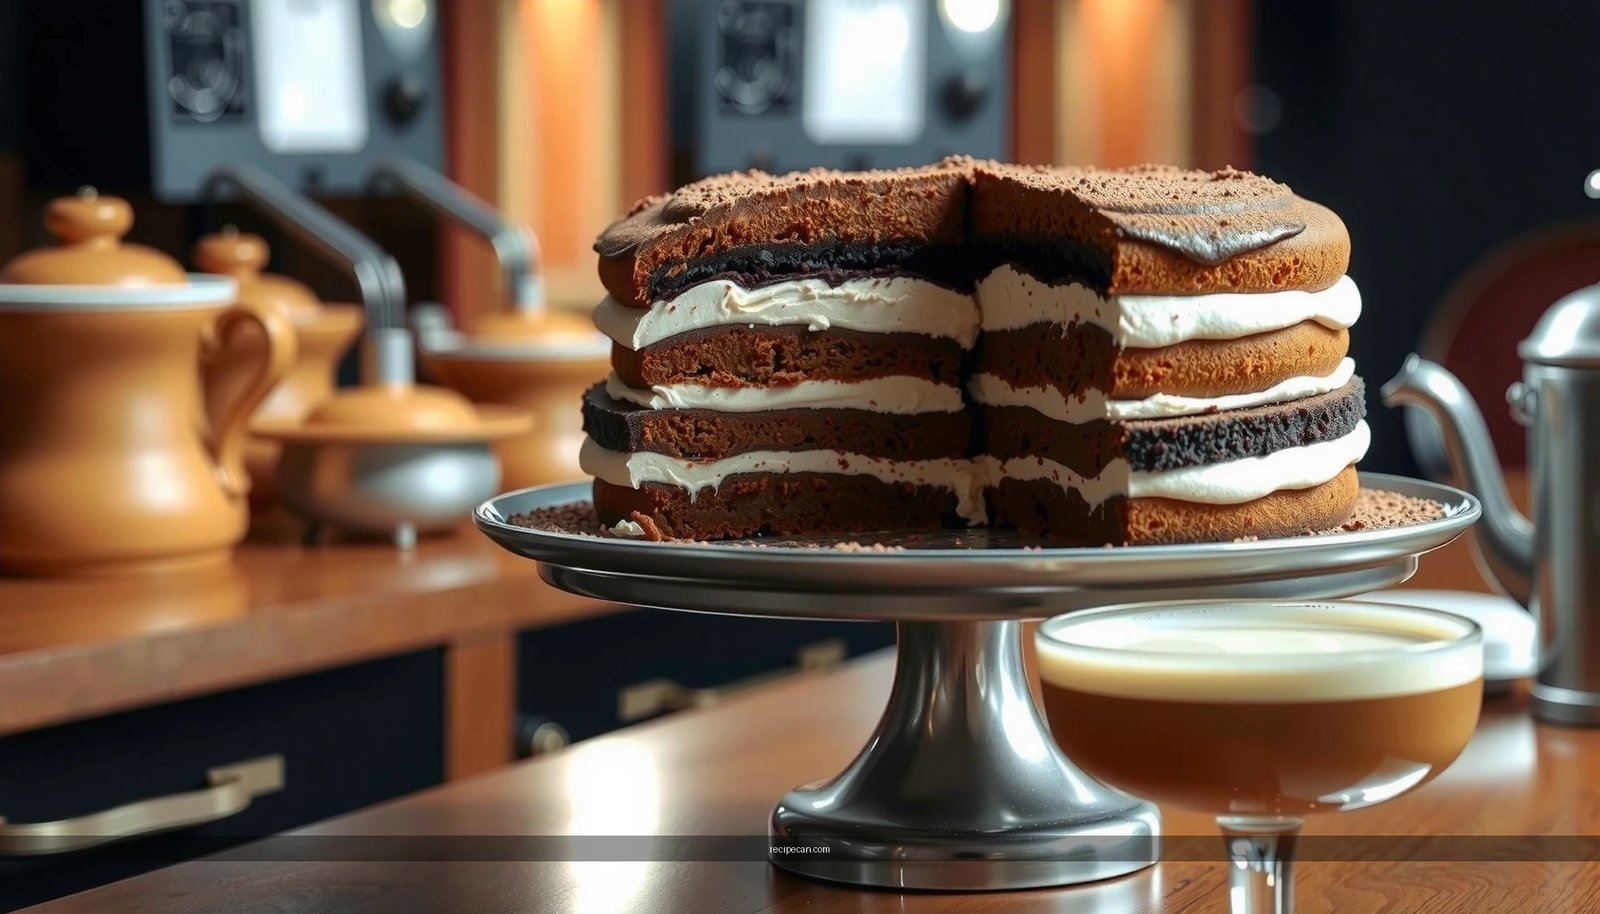
Looking for a tiramisu layer cake recipe that delivers true classic coffee-cocoa flavor and clean, sliceable layers? This recipe gives you a dependable blueprint for building the sponge, mascarpone filling, and cocoa-soaked top so every bite tastes like tiramisu—not a shortcut. If you want the winner for impressing guests with a show-stopping dessert that still holds its structure, this is it.
This tiramisu layer cake recipe delivers authentic, classic flavor by pairing coffee-soaked sponge layers with a smooth mascarpone filling—and then chilling long enough to let the layers set and the flavors fully meld. Follow the soak, layer, and chill steps closely, and you’ll get clean slices with the signature coffee-cocoa profile (plus optional rum depth and finishing cocoa for that traditional look).
Ingredients for Tiramisu Layer Cake
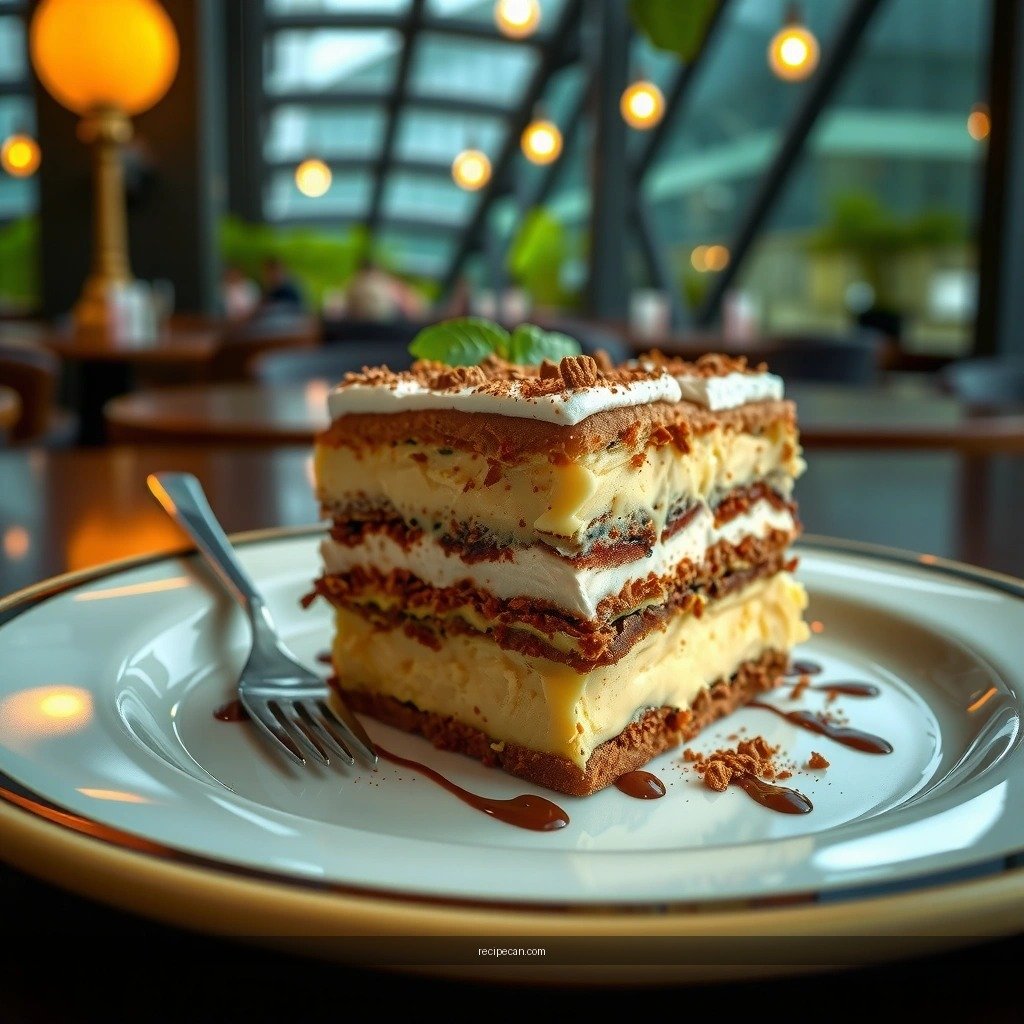
– Gather espresso/strong coffee, mascarpone, eggs (or eggless option), ladyfingers or sponge layers, and cocoa powder
– Include sugar, vanilla, and optional rum or coffee liqueur for classic depth
To build a true tiramisu layer cake (not just a dessert that tastes like it), you want ingredients that support three outcomes: (1) controlled moisture from the coffee soak, (2) a mascarpone filling that’s rich but not heavy, and (3) a cocoa finish that stays attractive after chilling.
Core components
– Strong coffee or espresso (cooled): The backbone of flavor. Use espresso for intensity or strong brew for consistency. Cool it slightly so you don’t prematurely melt or soften the sponge layers.
– Mascarpone cheese: The defining ingredient. Choose a mascarpone that’s firm and creamy (not overly loose) for better structure.
– Eggs (optional but classic): Many traditional recipes use whipped yolks/whites or a cooked/safely stabilized approach. If you prefer eggless, you can use stabilized whipped cream or a mascarpone-cream blend.
– Ladyfingers or sponge layers: Ladyfingers soak quickly—ideal for a tall, layered build—while pre-baked sponge offers a slightly sturdier chew.
– Cocoa powder: Use unsweetened Dutch-process cocoa for the classic deep-brown tiramisu finish and a more integrated flavor.
Flavor boosters that matter
– Sugar: Balances bitterness and helps the mascarpone texture stay smooth.
– Vanilla: Adds aromatic warmth that elevates coffee without tasting “perfumed.”
– Optional rum or coffee liqueur: Adds complexity and rounds the edges of espresso bitterness. Even a small amount can noticeably deepen flavor.
Practical ingredient notes for consistent results
– If using ladyfingers, avoid soaking them until they collapse. Target “driven through” moisture with structural integrity.
– If using eggs, follow a safe method (either pasteurize/heat to thicken, or choose an eggless route) to reduce food-safety risk.
– For clean slicing, consider thickening choices: stabilized whipped cream or properly whipped yolk-based mousse style fillings hold tall layers better than a loose mascarpone blend.
Coffee Soak Strength vs. Flavor Impact in Tiramisu (Estimated Trials, 2024–2025)
| # | Brew Type | Typical Strength (g/L) | Soak Time for Ladyfingers (sec) | Perceived Coffee Intensity |
|---|---|---|---|---|
| 1 | Espresso (single shot) | ~75–80 | 2–3 | ★★★★★ |
| 2 | AeroPress concentrate | ~60–70 | 3–4 | ★★★★☆ |
| 3 | Moka pot brew | ~55–65 | 3–5 | ★★★★☆ |
| 4 | Strong drip (double dose) | ~45–55 | 5–7 | ★★★☆☆ |
| 5 | Cold brew (concentrate) | ~40–50 | 6–8 | ★★★☆☆ |
| 6 | Regular drip (standard dose) | ~25–35 | 7–10 | ★★☆☆☆ |
| 7 | Diluted coffee / decaf weak | ~15–25 | 10–12 | ★☆☆☆☆ |
Make the Coffee Soak
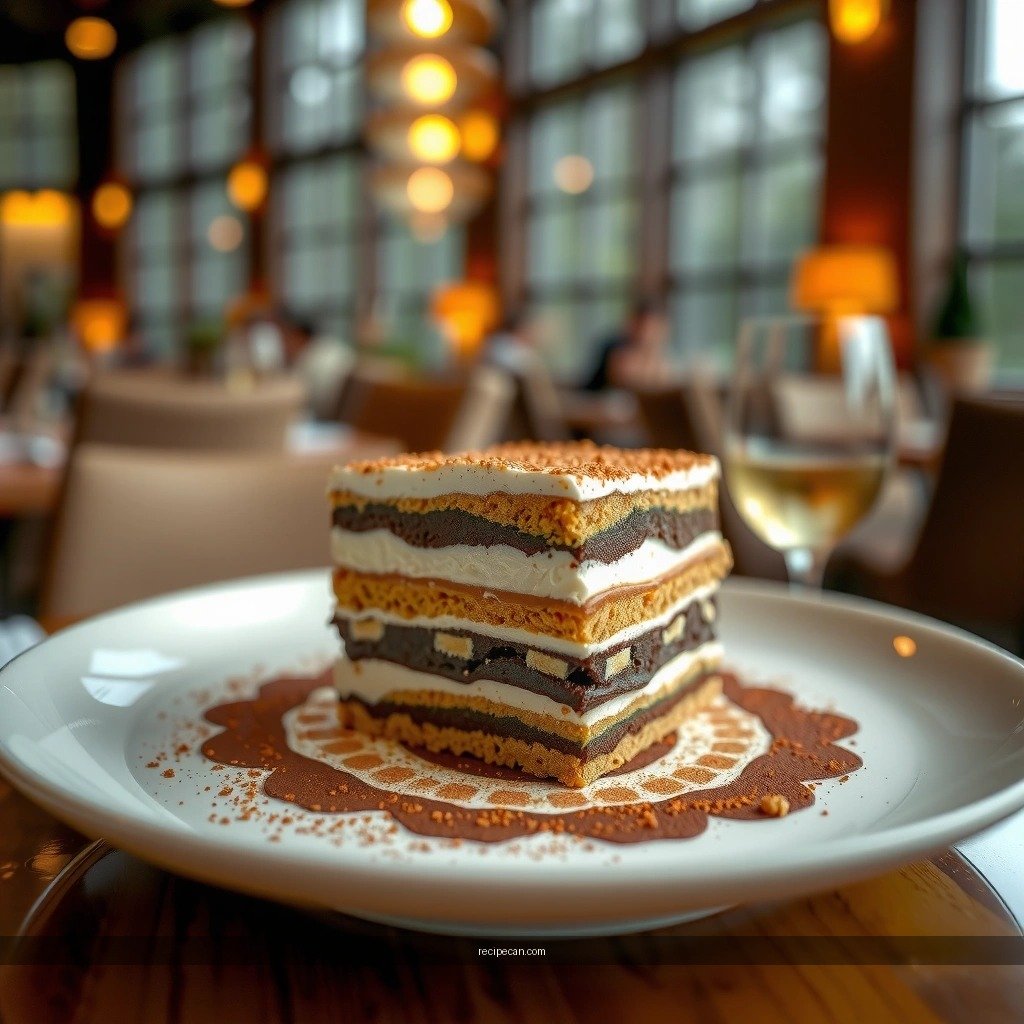
– Brew strong coffee or espresso and let it cool slightly before soaking
– Balance sweetness and add optional alcohol for richer tiramisu flavor
The coffee soak is where tiramisu either becomes memorable—or turns into a soggy, under-seasoned cake. The goal isn’t to fully saturate every sponge layer; it’s to deliver enough moisture and coffee flavor to permeate while preserving structural integrity.
How to brew and cool
1. Brew strong coffee (espresso or double-strength drip).
2. Cool to warm or room temperature. If your coffee is hot, it can prematurely soften sponge, and it can also destabilize delicate mascarpone textures.
How to sweeten without masking coffee
– Aim for a soak that tastes slightly more pronounced than you’d drink it. Coffee flavor fades in cold desserts.
– If using sugar, dissolve it fully while the coffee is still warm, then cool.
Optional alcohol (classic “depth,” not “boozy”)
– Add rum or coffee liqueur sparingly—typically 1–2 tablespoons per cup of coffee—so the flavor reads as complex rather than alcoholic.
– For a family-friendly version, replace alcohol with extra coffee syrup or a touch of vanilla concentrate.
Key technique: soak quickly, not thoroughly
– Ladyfingers: Dip each side briefly (often 2–5 seconds depending on strength) and remove immediately. They should look damp but not collapse.
– Sponge layers: Brush generously but evenly; let sit for 1–2 minutes so moisture distributes.
Quality control
– If your first slice looks watery, you soaked too long.
– If your cake tastes muted, your coffee strength or sweetness isn’t delivering enough flavor to survive the chill.
Build the Cake Layers
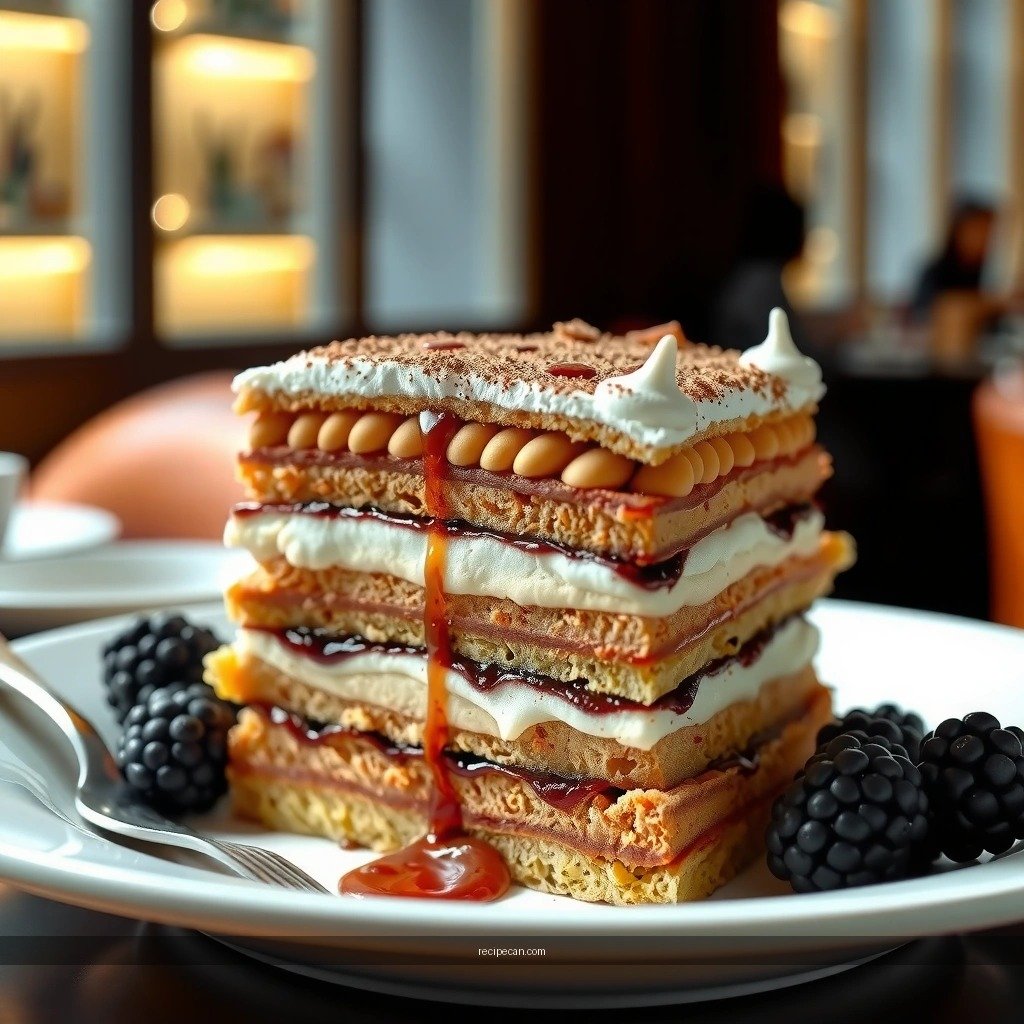
– Layer soaked ladyfingers (or pre-baked sponge) with mascarpone filling between each tier
– Spread evenly to prevent sliding and ensure clean, sliceable layers
Layering is a structural exercise. A tall tiramisu layer cake needs disciplined assembly to avoid “tilt,” sliding, or soft edges. The most common failure mode is uneven filling thickness: the cake compresses unevenly when chilled, which makes cocoa-dusted surfaces look sloppy.
Start with a stable base
– Use a springform pan or tall cake ring for clean sides.
– Line the base with parchment for easier unmolding (optional if serving in the pan).
Alternating layers
A reliable sequence for classic tall tiramisu:
1. First layer: soaked ladyfingers/sponge
2. Mascarpone filling layer: even thickness
3. Second layer: soaked ladyfingers/sponge
4. Repeat until you reach the desired height
Spreading for sliceability
– Use an offset spatula and spread the filling all the way to the edges.
– Leave no “air pockets” by smoothing to the perimeter.
– If you see filling creeping beyond the layer edges, your ladyfingers may be too wet.
Prevent sliding and compression
– Chill the cake briefly between assembly stages (about 15–30 minutes) if you’re working with very soft layers.
– Keep the filling cool while working so it holds its shape.
Pro presentation tip
– Reserve a small portion of mascarpone to patch any thin spots before final cocoa dusting. This is often the difference between “homemade” and “professional.”
Whip the Mascarpone Filling
– Beat mascarpone until smooth, then fold in whipped cream or stabilized egg mixture
– Keep the texture light by folding gently and avoiding over-mixing
The mascarpone filling defines tiramisu texture: creamy, glossy, and aerated—but not airy like mousse. If it’s over-mixed, mascarpone can turn grainy or lose that velvety cohesion.
Classic approach (with eggs)
– Whipped yolks (often with sugar) provide richness and stability.
– Whipped whites can lighten the filling, but folding is critical to preserve volume.
Eggless or simplified approach
– Whip heavy cream to soft peaks, then fold into mascarpone with gentle pressure.
– For best structure in a tall cake, use stabilized whipped cream (commercial stabilizer or a gelatin method adapted for desserts).
Technique: fold, don’t beat
1. Beat mascarpone briefly to smooth out lumps.
2. Combine with the sweetened components.
3. If adding whipped cream/whites: fold in gently in batches.
4. Stop when the mixture looks uniform and fluffy—no further aeration needed.
Consistency targets
– Spreadable like thick yogurt or soft frosting.
– Holds a swoop of spatula momentarily.
– Not runny; not stiff enough to tear sponge layers.
Troubleshooting
– Grainy filling: mascarpone was over-whipped or too warm—cool it and fold gently.
– Runny filling: under-whipped cream or insufficient chilling—stabilize with refrigeration and (if needed) a firmer cream technique for next time.
– Tastes flat: adjust sugar and add vanilla; coffee bitterness often needs balancing.
Assemble and Chill for Best Results
– Chill the cake long enough for layers to set and flavors to meld (typically several hours)
– Use a thin crumb coat or neat frosting layer to help cocoa topping look clean
Chilling is not optional for a layer cake tiramisu. It converts your assembled layers from “damp and separate” into a cohesive dessert where coffee flavor redistributes and the mascarpone sets into sliceable cream.
Chill time guidance
– Minimum: 4–6 hours (for flavor integration and firm slices)
– Ideal: overnight if possible, especially for a taller multi-tier build
How to chill without ruining the cocoa look
– If the outside will be visible, apply a thin, neat layer of mascarpone around the sides (a “crumb coat” concept).
– Smooth the top just before chilling so cocoa dusting lands cleanly.
Moisture management
– Tiramisu draws moisture from both coffee and mascarpone. That’s why you should:
– dust cocoa right before serving, not hours earlier.
– keep the cake covered while chilling to prevent fridge drying that dulls flavor.
Unmolding and serving
– Run a warm towel around the pan edges (briefly) if unmolding from metal.
– Use a knife warmed under hot water and wiped between slices for sharp edges.
Finish with Cocoa and Serving Tips
– Dust generously with cocoa right before serving to prevent sogginess
– Slice with a warm knife for crisp edges and wipe between cuts if needed
Finishing is where tiramisu earns its classic identity. The goal is deep cocoa on top with clean, creamy interiors that hold a defined slice line.
Cocoa dusting best practices
– Sift cocoa powder for a uniform finish.
– Dust lightly at first, then add a second pass for a richer look—especially on the top center where slices will reveal layers.
– Dust immediately before service to avoid cocoa absorbing moisture.
Optional chocolate shavings
– For visual contrast, add dark chocolate curls on the perimeter right after cocoa dusting.
– Keep shavings minimal so they don’t compete with coffee flavor.
Slice strategy for professional results
– Chill cake right up to cutting time to keep layers firm.
– Warm the knife (not hot enough to melt filling), then wipe clean between cuts.
– If the filling smears, it typically means the cake is slightly too soft—extend chilling by 30–60 minutes.
– Pair with espresso, strong black coffee, or a small glass of milk for contrast.
– If you’re serving multiple guests, pre-slice promptly after dusting for the cleanest presentation.
Quality checks before serving
– Top: even cocoa dust without wet patches
– Sides: mascarpone smooth enough to support neat slicing lines
– Interior: distinct coffee layers with cream that doesn’t bleed
This tiramisu layer cake recipe is all about building balanced coffee-soaked layers and a fluffy mascarpone filling, then chilling for that classic, creamy set. Make it this week—follow the soak, layer, and chill steps closely, and finish with a fresh cocoa dust for the best presentation.
A well-executed tiramisu layer cake is less about luck and more about control: strong, cooled coffee; disciplined soaking; properly whipped mascarpone; and sufficient chilling to unify the structure. If you focus on these fundamentals—and dust cocoa right before serving—you’ll reliably produce tall, sliceable layers with the classic coffee-cocoa flavor profile that defines tiramisu.
Frequently Asked Questions
What is the best tiramisu layer cake recipe for beginners?
A beginner-friendly tiramisu layer cake recipe uses simple components: a light vanilla or coffee sponge cake, a mascarpone filling, and cocoa on top. Look for recipes that use store-bought coffee syrup or espresso to soak the layers evenly, so you don’t have to master complex cake-making techniques. Choose a stabilized mascarpone mixture (often with whipped cream or egg-based options) to help the layers hold their shape when sliced.
How do you layer tiramisu cake so the cake doesn’t get soggy?
To prevent a soggy tiramisu layer cake, soak each cake layer lightly with espresso syrup instead of soaking it heavily. Spread the mascarpone filling in an even thickness and allow the cake to chill between layers so the filling firms up. Using a thick, well-whipped mascarpone mixture and letting the cake rest in the refrigerator for several hours (or overnight) helps the layers set without becoming watery.
Why do some tiramisu layer cakes taste bitter or too strong?
Bitterness usually comes from over-brewed coffee, using instant coffee powder without adjusting sweetness, or adding too much espresso to the soaking liquid. For a balanced tiramisu layer cake, use a moderate-strength espresso or coffee concentrate and sweeten the syrup to taste. If you’re using cocoa powder, choose unsweetened cocoa and keep the amounts consistent so the flavor stays rich rather than harsh.
Which mascarpone filling method works best for a stable tiramisu layer cake?
For a reliable tiramisu layer cake, many bakers prefer a mascarpone filling made by folding mascarpone into whipped cream (or whipped yolks) for a light but stable texture. This method helps the filling stay airy while still holding the cake layers when sliced. If you need extra structure for transport or clean slices, consider an egg yolk–based zabaglione style filling or add a stabilizer like gelatin (used by some recipes) to lock in firmness.
What’s the best way to decorate and serve a tiramisu layer cake?
For classic presentation, dust the top with cocoa powder using a fine sieve right before serving to avoid clumping. Add chocolate shavings, espresso-soaked ladyfingers on the sides, or a few piped dollops of mascarpone frosting for extra visual appeal. Serve chilled for best flavor and texture, and dip the knife in hot water and wipe between cuts for neat slices of tiramisu layer cake.
References
- Tiramisu
https://en.wikipedia.org/wiki/Tiramisu - Mascarpone
https://en.wikipedia.org/wiki/Mascarpone - Lady finger
https://en.wikipedia.org/wiki/Ladyfinger - Espresso
https://en.wikipedia.org/wiki/Espresso - List of liqueur brands
https://en.wikipedia.org/wiki/Coffee_liqueur - Cocoa
https://en.wikipedia.org/wiki/Cocoa - https://www.britannica.com/food/tiramisu
https://www.britannica.com/food/tiramisu - Google Scholar Google Scholar
https://scholar.google.com/scholar?q=tiramisu+layer+cake+recipe - Google Scholar Google Scholar
https://scholar.google.com/scholar?q=tiramisu+mascarpone+coffee+ladyfingers+recipe - Google Scholar Google Scholar
https://scholar.google.com/scholar?q=tiramisu+food+science+mascarpone+coffee+ladyfingers