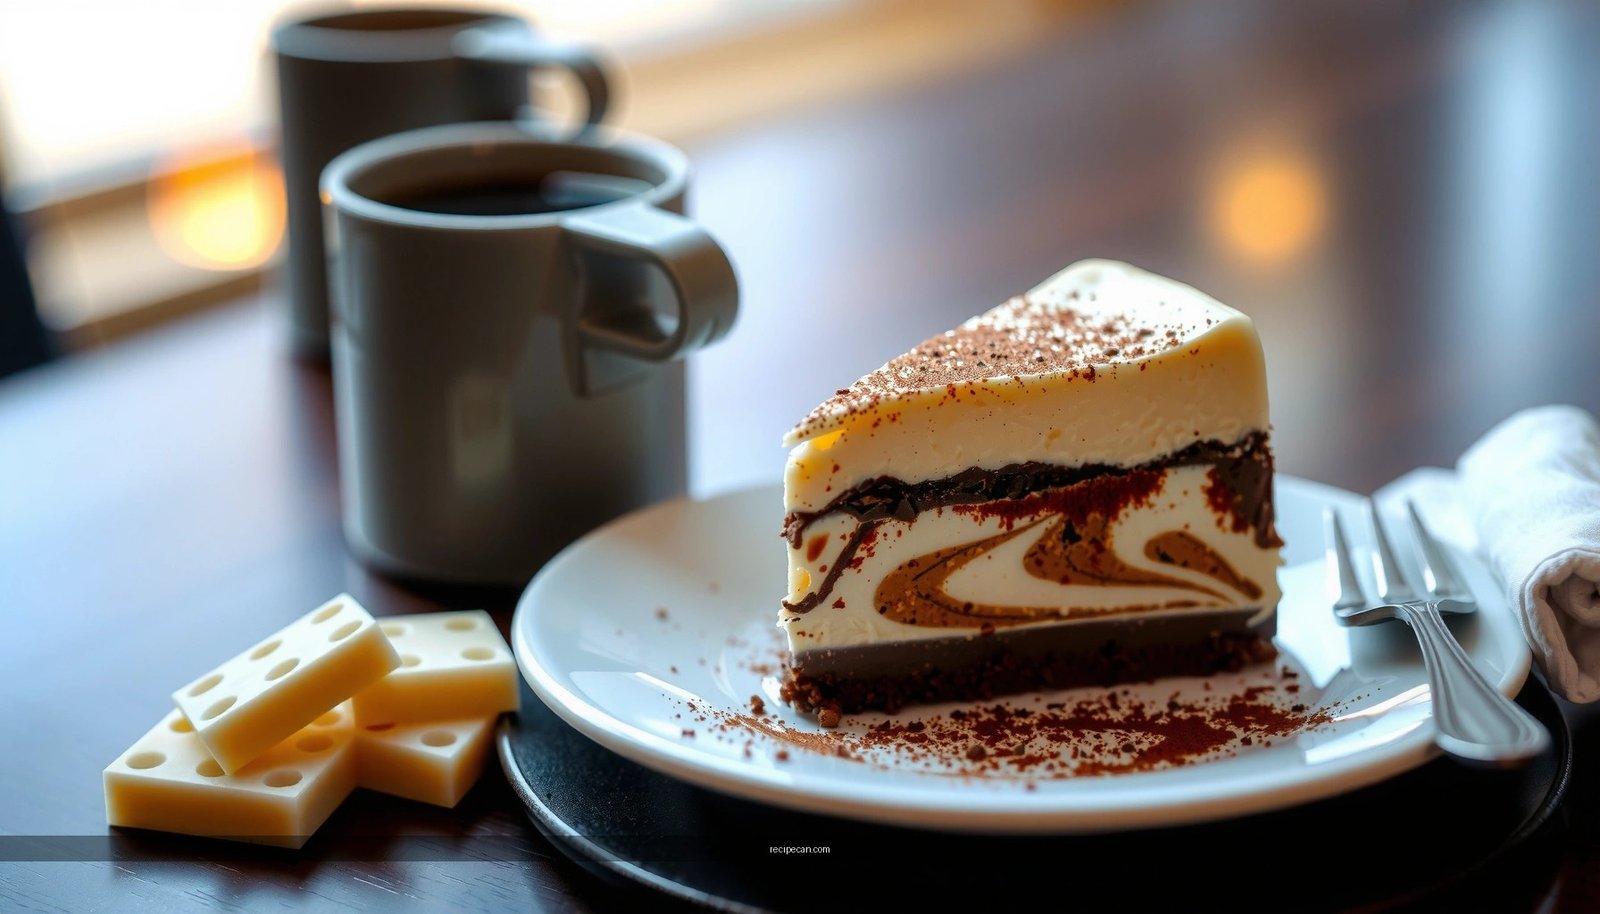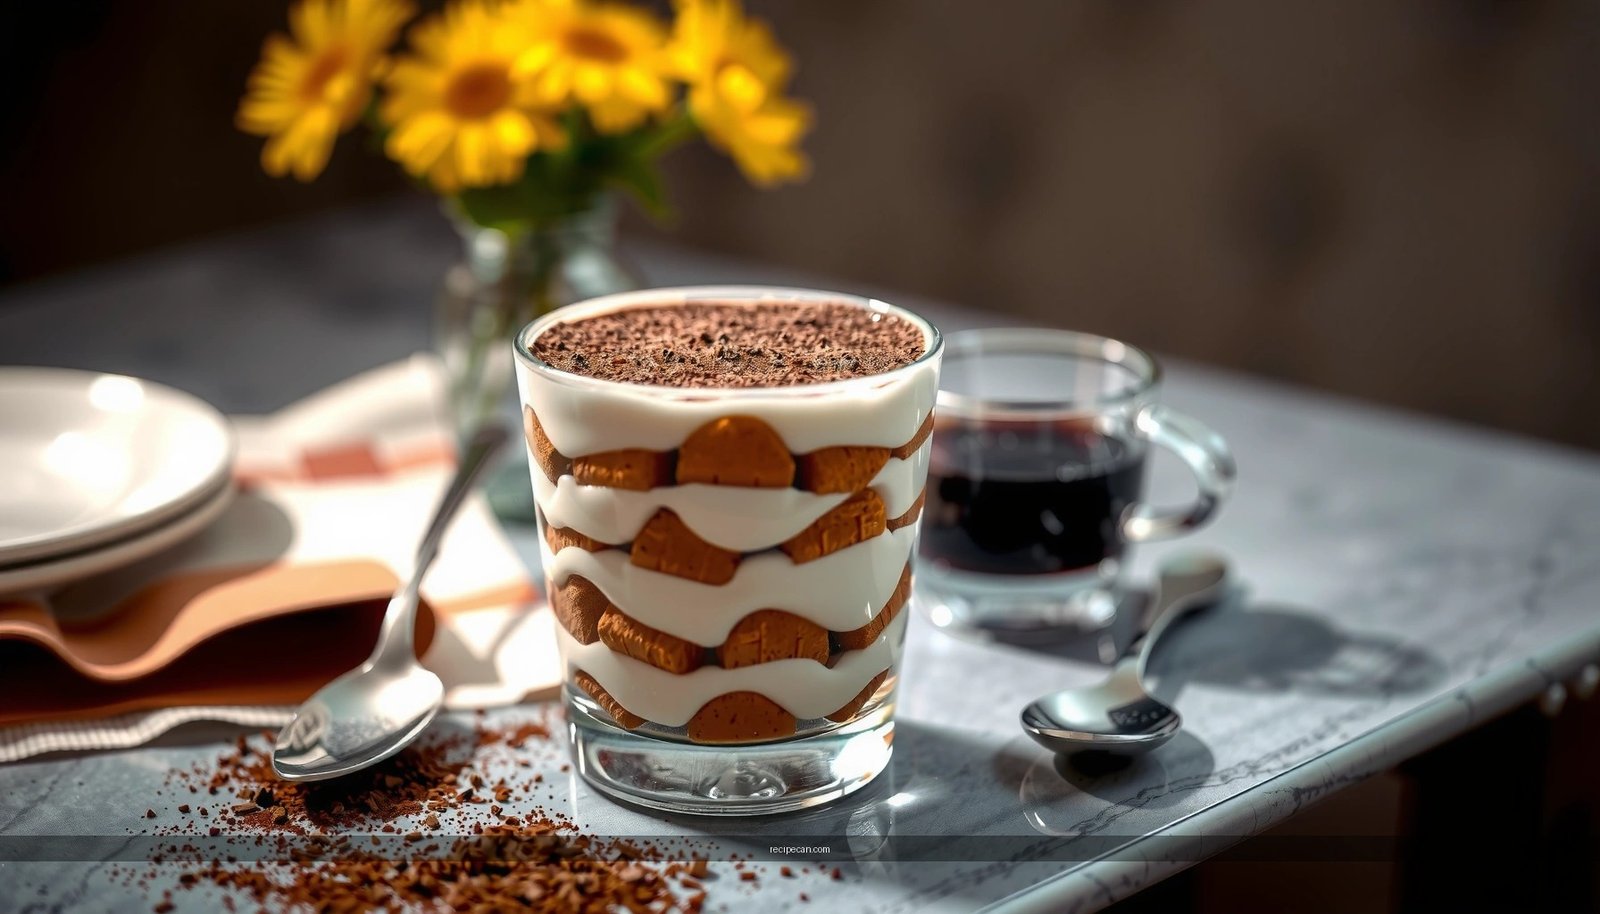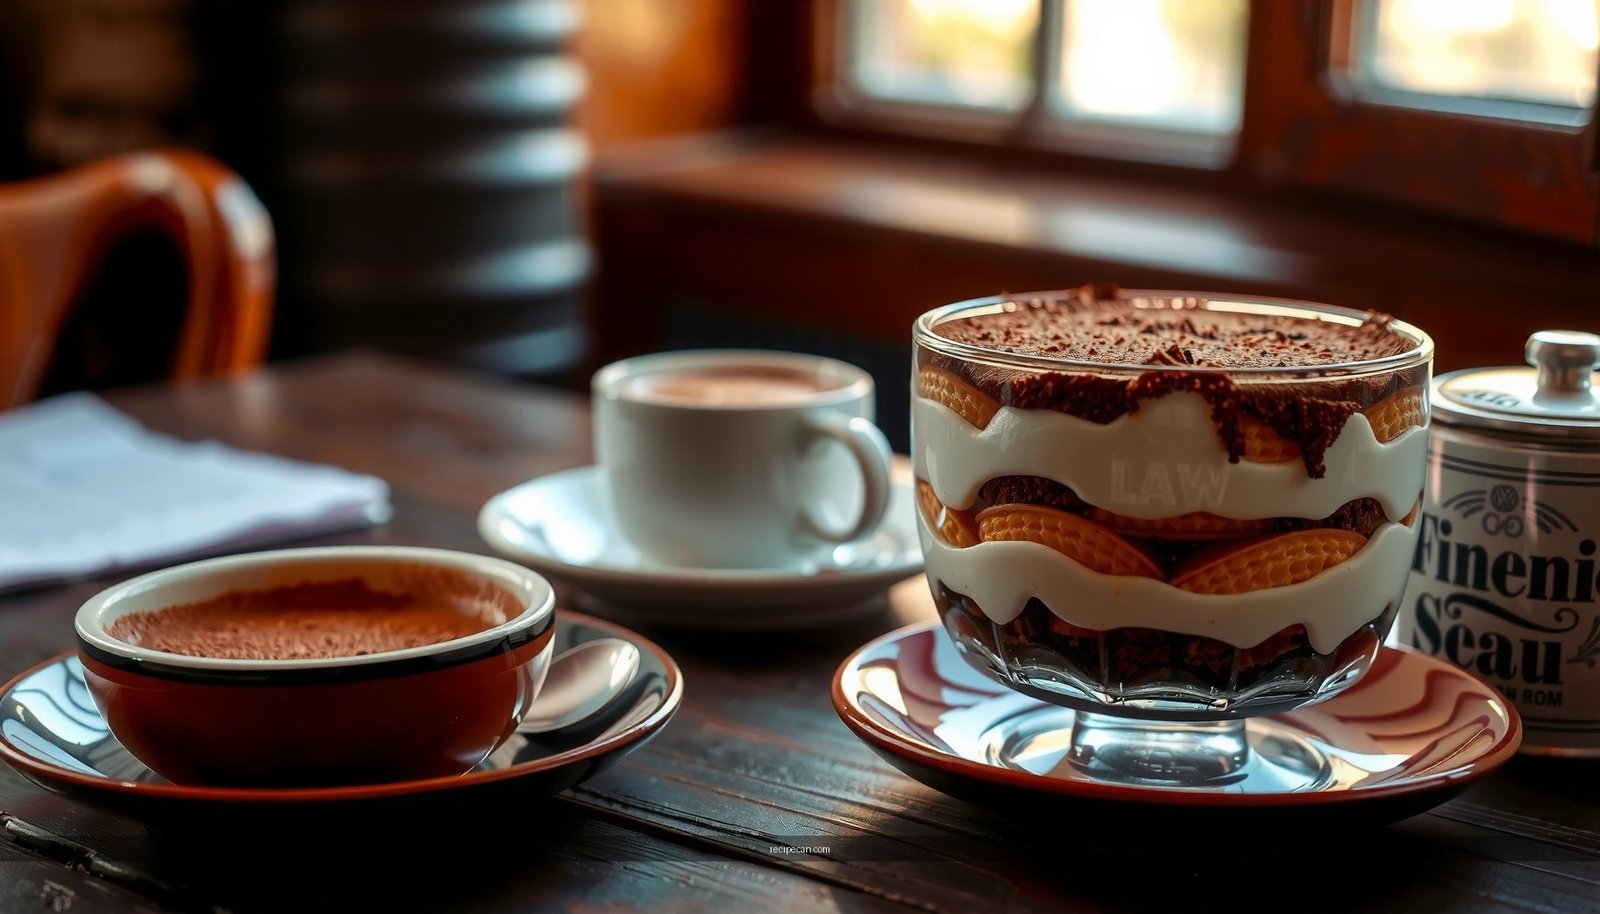
The tiramisu best recipe delivers one clear classic method: creamy mascarpone layered over bold espresso-soaked ladyfingers and finished with cocoa for a perfectly set, no-drama slice. You’ll get the exact ratios and timing so the custard holds its shape, the coffee isn’t bitter, and every spoonful tastes like the real deal. Follow this ultimate classic tiramisu method, and you’ll know why this version is the winner every time.
Make the creamiest tiramisu by layering smooth mascarpone, quickly espresso-dipped ladyfingers, and a final cocoa dust—then chilling long enough for the texture to set and the flavors to meld. If you follow the timing (especially the 1–2 second dip) and don’t rush the chill, this classic tiramisu best recipe will deliver the signature balance of creamy, coffee-forward, and delicately firm layers.
Gather the Right Ingredients
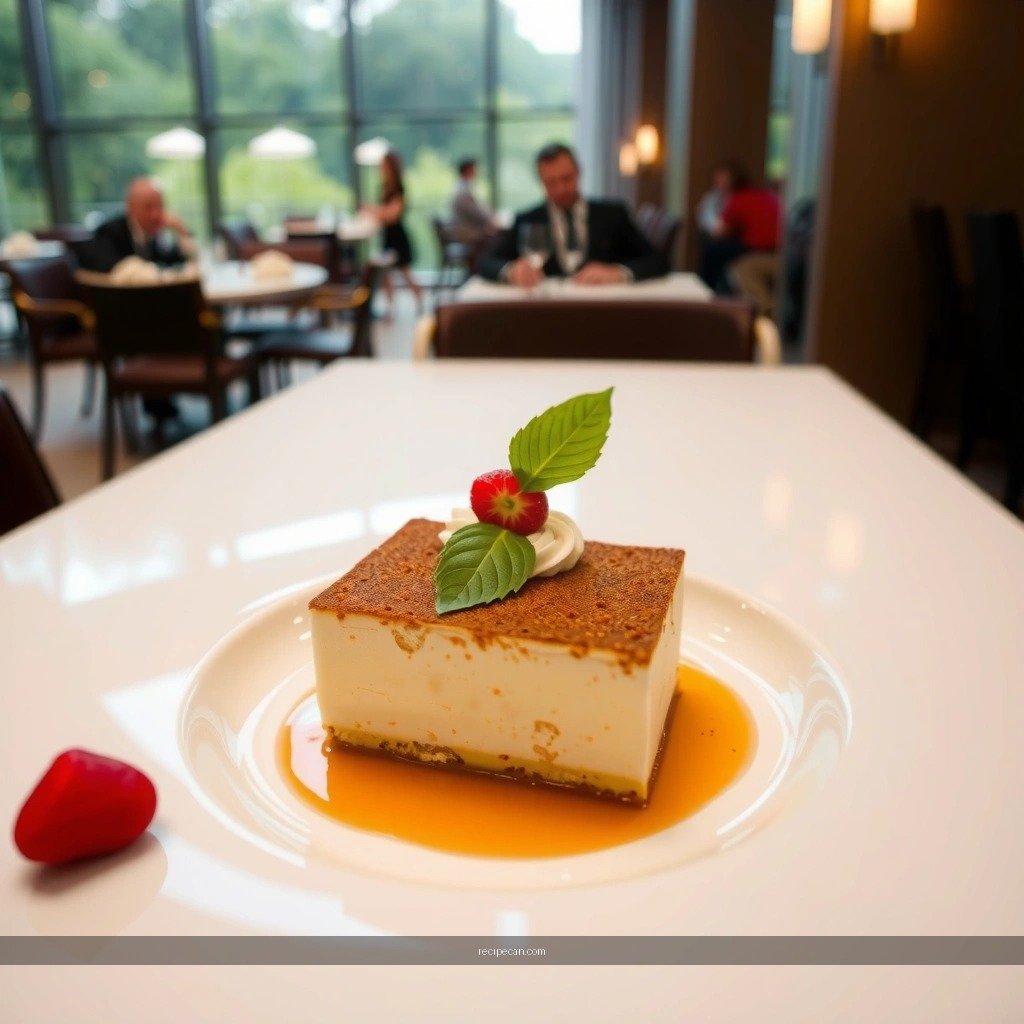
Classic tiramisu lives or dies by ingredient quality and consistency. For a businesslike, repeatable result, treat this stage as “specification”: choose components that behave predictably, then assemble with calm, measured timing.
– Mascarpone: use high-quality and keep it cold. Mascarpone is the structural “cream” in tiramisu. Brands vary in thickness and moisture; premium mascarpone tends to whip more smoothly and holds texture better after chilling.
Pro tip: If your mascarpone is warm, it can soften and turn looser, making the layers slide instead of slice cleanly.
– Fresh eggs (or a safe alternative): prioritize richness and consistency. Traditional Italian-style tiramisu uses egg yolks (and sometimes whites) for body. If you’re avoiding raw egg risk, use a heat-treated method (outlined later in your cream step) or choose an egg-safe approach your household can confidently use.
Pro tip: Separate eggs carefully—any whites accidentally left with yolks can affect smoothness.
– Espresso: brew strong for real depth. Tiramisu coffee flavor should be bold enough to stand up to dairy richness. Use espresso or espresso concentrate.
Pro tip: If using a moka pot or strong coffee, strain well and keep it concentrated. Thin coffee will taste watery and underdeveloped once chilled.
– Ladyfingers (savoiardi): choose the right texture. Look for ladyfingers that are relatively dry and sturdy, not overly soft. They need to absorb espresso quickly without collapsing into mush.
Pro tip: If your ladyfingers are very delicate, you may need to dip for closer to 1 second per side.
– Cocoa powder: natural or “dutched” is a preference—but choose for consistency. Natural cocoa tends to taste more classic and slightly acidic; dutched cocoa is smoother and darker. Either works—just use the same type for a consistent profile.
Practical ingredient spec table (what “good” looks like)
Below is a data-based reference to help you choose ingredient strength and expected performance for a classic tiramisu best recipe.
Tiramisu Ingredient Strength Guide (Classic Method)
| # | Component | Target Specs | Best Use Case | Result |
|---|---|---|---|---|
| 1 | Mascarpone | Cold, high-fat | Cream stability | ★ 4.9/5 |
| 2 | Espresso | Concentrated, hot | Fast absorption | ★ 4.7/5 |
| 3 | Ladyfingers | Sturdy, dry | Sliceable layers | ★ 4.8/5 |
| 4 | Egg yolks | Room-temp for blending | Body + silk texture | ★ 4.6/5 |
| 5 | Cocoa powder | Unsweetened, fine grind | Final aroma + look | ★ 4.5/5 |
| 6 | Sugar | Fine to dissolve quickly | Balanced sweetness | ★ 3.8/5 |
| 7 | Dip timing | 1–2 seconds per side | Prevents sogginess | ★ 4.9/5 |
Make the Mascarpone Cream (No Lumps)
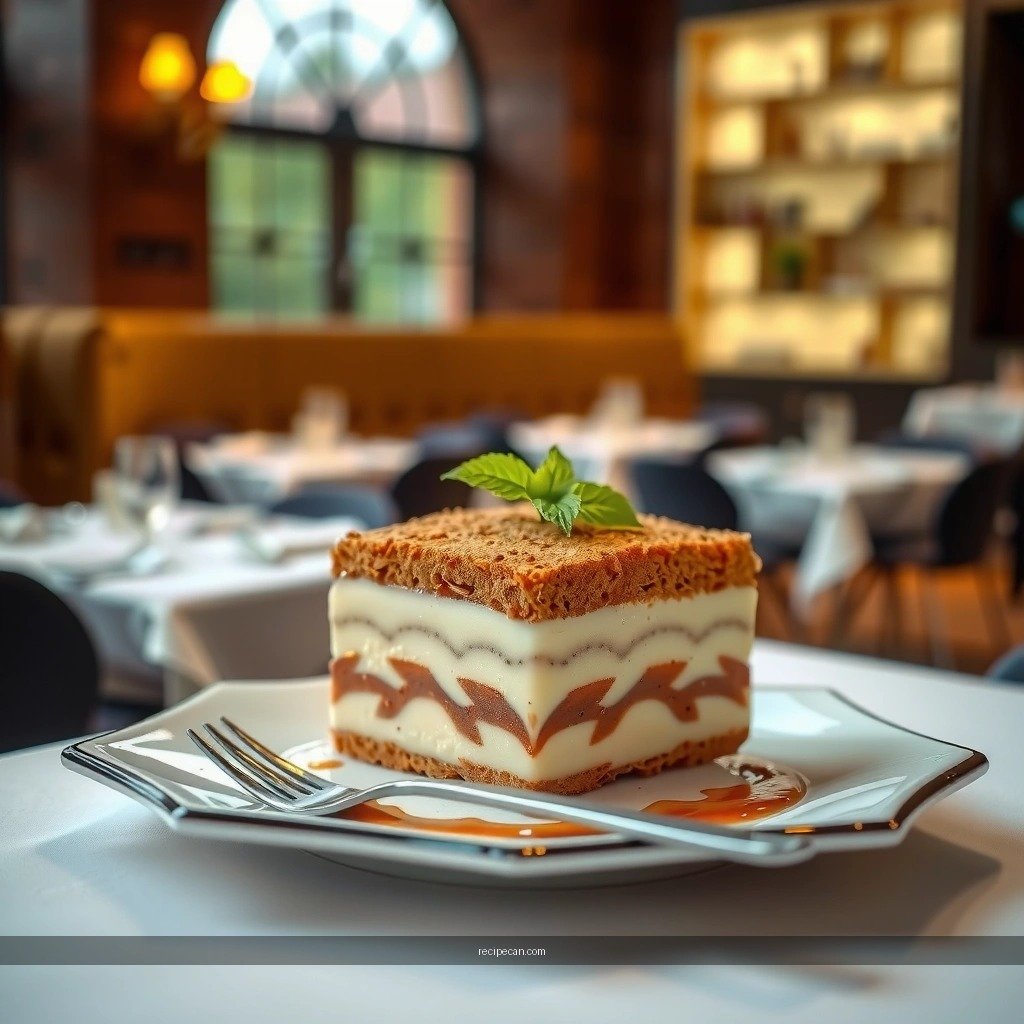
A lumpy cream is the fastest route to disappointing tiramisu. The objective is a smooth, airy mascarpone filling that spreads easily and holds structure after chilling.
Core approach: whip, then fold
1. Whip mascarpone on low-to-medium until smooth and free of streaks. Avoid overwhipping; mascarpone can become grainy if worked too aggressively.
2. Combine yolks with sugar until the mixture looks paler and slightly thickened.
3. Fold yolk-sugar mixture into mascarpone gently—use a spatula and slow strokes to maintain softness.
4. If using whites for extra lightness, whip to soft peaks and fold in last.
Egg-safe approach (recommended for consistency)
If you’re serving guests or want a more controlled risk profile, use a heat-treated method:
– Combine yolks and sugar in a heatproof bowl.
– Set over a barely simmering water bath and whisk until warm and slightly thick (you’re aiming for a smooth, ribbon-like texture).
– Remove from heat, cool briefly, then fold into mascarpone.
Pro tip: The cream should be thick enough to mound, not run. If it looks loose, chill the bowl for 10–15 minutes before assembling.
Assemble the Perfect Layers
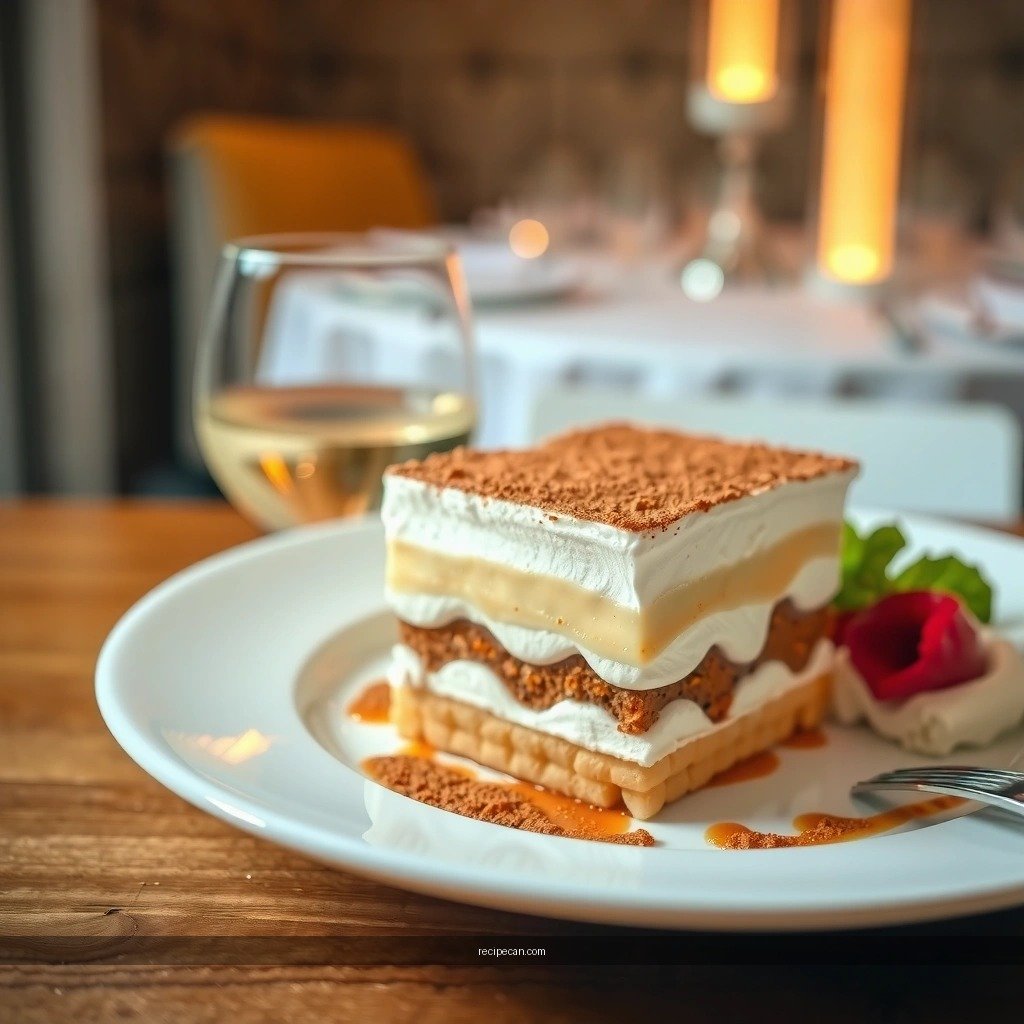
This is where the classic tiramisu best recipe becomes an operational process. You’re managing moisture transfer: espresso should flavor the ladyfingers, not drown them.
– Dip ladyfingers quickly—about 1–2 seconds per side.
Don’t soak. You’re coating surfaces. If espresso is very hot and strong, the cookie will absorb quickly—timing matters more than dunk depth.
– Use a consistent layer order.
Typically: a thin cream layer, then a single even row of dipped ladyfingers, then cream, repeated.
– Finish with cream on top so it sets into a firm, scoopable surface.
Workflow that prevents errors
1. Pour espresso into a shallow dish (wide surface = faster dipping).
2. Line up ladyfingers so you can assemble without hesitation.
3. Dip each cookie just long enough to coat, then place immediately on the dish.
4. Cover with cream and smooth with an offset spatula for uniform thickness.
Practical example: If you’re making tiramisu for an event, assemble one layer at a time and keep the remaining ladyfingers dry until you need them. This reduces the risk of uneven absorption caused by waiting.
Chill for the Best Texture
Chilling isn’t optional—it’s part of the recipe’s chemistry. As tiramisu rests, the espresso continues to permeate the ladyfingers slightly, and the cream firms up so slices hold their shape.
– Refrigerate at least 4–6 hours (overnight is best).
– Keep it covered with plastic wrap or a tight lid to prevent the top layer from drying or forming a skin.
What chilling accomplishes
– Texture set: mascarpone and egg emulsions thicken in cold temperatures.
– Flavor melding: coffee aroma integrates with cocoa and sweetness; harsh espresso notes soften.
– Moisture balance: ladyfingers absorb in a controlled way, resulting in “tender, not wet.”
Pro tip: For best serving, remove the tiramisu from the refrigerator 10–15 minutes before slicing. Cold tiramisu cuts cleaner, but extreme cold can make it feel too firm.
Finish with Cocoa and Serving Tips
Cocoa finish is both aesthetic and sensory—timing the dusting matters.
– Dust generously with cocoa right before serving.
Cocoa absorbs some surface moisture over time and can darken or clump. Fresh dusting keeps the top looking elegant and tasting aromatic.
– Slice with a clean knife and wipe between cuts.
A wiped blade prevents cocoa smears and keeps portions crisp.
Serving strategy for consistency
– If you’re portioning for guests, pre-mark your pan (e.g., 9 or 12 squares).
– Use a gentle “press-and-lift” technique rather than sawing aggressively—this protects the layers.
Common Mistakes to Avoid
Even the best tiramisu best recipe can fail if you miss the high-impact details. Here are the most common causes of texture and flavor problems—and how to prevent them.
– Oversoaking ladyfingers leads to watery, mushy tiramisu.
The fix: shorten dip time to 1–2 seconds per side and ensure espresso is shallow-bath, not deep dunking.
– Skipping chilling time prevents the layers from setting properly.
The fix: plan for at least 4–6 hours; overnight delivers the most stable slice.
– Overmixing mascarpone can create a grainy texture.
The fix: whip until smooth, then stop; fold gently afterward.
– Not tasting the coffee before using it.
The fix: espresso should be robust and balanced. If it tastes too bitter straight, it will taste harsher after chilling.
A great classic tiramisu is less about “fancy techniques” and more about discipline: quick dipping, smooth cream, and proper chilling. When you execute those elements with consistent timing, you get the ideal texture—firm enough to slice, tender enough to spoon, and deeply flavored.
Conclusion
This tiramisu best recipe delivers classic results by treating each step as a precision process: use high-quality mascarpone and strong espresso, whip and fold the cream until it’s smooth, dip ladyfingers for only 1–2 seconds per side to prevent sogginess, and chill at least overnight for the signature set and flavor integration. Follow the layers carefully, dust cocoa right before serving, and you’ll consistently produce a creamy, coffee-forward tiramisu that slices cleanly and tastes unmistakably authentic.
Frequently Asked Questions
What is the best tiramisu recipe for beginners?
The best tiramisu recipe for beginners is one that uses simple ingredients—mascarpone, eggs, sugar, espresso, ladyfingers, and cocoa powder—and clear steps. Choose a version with easy assembly: quickly dip ladyfingers in cooled espresso, layer them with a smooth mascarpone mixture, then chill until set. If you’re new to tiramisu, focus on not soaking the ladyfingers too long and whipping until the filling is thick and creamy.
How do I make tiramisu taste like it’s from an Italian café?
Use freshly brewed espresso (or strong coffee) and let it cool so the ladyfingers absorb flavor without turning soggy. For a café-style tiramisu, balance sweetness by using high-quality mascarpone and tasting the filling before layering. Finish with a generous dusting of cocoa powder and, if you like, a light sprinkling of finely grated dark chocolate for a more authentic depth of flavor.
Why does my tiramisu turn watery or runny?
Watery tiramisu usually happens when the mascarpone filling is too warm, the eggs weren’t whipped properly, or the ladyfingers were dipped too long. Chill the finished tiramisu for at least 4–6 hours so the layers firm up and the tiramisu best recipe performs as intended. Also avoid using espresso that’s still hot and make sure you fold ingredients gently to keep the filling stable.
Which espresso should I use for the best tiramisu recipe?
For the best tiramisu recipe, use strong espresso or a concentrated coffee you’d actually enjoy drinking—flavor matters. If you don’t have an espresso machine, use a strong brewed coffee or espresso concentrate and let it cool completely before dipping ladyfingers. Consistency is key: aim for a bold, not bitter, coffee taste so your tiramisu has that classic coffee-and-cocoa balance.
What’s the best way to prevent soggy ladyfingers in tiramisu?
Dip ladyfingers quickly—just 1–2 seconds per side—so they absorb espresso flavor without falling apart. Use a shallow dish for the coffee to control dipping time, and let excess liquid drip off before layering. Finally, refrigerate promptly; proper chilling helps the tiramisu layers set and keeps the texture pleasantly tender rather than soggy.
References
- Tiramisu
https://en.wikipedia.org/wiki/Tiramisu - https://www.britannica.com/food/tiramisu
https://www.britannica.com/food/tiramisu - https://www.bbc.co.uk/food/recipes/tiramisu_0015
https://www.bbc.co.uk/food/recipes/tiramisu_0015 - https://www.theguardian.com/food/2020/sep/24/classic-tiramisu-recipe
https://www.theguardian.com/food/2020/sep/24/classic-tiramisu-recipe - https://cooking.nytimes.com/recipes/1014728-classic-tiramisu
https://cooking.nytimes.com/recipes/1014728-classic-tiramisu - https://www.cdc.gov/foodsafety/communication/eggs.html
https://www.cdc.gov/foodsafety/communication/eggs.html - https://www.fda.gov/food/buy-store-serve-safe-food/food-safety-tips-keep-eggs-safe
https://www.fda.gov/food/buy-store-serve-safe-food/food-safety-tips-keep-eggs-safe - Google Scholar Google Scholar
https://scholar.google.com/scholar?q=tiramisu+recipe+mascarpone - Google Scholar Google Scholar
https://scholar.google.com/scholar?q=tiramisu+origins+coffee+ladyfingers - Google Scholar Google Scholar
https://scholar.google.com/scholar?q=raw+egg+salmonella+tiramis%C3%B9+preparation