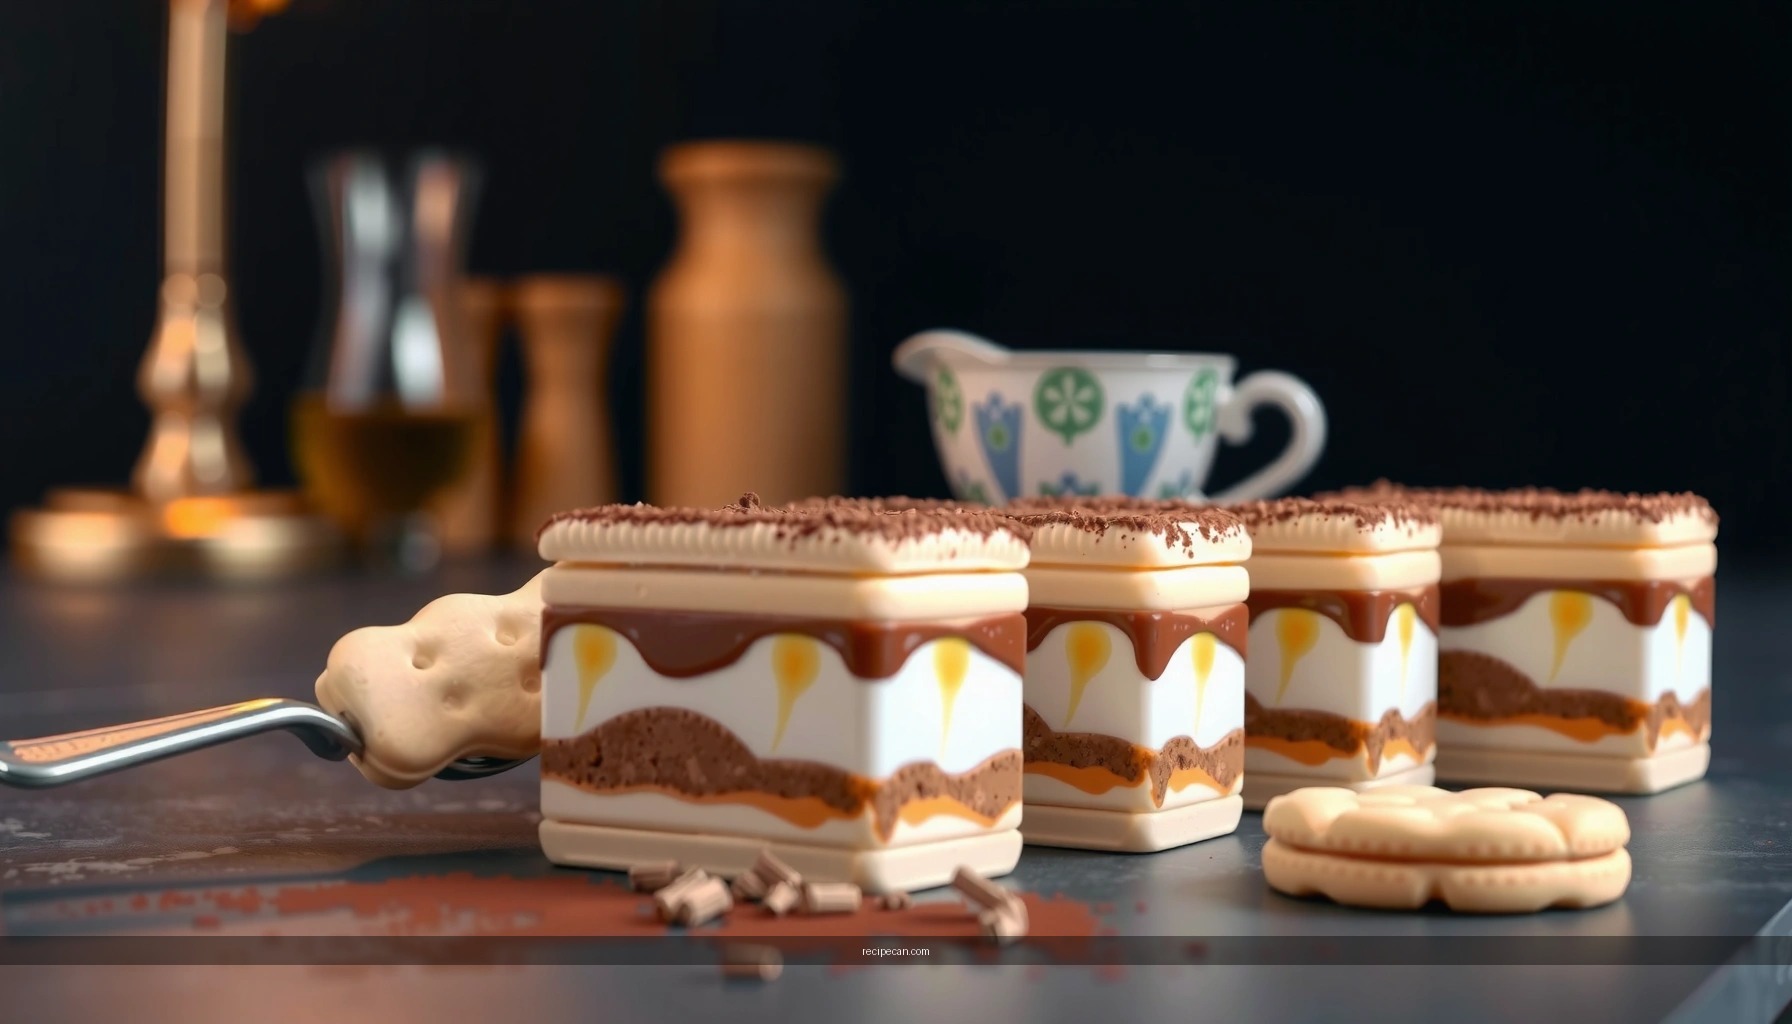
Get the best lady finger recipe for tiramisu that reliably sets up a classic, coffee-soaked, spoonable dessert without soggy bites. This step-by-step method shows exactly how to dip the lady fingers, layer the mascarpone mixture, and chill so every slice holds together. If you want foolproof tiramisu using lady fingers, this is the version to follow.
If you want tiramisu with clean, sliceable layers (not soggy cake), the solution is to bake lady fingers that are light and crisp, then dip them briefly in espresso. This step-by-step guide shows the exact batter method, piping sizes, and bake/cooling timing to help your homemade lady fingers soak up coffee just enough to taste decadent while staying structurally sound.
Ingredients for Lady Fingers

– Use egg yolks and whipped egg whites for a light, sponge-like texture
Lady fingers rely on whipped egg whites for aeration. The yolks contribute richness and emulsification, which helps the sponge hold its shape during baking and soaking.
– Add sugar and vanilla for flavor, then fold gently to keep air in the batter
Sugar stabilizes the foam created by the whites, while vanilla rounds out the coffee-friendly flavor profile. Gentleness matters: you’re folding to preserve trapped air that later becomes the sponge’s signature “crisp outside, tender inside” bite.
Batch makes: about 30–36 lady fingers (enough for a standard tiramisu using two to three layers).
Ingredients
– 3 large eggs, separated (yolks and whites)
– 60 g granulated sugar (divided: 20 g for yolks, 40 g for whites)
– 1 tsp vanilla extract
– 50 g all-purpose flour
– 1/4 tsp fine salt
– Powdered sugar, for dusting (optional)
Tools and Prep Tips

– Line a baking sheet with parchment and preheat the oven for even baking
Preheating is critical. Lady fingers are delicate: if the oven is cool, the batter spreads and dries unevenly, which can lead to brittle edges or underbaked centers.
– Fit a piping bag with a plain tip and keep batter at the right consistency
Use a piping bag with a plain round tip (about 8–10 mm). If your batter is too thick, fingers will look ragged and bake unevenly; too thin and they’ll spread.
Prep checklist (do this before mixing):
– Oven: preheat to 180°C / 350°F
– Baking sheet: use parchment (not wax paper) for consistent browning
– Optional: draw 2–3 cm spacing lines under parchment for uniform piping
Consistency target: The batter should flow like smooth, thick ribbon—able to hold its shape briefly when piped, then settle into a neat finger.
How to Make Lady Finger Batter

– Beat yolks until fluffy, then whip whites to soft peaks
Yolks beat to lighten them; whites whipped to soft peaks provide the lift. Soft peaks are ideal for folding—stiff peaks can make the sponge tougher if overmixed.
– Fold whites into yolk mixture carefully to preserve volume
Folding is the difference between “airy, soak-friendly sponge” and “dense cake.” Mix only until you no longer see streaks.
Step-by-step batter method
1. Whip yolks: In a bowl, beat egg yolks with 20 g sugar and vanilla until the mixture looks paler and slightly thicker (about 2–3 minutes).
2. Whip whites: In a second clean bowl, whip egg whites with remaining 40 g sugar and salt until soft peaks form (peaks that bend over gently).
3. Combine: Add about 1/3 of the whipped whites to the yolk mixture to lighten it, then fold in the rest.
4. Add flour: Sift flour over the batter, then fold gently until just combined.
Tip: Overmixing collapses foam and causes dense lady fingers that absorb espresso too aggressively.
5. Use immediately: Lady finger batter can deflate as it sits. Pipe while the texture is still airy.
Shaping and Piping Lady Fingers
– Pipe even finger shapes (consistent size helps uniform baking)
Uniform thickness is what creates consistent drying—your espresso soak time will work the same across the pan.
– Lightly dust if needed and smooth tops without deflating the batter
A light dusting of powdered sugar can reduce sticking. If you smooth tops, do it delicately—pressing too hard knocks out the trapped air you worked to create.
How to pipe for the best tiramisu texture
– Pipe onto parchment in 8–10 cm lengths, about 1.5–2 cm wide.
– Leave small gaps between fingers; they need airflow to dry properly.
– If you see peaks after piping, lightly tap the tray or dust gently with powdered sugar rather than pressing down.
Quality check: The piped batter should sit as a defined finger for a few seconds before very slowly settling. If it immediately melts flat, the batter is likely too loose or the foam deflated.
Lady Finger Bake Targets for Espresso-Ready Crispness
| Goal | Indicator on the Finger | Target Time (180°C/350°F) | Result Impact |
|---|---|---|---|
| 1 | Surface becomes dry to the touch | 10–12 min | + Crisp coating for controlled soaking |
| 2 | Edges turn very light gold | 12–14 min | + Holds shape under espresso pressure |
| 3 | Centers spring back lightly | 14–16 min | + Tender interior, not gummy |
| 4 | Bottom is dry, not pale-wet | 16–18 min | + Less “collapse” after dipping |
| 5 | Overbrowning avoided (no deep tan) | ~18 min max | – Bitter notes & faster staling |
| 6 | Finger feels crisp, not soft-crumbly | Cooling 20–30 min | + Better espresso absorption control |
| 7 | Ready for dipping without shedding | Cool fully | + Cleaner layers, easier slicing |
Baking and Cooling for Best Tiramisu Soak
– Bake until dry and lightly golden, avoiding overbrowning
Overbaked lady fingers can taste harsh and absorb espresso unevenly. Underbaked fingers will be too soft and may disintegrate when dipped.
– Cool completely before using so they stay crisp for espresso soaking
Cooling finishes the drying process. It also prevents the espresso from soaking too quickly and turning the layer into a mushy base.
Baking instructions
1. Bake: 180°C / 350°F for 14–18 minutes. Start checking around 12 minutes.
2. Visual cues: The tops should look set and dry; edges should be very lightly golden.
3. Do not stack while hot: Hot steam trapped between pieces softens the sponge.
Cooling workflow
– Transfer to a wire rack and cool at least 20–30 minutes, preferably fully at room temperature.
– If you’re timing the assembly, store cooled lady fingers in an airtight container to maintain crispness.
How to Use Lady Fingers in Tiramisu
– Dip briefly in espresso (or espresso+liqueur) for the right texture
For best structure, the goal is “surface wetting” rather than full saturation. Brief dipping helps you get coffee flavor and moisture without collapsing the fingers.
– Layer immediately with mascarpone cream for the best structure and flavor balance
Cream acts as both binder and flavor carrier. When you assemble promptly, the lady fingers hydrate in a controlled way.
The right dip time (practical guidance)
– Espresso-only: dip 1–2 seconds per side
– Espresso + liqueur (optional): dip 1 second per side, because alcohol can accelerate softening
Assembly sequence that works reliably:
1. Arrange a layer of dipped lady fingers.
2. Add mascarpone cream (and any cocoa/sugar/egg mixture per your tiramisu style).
3. Repeat for additional layers.
4. Chill before serving so flavors meld and the structure sets.
Troubleshooting quick fixes
– If your lady fingers are getting soggy: shorten dip time by 30–50% and cool fingers fully before dipping.
– If layers are too firm/dry: extend dip time slightly (e.g., +1 second) or ensure your cream is spread thick enough to bridge the sponge evenly.
– If fingers crack or crumble: likely overbaked or under-folded (collapsed foam). Bake to “dry and lightly golden,” not dark.
Tiramisu starts with lady fingers that are airy, crisp, and properly cooled—so they absorb espresso just enough without falling apart. Follow the steps above to bake your own, then assemble your tiramisu right away for bakery-style results; try your first batch today and adjust dip time to your preferred softness.
Lady Finger Recipe for Tiramisu: Easy Step-by-Step
With the right batter aeration, careful folding, and a bake that dries the sponge without browning it too far, homemade lady fingers can deliver the clean structure tiramisu is known for. Focus on three control points—soft peaks, gentle folding, and complete cooling—then dip briefly and layer immediately for espresso flavor that soaks in evenly without turning your dessert into mush.
Frequently Asked Questions
What is the easiest lady finger recipe for tiramisu that doesn’t require special tools?
The easiest lady finger recipe uses a simple sponge batter made from egg yolks, egg whites, sugar, and flour, piped into finger shapes on a lined baking tray. You don’t need molds—just a piping bag and a straight-edged tray; a zip-top bag with a corner snip works too. For tiramisu, bake until the cookies are dry and light so they can absorb espresso without turning mushy.
How do I bake lady fingers for tiramisu so they don’t collapse or turn too soft?
Beat egg whites to stiff peaks and fold gently into the yolk mixture to keep the batter airy, which helps lady fingers hold their shape. Bake at a steady moderate temperature until the edges look lightly golden and the center feels set, then cool fully before soaking. If your tiramisu cookies soak too quickly, let the lady fingers cool longer or bake them 1–2 minutes extra for extra dryness.
Why are homemade lady fingers better for tiramisu than store-bought ones?
Homemade lady fingers let you control texture, sweetness, and dryness—key factors for the right tiramisu consistency. Store-bought lady fingers vary by brand, so they may absorb espresso too fast or remain too firm. With homemade lady finger cookies, you can tailor them to your soaking preference for a balanced mascarpone and espresso ratio.
Which soaking method works best for lady fingers in tiramisu—espresso only or coffee-milk?
Espresso-only soaking is the classic approach, giving a bold coffee flavor and helping the lady fingers maintain structure. If you prefer a softer, less intense tiramisu, use espresso diluted with a little milk or a coffee syrup, and dip briefly rather than soaking fully. Aim for quick, controlled dipping—seconds on each side—so the cookies absorb flavor without falling apart in the mascarpone cream.
What temperature and baking time are best for making lady finger biscuits for tiramisu?
A common sweet spot is baking around 160–180°C (320–355°F) for about 10–15 minutes, depending on your oven and finger size. Start checking early: lady fingers should be lightly golden and dry to the touch, not wet or springy. Once baked, cool completely on the tray, because residual heat finishes drying and improves soak performance in tiramisu.
References
- Lady finger
https://en.wikipedia.org/wiki/Ladyfinger - Ladyfingers (biscuits)
https://en.wikipedia.org/wiki/Savoiardi - Tiramisu
https://en.wikipedia.org/wiki/Tiramisu - Google Scholar Google Scholar
https://scholar.google.com/scholar?q=ladyfingers+savoiardi+recipe+tiramisu - Google Scholar Google Scholar
https://scholar.google.com/scholar?q=tiramisu+ladyfinger+process+ingredients - Google Scholar Google Scholar
https://scholar.google.com/scholar?q=savoiardi+gelatinization+foaming+emulsion+baking+study - https://pubmed.ncbi.nlm.nih.gov/?term=tiramisu
https://pubmed.ncbi.nlm.nih.gov/?term=tiramisu - https://pubmed.ncbi.nlm.nih.gov/?term=savoiardi+ladyfingers
https://pubmed.ncbi.nlm.nih.gov/?term=savoiardi+ladyfingers - https://www.britannica.com/food/tiramisu
https://www.britannica.com/food/tiramisu - https://www.sciencedirect.com/search?qs=tiramisu%20ladyfingers
https://www.sciencedirect.com/search?qs=tiramisu%20ladyfingers


