This not your mama banana pudding recipe delivers the creamy, easy, crowd-pleasing version you want—no fussy steps or bland results. It answers whether you can make banana pudding that’s rich, spoonable, and reliably impressive, even if you’re short on time. Follow these instructions and you’ll get a dessert that holds its flavor through serving, not a watery disappointment.
Skip the boxed pudding—this Not Your Mama banana pudding recipe delivers a rich homemade custard, fresh bananas, and a reliably creamy layered texture that holds up after chilling. In the sections below, you’ll learn the simple build order, the best ingredient swap for a more “bakery-style” flavor, and exactly how to keep your banana pudding from turning soggy.
Skip the traditional boxed pudding—this Not Your Mama banana pudding recipe uses a rich homemade filling, fresh bananas, and a perfectly creamy, layered texture. In this post, you’ll learn the simple build steps, the best ingredient swap to level it up, and how to get that no-soggy bite every time.
Ingredients That Make It “Not Your Mama”

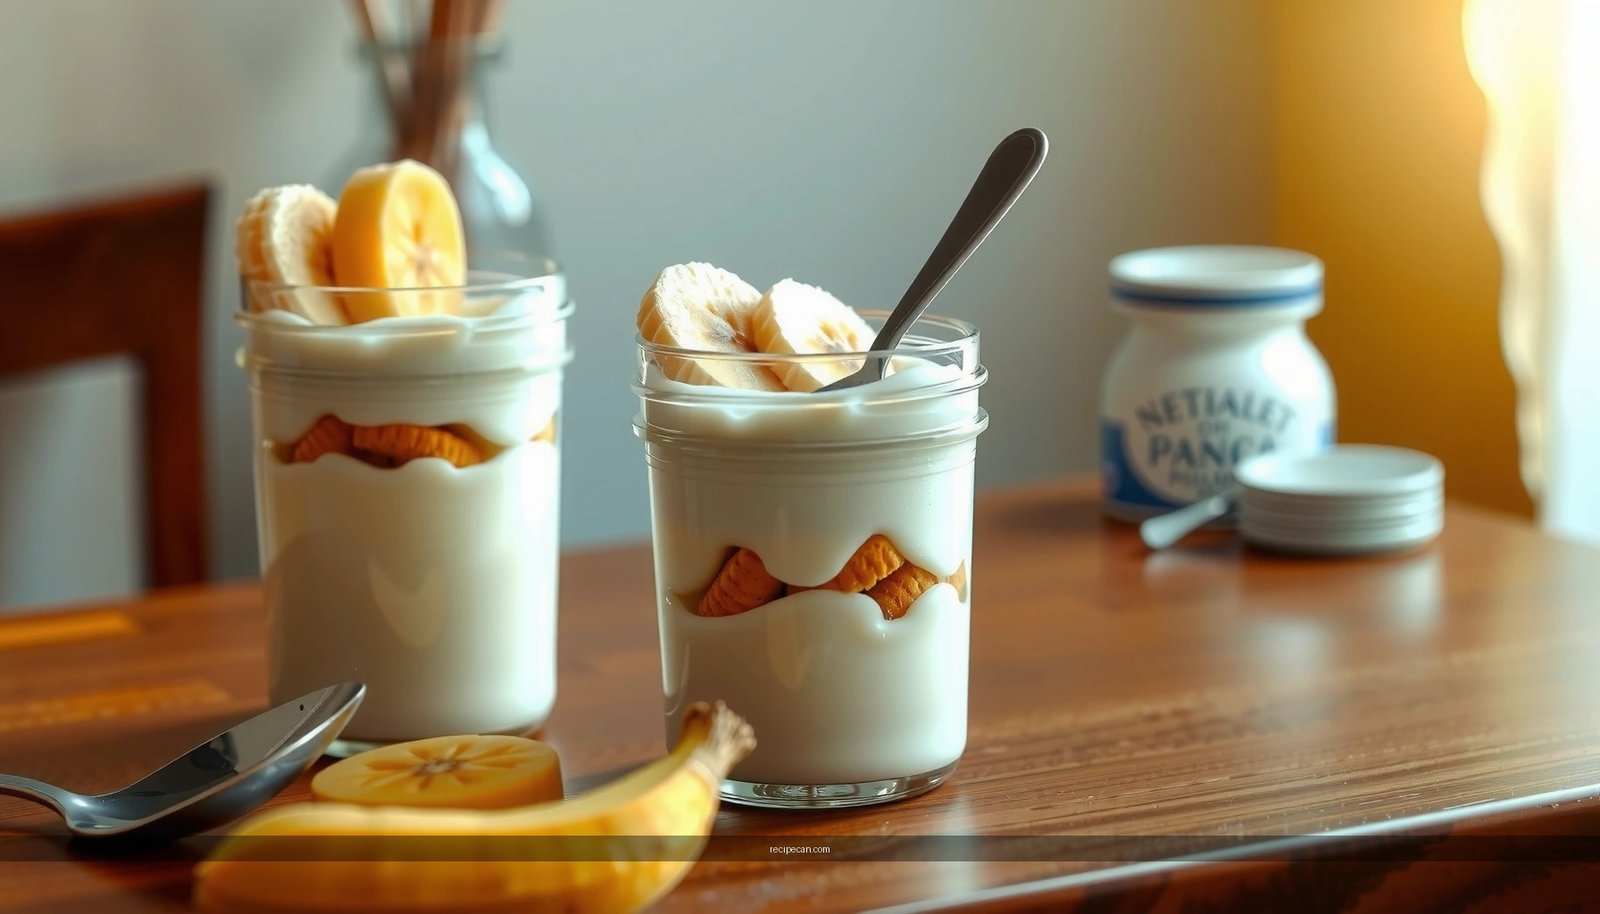
– Use fresh ripe bananas for the sweetest flavor and best texture
Ripe bananas aren’t just about sweetness—they’re about texture. For banana pudding, you want bananas that are fragrant, creamy, and sliceable without being mushy. Look for bananas with yellow skin and a few brown speckles; they provide natural sweetness and a tender bite that still slices cleanly.
– Swap for a richer, homemade-style pudding base instead of store mix
The boxed pudding shortcut can taste “fine,” but homemade custard tastes like banana pudding should: smooth, vanilla-forward, and noticeably richer. A classic custard base (milk, egg yolks, sugar, cornstarch, and vanilla) produces a thick, glossy filling that sets firmly enough to carry layers without collapsing.
– Add vanilla wafers or a similar crisp layer that holds up
Vanilla wafers are the structural “hardware” of banana pudding. Choose wafers that are crisp and uniform so they don’t dissolve instantly. If you prefer, you can use vanilla wafer substitutes like tea biscuits or shortbread-style cookies that maintain their shape longer.
Quick quality note: If your vanilla wafers are older or stored in high humidity, they’ll soften faster and increase the risk of sogginess. Fresh wafers make a measurable difference.
Custard vs. Pudding Mix: What You Taste After Chilling
| # | Judge the Result By | Homemade Custard | Boxed Pudding Mix | Verdict |
|---|---|---|---|---|
| 1 | Creaminess after 6–8 hours | Very High ★★★★★ | High ★★★★☆ | +3 |
| 2 | Vanilla flavor depth | Very High ★★★★★ | Medium ★★★☆☆ | +2 |
| 3 | Custard thickness (holds layers) | High ★★★★☆ | Medium ★★★☆☆ | +2 |
| 4 | Soggy wafer risk (8 hours) | Low ★★★☆☆ | Higher ★★☆☆☆ | -2 |
| 5 | Slice/serve cleanly | Easy ★★★★★ | Mixed ★★★☆☆ | +2 |
| 6 | Overall “homemade” feel | Very High ★★★★★ | Medium ★★★☆☆ | +3 |
| 7 | Consistency across batches | High ★★★★☆ | Medium ★★★☆☆ | +2 |
The Best Banana Prep (So It Stays Fresh)

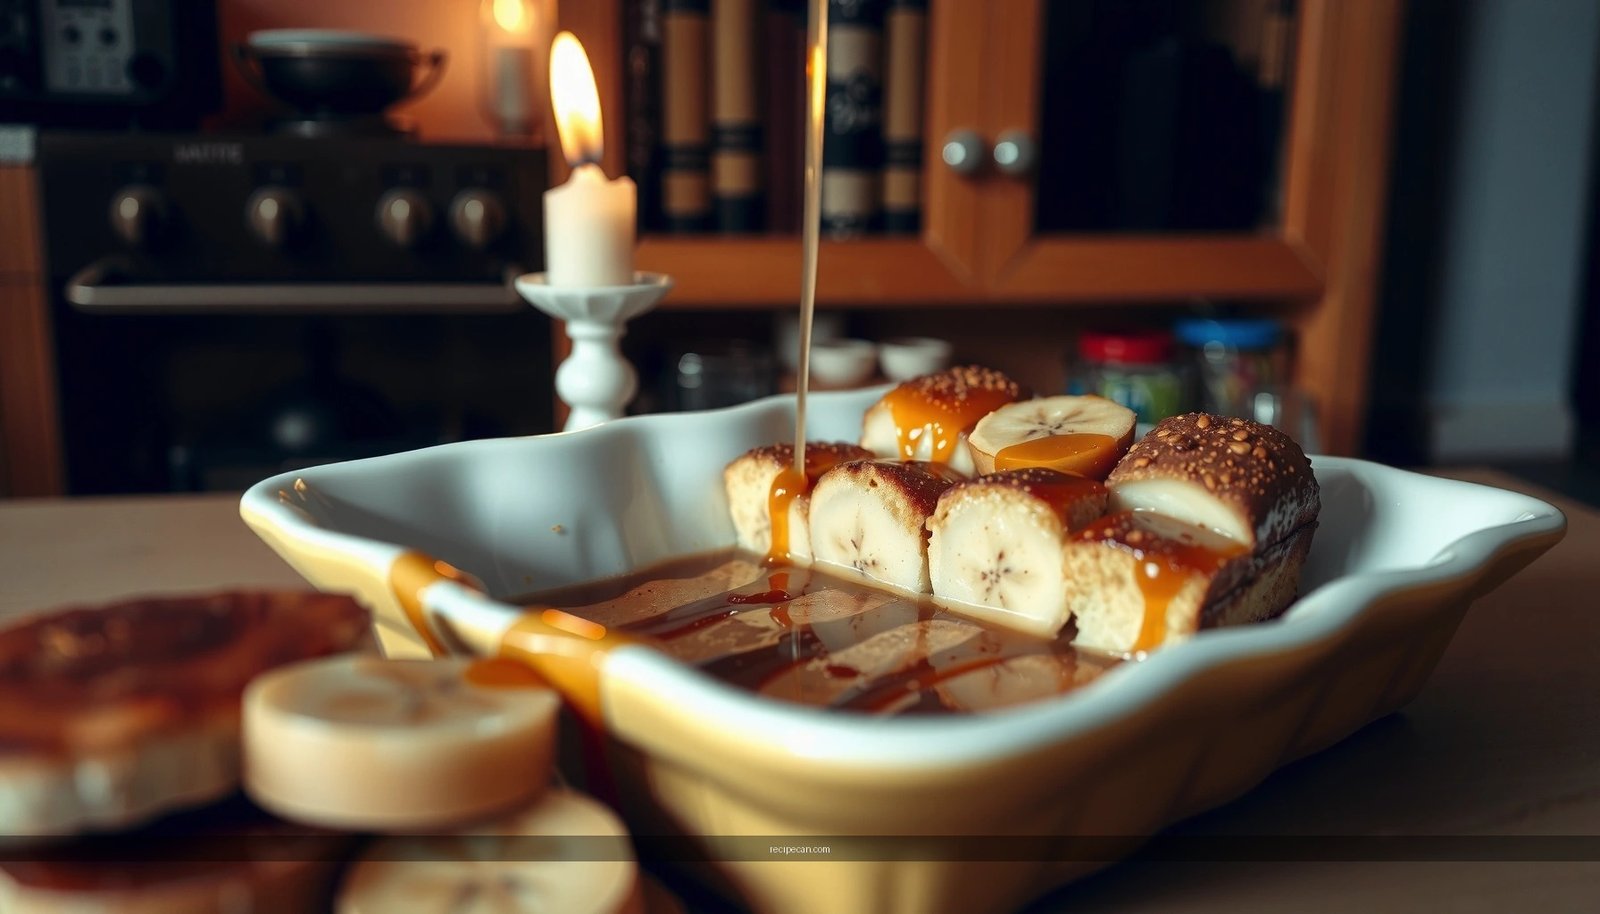
– Slice bananas right before assembling to reduce browning
Banana browning is mainly an oxidation issue. While you can’t completely eliminate it, you can dramatically slow it down by slicing close to assembly. Plan your workflow: cook and cool the custard first, measure wafers, then slice bananas and build immediately.
If you want extra protection, toss banana slices with a tiny splash of lemon juice and a teaspoon of sugar—just enough to lightly sweeten and reduce browning. Avoid soaking; too much liquid can increase moisture and sogginess.
– Layer bananas evenly so every spoonful has fruit
A common banana pudding mistake is stacking bananas heavily in one layer and starving the rest. Spoon out your pudding and wafers evenly, and distribute banana slices across the entire layer width. A uniform banana layer improves both appearance and flavor balance.
– Adjust ripeness—use firmer bananas for cleaner layers
For clean layers, aim for “just ripe,” not “fully freckled and soft.” Softer bananas taste great but can smear and blend into the custard. If your bananas are very ripe, slice them a bit thicker and build slightly slower so the layer stays intact.
Practical rule: If the banana feels soft when you press gently near the stem, use it—but cut slices thicker and assemble sooner.
How to Layer for Perfect Texture

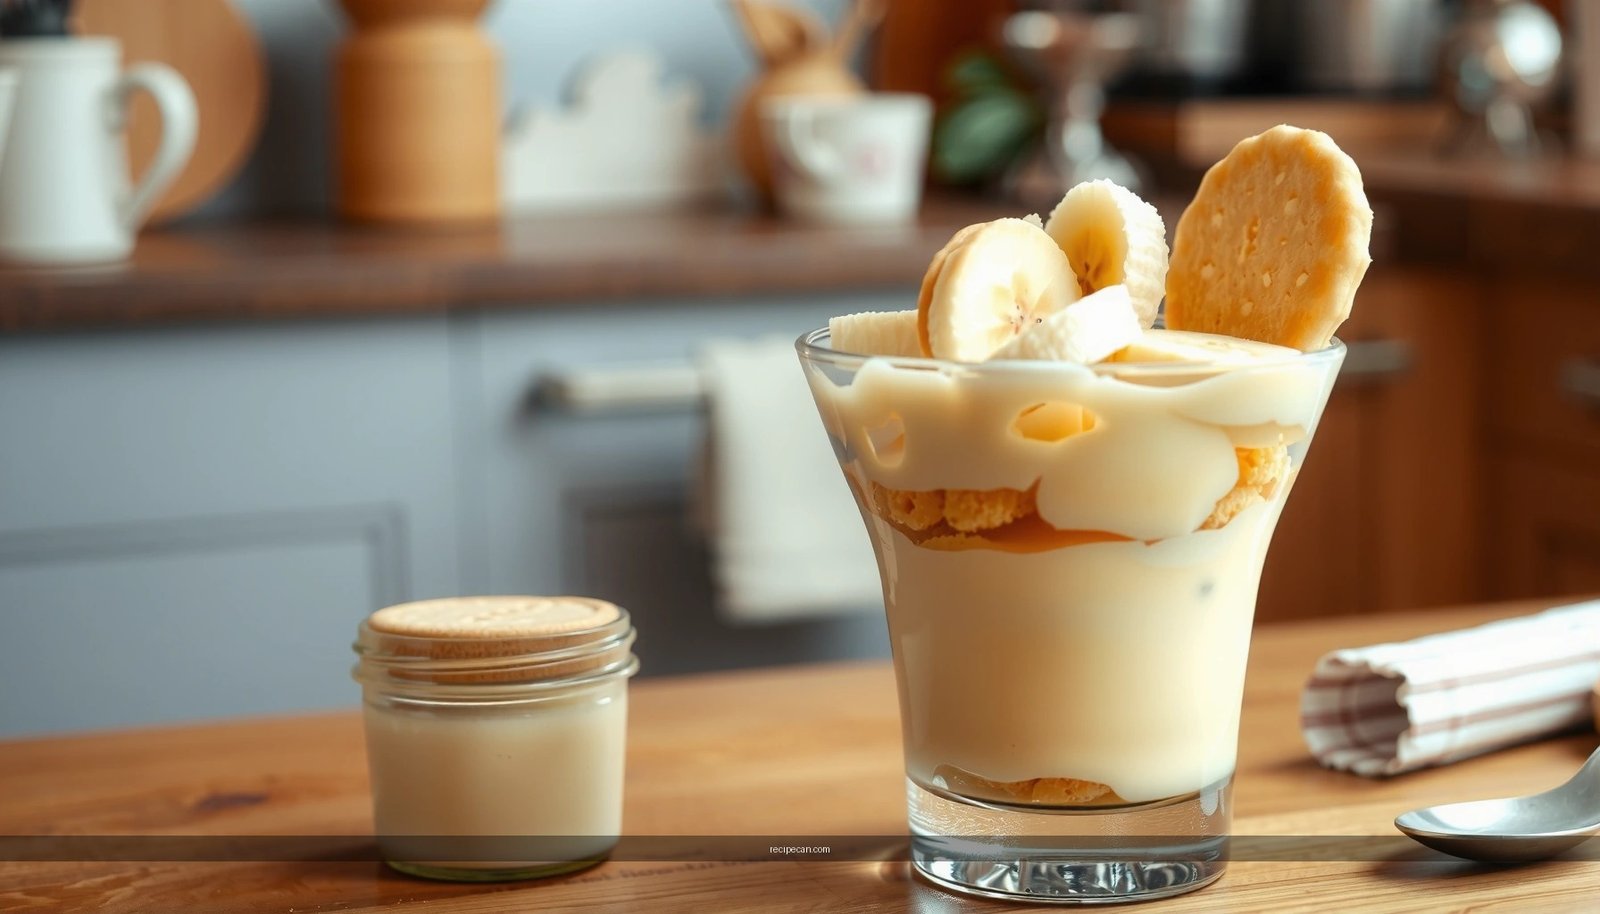
– Alternate wafers, bananas, and pudding in consistent thickness
Texture is created in the layering. Use consistent thickness so no one layer overpowers the others. For example, spread custard in a thin, even layer before adding bananas, then cap with wafers. Repeat until the dish is filled. This method keeps the wafers crisp longer while still allowing them to soften partially for that signature pudding spoon.
– Build layers to prevent mush while still staying creamy
To prevent mush, think “structure first.” Start with a custard base thin enough to adhere, add wafers as a crisp barrier, then fruit, then custard again. If your custard is too thick or too little, the wafers either stay too dry or get overwhelmed. The goal is a balance: the custard should cling, not flood.
– Keep the dish lightly packed so it doesn’t separate in the fridge
Banana pudding is sensitive to packing pressure. If you press down too hard, you force moisture and can cause layers to separate or weep. Instead, fill the dish gently and let the custard set. For best results, use a glass dish (or at least one with even heat retention) to maintain a stable chill.
Serving readiness target: For best “set but still creamy” texture, plan to chill at least 4–6 hours. Overnight is ideal for flavor melding, but you may notice wafers soften slightly more.
Make the Pudding Filling (Rich and Smooth)
– Whisk until lump-free for a silky, spoonable filling
A smooth custard is the backbone of this homemade banana pudding. Whisk your cornstarch with a portion of cold milk first to prevent lumps, then incorporate into the rest of the milk mixture gradually. Once it heats, whisk continuously—especially in the early thickening stage.
– Cook just until thickened—don’t overdo it or it gets too firm
Custard thickens quickly as it approaches the simmer. Overcooking can lead to a thicker, sometimes grainier texture. Pull it from the heat once it coats the back of a spoon and holds a line when you swipe a finger across. The custard will continue to thicken slightly as it cools.
– Add flavor (like vanilla) at the right time for maximum impact
Add vanilla after the custard thickens and you remove it from heat. This protects the flavor from dulling at high temperatures and gives a brighter, more aromatic vanilla finish.
Optional upgrade that elevates flavor: A small pinch of salt intensifies the custard’s sweetness and makes banana flavor pop. It also helps you avoid tasting “flat” sweetness common in overly sweet desserts.
Chill Time + Serving Tips
– Refrigerate long enough for flavors to meld and layers to set
Chilling isn’t optional if you want clean layering. The custard needs time to fully set and the wafers need time to hydrate just enough to become tender without turning gummy. Aim for at least 4–6 hours; overnight is best for events and gatherings.
– Serve slightly chilled for the best creamy bite
Serve straight from the fridge for strongest structure, or let it sit 10–15 minutes for a softer, creamier mouthfeel. Slightly chilled also helps the custard taste more “fresh” and less cold.
– For cleanup and ease, chill in a glass dish for easy portioning
Glass dishes make portioning straightforward because you can see the layers. They also help you serve consistently—important when feeding a crowd or bringing dessert to a meeting, potluck, or family event. If you’re transporting, cover tightly and keep level in the fridge or cooler.
Portioning tip: Use a spoon that can scoop through layers cleanly. When you serve, avoid dragging the spoon across the bottom—lift straight up to keep wafer and fruit intact.
[CONCLUSION PARAGRAPH – NO HEADING]
This Not Your Mama banana pudding recipe delivers a richer filling, fresh banana layers, and a texture that actually stays perfect after chilling. Make it this week, follow the layering order, and give it time to set—then serve it and watch it disappear fast.
Frequently Asked Questions
What makes “not your mama” banana pudding different from traditional recipes?
This “not your mama banana pudding recipe” typically uses a more modern, homemade flavor profile—often with a cooked custard base, vanilla pastry cream, or a lighter whipped element instead of only boxed pudding. It also tends to include extra banana flavor and a thicker, creamier texture so the dessert doesn’t get watery. Many versions add a buttery crunch layer like vanilla wafers or a crisp topping to keep each bite distinct.
How do I keep banana pudding from getting watery or turning mushy?
To avoid watery banana pudding, use ripe-but-firm bananas and slice them close to assembly so they don’t release too much juice. Let your custard cool completely (or chill it briefly) before layering so the bananas don’t break down early. If your recipe uses meringue or whipped cream, add that right before serving and avoid overmixing after the custard thickens.
Why does the custard sometimes taste bland, grainy, or separate?
Bland flavor is usually a seasoning issue—make sure you’re using enough vanilla and a pinch of salt, and don’t skip butter or cream if the recipe calls for it. Graininess usually comes from undercooking or overheating the dairy—stir constantly and cook just until thick, then remove from heat immediately. Separation can happen if you add eggs too hot or too fast; temper the eggs with warm dairy to keep the texture smooth.
Which ingredients make the best “not your mama banana pudding recipe” taste extra rich?
For the richest flavor, many home cooks choose real vanilla, whole milk (or a mix of milk and cream), and butter for the custard. Using banana slices plus a little banana extract or banana pudding flavoring can intensify taste without adding watery juice. Vanilla wafers (or a homemade crumb layer) help deliver that classic crunch, while whipped topping or stabilized whipped cream adds a creamy, “restaurant-style” finish.
How do I assemble and store “not your mama banana pudding” for best results?
Assemble the pudding in layers—crackers/wafers, custard, and bananas—then press gently so the wafers absorb flavor without becoming soggy instantly. Cover and refrigerate for at least a few hours, but for best texture, add any whipped or meringue toppings closer to serving. Store leftovers in the fridge for up to 2–3 days, and stir carefully or spoon gently to preserve the layers.
References
- Google Scholar Google Scholar
https://scholar.google.com/scholar?q=banana+pudding+recipe - Google Scholar Google Scholar
https://scholar.google.com/scholar?q=banana+pudding+custard+thickening+starch+egg+technique - Google Scholar Google Scholar
https://scholar.google.com/scholar?q=food+science+custard+egg+temper+technique - Banana pudding
https://en.wikipedia.org/wiki/Banana_pudding - Custard
https://en.wikipedia.org/wiki/Custard - https://en.wikipedia.org/wiki/Tempering_(cooking
https://en.wikipedia.org/wiki/Tempering_(cooking - https://www.fda.gov/food/buy-store-serve-safe-food/eggs-and-food-safety
https://www.fda.gov/food/buy-store-serve-safe-food/eggs-and-food-safety - Eggs | Food Safety and Inspection Service
https://www.fsis.usda.gov/food-safety/safe-food-handling-and-preparation/eggs - https://foodsafety.cornell.edu/keeping-food-safe/food-safety-messages/eggs/
https://foodsafety.cornell.edu/keeping-food-safe/food-safety-messages/eggs/ - https://pubmed.ncbi.nlm.nih.gov/?term=Salmonella+eggs
https://pubmed.ncbi.nlm.nih.gov/?term=Salmonella+eggs