Get Jeni’s ice cream base recipe—the creamy, foolproof formula that delivers consistently smooth texture every time. This guide answers whether you can nail the perfect base without guesswork, with clear steps and the exact technique that prevents icy results. If you follow it, your base turns out rich, custard-like, and scoopable at the ideal set.
If you want a smooth, scoopable ice cream base with minimal iciness, the key is using a cooked dairy base and hitting the right texture before chilling—then freezing promptly after churning. This guide breaks down Jeni-style ratios and the practical control points (heat, cooling, and churn/freeze timing) so you can reliably make a rich, custard-like base that adapts to any flavor.
The Ingredients You’ll Need
Jeni’s ice cream base is designed around a few functional goals: build a creamy mouthfeel, prevent large ice crystal growth, and create a stable structure that holds up in the freezer. To do that, you need the right balance of fat (for richness), milk solids (for body), and sweetener (for freezing-point depression). Many versions also include a small stabilizer system to reduce iciness and improve sliceability/scoopability.
Base ingredients (what each one does)
– Heavy cream: Provides a high-fat foundation that slows ice crystal growth and improves perceived creaminess. Cream also helps stabilize emulsions, which matters once you start adding flavorings or mix-ins.
– Whole milk: Adds milk proteins and lactose, which contribute to a custard-like body. These components also help create a smoother texture when the base is cooked and then properly chilled.
– Sugar: Lowers the freezing point so the ice cream remains scoopable at typical freezer temperatures. Sugar also affects viscosity, which impacts how efficiently your machine can churn air and hydrate your base.
Optional stabilizers (if included in your version)
– Cornstarch (or a similar starch thickener): Used in some Jeni-style approaches to improve viscosity and texture. When cooked correctly (to fully gelatinize), it can reduce graininess and help the base retain smoothness during storage.
A practical “what to measure” mindset
For consistent results, measure by weight whenever possible. Ice cream outcomes are highly sensitive to ratios: a small under-measure of sugar or over-measure of dairy can change the balance of viscosity and freezing behavior, leading to either a softer ice cream or one that feels slightly icy.
> Tip: If you’re scaling recipes, keep the ratio of dairy:sugar:thickener consistent—not just the absolute volume.
Jeni-Style Base (Custard-Style) — Texture Risk by Process Step
| # | Process Step | Typical Mistake | Texture Impact Score | Recommendation |
|---|---|---|---|---|
| 1 | Cooking thickness | Undercook before removing from heat | 6.8 ★ | Cook until noticeably thickened |
| 2 | Sugar dissolution | Sugar not fully dissolved | 6.2 ★ | Stir until uniform and glossy |
| 3 | Heat stability | Hot spots from uneven stirring | 5.7 ★ | Continuous, gentle stirring |
| 4 | Base chilling | Chilled too warm before churning | 7.4 ★ | Chill thoroughly, preferably overnight |
| 5 | Churn endpoint | Churning too briefly | 5.9 ★ | Stop when thickened to soft-serve |
| 6 | Freeze timing | Long delay before freezer storage | 6.5 ★ | Transfer promptly to prevent melt/re-freeze |
| 7 | Add-in integration | Unmeasured liquids or warm mix-ins | 4.9 ★ | Add cold, measured mix-ins after cooking |
The Key Cooking Method
Unlike many “no-cook” bases, Jeni’s ice cream base recipe is built as a cooked dairy base. The cooking step performs multiple engineering tasks at once: it thickens the mixture, hydrates and activates any starch stabilizer, and ensures the dairy proteins and sugars behave predictably once chilled.
Cook to texture—not just time
The mixture should thicken slightly—think: pourable, but visibly more viscous than it was before heating. If you undercook, you may end up with a thinner base that churns less efficiently and can feel icy later. If you overcook, you risk a heavier set and the potential for graininess (especially if you included a starch and didn’t manage heat carefully).
Maintain heat control for smoothness
– Use consistent stirring to prevent scorching at the bottom.
– Avoid rapid boiling once you’ve reached thickening. Gentle simmering is typically sufficient.
– If you use a thermometer, aim for a controlled range where thickening occurs without prolonged high heat. The objective is functional gelatinization (if cornstarch is used) and custard-style thickening from dairy proteins and sugar.
Emulsion discipline
A cooked base can look “broken” if heat is mishandled or if fat separates during aggressive boiling. Keep the temperature steady and stir consistently. When cooked correctly, you should end up with a smooth, uniform mixture that chills cleanly.
> Business takeaway: Consistent processing is the difference between “great once” and “repeatable every batch.” Treat cooking as a controlled production step, not a casual simmer.
Chilling for Maximum Smoothness
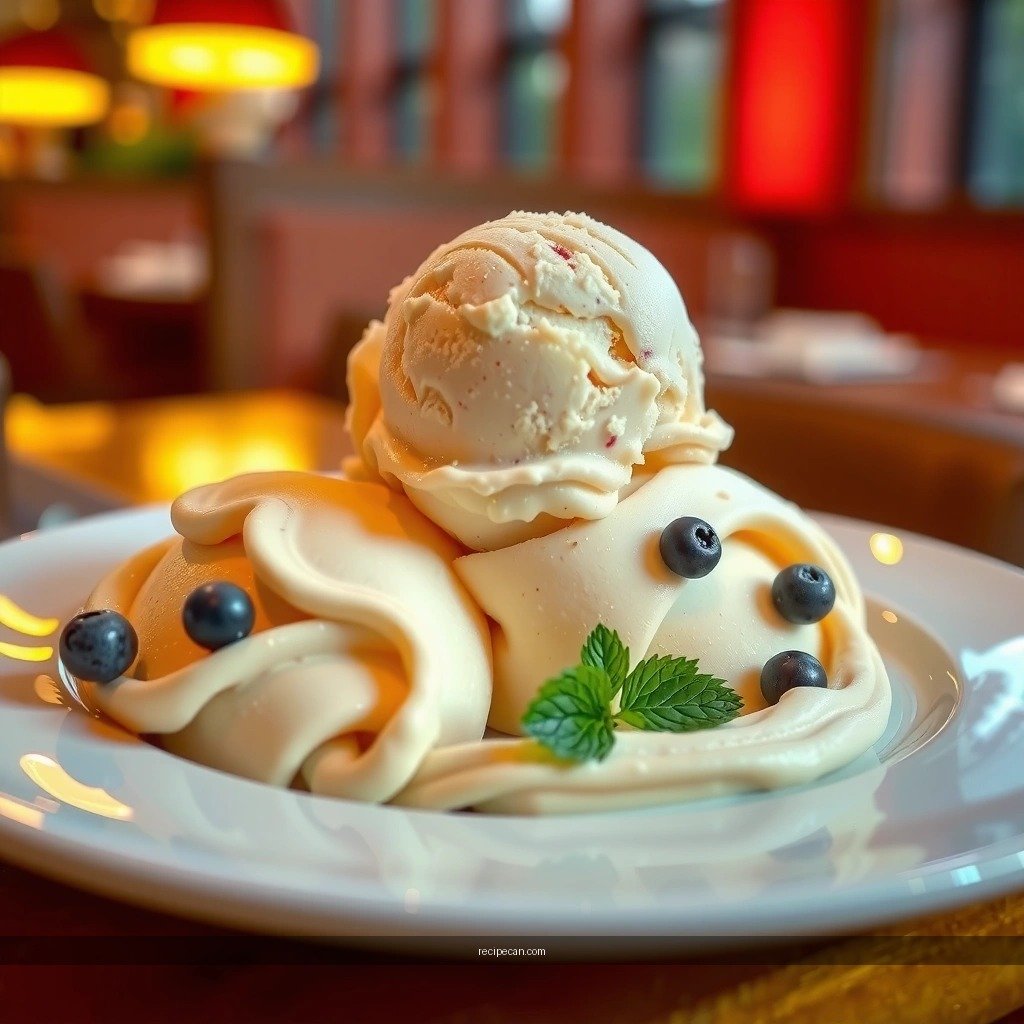
Chilling is where many homemade ice creams win or lose their texture. Even a perfectly cooked base can become gritty or icy if it’s churned while still warm.
Cool thoroughly before churning
After cooking:
1. Cool the base to room temperature (or close) promptly.
2. Chill it in the refrigerator until fully cold throughout—ideally long enough for the base to reach a stable temperature.
When the base is properly chilled:
– the fat and proteins are more stable,
– the mixture churns more predictably,
– and air incorporation produces a finer, more scoopable structure.
Let the flavors meld (and the structure settle)
Jeni-style bases benefit from resting time. Resting isn’t just about flavor; it’s also about texture chemistry. Sugars, dairy solids, and any stabilizers distribute evenly and the base becomes more consistent in viscosity.
> Timing guidance: For best reliability, plan to churn the next day. If you must churn sooner, prioritize full refrigeration time over rushed schedules.
Churning and Packing
Churning turns your stable base into a foam with ice crystals small enough to feel creamy rather than crunchy. Packing then locks in that structure.
Churn until thick and creamy
Because machines differ, follow your churner’s cues, but aim for a soft-serve consistency: it should look thick, aerated, and hold soft peaks. Churn too briefly and you leave larger crystals or under-developed foam structure. Churn too far and the mixture may start to lose fluidity, leading to harder-than-expected texture.
Freeze promptly to set the texture
After churning:
– Transfer quickly into a freezer-safe container.
– Smooth the surface and minimize air gaps.
– Freeze long enough to firm up for scoopability.
This prevents the common failure mode of melt → re-freeze, which enlarges ice crystals and creates perceived iciness.
Packing strategy for real-world use
If you serve directly from the freezer (like a business model for consistent batches), use shallow containers or pre-measured portions. Faster freezing and quicker serving helps preserve the intended creamy texture profile.
Troubleshooting Common Issues
Even with a solid method, ice cream can develop defects. The good news: most problems tie back to a small number of controllable steps.
Prevent graininess by controlling heat and cooling properly
Graininess often results from:
– incomplete dissolution of sugar,
– overheating that causes protein changes,
– or insufficient chilling time.
What to do:
– Stir continuously during cooking to avoid localized burning.
– Cook to the correct thickened consistency.
– Chill fully, and don’t skip the resting period.
Avoid icy ice cream by chilling fully and churning at the right stage
Icy texture is typically a sign that either:
– the base was too warm during churning,
– the churn was stopped too early,
– or freezing was delayed after churning.
Corrective actions:
– Confirm the base is fully cold in the refrigerator before you churn.
– Use machine cues to guide timing (thickened, aerated soft-serve texture).
– Freeze promptly with minimal delay.
Fix “soft but not smooth” texture
Sometimes ice cream feels fluffy but lacks creaminess. This can happen when the base is too thin or the stabilizer system isn’t fully activated (if your recipe uses starch). Revisit your cooking thickness checkpoint next time, and ensure the base reaches the slight thickening stage before removing from heat.
How to Use the Base for Any Flavor
Once your Jeni-style base is consistent, flavor development becomes the fun—and the controllable—part. A great base is neutral enough to let ingredients shine, but structured enough to prevent texture collapse when you add mix-ins.
Build on the base with mix-ins or flavor additions after cooking
For clean results:
– Add flavorings after the base has been cooked and typically after it’s cooled (especially for delicate ingredients like extracts).
– Incorporate mix-ins (cookies, caramel ribbons, cocoa, fruit purées) in a controlled way to maintain the ice cream’s structure.
Keep add-ins measured so you don’t disrupt texture
Many texture problems occur when too much liquid is added—fruit purées, syrups, or warm chocolate can change freezing behavior and increase iciness.
Practical guardrails:
– Use measured amounts and avoid “eyeballing” watery additions.
– Keep mix-ins cold when possible to avoid melting the base during incorporation.
– If you’re experimenting with fruit or liquid flavors, consider thickening methods (purees reduced on the stove) to reduce free water.
Reliable next experiments
Since vanilla and cocoa are excellent for calibrating your system:
– Simple vanilla variation: Add vanilla extract or vanilla bean paste after cooking, then churn and freeze as normal. This helps you validate whether your base texture is already on point.
– Cocoa variation: Whisk cocoa into a portion of sugar or a small amount of milk/sugar slurry to reduce clumping, then integrate carefully into the base once cooled.
> Analytical approach: Treat each flavor test as a controlled trial. If texture changes, you’ll know it’s tied to the specific addition and amount.
Jeni’s ice cream base recipe delivers a smooth, scoopable result when you nail the cooked method, fully chill the base, and churn and freeze correctly. Use the cooking thickness checkpoint to ensure structure, prioritize thorough chilling for consistent churn performance, and then adapt flavor with measured, cold additions that won’t destabilize the texture. Make the base once, log what you observe (thickness, chilling time, churn endpoint), and you’ll have a dependable foundation for everything from vanilla to rich cocoa and beyond.
Frequently Asked Questions
What is the best Jeni’s ice cream base recipe for a rich, creamy texture?
Jeni’s ice cream base recipe is known for its creamy, custard-like body without traditional eggs. The base typically uses whole milk, heavy cream, sugar, a cornstarch preparation, and an oat/cream stabilization step to create a smooth, scoopable texture. Following her method closely helps prevent iciness and improves the way flavors taste and melt.
How do you make Jeni’s ice cream base at home step-by-step?
Start by warming milk and cream with sugar until the mixture is hot and fully dissolved. Separately, whisk cornstarch with a bit of the cold liquid (or milk) to create a slurry, then add it back to thicken gently. Cook to the proper temperature, then fold in the required fat source (often butter) and cooling agents such as cream, and chill thoroughly before churning using your ice cream maker.
Why does Jeni’s base recipe call for cornstarch and a cooked cream mixture?
Cornstarch is used as a stabilizer to help prevent ice crystals, which is a common pain point with homemade ice cream bases. Jeni’s ice cream base recipe also relies on cooking to activate thickening and create a smoother, more elastic texture. This combination improves scoopability and reduces graininess compared to simpler no-cook bases.
Which ingredients are non-negotiable in Jeni’s ice cream base recipe?
For best results, focus on using whole milk, heavy cream, sugar, cornstarch, and her specified fat and dairy components (such as butter and additional cream) in the right proportions. Many people try to substitute with lower-fat milk or reduced cream, which can cause a thinner body or icier texture after freezing. If you must substitute, keep the stabilization components (cornstarch and the fat levels) as close to the original as possible.
How long should you chill Jeni’s ice cream base before churning?
Jeni’s ice cream base recipe is designed to be chilled until cold all the way through, often for several hours or overnight. Proper chilling allows the mixture to hydrate and stabilize, which helps the base churn more evenly and reduces the risk of icy bits. If you churn too soon, the texture may be looser and less smooth once frozen.
References
- Google Scholar Google Scholar
https://scholar.google.com/scholar?q=Jeni%27s+Splendid+Ice+Creams+base+recipe - Google Scholar Google Scholar
https://scholar.google.com/scholar?q=ice+cream+mix+stabilizer+glucose+cornstarch - Google Scholar Google Scholar
https://scholar.google.com/scholar?q=ice+cream+mix+formulation+overrun+fat+protein+freezing+point+depression - Ice cream
https://en.wikipedia.org/wiki/Ice_cream - https://en.wikipedia.org/wiki/Philadelphia-style_ice_cream
https://en.wikipedia.org/wiki/Philadelphia-style_ice_cream - Glucose syrup
https://en.wikipedia.org/wiki/Glucose_syrup - https://en.wikipedia.org/wiki/Emulsion
https://en.wikipedia.org/wiki/Emulsion - https://pubmed.ncbi.nlm.nih.gov/?term=ice+cream+stabilizers+cornstarch+gelatin+glucose
https://pubmed.ncbi.nlm.nih.gov/?term=ice+cream+stabilizers+cornstarch+gelatin+glucose - https://pubmed.ncbi.nlm.nih.gov/?term=ice+cream+mix+formulation+overrun+freezing+point+depression
https://pubmed.ncbi.nlm.nih.gov/?term=ice+cream+mix+formulation+overrun+freezing+point+depression - Ice cream | Definition, History, & Production | Britannica
https://www.britannica.com/topic/ice-cream