
Searching for a milkshake coffee recipe that delivers a truly creamy, blendable result? This recipe is the fastest path to thick coffee milkshakes with the right balance of milk, sweetness, and coffee flavor—no gritty texture. If you want a pourable milkshake that actually blends smoothly in seconds, this is the one to follow.
Turn chilled coffee into a thick, dessert-like milkshake by blending it with milk, ice cream (or gelato), and a measured sweetener until completely smooth. This recipe uses practical ratios and troubleshooting guidance so you can reliably get a creamy coffee milkshake texture at home—no guesswork required.
Gather Ingredients for a Perfect Milkshake Coffee
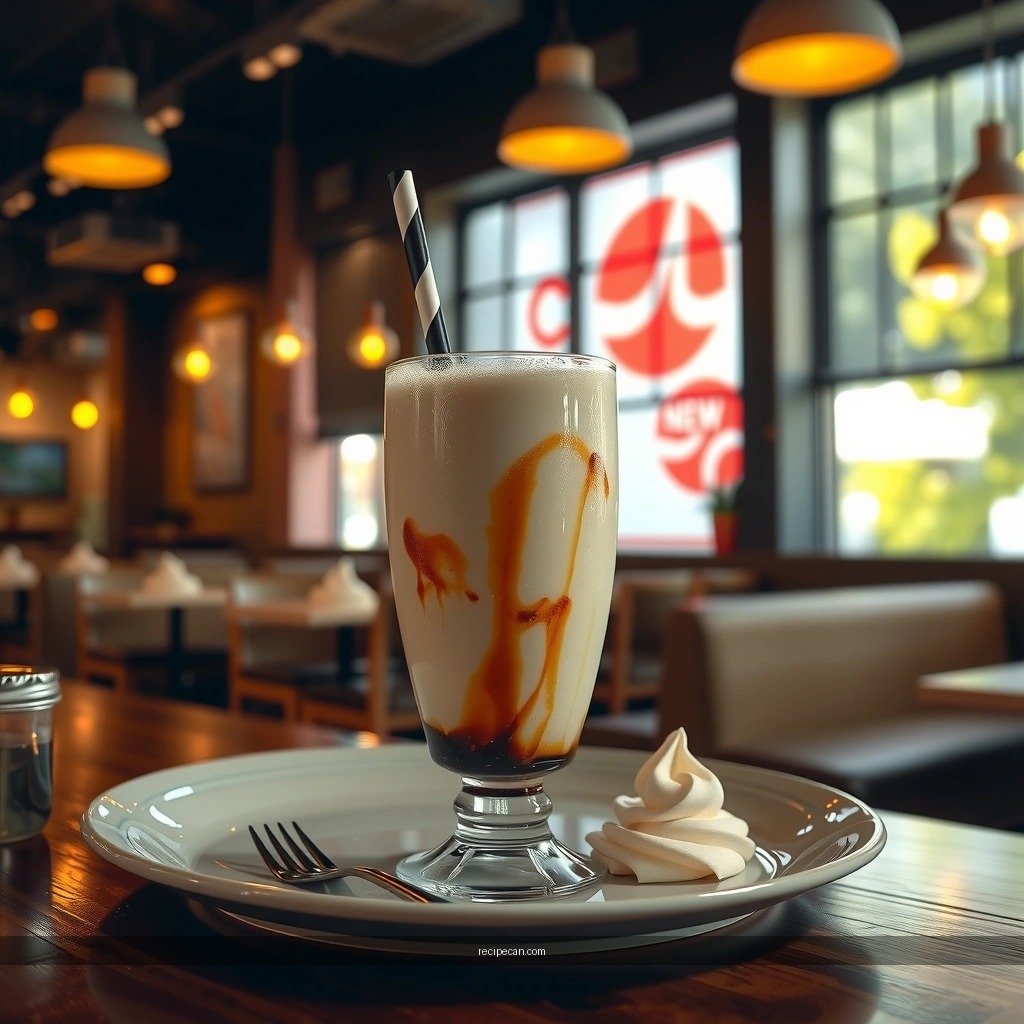
The best milkshake coffee starts with the right balance of liquid (coffee + milk), fat/protein (ice cream or gelato), and sugar (sweetener). When those components are proportioned correctly, you get a drink that’s thick enough to hold a spoon, yet still blendable.
– Choose brewed coffee (chilled cold brew works best) and vanilla ice cream or gelato
– Cold brew tends to be smoother and less acidic, which helps the finished coffee milkshake taste “dessert-forward” rather than sharp.
– Vanilla ice cream or gelato provides sweetness and body; if you want a more “coffee shop” flavor, choose a vanilla ice cream that isn’t overly icy (look for “custard-style” if available).
– Add milk (dairy or alternative) to control thickness
– Dairy milk typically creates the creamiest mouthfeel, but alternatives work well if they blend well (not all oat milks foam-free).
– Use milk to fine-tune consistency: more milk = thinner shake; less milk = thicker shake.
– Use sweetener like sugar, honey, or flavored syrup to taste
– Coffee varies widely in perceived bitterness depending on roast and brew strength, so sweetener is best adjusted to your taste.
– If you’re aiming for a classic mocha or chocolate coffee milkshake, chocolate syrup can double as both flavor and sweetness.
Milkshake Coffee Blend Profiles (1 Serving, ~16 oz / 475 ml Total)
| # | Blend Profile | Coffee (cold, oz) | Milk (oz) | Ice Cream/Gelato (oz) | Sweetener | Consistency Fit |
|---|---|---|---|---|---|---|
| 1 | Classic Thick (Balanced) | 6 | 5 | 6 | 2 tsp sugar | ★★★★☆ |
| 2 | Extra Thick (Spoon-Stand) | 6 | 4 | 7 | 2–3 tsp honey | ★★★★★ |
| 3 | Thinner “Shakeable” | 6 | 7 | 4 | 1.5 tsp sugar | ★★★☆☆ |
| 4 | Coffee-Forward (Bolder) | 8 | 4 | 5 | 3 tsp vanilla syrup | ★★★★☆ |
| 5 | Decaf Smooth Blend | 6 | 6 | 5 | 2 tsp honey | ★★★★☆ |
| 6 | Oat-Milk Friendly (Stable) | 6 | 6 | 5 | 2 tsp maple syrup | ★★★★☆ |
| 7 | Over-Thick Risk (Avoid) | 6 | 3 | 8 | 2 tsp sugar | ★★☆☆☆ |
Use these blend profiles as a practical reference: aim for roughly 6 oz cold coffee + 5 oz milk + 6 oz ice cream for a “classic thick” result, then adjust thickness by shifting milk and ice cream by about 1 oz at a time.
Step-by-Step: How to Make Milkshake Coffee

Making a creamy coffee milkshake is mostly about order of operations and blend time. Once your blender is handling the ice cream smoothly, you’re close to the finished texture.
– Blend cold coffee, milk, and ice cream until fully smooth
1. Chill first: use coffee straight from the fridge or freshly made cold brew that’s been cooled. Warm coffee makes the shake melt faster and can taste more bitter.
2. Add in this order: cold coffee → milk → ice cream/gelato → sweetener.
3. Blend until uniform: stop once you don’t see visible ice cream chunks and the mixture looks glossy rather than grainy.
– Adjust texture by adding ice for extra thickness or milk for a lighter shake
– Too thick / hard to blend: add 1–2 tablespoons of milk at a time.
– Too thin: add a small handful of ice (or blend longer if your ice cream is still soft).
– If your ice cream is very soft (nearly liquid), reduce milk slightly or add a few ice cubes to restore body.
– Taste and fine-tune sweetness and flavor in the final blend
– Sweetness perception changes with temperature and bitterness. If you’re using darker roasts, you may need an extra teaspoon of sweetener.
– For mocha or chocolate add-ins, keep sweetness modest at first—cocoa and chocolate syrups already bring sugar.
Practical base method (1 serving): blend 6 oz chilled coffee + 5 oz milk + 6 oz vanilla ice cream with 2 tsp sugar (or to taste). Blend until fully smooth, then adjust.
Flavor Variations to Try (Chocolate, Vanilla, Mocha)

Milkshake coffee is an excellent “flavor canvas.” A small adjustment to the sweetener and one targeted ingredient (cocoa, vanilla extract, or espresso powder) can shift the profile dramatically without changing the base technique.
– Make a classic chocolate milkshake coffee with cocoa powder or chocolate syrup
– Start with 1–2 tbsp cocoa powder and add 1–2 tsp more sweetener only if needed.
– For a deeper, dessert-style finish, use chocolate syrup instead of cocoa (usually 1–2 tbsp) for instant flavor and color.
– Go vanilla-forward with vanilla extract or caramel drizzle
– Add 1/2 to 1 tsp vanilla extract to the blender.
– If you like a salted caramel vibe, drizzle 1 tbsp caramel sauce plus a tiny pinch of salt. Salt sharpens sweetness and makes coffee flavors pop.
– Try mocha by adding espresso powder and a chocolate swirl
– Add 1/2 to 1 tsp espresso powder for concentrated coffee intensity.
– Add 1–2 tbsp chocolate swirl (or swirl in chocolate syrup right before blending if you want visible marbling, though blending will smooth it out).
Pro tip: if you’re using chocolate ingredients, reduce additional sweetener slightly at first. You’ll get a more balanced coffee milkshake and avoid an overly sugary dessert drink.
Tips for the Thicker, Creamier Texture
Texture is where milkshake coffee wins—or disappoints. If your shake ends up thin, icy, or separated, it’s usually one of a few correctable causes.
– Use very cold coffee and let ice cream soften slightly for easier blending
– Coffee should be chilled enough that it doesn’t immediately break the ice cream’s structure.
– Let ice cream sit 3–5 minutes at room temperature if it’s rock-solid. Too frozen can lead to uneven blending.
– Blend in short pulses if your blender struggles with frozen ingredients
– Start with 5–10 second pulses, scrape down the sides if needed, then blend continuously.
– This method improves consistency and reduces the chance of “coffee granules” that feel gritty.
– Serve immediately for the best thickness and mouthfeel
– Even well-blended shakes will gradually thin as ice melts and sugars dissolve.
– If you need a drinkable texture, you can serve right away. If you want spoon-thick texture, avoid waiting after blending.
A good target is a shake that holds a brief peak when stirred—thick enough to feel creamy, not so thick it strains the straw.
Serving Ideas and Toppings
Presentation matters, especially when milkshake coffee is positioned as a dessert drink. Toppings also allow you to adjust perceived sweetness and texture without altering the entire recipe.– Top with whipped cream, chocolate shavings, or crushed cookies
– Whipped cream adds air and makes the shake feel lighter while still indulgent.
– Crushed cookies (like chocolate sandwich cookies or biscotti) add crunch that contrasts with the smooth base.
– Add a drizzle of caramel or flavored syrup for extra sweetness
– Drizzle after blending so the base stays balanced.
– Choose one sauce and keep it purposeful: too many toppings can overpower the coffee.
– Serve in chilled glasses with a straw and spoon for thick sips
– Chilled glass slows warming, helping the shake maintain its thickness.
– A straw is great for sipping; a spoon is ideal for the thicker texture toward the end.
For a café-style experience, serve with a printed “flavor name” (e.g., “Mocha Velvet”) and one signature topping. It makes the drink feel intentional rather than improvised.
Storage and Make-Ahead Notes
Milkshake coffee is best fresh because the texture changes as temperature equalizes. That said, you can still prepare components ahead of time for convenience.
– Drink right away for ideal texture (it thickens as it sits)
– Immediately after blending, your shake may feel slightly looser as it’s fully integrated.
– After 5–10 minutes, it often thickens slightly due to partial melting and refreezing effects on ice cream.
– If needed, refrigerate leftovers in a sealed container and re-blend briefly
– Store promptly to reduce separation.
– Re-blend in short bursts: add 1–2 tablespoons of milk if the shake becomes too thick or uneven.
– Avoid prolonged storage to prevent separation and icy texture
– Beyond a day, ice cream structure breaks down more noticeably, and you may get a thinner, more icy drink.
– If you must store longer, consider freezing in a shallow container and blending again with a splash of milk (texture will still be best within a couple of days).
This milkshake coffee recipe is quick, customizable, and delivers a thick, creamy coffee dessert in minutes. Make it once with the base recipe, then try one flavor variation you love—grab your blender and coffee, and start blending today.
References
- Google Scholar Google Scholar
https://scholar.google.com/scholar?q=milkshake+coffee+recipe - Google Scholar Google Scholar
https://scholar.google.com/scholar?q=coffee+milkshake+recipe+ice+cream+milk - Google Scholar Google Scholar
https://scholar.google.com/scholar?q=milkshake+frozen+dessert+coffee+ingredients+emulsion+science - Milkshake
https://en.wikipedia.org/wiki/Milkshake - https://en.wikipedia.org/wiki/Coffee_(beverage
https://en.wikipedia.org/wiki/Coffee_(beverage - Coffee ice cream
https://en.wikipedia.org/wiki/Coffee_ice_cream - https://en.wikipedia.org/wiki/Shake_(drink
https://en.wikipedia.org/wiki/Shake_(drink - Frappé
https://en.wikipedia.org/wiki/Frapp%C3%A9 - https://www.britannica.com/topic/milkshake
https://www.britannica.com/topic/milkshake - Coffee | Origin, Types, Uses, History, & Facts | Britannica
https://www.britannica.com/topic/coffee


