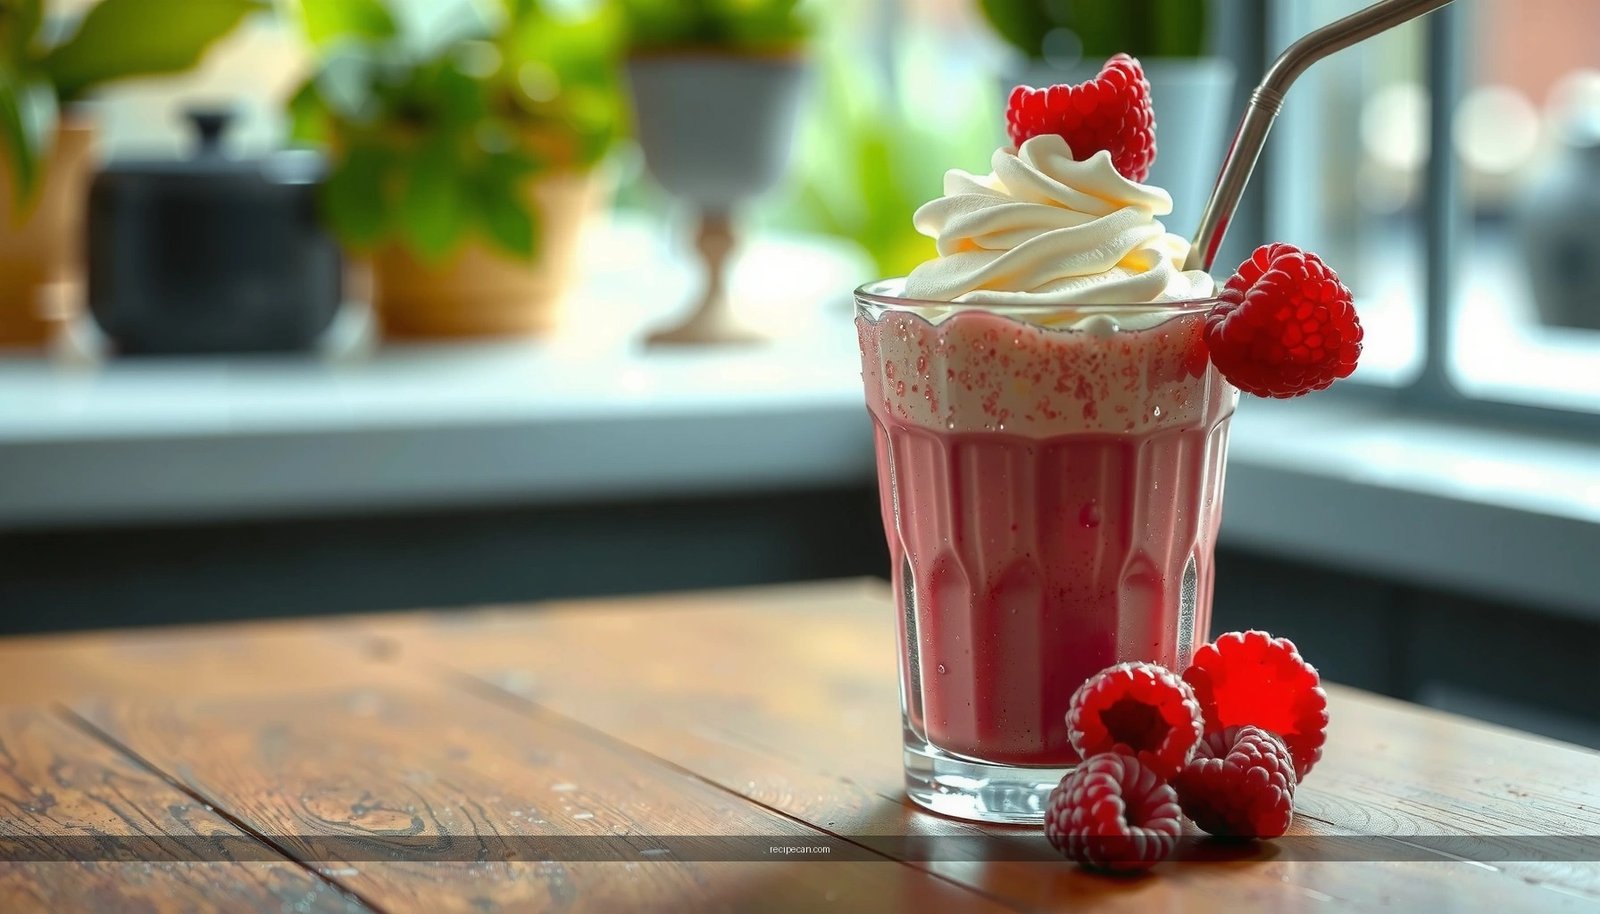
Searching for a raspberry milkshake recipe that delivers a thick, creamy shake fast? This guide gives you the clear winner: a creamy, easy, and refreshing raspberry milkshake that tastes like a summer treat in minutes. Follow the exact steps to blend ripe berries, milk, and sweetness into a smooth drink with the right texture every time.
A creamy raspberry milkshake takes just minutes: blend cold milk and vanilla ice cream with fresh or frozen raspberries until smooth. With a simple ingredient formula and a few thickness controls, you can dial in a thick, fruity texture that’s ready to serve fast—perfect for hot days, parties, or a satisfying homemade dessert.
Ingredients for Raspberry Milkshake
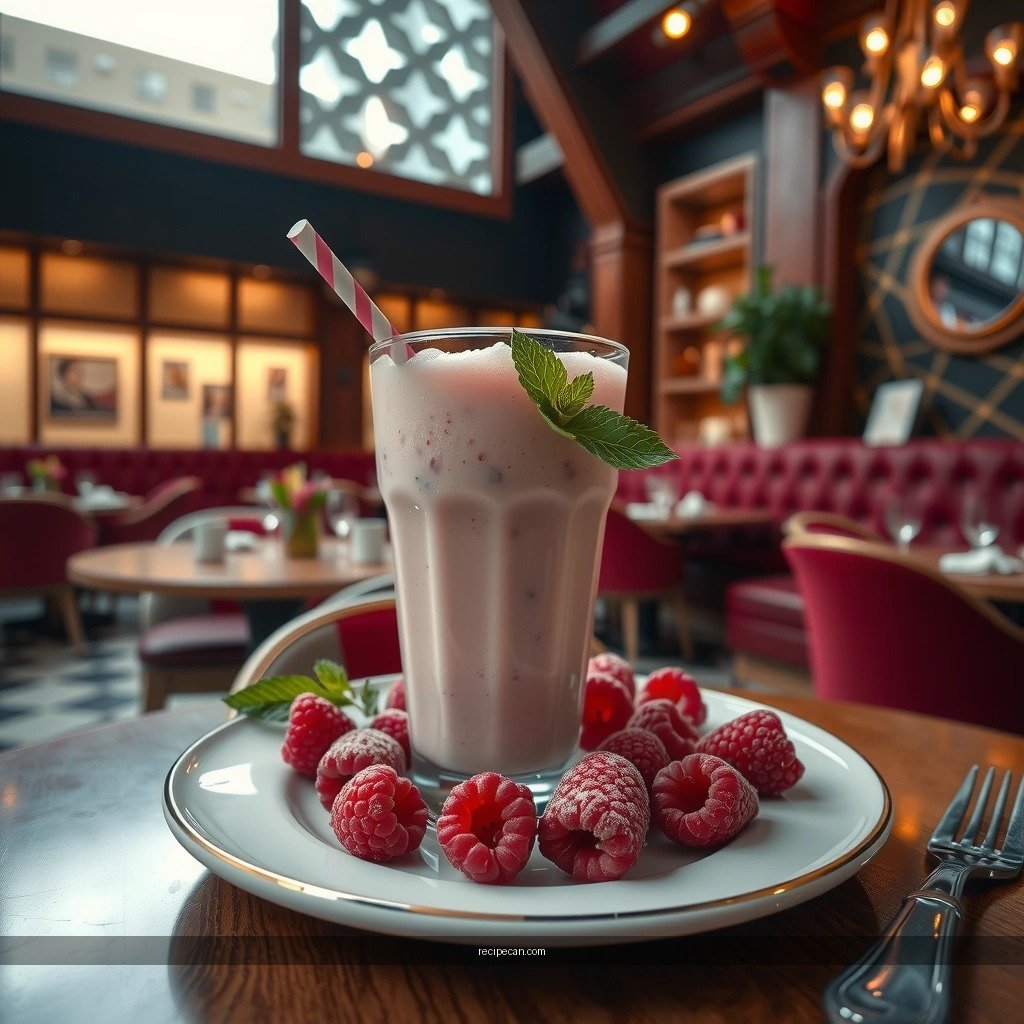
– Use fresh or frozen raspberries, plus milk and vanilla ice cream
– Optional additions: sugar or honey for sweetness, and a splash of vanilla
To keep this raspberry milkshake recipe reliable every time, aim for a straightforward balance of fruit, dairy fat, and sweetness. Raspberries provide acidity and vivid flavor, while vanilla ice cream supplies creaminess, sweetness, and body. Cold milk adjusts viscosity so the shake blends smoothly rather than turning grainy or icy.
Core ingredient guidance (what each component does)
– Raspberries (fresh or frozen): Flavor + natural tartness. Frozen berries also thicken slightly as they chill the blend.
– Cold milk: Controls pourability and smoothness. Whole milk tends to deliver a richer mouthfeel; 2% works too.
– Vanilla ice cream: The “thickener” and flavor base. Higher-fat ice cream generally produces a silkier result.
Optional upgrades
– Sugar or honey: Useful if your berries are very tart or out of season.
– Extra vanilla (or a splash of vanilla extract): Deepens aroma and rounds out raspberry acidity.
– Lemon juice (small amount): Brightens berry flavor and can reduce the need for extra sweeteners.
Quick reference: key ingredients by batch size
If you’re serving more than one, scaling matters—especially when you want the shake to stay thick rather than thinning out.
Raspberry Milkshake Ingredient Targets (Standard 1-2 Glass Batch)
| # | Batch Goal | Raspberries | Milk | Vanilla Ice Cream | Sweetener (if needed) | Expected Result |
|---|---|---|---|---|---|---|
| 1 | Extra-Thick (spoonable) | 1 cup (150 g) | 2–3 tbsp (30–45 ml) | 3/4 cup (180 g) | None to 1 tbsp honey | ★★ ★★ (thick) |
| 2 | Classic Creamy | 3/4 cup (110 g) | 1/3 cup (80 ml) | 1/2 cup (120 g) | 0–1 tbsp sugar | ★ ★★★★ (balanced) |
| 3 | Smooth & Pourable | 1/2 cup (75 g) | 1/2 cup (120 ml) | 1/2 cup (120 g) | 1–2 tsp honey | ★ ★★★ (smooth) |
| 4 | Lower-Sweetness (tart-forward) | 1 cup (150 g) | 1/4 cup (60 ml) | 1/2 cup (120 g) | None | ★★★★ (brighter) |
| 5 | Extra Fruit-Driven | 1 1/4 cups (185 g) | 1/3 cup (80 ml) | 1/2 cup (120 g) | 1 tbsp sugar | ★ ★★★★ (fruit-forward) |
| 6 | Gentle Creaminess (lighter) | 3/4 cup (110 g) | 2/3 cup (160 ml) | 3/8 cup (90 g) | 2 tsp honey | ★ ★★ (lighter mouthfeel) |
| 7 | Prevent Too-Runny Shake | 1/2 cup (75 g) | 1/4 cup (60 ml) | 2/3 cup (160 g) | None | ★ (watch consistency) |
Step-by-Step Raspberry Milkshake Instructions
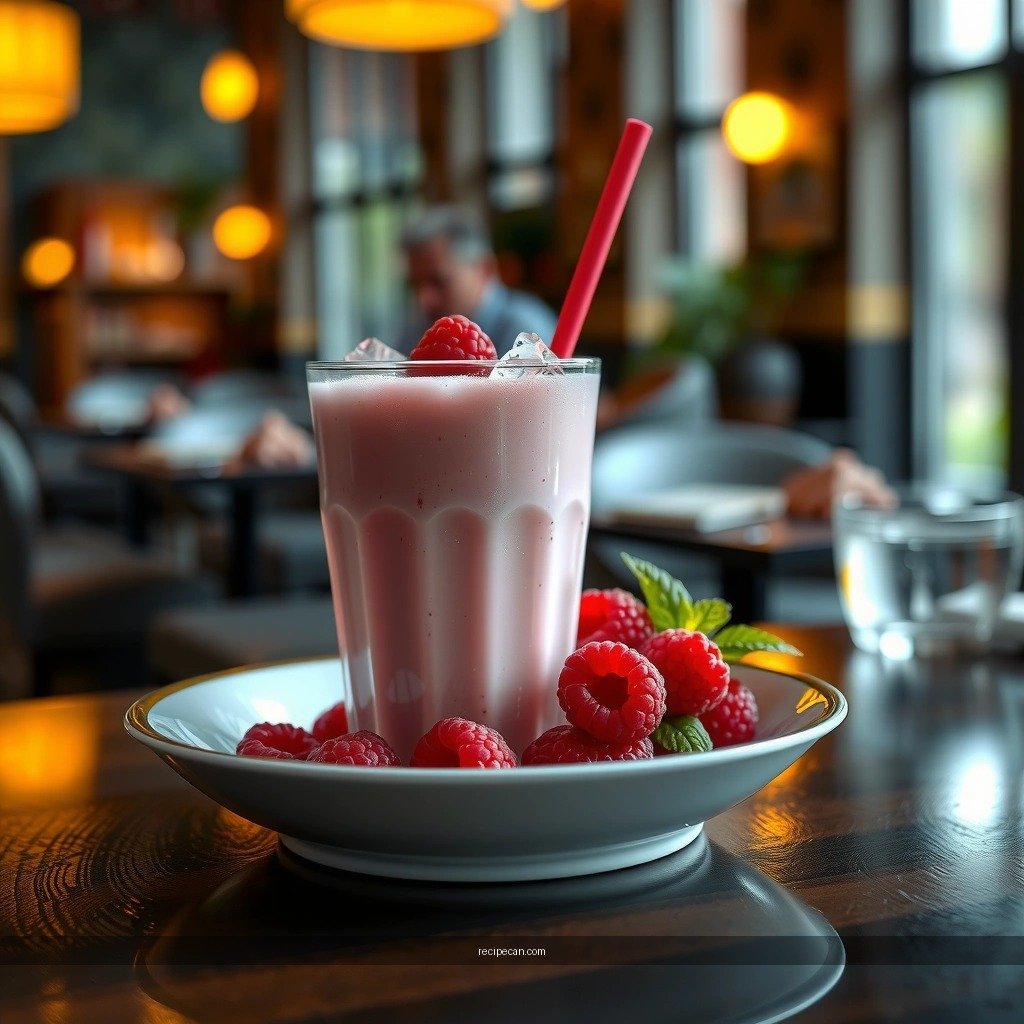
– Blend raspberries with milk first, then add ice cream and blend again
– Blend until thick and smooth, scraping down the sides as needed
This raspberry milkshake method is designed to minimize grit and maximize smoothness—especially when using frozen raspberries, which can clump if added directly to ice cream.
Step 1: Create a raspberry-milk base
1. Add raspberries (fresh or frozen) to a blender.
2. Pour in cold milk.
3. Blend for 20–30 seconds until the mixture is evenly tinted and the berries are broken down.
Why this works: blending berries with liquid first hydrates them and helps extract color and flavor quickly, making the final shake smoother.
Step 2: Add ice cream for thickness
4. Add vanilla ice cream to the blender.
5. Blend again for 30–45 seconds until thick, creamy, and fully combined.
Step 3: Finish like a pro (for consistent texture)
6. Stop and scrape down the sides with a spatula.
7. Blend for an additional 10–15 seconds if needed.
Actionable tip: If your blender jar is narrow or the batch is small, scraping becomes especially important—residual chunks can create pockets of unmixed ice cream and inconsistency.
Getting the Right Thickness and Texture
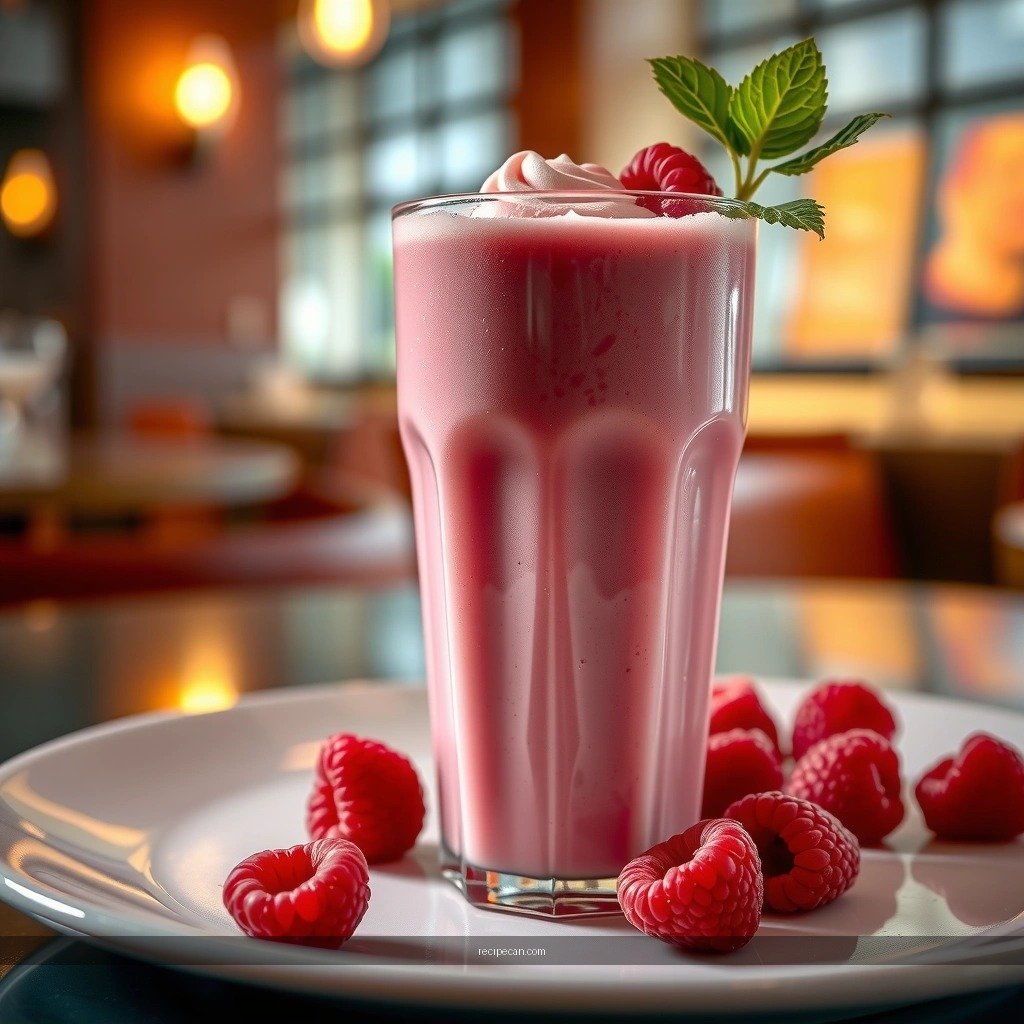
– For a thicker shake, add more ice cream; for thinner, add a bit more milk
– Blend briefly for best texture, especially if using frozen berries
Thickness is where many homemade shakes diverge from diner-quality results. The good news: it’s fully controllable once you understand the mechanics.
How to adjust thickness
– Too thick / hard to pour: Add milk 1 tablespoon at a time, blend 5–10 seconds, and reassess.
– Too thin / feels icy: Add ice cream 1–2 tablespoons at a time, blend 10–15 seconds.
Texture best practices
– Blend just enough. Over-blending can warm the ice cream slightly, leading to a thinner shake and a less luxurious mouthfeel.
– Use cold ingredients. Cold milk and ice cream maintain viscosity and prevent separation.
– Consider berry temperature. If frozen berries are partially thawed, the shake may thin quickly. Keep them frozen until blending.
If you want an “extra creamy” style, the goal is a stable emulsion of dairy fat and raspberry puree. That means you should avoid adding large amounts of milk early—adjust gradually after the first 2 blending stages.
Flavor Boosters and Variations
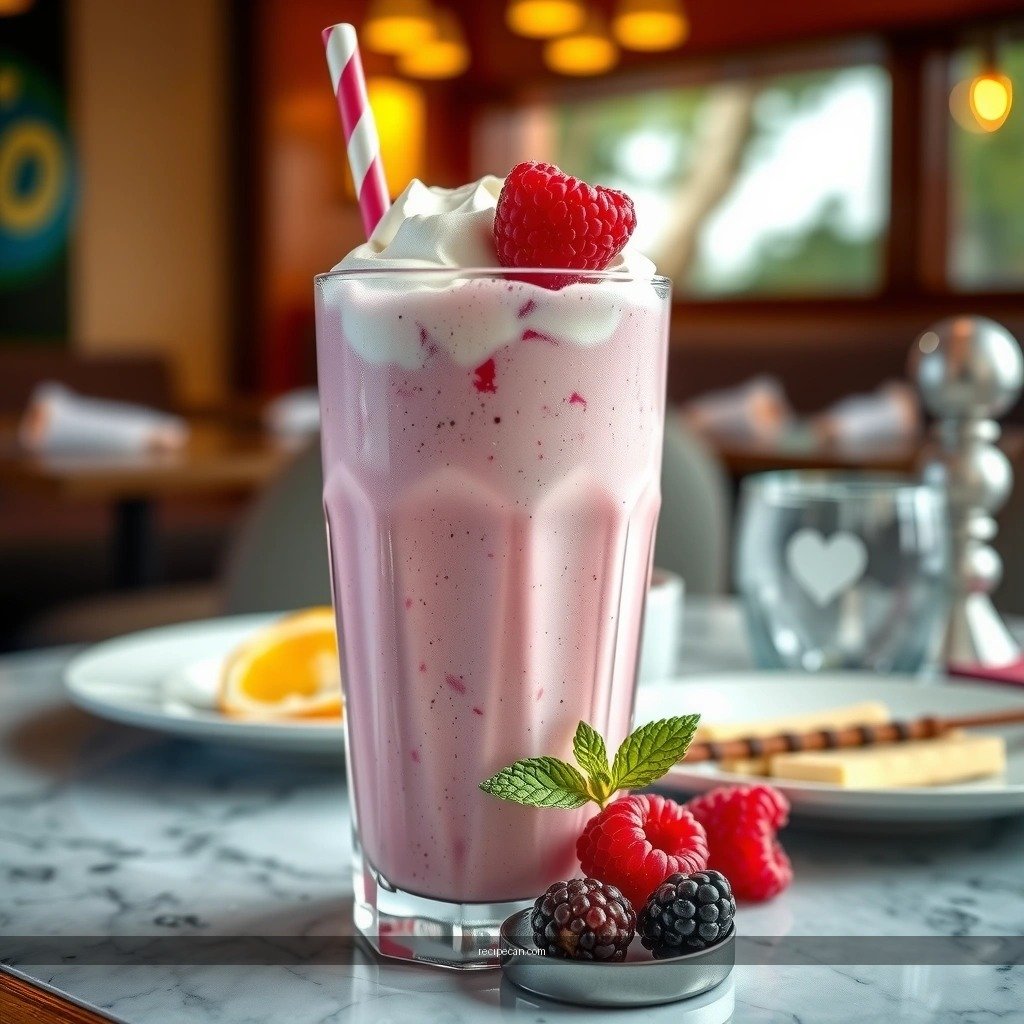
– Try a squeeze of lemon to brighten the raspberry flavor
– Make it extra creamy with whipped cream on top, or add a banana for sweetness
Raspberries have natural complexity—tart, floral, and slightly earthy. A great raspberry milkshake recipe doesn’t mask those notes; it enhances them.
High-impact flavor boosters
– Lemon (recommended): Add 1–2 teaspoons lemon juice. It brightens the flavor without turning the shake sour.
– Vanilla extract or vanilla bean paste: Even a small splash intensifies aroma and makes the shake taste richer.
– Sweetener strategy: Start with less (e.g., honey or sugar) because ice cream already provides sweetness. You can always add a little more after blending.
Popular variations (and what they change)
– Banana raspberry milkshake: Add 1/2 medium banana for natural sweetness and a thicker, creamier texture. Banana also reduces tartness.
– Mixed berry option: Combine raspberries with blackberries or strawberries for layered fruit notes.
– Berry shake “dessert-style”: Add 1–2 tablespoons of whipped cream into the blender for extra body (then top with more for presentation).
Professional palate approach
For business-style consistency—think catering or repeat batches—use a small “flavor test” standard: blend once, taste, then adjust sweetness and acidity in small increments. This prevents over-correction and protects texture.
Serving Ideas and Toppings
– Serve immediately in chilled glasses with a raspberry on the rim
– Top with whipped cream, extra raspberries, or a drizzle of berry syrup
Serving affects perception of creaminess. A thick raspberry milkshake can feel thinner if it warms or if toppings overwhelm the balance.
Serving recommendations
– Chill the glasses first. Cold glassware slows melt and maintains thickness.
– Pour immediately. Raspberry milkshakes are best fresh; the texture changes as the ice cream softens.
– Simple garnish: Add a raspberry on the rim or a few fresh berries floating on top.
Toppings that work (and why)
– Whipped cream: Adds lightness and reinforces the “classic milkshake” experience.
– Extra raspberries: Provides fresh aromatics and a contrasting bite.
– Berry syrup drizzle: Makes the shake look premium and intensifies fruit flavor. Use sparingly to keep the shake from becoming overly sweet.
If you’re serving a group, consider setting up a small topping bar (whipped cream, berries, and syrup). It boosts customization without slowing prep.
Storage and Make-Ahead Tips
– Best enjoyed right away for the thickest consistency
– If storing, refrigerate and re-blend with a splash of milk before serving
Raspberry milkshakes are not like smoothies; the ice cream structure changes quickly. However, you can still plan ahead with a practical approach.
What to expect when storing
– Refrigeration will cool the shake, but it can also cause mild thickening or partial separation.
– Flavor remains good, but the texture may lose some of its initial “silk” after time.
Best practice
– Make and serve immediately for the thickest, smoothest result.
If you must store
1. Pour into an airtight container and refrigerate.
2. When ready to serve, stir briefly or re-blend for 10–20 seconds with 1–2 tablespoons of milk to restore the original emulsion.
Time guidance (real-world)
– For best results, try to consume within 6–12 hours of making. Longer storage is more likely to impact texture.
A quick note for frozen berry enthusiasts: thawing at room temperature before blending can increase liquid content and thin the shake. Keep berries cold right up to mixing.
Raspberry milkshake success is a straightforward workflow: blend cold milk with raspberries first to create a uniform puree, then add vanilla ice cream and blend until thick and smooth. Use the thickness guidance to adjust with small increments, explore one variation to match your taste profile, and finish with chilled glasses and a thoughtful topping for maximum creaminess. Make one today—and serve it immediately to enjoy the full, fresh flavor and ideal texture.
References
- Google Scholar Google Scholar
https://scholar.google.com/scholar?q=raspberry+milkshake+recipe - Google Scholar Google Scholar
https://scholar.google.com/scholar?q=milkshake+raspberry+puree - Google Scholar Google Scholar
https://scholar.google.com/scholar?q=raspberry+milkshake+ingredients+nutrition - Milkshake
https://en.wikipedia.org/wiki/Milkshake - Raspberry
https://en.wikipedia.org/wiki/Raspberry - Coulis
https://en.wikipedia.org/wiki/Coulis - Ice cream
https://en.wikipedia.org/wiki/Ice_cream - Milk
https://en.wikipedia.org/wiki/Milk - Smoothie
https://en.wikipedia.org/wiki/Smoothie - https://www.britannica.com/topic/milkshake
https://www.britannica.com/topic/milkshake


