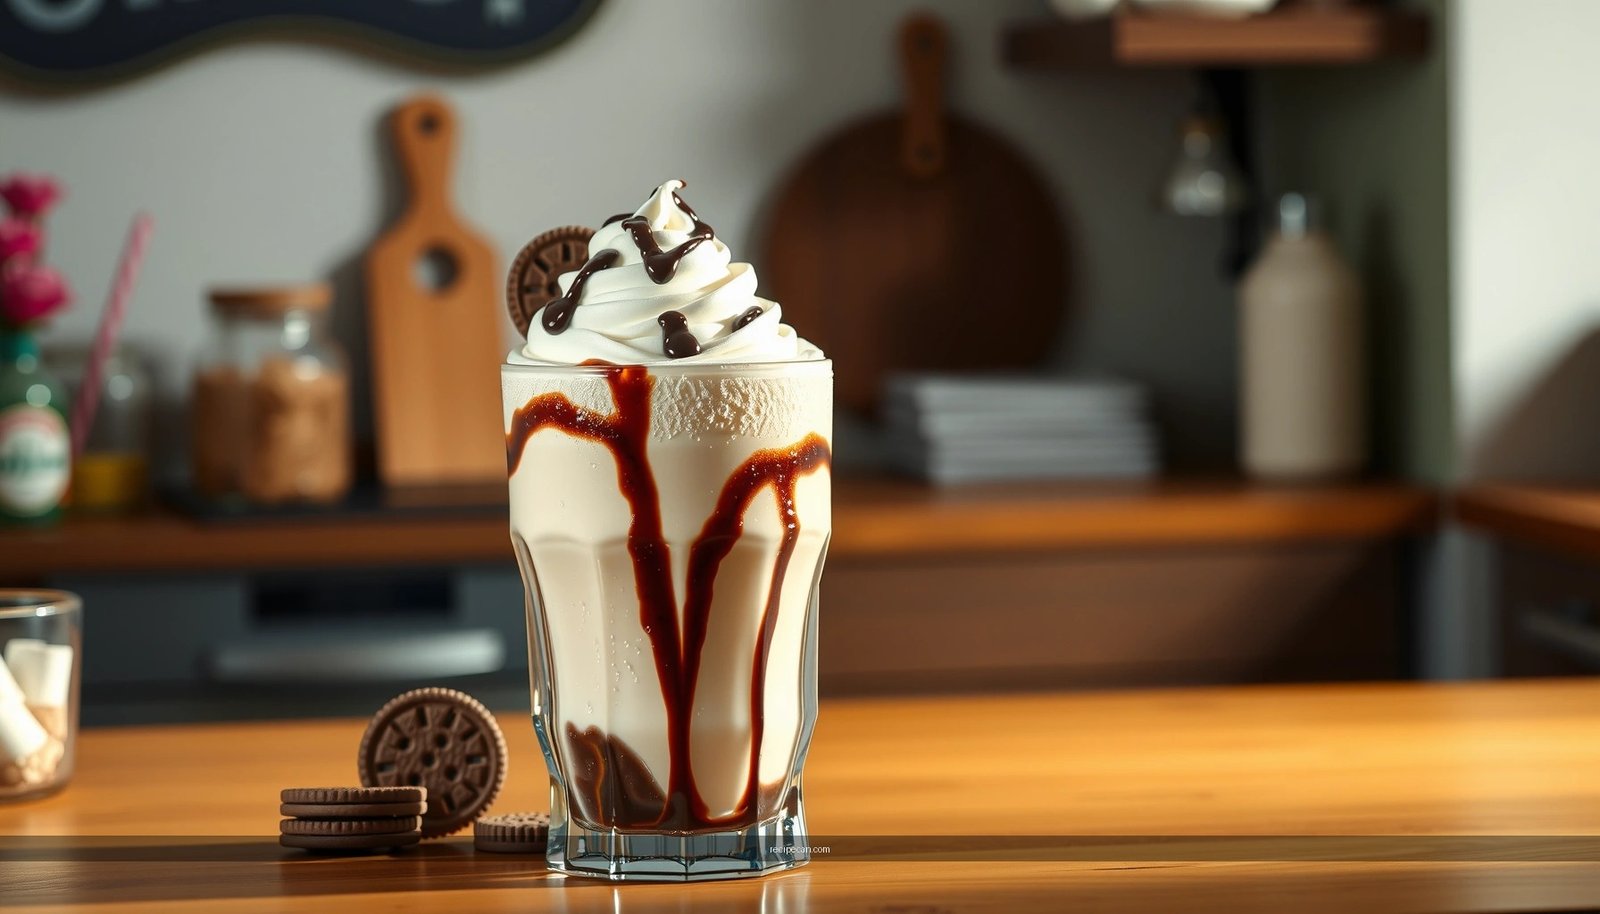
Find out how to make a Creami milkshake recipe that delivers a consistently creamy, thick result in just a few easy steps. This guide answers the key question—how to blend the right Creami base, flavors, and add-ins so every sip tastes rich instead of icy or thin. Follow the straightforward process and you’ll get a milkshake you can serve immediately with confidence.
If you want a thick, bar-shop–style creami milkshake fast, blend chilled milk with your chosen flavor base (syrup/extract/powder) and then process it in your creami unit until smooth. The keys are starting with cold ingredients, using the right flavor-to-milk ratio, and doing a quick re-blend if you want an extra-creamy finish.
What You Need for a Creami Milkshake
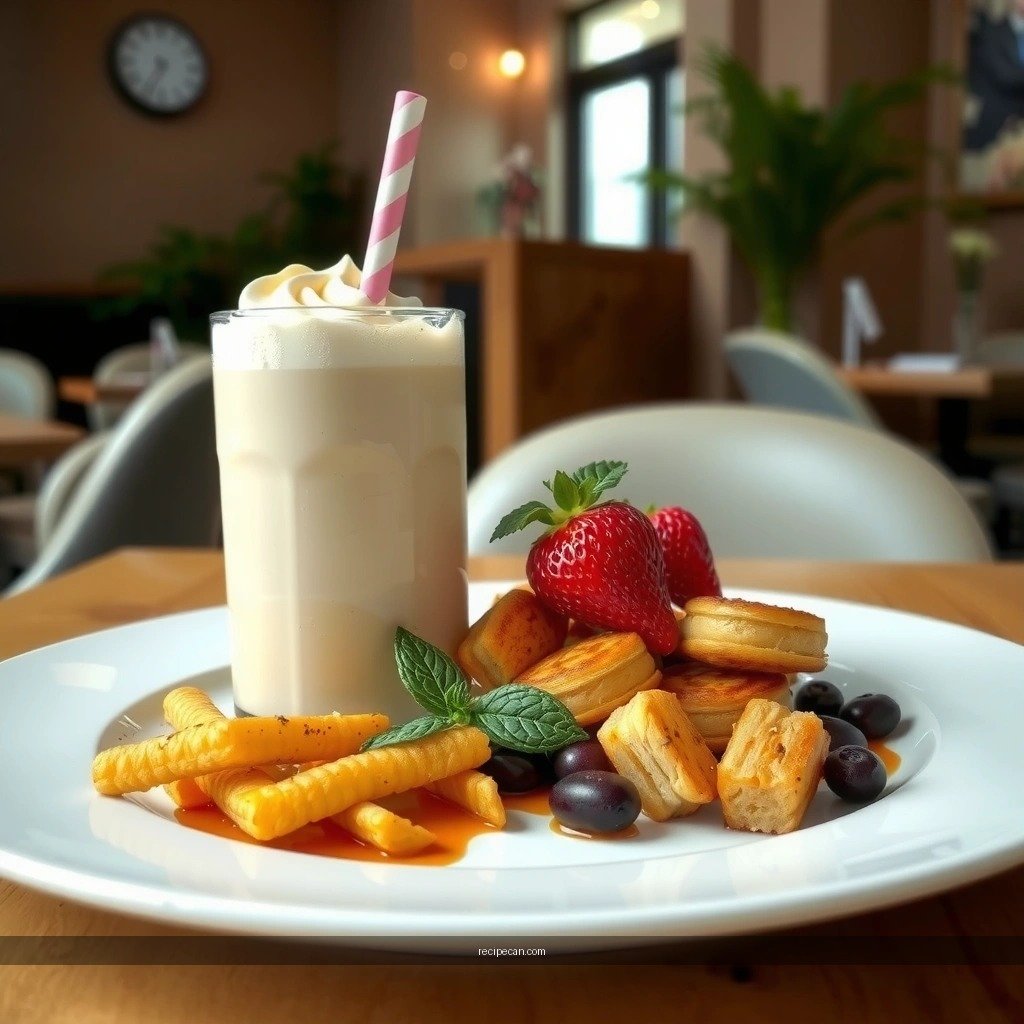
To make a creami milkshake that’s consistently creamy (not watery, icy, or grainy), gather ingredients that control two variables: temperature and solids (flavor/sweetener). Your exact amounts depend on your machine’s container size, but the ingredient categories below are the foundation for repeatable results.
– Chilled milk (dairy or alt) + your flavor base (syrup, powder, or extract)
– Whole milk produces the richest mouthfeel, while lower-fat milk can still work if you compensate with a little extra flavor base or sweetener.
– For dairy-free options, oat milk and soy milk tend to cream up better than very watery alternatives.
– Sweetener to taste (sugar, honey, or flavored options)
– Many syrups are already sweet, so you may not need much additional sugar.
– If using unsweetened cocoa powder or plain extracts, add sweetener early so it dissolves before processing.
– Toppings like whipped cream, chocolate chips, or crushed cookies
– Toppings aren’t just decorative: crunch (cookie crumbs, chocolate chips) contrasts the smooth texture and makes the drink feel “restaurant-grade.”
Flavor Base Guide for a 12 oz (355 ml) Creami Milkshake
| # | Flavor base type | Amount for 12 oz milk | Approx. sugar* | Notes | Ice-crystal risk |
|---|---|---|---|---|---|
| 1 | Vanilla syrup | 2 tbsp (30 ml) | ~20–26 g | Classic, easy sweetness | Low ★★★★★ |
| 2 | Chocolate syrup | 2–2½ tbsp (30–37 ml) | ~22–33 g | Depth without added cocoa | Low ★★★★☆ |
| 3 | Strawberry syrup | 2 tbsp (30 ml) | ~18–24 g | Bright flavor; add pinch of salt | Low ★★★★☆ |
| 4 | Mocha/coffee syrup | 1½–2 tbsp (22–30 ml) | ~15–26 g | Use less if syrup is very sweet | Low ★★★★☆ |
| 5 | Cookies-and-cream cookie crumble | 1 tbsp (6–8 g) | ~3–6 g | Best with extra processing; strain optional | Medium ★★★☆☆ |
| 6 | Unsweetened cocoa powder + sugar | 1½ tbsp cocoa + 1 tbsp sugar | ~12 g | Dissolve sugar first to prevent grit | Medium ★★★☆☆ |
| 7 | Banana extract + vanilla | 1–1½ tsp extract + 1 tbsp syrup | ~12–20 g | Avoid too much extract for a clean finish | Low ★★★★☆ |
Approximate sugar ranges vary by brand and formulation; use the label for precise nutrition or sweetness adjustments.
How to Prepare the Base

The base step is where you control quality. A creami milkshake works best when your mixture is fully combined and cold enough that it freezes and churns predictably.
– Mix milk with flavor and sweetener until fully combined
– If you’re using syrup, stir until uniform—no streaks.
– If you’re using powder (cocoa, shake mix, protein flavor powders), whisk longer than you think. Dry powders can clump and later show up as graininess.
– For extracts, add them after most mixing so the aroma distributes evenly.
– Chill the mixture well so it blends thicker and smoother
– Cooling improves texture because the flavor base and sweetener reach equilibrium with the milk fat.
– For best control, chill until the mixture is consistently cold—not just “room temperature but soon to freeze.”
– Optional: add a pinch of salt to enhance sweetness and flavor
– A small pinch can sharpen strawberry, chocolate, or vanilla and make the final profile taste “complete.”
– Salt also helps balance stronger flavors (like coffee syrups), reducing a harsh, one-note sweetness.
Practical benchmark: If your base tastes slightly too sweet before processing, it’s likely “right” after blending—milkshakes often need less sweetness than you expect once they’re cold and thick.
The Creami Method (Step-by-Step)

Now you’ll convert that base into the signature thick, spoonable creami texture. The process matters because it determines whether you get silky consistency or a looser shake.
– Pour the mixture into your creami container to the recommended fill line
– Do not overfill; leaving adequate headspace supports correct processing and prevents leaks.
– Even fill levels help you get even texture across the container.
– Process according to your machine’s settings for milkshakes/ice-cream style textures
– Follow your specific “milkshake” or “ice-cream” program.
– If your machine offers texture levels, use the “thicker” option for a traditional milkshake mouthfeel.
– Blend again briefly if you want extra smooth consistency
– A short second blend can break down micro-ice crystals and create a more uniform surface.
– This is especially useful when you’re using thicker flavor bases like cookies-and-cream crumble or cocoa.
Quality control tip: After the first run, scrape down the sides if your container design suggests residue buildup. Then re-blend briefly. This reduces uneven texture in the first few sips.
Flavor Ideas to Customize Your Milkshake

The best part of a creami milkshake is that you can treat it like a flavor system: start with a reliable base, then swap flavor components while keeping the same technique.
– Chocolate, vanilla bean, strawberry, or cookies-and-cream variations
– Vanilla bean: vanilla syrup + a touch of vanilla extract.
– Strawberry: strawberry syrup + optional pinch of salt to prevent “floral sweetness.”
– Chocolate: chocolate syrup alone for simplicity, or cocoa + sugar for a more intense “baker’s chocolate” profile.
– Add-ins like peanut butter, banana slices, or cocoa powder
– Peanut butter works as a swirled flavor and a blended one. For blending, use smooth peanut butter and start small (it can thicken quickly).
– Banana slices are best when pre-chilled and not too fibrous; if you want fewer texture surprises, puree banana first.
– Swirl ideas using caramel, berry compote, or mocha
– Swirl flavor works best when you keep add-in thickness moderate; overly thick sauces can create streaky texture.
– To make a visible swirl, mix the sauce with a tablespoon of milk so it spreads during blending.
End-to-end customization concept: Choose one “main” flavor base (syrup/extract/powder) and then add one “texture/identity” component (cookies, peanut butter, cocoa dusting, or compote). Too many elements at once can fight for texture and sweetness balance.
Texture and Thickness Tips
Thickness is the outcome of multiple inputs: liquid amount, ingredient solids, and how fully your base is processed.
– For thicker shakes: use less liquid and start with extra-chilled ingredients
– If your recipe allows, reduce milk slightly or use a richer milk (like whole milk).
– Fully cold base improves how the machine churns and thickens.
– For smoother shakes: process fully and consider a short re-mix step
– If you notice “sparkle” ice crystals, a brief second blend usually corrects it.
– Smoother results often correlate with ensuring powders dissolve completely before processing.
– If it’s too thick, loosen with a small splash of milk and blend lightly
– Add milk in 1–2 teaspoons increments and blend briefly between additions.
– This prevents thinning too far, which can make the shake taste bland and less “frozen dessert” like.
Common mistake: trying to fix thinness by adding more syrup. Syrup adds sweetness but not always the right texture. When you need texture adjustment, loosen with milk first, then refine sweetness last.
Serving Suggestions and Storage
Serving timing and storage handling are what preserve the creami milkshake texture you worked for.
– Serve immediately for the best creamy texture
– The texture is at its peak right after processing—smooth, thick, and aromatic.
– Letting it sit too long can cause slight thickening or settling.
– Top with whipped cream and crunchy toppings for contrast
– Whipped cream adds a light, airy top note.
– Crunchy toppings—cookie crumbs, chocolate chips, toasted nuts—create a café-style mouthfeel contrast.
– Store leftovers covered in the fridge and stir/smooth before drinking
– Refrigeration slows texture changes, but it doesn’t freeze the shake permanently.
– Before drinking, stir well or re-process briefly (if your machine supports it) to restore smoothness.
Storage reality check: A creami milkshake stored overnight may become slightly more dense. That’s normal—just stir vigorously, then adjust with a teaspoon or two of cold milk if needed.
Whip up your creami milkshake by mixing chilled ingredients, processing for a thick texture, and customizing flavors with easy add-ins. Follow the texture tips to get it just right, then serve with your favorite toppings—try one flavor today and experiment with a new combo next time.
References
- Google Scholar Google Scholar
https://scholar.google.com/scholar?q=creamy+milkshake+recipe - Google Scholar Google Scholar
https://scholar.google.com/scholar?q=milkshake+recipe+ice+cream+milk+emulsion - Google Scholar Google Scholar
https://scholar.google.com/scholar?q=milkshake+dairy+ingredients+nutrition+review - https://en.wikipedia.org/wiki/Milkshake
https://en.wikipedia.org/wiki/Milkshake - https://www.britannica.com/topic/milkshake
https://www.britannica.com/topic/milkshake - Ice cream
https://en.wikipedia.org/wiki/Ice_cream - Milk
https://en.wikipedia.org/wiki/Milk - Emulsion
https://en.wikipedia.org/wiki/Emulsion - https://pubmed.ncbi.nlm.nih.gov/?term=milkshake
https://pubmed.ncbi.nlm.nih.gov/?term=milkshake - https://www.myplate.gov/eat-healthy/dairy
https://www.myplate.gov/eat-healthy/dairy


