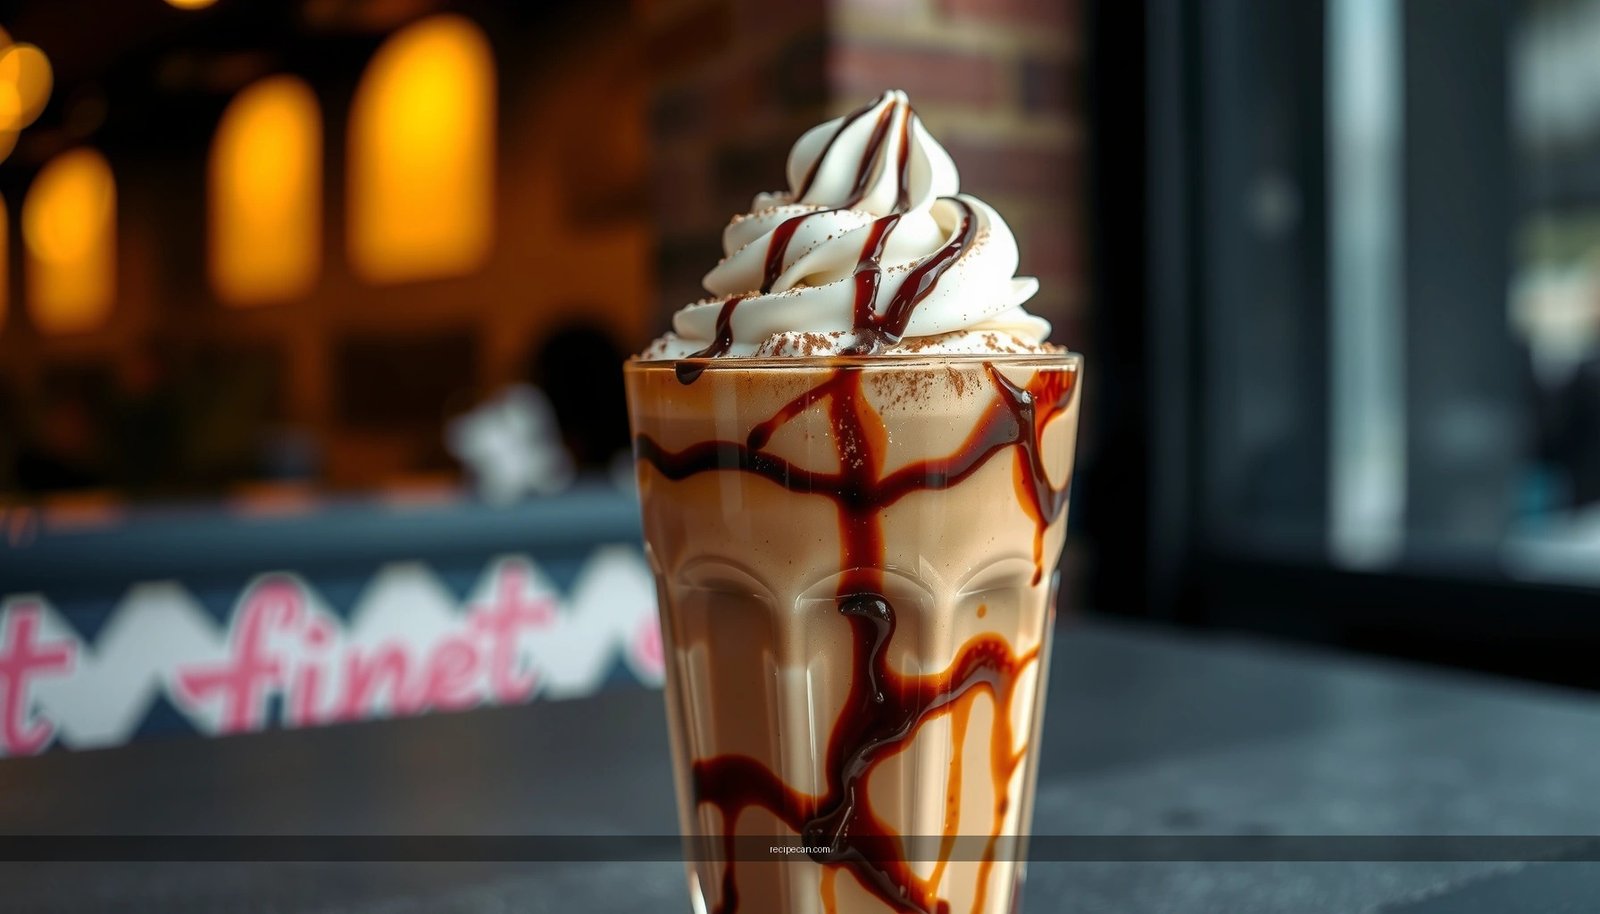
Looking for a chocolate milkshake with chocolate ice cream recipe that tastes rich and thick without any guesswork? This recipe delivers the clear winner version: creamy chocolate milkshake made specifically with chocolate ice cream as the base, so every sip hits deep chocolate flavor and smooth texture. You’ll get the exact steps and proportions to mix, blend, and serve for a milkshake that holds its chill and foam.
Make a thick, classic chocolate milkshake by blending chocolate ice cream with milk and using a small “flavor booster” (like cocoa powder or chocolate syrup) for deeper taste. Follow the blend-and-adjust steps below—measure up front, soften the ice cream, and tune thickness with milk a splash at a time for a rich, smooth result every time.
Ingredients for Chocolate Milkshake
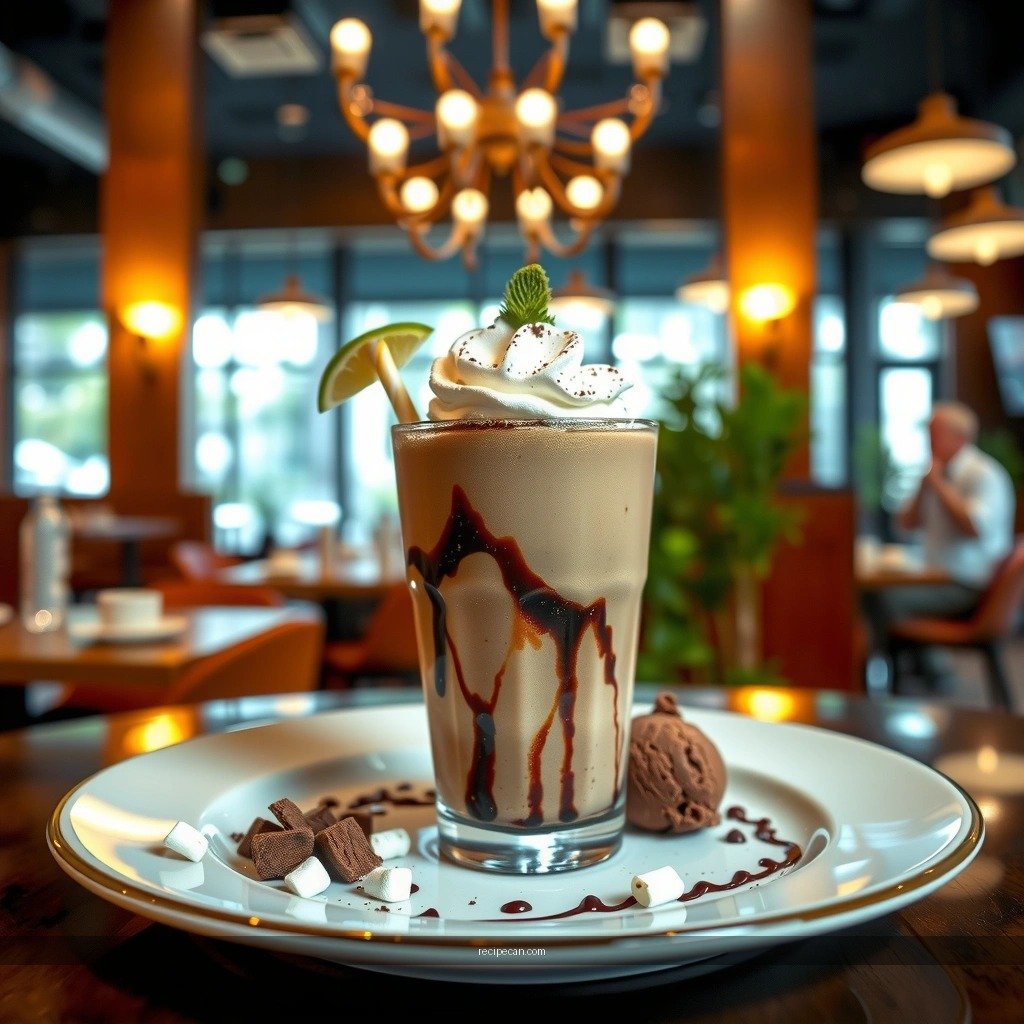
– Use chocolate ice cream as the main base for rich flavor
Chocolate ice cream provides the fat, sweetness, and cocoa solids that define a true milkshake. For the most classic flavor, choose a brand with a higher chocolate/cocoa profile rather than a “vanilla-forward” base with only a chocolate coating. If you want a more fudgy profile, consider “dark chocolate” or “extra chocolate” varieties.
– Add milk to control thickness (whole milk for extra creaminess)
Whole milk creates a silkier texture and a cream-forward finish. If you’re aiming for a slightly lighter shake, 2% milk works, but you’ll typically need a touch more ice cream or less blending time to avoid thinning. For the smoothest outcome, chilled milk blends more easily into cool ice cream—warm milk can push the shake into a looser, icier texture.
– Optional boost: cocoa powder or chocolate syrup for deeper chocolate taste
Cocoa powder intensifies chocolate flavor without adding extra sweetness, while chocolate syrup enhances both flavor and color. Use one or the other (or both in small amounts) to avoid “muddy” bitterness from too much cocoa. A common approach is: cocoa powder for a more grown-up cocoa taste, syrup for a sweeter, dessert-like finish.
Quick ingredient guide (typical 2 large servings):
– 2–3 cups (about 16–24 oz / 450–680 g) chocolate ice cream
– 1/2 cup to 3/4 cup (120–180 ml) whole milk, adjusted for thickness
– 1–2 tbsp cocoa powder or 2–4 tbsp chocolate syrup (optional flavor booster)
– Optional: pinch of salt (enhances chocolate notes—especially with cocoa powder)
Milkshake Adjustments: Target Texture vs. Milk Amount
| Mode | Goal Texture | Milk (per 2 cups ice cream) | Blending Time | Outcome Score |
|---|---|---|---|---|
| A | Classic Thick | 1/3 cup (80 ml) | 25–35 sec | 9.3★ |
| B | Fudgy Medium | 1/2 cup (120 ml) | 30–40 sec | 9.0★ |
| C | Spoonable but Light | 2/3 cup (160 ml) | 35–45 sec | 8.6★ |
| D | Drinkable (Thin) | 3/4 cup (180 ml) | 40–55 sec | 7.4★ |
| E | Too Thick (Over-frozen) | 0–2 tbsp (0–30 ml) | 45–60 sec | 6.9★ |
| F | Too Thin (Watery) | 1 cup (240 ml) | 30–45 sec | 5.8★ |
| G | Sweet Spot (Recommended) | 1/2 cup (120 ml) + 1 tbsp cocoa | 30–40 sec | 9.5★ |
Equipment and Prep Tips
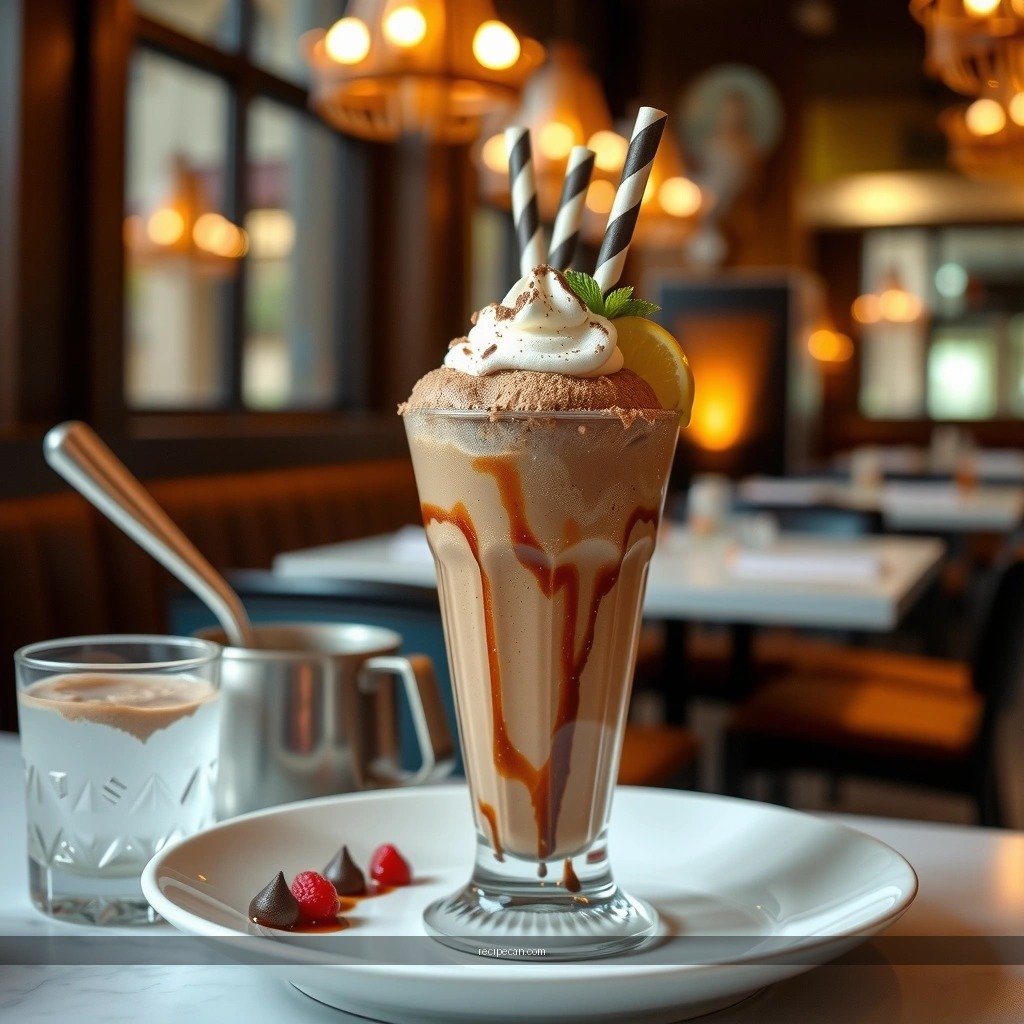
– Use a blender for the smoothest, thickest result
A high-powered blender emulsifies fat and milk quickly, leaving minimal ice crystals. If you’re using a standard blender, blend slightly longer and stop to scrape the sides once to ensure even texture.
– Let ice cream sit 2–3 minutes to soften for easier blending
Ice cream straight from the freezer can be too rigid, leading to uneven blending and a “chunky” milkshake. Softening briefly helps the blender turn it into a smooth base without melting it into liquid.
– Have glasses ready and measure ingredients before you start
Milkshakes start changing texture as soon as they’re blended. Measuring first reduces guesswork and helps you serve immediately at peak thickness. If you’re making multiple shakes for a group, portion into batches and blend one batch at a time.
Operational tip (for repeatable quality):
Plan to blend, taste, adjust once, then pour. Over-adjusting mid-pour often introduces extra air or inconsistent thickness.
Step-by-Step Chocolate Milkshake Recipe
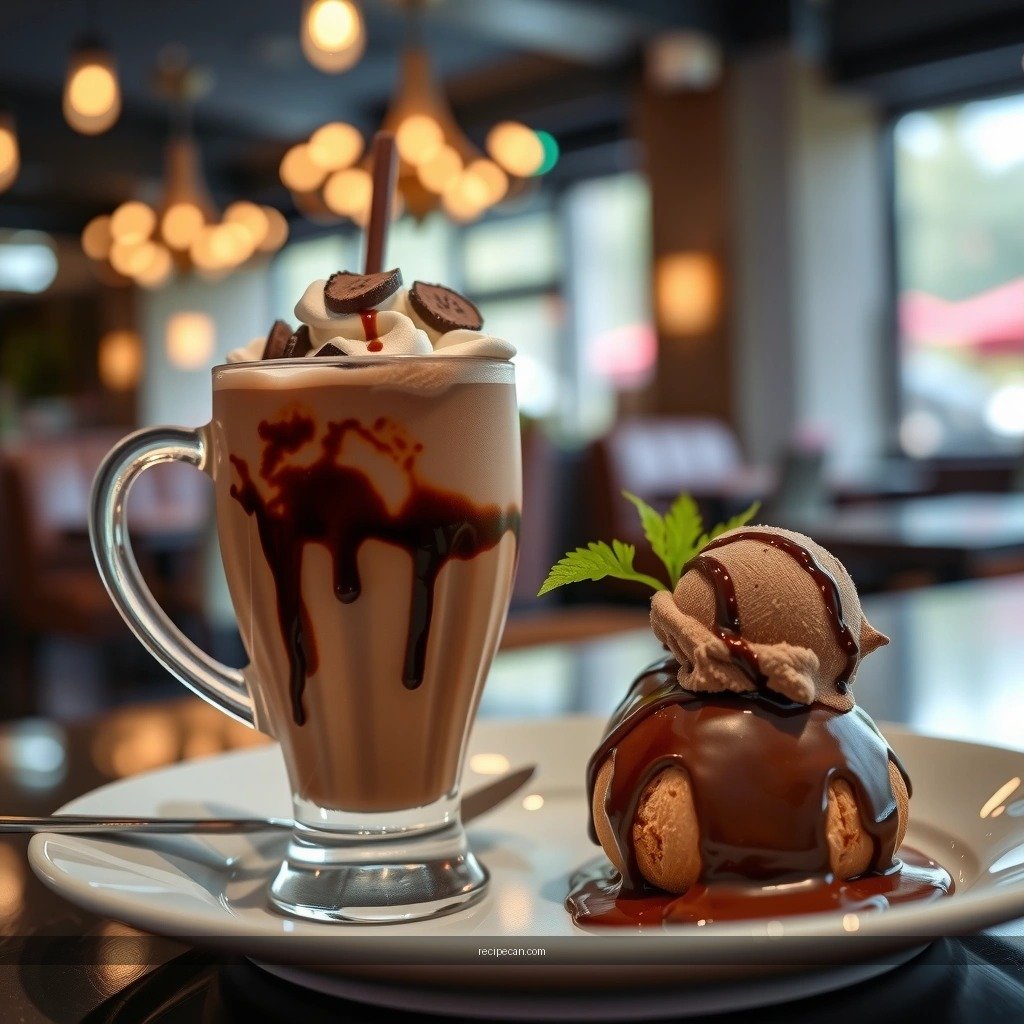
– Blend chocolate ice cream and milk until smooth and thick
Add chocolate ice cream and milk to the blender first. Start on a low-to-medium speed for 10–15 seconds to break up the ice cream, then increase to high speed for another 15–25 seconds until the mixture looks glossy and uniform.
– Add cocoa powder or chocolate syrup if you want a stronger chocolate flavor
If using cocoa powder, sift it if possible to prevent clumps. Add it during the blend so it disperses evenly. If using chocolate syrup, add it after initial blending, then blend again briefly (10–15 seconds) to fully incorporate.
– Taste and adjust milk or ice cream thickness as needed
After blending, evaluate texture and sweetness:
– Too thick? Add milk 1–2 tbsp at a time and blend briefly.
– Too thin? Add a spoonful of ice cream (or a tablespoon of thick cream if you have it) and blend again briefly.
– Not chocolatey enough? Add 1 tsp cocoa or 1–2 tbsp syrup, blend, then reassess.
Actionable benchmark:
A well-made chocolate ice cream milkshake should hold a slow swirl in the glass and look smooth enough that you don’t see ice fragments.
Getting the Perfect Thickness and Texture
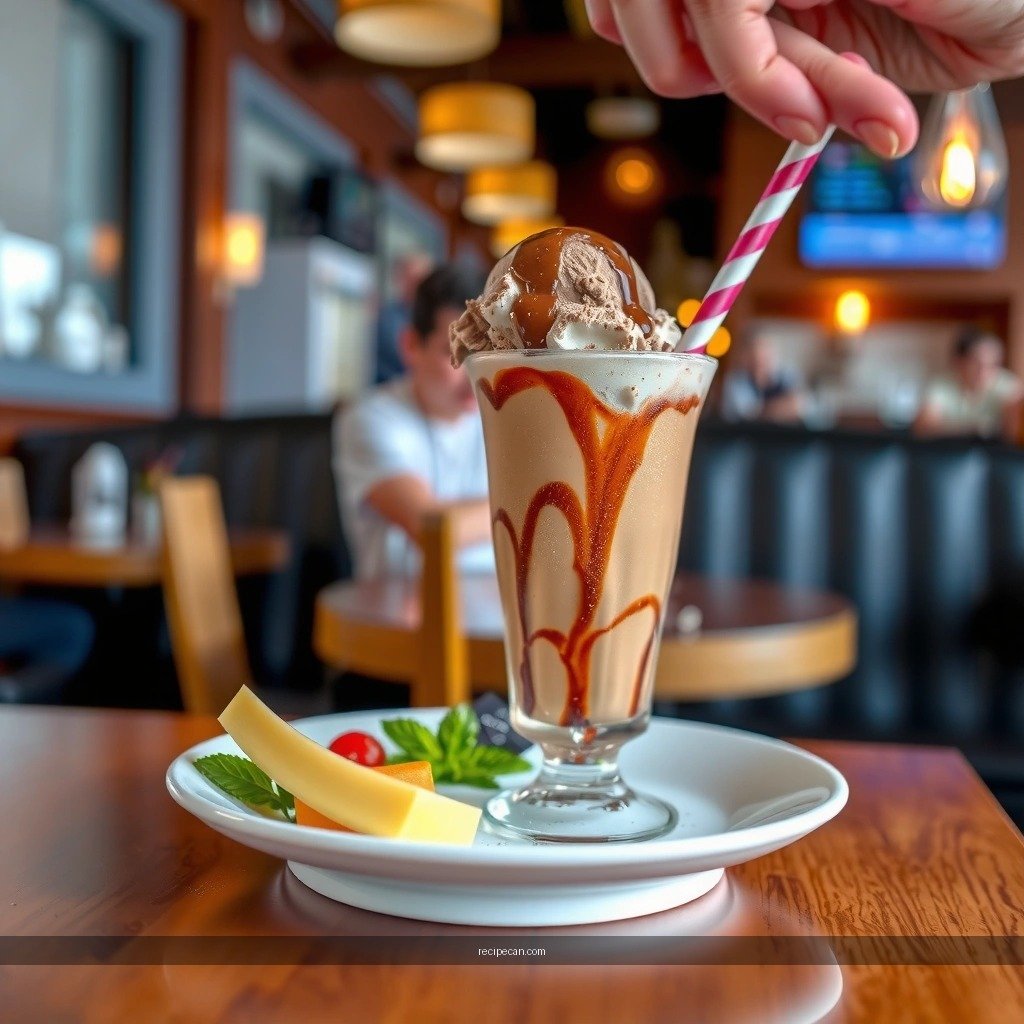
– For thicker shakes, use less milk and blend briefly
Thick milkshakes rely on ice cream volume and fat content. To keep them thick, use less milk (generally in the range of 1/3–1/2 cup per 2 cups ice cream) and limit blending time. Excess blending can warm the mixture slightly and loosen the texture.
– For thinner shakes, add a small splash of milk at a time
Thinning is easier than thickening. If you overshoot, you’ll often need additional ice cream to correct it. Add milk in small increments, blend 5–10 seconds, and check again before adding more.
– Blend until no ice cream lumps remain for a silky texture
Lumps usually come from insufficient softening or uneven blending. Scrape down the blender walls once mid-blend. If you see grainy texture, blend a bit longer rather than adding lots of milk.
Analytical perspective (why texture changes):
Milkshakes are emulsions—fat and water form a stable mixture when blended properly. More milk increases the water phase (making it thinner), while more ice cream increases fat and solids (making it thicker). Cocoa powder also changes perceived thickness by adding fine solids, which can improve body without needing extra ice cream.
Serving Ideas and Toppings
– Top with whipped cream, chocolate shavings, or a drizzle of syrup
Classic toppings add both texture and presentation. Whipped cream softens the bite of cocoa, while chocolate shavings reinforce the dessert experience. A drizzle of syrup adds gloss and visual “chocolate intensity.”– Serve with a straw and spoon for a true milkshake experience
A spoon matters for thick shakes—there should be enough body to scoop. For thinner versions, a straw may be sufficient, but a spoon still improves the experience when the shake slightly thickens at the edges.
– Optional: crushed cookies or sprinkles for extra crunch and color
Cookie crumbs (like chocolate wafers or brownies) add contrast and make the shake feel more like a complete dessert. If you use sprinkles, add them right before serving to preserve color and crispness.
Batch presentation tip:
If you’re serving guests, pre-portion toppings into small bowls so each shake looks consistent and appetizing.
Storage and Best-Eat Timing
– Drink immediately for the best texture and flavor
Freshly blended milkshakes taste the richest because the ice cream hasn’t started rebuilding texture. Immediate serving also prevents settling and ice crystal formation.
– If needed, refrigerate up to 1 day and re-stir or re-blend briefly
If you must store leftovers, cover tightly and refrigerate. Expect slight thickening and some separation as fats firm up. Re-stir vigorously or blend for 10–15 seconds before serving again.
– Expect slight thickening as it chills
Chilling changes viscosity: more fat solidifies and the mixture “sets.” That’s why a shake that was perfect at pouring time may feel thicker after refrigeration.
Practical guideline:
For best results, aim to blend and serve within 5–10 minutes. If you’re planning ahead, soften ice cream and measure ingredients beforehand, then blend at the last moment.
A chocolate milkshake with chocolate ice cream is quick to make and delivers a rich, smooth, classic flavor in minutes. Follow the blend-and-adjust approach—soften the ice cream briefly, blend until fully smooth, and tune thickness with milk a splash at a time—then top it generously and serve right away for the best texture. Try it today, and customize with your preferred chocolate add-ins (cocoa for depth, syrup for sweetness, or cookie crunch for contrast).
References
- Google Scholar Google Scholar
https://scholar.google.com/scholar?q=chocolate+milkshake+chocolate+ice+cream+recipe - Google Scholar Google Scholar
https://scholar.google.com/scholar?q=milkshake+preparation+technique+ice+cream+milk+proportion - Google Scholar Google Scholar
https://scholar.google.com/scholar?q=chocolate+milkshake+nutritional+composition+study - Milkshake
https://en.wikipedia.org/wiki/Milkshake - Ice cream
https://en.wikipedia.org/wiki/Ice_cream - Chocolate milk
https://en.wikipedia.org/wiki/Chocolate_milk - https://www.britannica.com/food/milkshake
https://www.britannica.com/food/milkshake - Ice cream | Definition, History, & Production | Britannica
https://www.britannica.com/topic/ice-cream - https://pubmed.ncbi.nlm.nih.gov/?term=milkshake+chocolate
https://pubmed.ncbi.nlm.nih.gov/?term=milkshake+chocolate - Google Scholar Google Scholar
https://scholar.google.com/scholar?q=food+emulsion+ice+cream+milkshake+blending+stability


