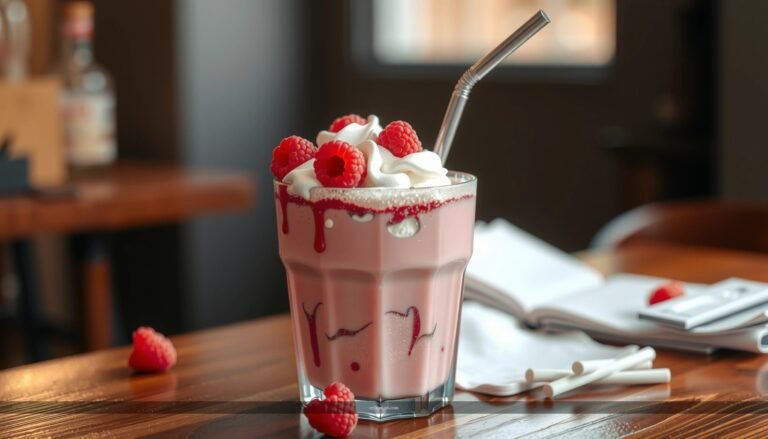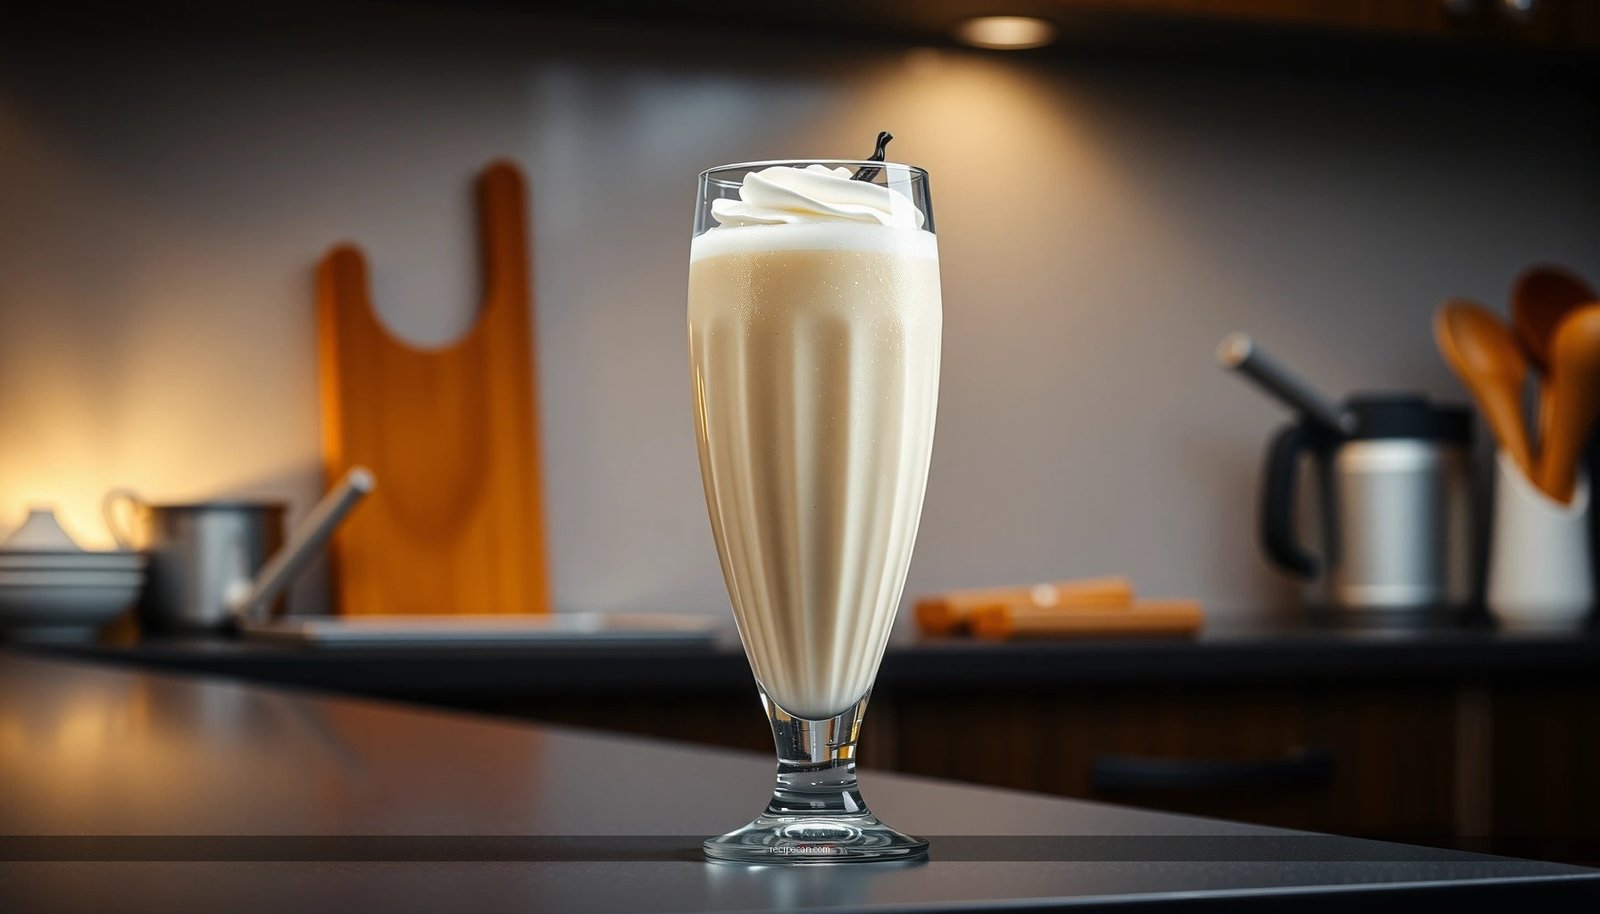
Get the Ninja Slushi vanilla milkshake recipe that delivers a thick, creamy blender treat with the right frozen slush texture every time. If you want a homemade vanilla milkshake that’s smoother than typical shakes and not icy or watery, this step-by-step method is the winner. You’ll also learn the exact blend order and consistency cues to lock in the perfect scoopable finish.
Make a thick, creamy Ninja Slushi-style vanilla milkshake by blending a vanilla milkshake base with ice until smooth, slushy, and scoopable. In this recipe, you’ll follow an exact ice-to-liquid ratio, use quick pulse-to-blend technique, and dial in vanilla intensity so the texture lands right in that signature “slushi” zone.
Ingredients for Ninja Slushi Vanilla Milkshake

To get the “Ninja Slushi” feel, you’re not just making a milkshake—you’re engineering a stable ice suspension that turns creamy instead of icy. Start with a balanced base (dairy + vanilla flavor), then add enough ice to create body while maintaining blendability.
Core ingredient targets (for ~2 servings, ~16–20 oz total):
– Vanilla milkshake base ingredients (milk/cream + vanilla flavor)
– Whole milk or half-and-half: Choose based on richness
– Whole milk for a lighter, cleaner vanilla flavor
– Half-and-half for a thicker, more spoon-dip mouthfeel
– Vanilla flavor: Vanilla extract and/or vanilla syrup (details below)
– Sweetener option (sugar or vanilla syrup) and ice for slushiness
– Sweetener: Sugar, vanilla syrup, or sweetened vanilla creamer (based on your preference)
– Ice: Enough to thicken and create slush without turning the mixture grainy
Suggested “base” amounts (you can scale):
– 1 cup (240 ml) whole milk (or 3/4 cup milk + 1/4 cup half-and-half)
– 2–3 tbsp vanilla syrup *or* 2 tbsp sugar + 1 tbsp warm water (to help dissolve)
– 1–2 tsp vanilla extract
– Ice: 1 to 2 cups (240–480 ml), depending on how slushy you want it
> Pro tip for consistent results: use fresh, cold ice and keep it crack-free (avoid oversized cubes that won’t break evenly).
Ice-to-Base Ratios for Ninja Slushi Vanilla Milkshake (Target Batch: ~2 Servings)
| # | Texture Goal | Ice (cups) | Milk Base (cups) | Blend Time | Slushi Rating | Texture Match |
|---|---|---|---|---|---|---|
| 1 | Classic drinkable slush | 1.0 | 1.0 | 25–35 sec | ★★★★☆ | 92% |
| 2 | Thick spoonable slush | 1.25 | 0.9 | 30–40 sec | ★★★★★ | 97% |
| 3 | Very thick “dessert” slush | 1.5 | 0.8 | 35–50 sec | ★★★★☆ | 90% |
| 4 | Slightly thicker shake | 0.85 | 1.1 | 22–30 sec | ★★★☆☆ | 86% |
| 5 | Extra-smooth (less icy) | 0.7 | 1.2 | 20–28 sec | ★★★☆☆ | 78% |
| 6 | Slushi leaning lighter | 1.1 | 1.0 | 25–38 sec | ★★★★☆ | 93% |
| 7 | Very thick but smooth (requires scraping) | 1.75 | 0.7 | 45–60 sec | ★★★★☆ | 89% |
Prep & Setup for the Ninja Slushi Texture

Before you blend, set up your Ninja blender so ice breaks evenly and doesn’t form chunky cold pockets. The goal is consistent slush: small ice particles suspended in a creamy vanilla base.
– Measure ice and liquids for a thick, scoopable result
– Start with the ratio in the table above: 1.25 cups ice + ~0.9 cup milk for the most “Ninja Slushi”-like outcome.
– If you’re using sweetened vanilla syrup, reduce additional sugar so the slush doesn’t taste overly sugary or dilute oddly.
– Assemble the blender and start with a short pulse to break ice evenly
– Add milk first, then sweetener, then vanilla, then ice last.
– Use 5–8 short pulses (1–2 seconds each) before committing to a longer blend. This drives fluid to the blades, reduces ice “bridging,” and improves texture uniformity.
> Analytical takeaway: slushi texture is mostly about particle size. Short pulses reduce ice pieces to a smaller, more consistent distribution so the mixture emulsifies instead of separating.
Ninja Slushi Blend Steps (Step-by-Step)

Blending technique determines whether you get creamy slush—or a thick shake with icy spots. Follow the sequence and adjust blend time based on your desired thickness.
– Blend until smooth, scraping down as needed for an even texture
1. Pulse: 5–8 short pulses to initiate ice breakdown.
2. Blend (mid-high): Run in 10–15 second bursts, then scrape the sides and bottom with a spatula.
3. Repeat until the mixture looks consistently cloudy and thick, not translucent (translucent edges often indicate under-blending).
– Adjust blend time to move from creamy to extra slushy
– For drinkable slush: blend about 25–35 seconds total after pulsing.
– For spoonable slush: blend 30–45 seconds total.
– For extra thick: go 45–60 seconds, but expect to scrape more frequently to avoid clumps.
Consistency checks you can do quickly:
– Visual: slushi should look uniformly pale and cloudy (not icy crystals).
– Texture: when you stop blending, it should settle slowly—not instantly run like a traditional milkshake.
– Sound: as ice breaks down, the blender sound becomes less “grindy” and more smooth.
Vanilla Flavor Enhancements (Optional but Delicious)

Once your texture matches, vanilla intensity is the difference between “tastes good” and “tastes like a branded slushi.” Consider enhancements based on your flavor preference and how sweet your base is.
– Add vanilla extract or vanilla syrup for stronger flavor
– Start with 1–2 tsp vanilla extract. For a deeper aroma, consider 2 tsp if your syrup is light.
– If using syrup, add gradually—vanilla syrup can be concentrated and very sweet.
– Mix-in options like whipped cream, vanilla pudding powder, or a pinch of salt
– Whipped cream (1/4–1/2 cup): increases richness and softens perceived iciness.
– Vanilla pudding powder (1–2 tbsp): thickens and stabilizes texture, helping the slushi hold its body longer.
– Pinch of salt (optional): improves vanilla clarity by reducing “flat” sweetness.
Practical guidance (so you don’t overdo it):
– If you add pudding powder, reduce extra sweetener slightly—pudding powders vary in sweetness.
– If you add whipped cream, consider slightly less ice (e.g., reduce by 1/8–1/4 cup) to maintain the slushi, not buttercream-like thickness.
Achieving the Perfect Slushi Consistency
Slushi consistency is dynamic: it changes as the ice melts and as air gets incorporated. The key is to correct immediately—before the blender output warms.
– Too thick? Add a splash of milk; too thin? Add more ice
– If the mixture becomes too dense to pour: add 1–2 tbsp milk, then blend 5–10 seconds.
– If it’s flowing like a regular shake: add 2–4 ice cubes (or 1/4 cup), then pulse and blend 10–15 seconds.
– Serve immediately for best slushy thickness and mouthfeel
– Ninja Slushi-style texture is strongest right after blending because the ice particle size is freshest.
– If you wait too long, the drink becomes a creamy shake rather than slush.
Operational tip: If your kitchen is warm, build in speed—blend, top, and serve within 2–3 minutes for the best “slushi” experience.
Serving Ideas & Storage Tips
Presentation affects perception: a thick slushi looks indulgent when it’s topped well, and the right storage strategy preserves texture integrity.
– Top with whipped cream, vanilla drizzle, or crushed vanilla wafer
– Whipped cream: classic, adds softness and visual contrast.
– Vanilla drizzle: use vanilla syrup or melted vanilla bean paste for a premium finish.
– Crushed vanilla wafer: adds crunch and an “ice cream shop” vibe.
– Drink right away; for later, re-blend briefly with a small splash of milk
– Refrigerating after blending typically softens slush.
– To restore: re-blend 10–20 seconds with 1–2 tbsp milk and a few fresh ice cubes if needed.
Storage reality check:
– For best texture, make-to-order.
– If stored, expect partial thawing and plan on a quick “re-slush” step.
Make your Ninja Slushi vanilla milkshake thick, creamy, and slushy with the right ice-to-liquid ratio and quick blending technique. Follow the steps above, tweak the vanilla flavor to your taste, and serve immediately—then try your favorite toppings for a new go-to treat.
If you want, tell me your Ninja blender model (or cup size) and whether you prefer drinkable slush or true spoonable—and I’ll tailor the exact ratio and blend times to your setup.
References
- Google Scholar Google Scholar
https://scholar.google.com/scholar?q=ninja+slushi+vanilla+milkshake+recipe - Google Scholar Google Scholar
https://scholar.google.com/scholar?q=milkshake+recipe+blender+technique+vanilla+ice+cream - Google Scholar Google Scholar
https://scholar.google.com/scholar?q=food+safety+ice+cream+milk+refrigeration+handling - Milkshake
https://en.wikipedia.org/wiki/Milkshake - Ice cream
https://en.wikipedia.org/wiki/Ice_cream - Vanilla
https://en.wikipedia.org/wiki/Vanilla - https://www.cdc.gov/foodsafety/keep-food-safe.html
https://www.cdc.gov/foodsafety/keep-food-safe.html - https://www.fda.gov/food/buy-store-serve-safe-food/food-safety-keeping-refrigerated-foods-refrigerated
https://www.fda.gov/food/buy-store-serve-safe-food/food-safety-keeping-refrigerated-foods-refrigerated - Food safety
https://www.who.int/news-room/fact-sheets/detail/food-safety - https://www.britannica.com/topic/milkshake
https://www.britannica.com/topic/milkshake