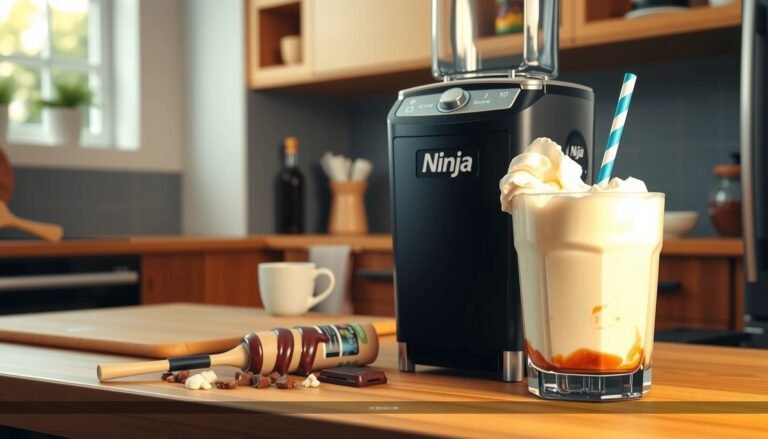
If you’re searching for the best way to make a Milkshake Recipe Ninja Slushie at home, this easy blend-at-home guide gives you a clear, repeatable winning formula. You’ll get the exact approach for turning your ingredients into that thick, slushy milkshake texture using a Ninja blender—without guesswork. Find out how to nail the consistency, speed, and mix-ins so every batch comes out smooth and cold.
Make a Ninja Slushie by blending cold milkshake ingredients with ice (or frozen fruit) until thick and smooth—then serve immediately for the best texture. This guide walks you through an easy milkshake recipe designed to work in a Ninja blender, with practical mix-in ideas, consistency controls, and topping suggestions so you can reliably replicate that “shop-style” slushie at home.
Essential Milkshake Ingredients for a Ninja Slushie

A great Ninja Slushie starts with a small set of ingredients that behave predictably in high-power blending. The goal is to build enough cold mass to thicken while keeping the mixture smooth instead of icy or grainy.
Start with a cold base.
– Use cold milk (whole milk works especially well for classic creaminess) or your preferred dairy alternative (oat milk, almond milk, or coconut milk).
– For best results in a Ninja blender, chill your base beforehand; a colder liquid delays melting and improves the “slush” texture.
Add ice (or frozen fruit) for thickness.
– Traditional slushie thickness comes from ice, but frozen fruit (like strawberries, mango, or berries) can deliver both flavor and body.
– Keep in mind: frozen fruit adds water as it blends, so you may need a slightly heavier ratio of fruit/ice to liquid to maintain a thick consistency.
Optional ingredients that tighten texture and flavor.
– Sweetener/flavor: vanilla extract, flavored syrups, sugar/honey, or condensed milk can boost flavor intensity.
– Stabilizers (optional but effective): a spoon of Greek yogurt or a splash of heavy cream improves mouthfeel and helps the mixture stay creamy rather than separating.
Ninja Slushie Ingredient Ratios for Texture Targets (1 Serving)
| # | Texture Goal | Milk (ml) | Ice/Frozen (g) | Sweetener (tsp) | Slushie Success Score |
|---|---|---|---|---|---|
| 1 | Classic Thick | 120 | 180 | 2 | 9/10 ★ |
| 2 | Milkshake-Slush (Balanced) | 150 | 160 | 1.5 | 8.5/10 ★ |
| 3 | Creamy but Still Cold | 180 | 150 | 1 | 8/10 ★ |
| 4 | Light Slush (More Drinkable) | 200 | 120 | 1 | 7.5/10 ★ |
| 5 | Ultra-Thick (Spoonable) | 110 | 210 | 2.5 | 9/10 ★ |
| 6 | Fruit-Forward (Lower Added Sugar) | 140 | 190 | 0.5 | 8/10 ★ |
| 7 | Runny / Over-Thinned (Avoid) | 220 | 80 | 1 | 3/10 ★ |
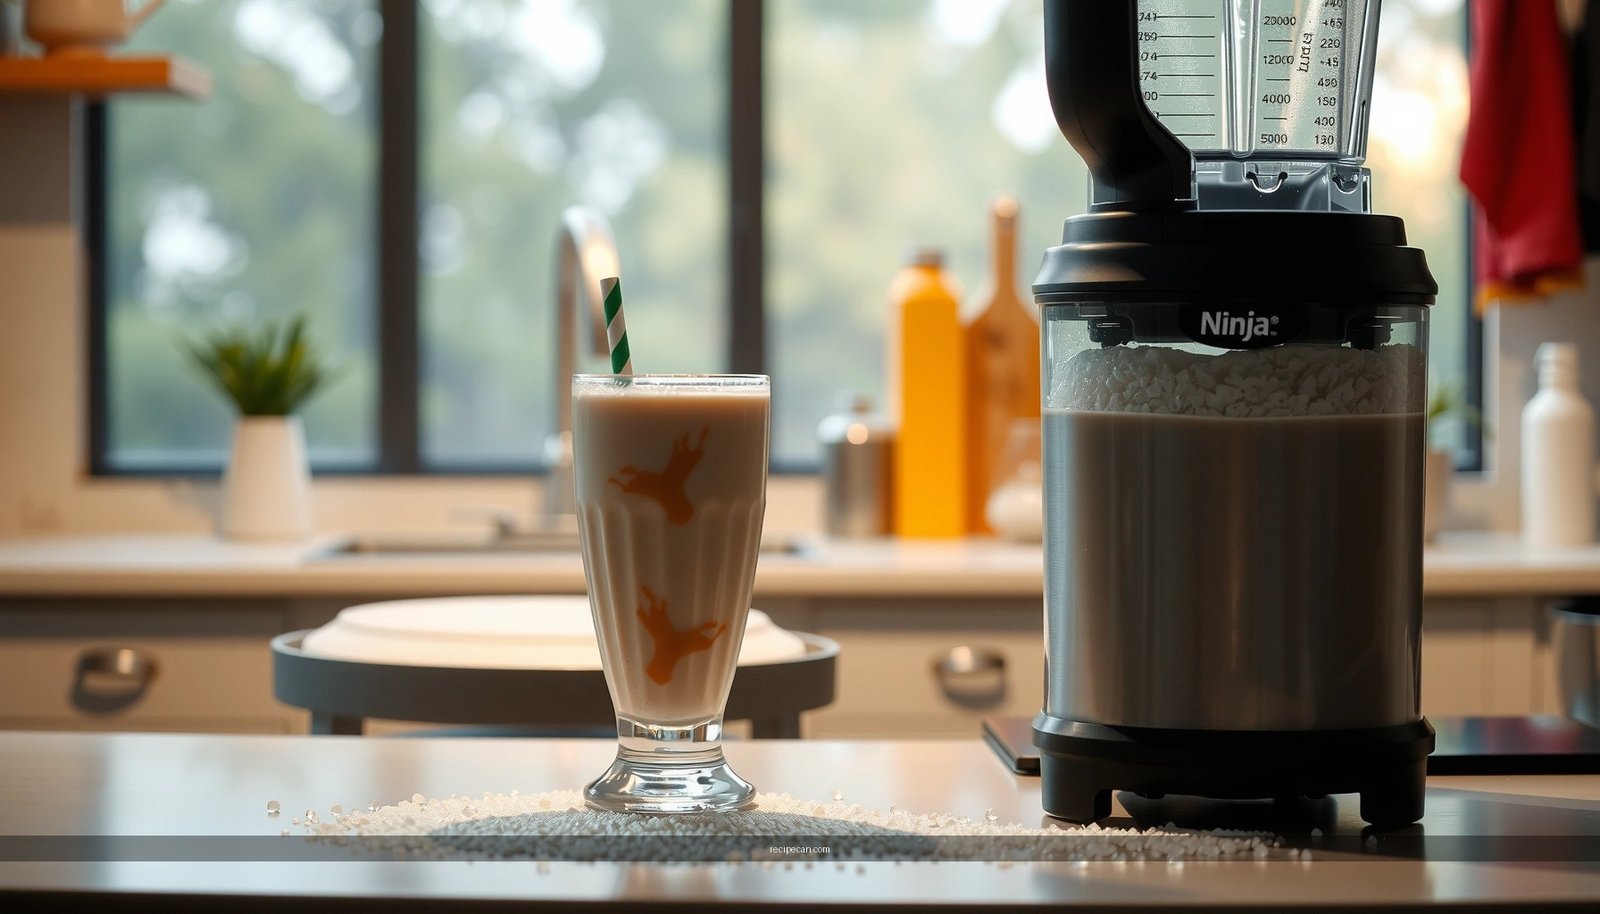
Step-by-Step Ninja Slushie Milkshake Method

To get a smooth Ninja slushie (not a chunky milkshake with ice bits), your process matters as much as your ingredients. Use a consistent blending sequence so the blades create a uniform slush quickly.
1) Start with liquid and flavor (helps blades grab).
– Add your cold milk first.
– Add vanilla extract and/or sweetener and/or syrup (chocolate, caramel, strawberry, etc.).
– This step ensures the first cycles don’t stall and that flavors disperse evenly.
2) Add ice or frozen items next (controls thickness).
– Add ice or frozen fruit to the blender.
– If using large ice cubes, pulse once longer at the start to break them down evenly.
3) Blend in a controlled pattern.
– Blend using short pulses (e.g., 3–5 pulses) to break up ice and prevent runaway melting.
– Then blend continuously until thick and smooth.
– If your Ninja model has different speeds, keep the first stage at a moderate level, then switch to higher speed for finishing.
4) Stop, scrape, and re-blend if needed.
– If the mixture is thick enough to cling to the sides, stop blending, scrape down, and run one more short cycle.
– This “scrape and finish” technique is often the difference between a glossy slushie and a slightly gritty one.
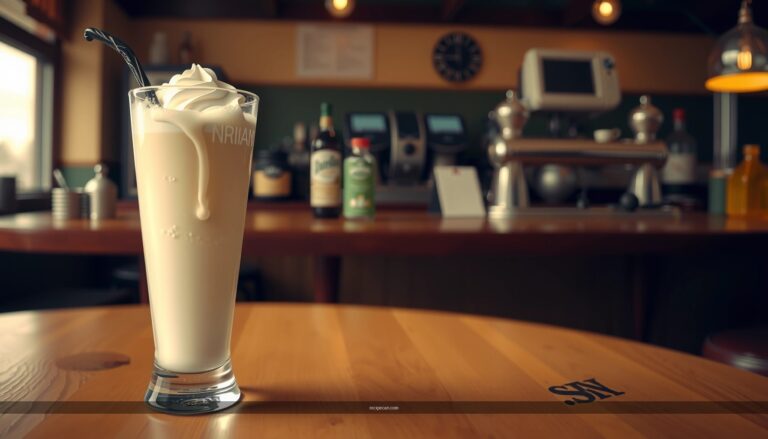
5) Serve immediately.
– A slushie is texture-sensitive. As ice melts, the mixture loosens.
– Pour into cold glasses right after blending and add toppings right away.
Best Flavor Combinations (Like Classic Milkshake)

Ninja Slushies shine when the flavor system is simple: a creamy base + a strong flavor ingredient + an optional cookie/candy contrast. Here are reliable combinations that translate well in a blend-at-home format.
Vanilla + chocolate syrup (classic and crowd-friendly).
– Use vanilla extract or vanilla syrup plus chocolate syrup.
– For authenticity, add a pinch of salt to make the chocolate taste more “dessert-like.”
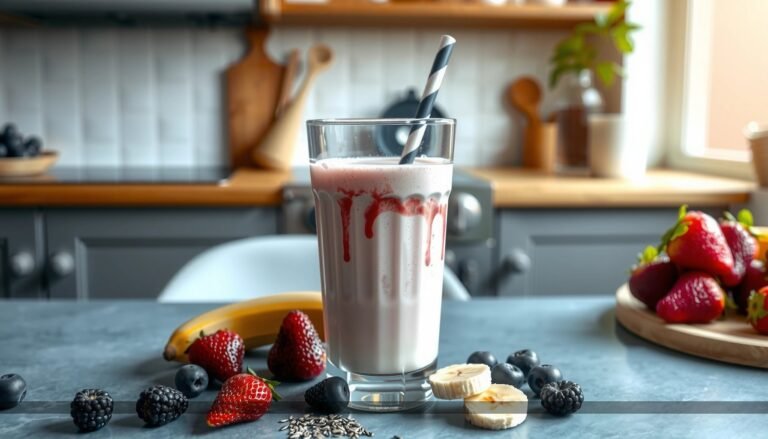
Strawberry (or strawberry-banana) for a bright slushie.
– Blend frozen strawberries with milk and vanilla.
– Optional: add a teaspoon of banana (or banana slices) for a thicker, softer mouthfeel that mimics strawberry ice cream.
Cookies & cream (best for cookie lovers).
– Add crushed sandwich cookies (or cookie crumbs) to the blender in small amounts.
– If cookies are very hard, pulse first so the texture breaks down without leaving sharp grit.
Pro-level option: “swirl logic.”
– Blend a base that’s slightly thicker than you want, then add a swirl syrup (chocolate, caramel, or strawberry) and pulse just 1–2 times for marbling.
– This creates a restaurant-style look while maintaining smoothness.
How to Get the Right Slushie Thickness

Slushie thickness is the main variable you can tune quickly. The key principle: ice/frozen mass thickens; liquid thins; blending aerates slightly. Use small adjustments rather than major changes.
Thicker (spoonable, dessert-like).
– Add more ice or frozen fruit.
– Use slightly less milk than the baseline ratio.
– Blend in shorter bursts at first to prevent the ice from melting too quickly.
Thinner (more drinkable).
– Add a small splash of milk and re-blend.
– Increase liquid gradually—because once it’s too thin, it takes more ice (and blending time) to correct.
Consistency troubleshooting (fast fixes).
– Too icy / gritty: blend longer and scrape down once. Also consider using crushed ice rather than large cubes.
– Too runny: add 2–4 more ice cubes, pulse, then blend again.
– Separated or watery: you likely used too much liquid or your frozen content melted quickly—rebuild with a few more spoonfuls of ice and blend briefly.
A practical workflow: make your first batch slightly thicker than target, then fine-tune with small milk additions.
Toppings and Serving Ideas
Toppings aren’t just decoration—they affect perceived thickness, sweetness, and flavor intensity. Aim for one “creamy” topping plus one “crunchy” or “drizzly” element for contrast.
Creamy toppings
– Whipped cream for a classic milkshake presentation.
– A spoon of Greek yogurt or a dollop of ice-cream-style topping for extra body (especially if your base is dairy-free).
Drizzles and flavor intensifiers
– Chocolate syrup, caramel sauce, or strawberry drizzle.
– A quick tip: swirl syrup on top right before serving so it remains glossy rather than sinking.
Crunch and texture
– Crushed cookies, chocolate shavings, toasted nuts, or sprinkles.
– If you’re using cookies, add them last so they don’t dissolve into the slushie.
Serving mechanics
– Serve in cold glasses to slow melt and preserve that thick Ninja slushie texture.
– If you’re entertaining, pre-chill glasses in the freezer for 10–15 minutes.
Make It Ahead (and Fix It If It Gets Too Thick)
Milkshakes and slushies are best fresh, but planning helps—especially for households or small events. You can prep parts ahead and still hit that thick, smooth texture.
Prep ahead smartly
– Chill milk and dessert syrups beforehand.
– If you can, portion ice or frozen fruit into measured containers so blending is fast.
– For best texture, blend and serve immediately after final adjustments.
If it gets too thick (or sits longer than expected)
– Add a splash of milk (1–2 tablespoons at a time).
– Re-blend in short pulses until the slushie loosens and becomes smooth again.
– Avoid adding too much liquid at once; you’ll end up chasing thickness repeatedly.
If you must store briefly
– Keep it in a covered container in the coldest part of your fridge.
– Expect some thickening as it sits; plan to re-blend with a small amount of milk before serving.
Quality control mindset
– Treat thickness adjustments like calibration. Small changes, fast re-blends, and immediate serving deliver consistent results.
Milkshake Recipe Ninja Slushie: Easy Blend-At-Home Guide is all about controlling the ratio, blending method, and timing—so you get that thick, smooth slushie texture every time. Use cold milk as your base, ice or frozen fruit to create body, blend in pulses to prevent graininess, and fine-tune thickness with small milk additions. Finally, serve right away (with strategic toppings like whipped cream, syrup swirls, and crushed cookies) to preserve the freshly blended “Ninja slushie” experience—then make your next batch tonight.
References
- Google Scholar Google Scholar
https://scholar.google.com/scholar?q=milkshake+recipe - Google Scholar Google Scholar
https://scholar.google.com/scholar?q=slushie+frozen+beverage+nutrition - Google Scholar Google Scholar
https://scholar.google.com/scholar?q=blended+milk+beverage+food+science - Milkshake
https://en.wikipedia.org/wiki/Milkshake - Smoothie
https://en.wikipedia.org/wiki/Smoothie - Slush
https://en.wikipedia.org/wiki/Slush - https://www.britannica.com/topic/milkshake
https://www.britannica.com/topic/milkshake - Lactose intolerance – Symptoms & causes – Mayo Clinic
https://www.mayoclinic.org/diseases-conditions/lactose-intolerance/symptoms-causes/syc-20374232 - Guideline: sugars intake for adults and children
https://www.who.int/publications/i/item/9789241549028 - https://www.myplate.gov/eat-healthy/dairy
https://www.myplate.gov/eat-healthy/dairy