Looking for the best vanilla milkshake recipe that’s creamy, classic, and easy to make? This winning method answers exactly how to blend real vanilla with the right ratio of milk and ice cream for a thick, spoonable shake every time. You’ll get a straightforward recipe you can follow in minutes—no special equipment or complicated steps needed.
A truly best vanilla milkshake recipe is straightforward: blend cold milk + premium vanilla ice cream (optionally with a small splash of vanilla extract) until thick and smooth, then serve immediately for that classic diner feel. In the sections below, you’ll get exact proportions, what to tweak when your shake turns out too thin or icy, and a few classic flavor upgrades that stay true to vanilla.
Ingredients for the Best Vanilla Milkshake

– Use quality vanilla ice cream as the base for rich flavor
The ice cream is doing most of the work—its fat content, aroma, and vanilla intensity determine whether your milkshake tastes like a diner classic or like “vanilla-flavored dessert.” For best results, choose vanilla ice cream made with real vanilla (or at least one with a clearly vanilla-forward flavor profile).
– Choose cold milk (whole milk gives the creamiest result)
Whole milk typically produces the smoothest texture because of its higher fat content. Cold temperature also keeps the mixture thick while blending, reducing the risk of a watery shake.
– Optional: a splash of vanilla extract for extra vanilla aroma
Vanilla extract is optional because many vanilla ice creams are already highly perfumed. But a small amount can intensify the aroma and make the flavor pop—especially if your ice cream tastes slightly muted.
Vanilla Flavor Strength vs. Ingredient Choice (Practical Consumer Benchmarks)
| # | Milk Type | Best For | Creaminess Rating | Texture Consistency* | Vanilla Flavor Retention |
|---|---|---|---|---|---|
| 1 | Whole milk | Classic thick shakes | ★★★★★ | Very consistent | High |
| 2 | 2% milk | Thick-but-slightly lighter | ★★★★☆ | Consistent | Moderately high |
| 3 | 1% milk | Lower-fat shakes | ★★★☆☆ | More variable | Moderate |
| 4 | Skim milk | Very light textures | ★★☆☆☆ | Likely thin | Lower |
| 5 | Half-and-half | Extra rich diner-style | ★★★★★ | Very consistent | High |
| 6 | Oat milk (barista style) | Dairy-free thick texture | ★★★☆☆ | Good if cold | Moderate-to-high |
| 7 | Coconut milk (canned) | Thick shakes with tropical notes | ★★★☆☆ | Often smooth, varies | Lower |
Texture consistency is based on typical home blending outcomes when using cold liquids and standard blenders; it’s intended as a practical guide for ingredient selection, not a lab measurement.
Step-by-Step Vanilla Milkshake Method

– Blend ice cream and milk first until fully smooth
For the classic vanilla milkshake texture, use a high-speed blender (or a powerful hand blender). Start with your vanilla ice cream and a smaller amount of milk, then blend until you don’t see any visible ice-cream chunks.
– Add vanilla extract only if you want a stronger vanilla punch
If your goal is “diner-style vanilla,” add vanilla extract sparingly—usually about 1/4 to 1/2 teaspoon per serving—then blend briefly to distribute. Too much extract can push the flavor from “creamy vanilla” to “perfume-like.”
– Taste and adjust thickness by adding a little more milk or ice cream
Treat thickness as a dial:
– If it’s too thick to pour, add milk 1 tablespoon at a time.
– If it’s too thin, add ice cream 1–2 tablespoons at a time.
Blend for about 5–10 seconds between adjustments so you don’t overwork the mixture.
A reliable “best balance” starting point (1 serving):
– 2–3 scoops (about 1 cup) vanilla ice cream
– 1/3 to 1/2 cup cold whole milk (start at 1/3 cup)
– Optional: 1/4 tsp vanilla extract
This range is forgiving—your blender power, ice cream softness, and milk temperature will determine the final thickness.
How to Make It Extra Creamy and Thick

– Start with very cold ingredients to prevent a thin shake
“Thick and smooth” is largely a temperature story. If the ice cream has warmed at room temperature, it melts quickly during blending, and the shake turns thin even if your proportions were correct.
Tip: chill your milk for at least an hour and keep your ice cream tightly covered in the freezer.
– Blend just until smooth—over-blending can affect texture
Over-blending introduces more air and can shift the texture from “dense creamy” to “foamy” or slightly loose. Blend in short intervals:
– First pass: 20–30 seconds
– Adjust and blend: 5–10 seconds
– For thicker results, reduce milk slightly and serve immediately
Milkshakes thicken a little when they’re first blended and can also thicken slightly as fats re-emulsify—then they tend to relax as they warm. If you want classic thickness, serve right away and avoid letting the shake sit for long intervals.
Practical technique: If you find your shakes are consistently thin, reduce milk by 1–2 tablespoons next time before changing anything else. Consistency matters more than chase-and-correct cycles.
Flavor Variations (Keep It Classic)

– Add a pinch of salt to enhance sweetness and vanilla flavor
Salt isn’t about making it salty; it’s about making vanilla taste brighter. Add a tiny pinch (about 1/16–1/8 tsp) to improve overall flavor balance—especially if your ice cream is sweet but not complex.
– Substitute half-and-half for an extra rich mouthfeel
Half-and-half is one of the easiest upgrades for the “thick diner” profile. Replace some or all of the milk with half-and-half for a smoother, more indulgent finish. If you’re using half-and-half, start with slightly less liquid since it’s richer.
– Stir in crushed vanilla cookies or a little caramel for subtle upgrades
You can keep the base vanilla-forward while adding texture and a hint of complexity:
– Crushed vanilla wafers: gives a bakery-like crunch and sweetness.
– Caramel swirl: adds a warm toffee note without turning it into a “banana pudding” style shake.
Add-ins are best blended lightly (or stirred after blending) so you keep some texture.
Best practice for add-ins: mix them after you achieve a smooth base. That prevents ice-crystal issues and keeps the texture from going grainy.
Serving Tips and Toppings
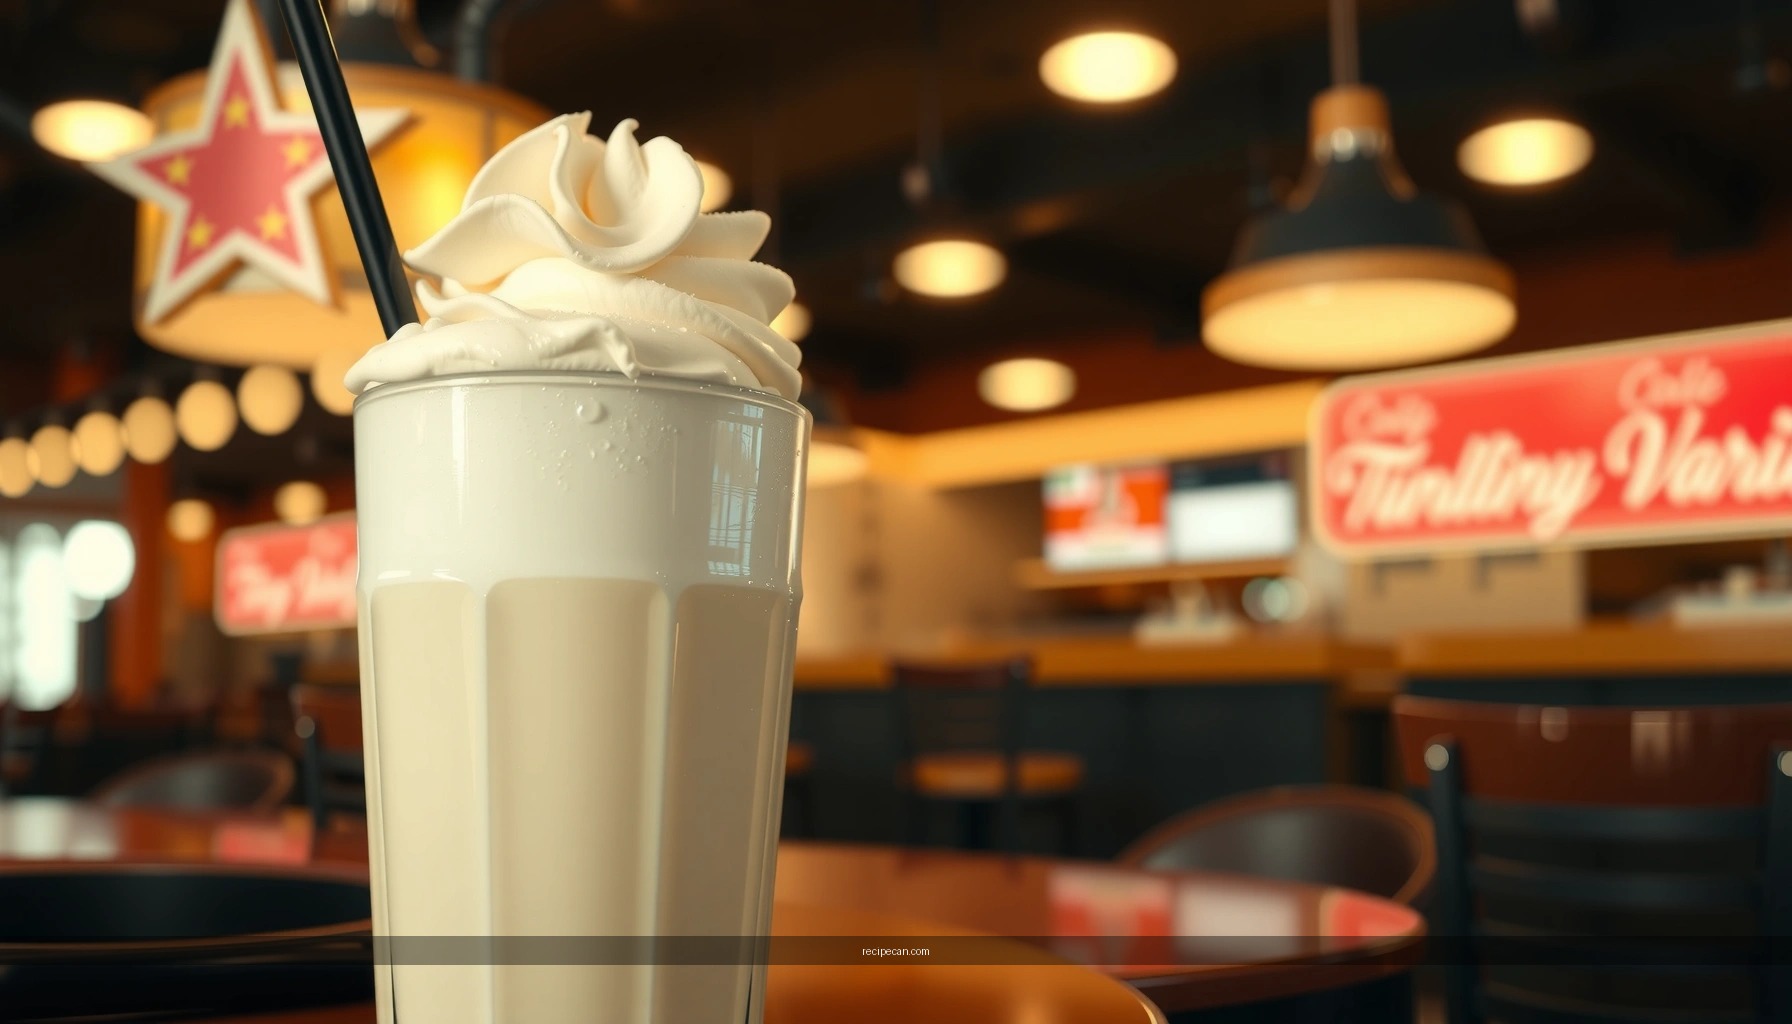
– Serve in a chilled glass for the best temperature and texture
A cold glass slows melting and helps your milkshake keep its classic density. Chill glasses in the freezer for 10–15 minutes if you want a noticeably better result.
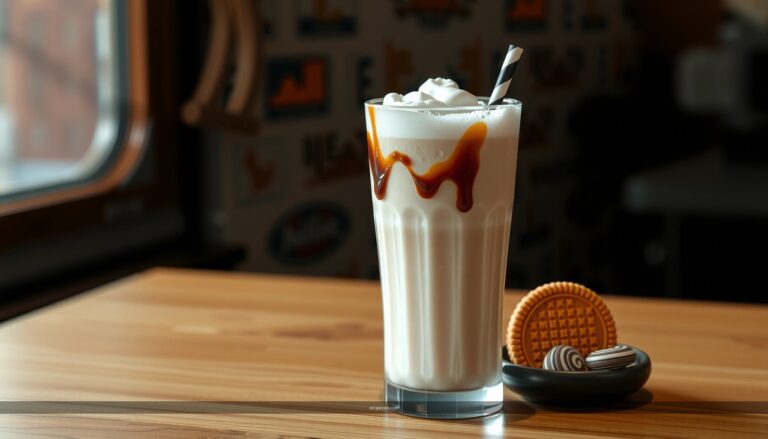
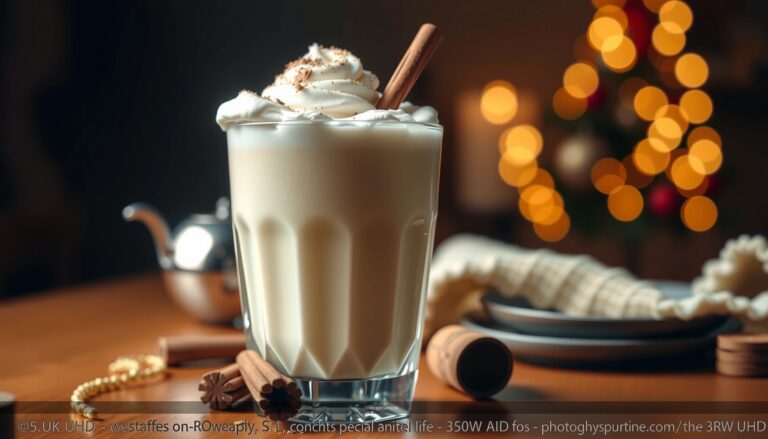
– Top with whipped cream and a vanilla wafer or sprinkles
Whipped cream adds a soft contrast; a vanilla wafer or sprinkles adds visual and aromatic payoff. If you’re aiming for a “diner” look, keep toppings simple and evenly distributed.
– Optional: garnish with a drizzle of caramel or chocolate syrup
A small drizzle looks premium and lets people customize sweetness. Use a teaspoon or piping motion so the shake doesn’t become overly sticky or cloying.
For a business-ready presentation (catering, events, or home entertaining), keep toppings consistent in size and placement. That turns a homemade shake into a repeatable serving style.
Troubleshooting Common Vanilla Milkshake Problems
– Too thin? Add more ice cream or blend less milk
If your shake pours like a drink instead of slowly flowing, your milk-to-ice cream ratio is off. Adjust in small increments:
– Add ice cream 1–2 tablespoons
– Blend briefly again
If the ice cream was warm, don’t blame the recipe—chill the next batch’s ingredients first.
– Too icy or grainy? Let ingredients sit briefly, then blend again
Graininess usually comes from uneven melting or ice crystals. If your ice cream is very firm, let it sit 2–5 minutes (still cold, not melted) so the blender can fully emulsify it. Blend again until smooth.
– Not enough vanilla flavor? Use vanilla extract or higher-quality ice cream
Vanilla flavor is often more about aromatic intensity than sweetness. If you taste mostly “sweet cream” rather than true vanilla, try one of these:
– Add a small amount of vanilla extract next time
– Choose vanilla ice cream labeled “vanilla bean” or with higher vanilla content
– Consider a caramel variation only if you want to keep vanilla as the primary note
Quick diagnosis guide:
– Thin + fast melt → too much milk or warm ingredients
– Grainy → ice crystals from overly firm ice cream or insufficient blending time
– Bland → low vanilla intensity; add extract or improve ice cream quality
– Foamy → blended too long or too aggressively
If you follow the simple blend-and-adjust method, you’ll get a creamy, classic vanilla milkshake every time. Make your next one by using quality vanilla ice cream, blending until smooth, and serving right away—then try one flavor variation to make it your own.
References
- Google Scholar Google Scholar
https://scholar.google.com/scholar?q=vanilla+milkshake+recipe+ice+cream+milk+blend+ratio - Google Scholar Google Scholar
https://scholar.google.com/scholar?q=milkshake+formulation+emulsion+stabilizers+sensory+study - Google Scholar Google Scholar
https://scholar.google.com/scholar?q=ice+cream+mix+overrun+texture+effects+milkshakes - Milkshake
https://en.wikipedia.org/wiki/Milkshake - Vanilla ice cream
https://en.wikipedia.org/wiki/Vanilla_ice_cream - Vanilla
https://en.wikipedia.org/wiki/Vanilla - https://www.britannica.com/topic/milkshake
https://www.britannica.com/topic/milkshake - Vanilla | Taxonomy, Physical Description, Processing, Uses, & Facts | Britannica
https://www.britannica.com/topic/vanilla - USDA FoodData Central
https://fdc.nal.usda.gov/?query=vanilla%20ice%20cream - USDA FoodData Central
https://fdc.nal.usda.gov/?query=whole%20milk