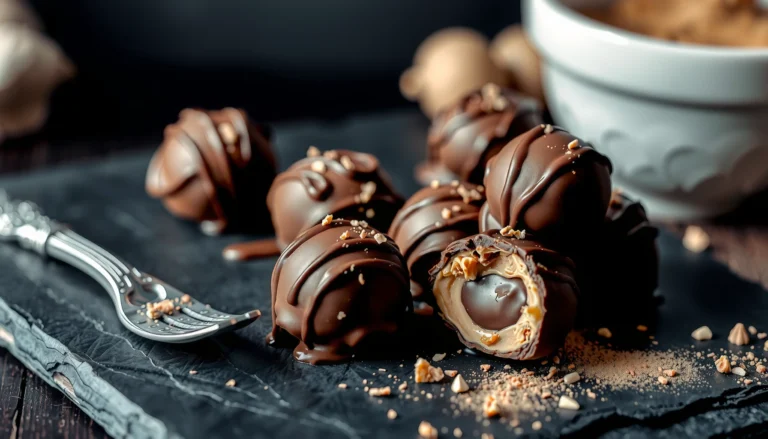
Protein ball recipes no bake are the quickest way to get high-protein snacks without turning on the oven—perfect when you want fast, no-fuss results. This guide delivers the best no-bake protein ball formulas that set reliably and taste great right out of the fridge. If you’ve been searching for an easy recipe that actually holds together, you’ll find the winning options here.
No-bake protein ball recipes are the fastest way to get a high-protein snack with minimal equipment: mix, roll, and chill until firm. You’ll get better texture and flavor when you choose the right protein base, use a reliable binder, and calibrate moisture so the mixture binds without becoming crumbly.
In this guide, you’ll learn how to build no-bake protein balls from the ground up—whether you prefer whey, casein, or plant-based protein powder—plus expert-level texture troubleshooting, flavor combinations, storage best practices, and the most common mistakes that lead to failed batches.
Choose Your Protein Ball Base
The “protein” in protein ball recipes no bake isn’t just about hitting a macro goal—it directly affects flavor, texture, and how well the balls set. Different powders absorb moisture at different rates and behave differently when combined with nut butter and oats.
Pick a protein source like whey, casein, or plant-based protein powder.
– Whey protein (often whey isolate): tends to blend easily and delivers a smooth, lightly sweet profile. Because it’s usually finer and more soluble, it can yield softer centers if moisture is off.
– Casein protein: typically thickens more strongly due to its slower hydration behavior, which can help balls hold together—especially for thicker, spoonable mixes.
– Plant-based protein powder (pea/rice blends): can be more drying and sometimes chalky. You may need a slightly higher binder ratio, more oats, or an acidic/vanilla flavor boost to improve palatability.
Use a binder such as peanut butter, almond butter, or Greek yogurt.
– Nut butter is the most common binder because it adds fat, emulsification, and natural stickiness. Peanut butter is especially forgiving in no-bake recipes.
– Greek yogurt adds moisture and protein, but it can also make the mixture softer—expect you may need extra oats or a longer chill. Use thicker “Greek-style” varieties for best results.
– For lower-sugar or allergen-friendly options, sunflower seed butter or soy nut butter can work similarly to nut butter.
Balance dry ingredients with a small amount of liquid (milk, water, or vanilla).
No-bake protein balls rely on controlled hydration. Protein powder and oats absorb liquid over time, so you don’t want the mixture wet at first.
– Start with 1–2 teaspoons liquid and add gradually.
– Vanilla extract or a small amount of espresso/coffee concentrate can enhance flavor without adding extra wetness.
Practical analytical rule: protein powder acts like a “texture sponge.” If you increase protein powder, you usually must increase oats/fiber or binder, or extend chill time to allow hydration to stabilize.
Protein ball success factors at a glance
Typical No-Bake Protein Ball Ratios (Per 1 Cup Dry Mix)
| # | Goal Texture | Binder (Nut Butter or Yogurt) | Protein Powder | Oats / Dry Fiber | Result Rating |
|---|---|---|---|---|---|
| 1 | Classic firm bite | 3/4 cup | 1/4 cup | 1/3 cup | ★★★★☆ |
| 2 | Chewy center (cookie-like) | 2/3 cup | 1/4 cup | 1/2 cup (oats) | ★★★★★ |
| 3 | High-protein (slightly denser) | 2/3 cup | 1/3 cup | 1/4 cup | ★★★☆☆ |
| 4 | Creamy, spoonable then firm | 1/2 cup (Greek yogurt) | 1/4 cup | 3/8 cup | ★★★★☆ |
| 5 | Gluten-free crumb-free set | 3/4 cup | 1/4 cup | 1/3 cup (oats or coconut flour) | ★★★★☆ |
| 6 | Lighter bites (less dense) | 2/3 cup | 1/5 cup | 1/2 cup | ★★★★☆ |
| 7 | Extra sticky (needs chill discipline) | 3/4 cup | 1/4 cup | 1/4 cup | ★★★☆☆ |
No-Bake Binding & Texture Tips
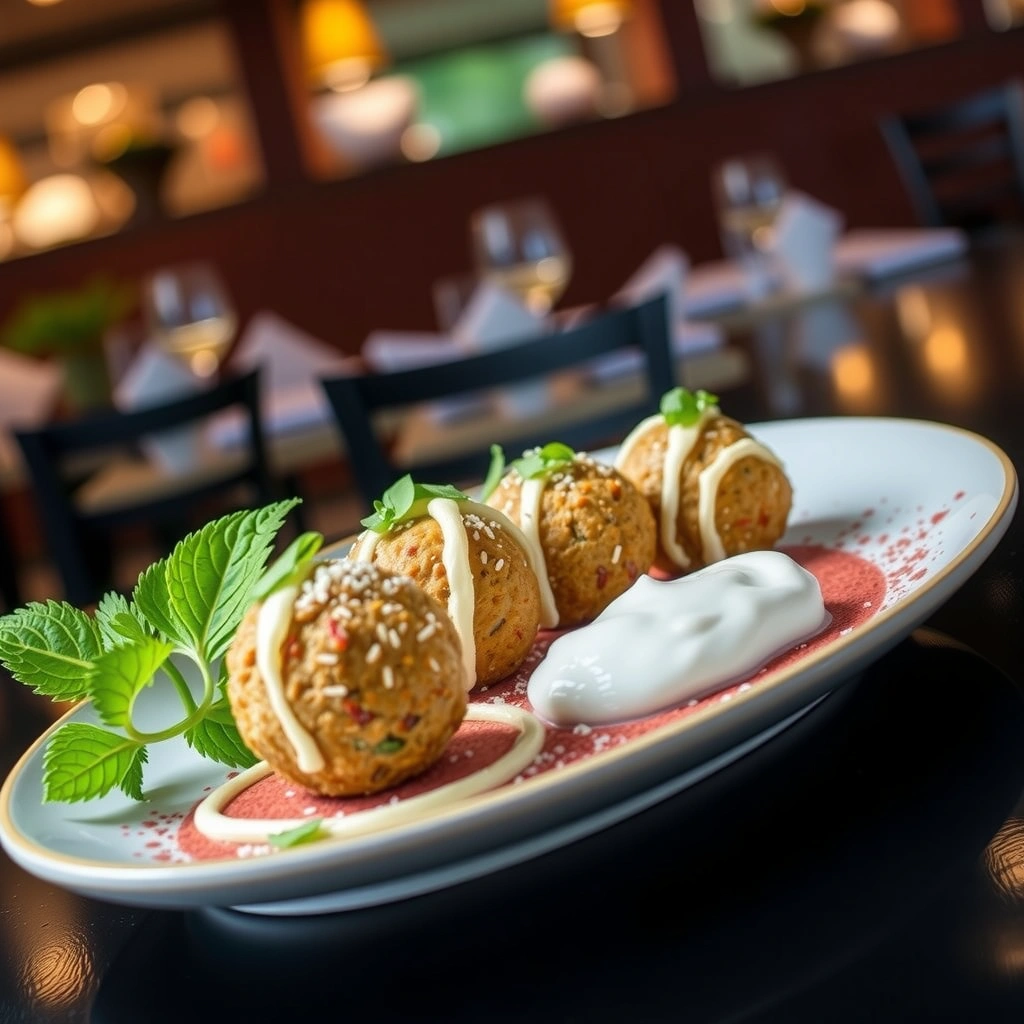
Texture is where most people struggle with protein ball recipes no bake. The mixture should be rollable, not wet, and it should set firmly after chilling. Use these targeted adjustments instead of “guess and hope.”
Start with nut butter and add dry mix gradually to avoid crumbly results.
– Nut butter provides immediate binding; dry ingredients then absorb and thicken.
– If you dump all dry ingredients at once, protein powder can clump and create dry pockets, leading to crumbly balls.
If too sticky, chill longer or add oats/coconut flour.
– Sticky often means there’s excess moisture or not enough dry fiber to absorb it.
– Add 1–2 tablespoons oats at a time (or 1 tablespoon coconut flour for faster thickening), then re-test rollability.
– For sticky mixes, chilling isn’t optional—try 45–60 minutes before judging.
If too dry, add 1 teaspoon at a time of liquid or nut butter.
– Dry mixes indicate insufficient hydration from binder/extra liquid.
– Add 1 teaspoon at a time of milk/water (or a spoon of nut butter for richer binding). Stir thoroughly and rest 2–3 minutes to let protein hydrate.
Quality control checks (fast):
– Hand roll test: If it sticks strongly to clean fingers and can’t hold shape after a light press, it needs dry balance (oats/coconut flour) or more chilling.
– Slice test: After chilling, cut one ball in half. If it crumbles, you need slightly more binder or longer hydration time.
Top No-Bake Flavor Combinations
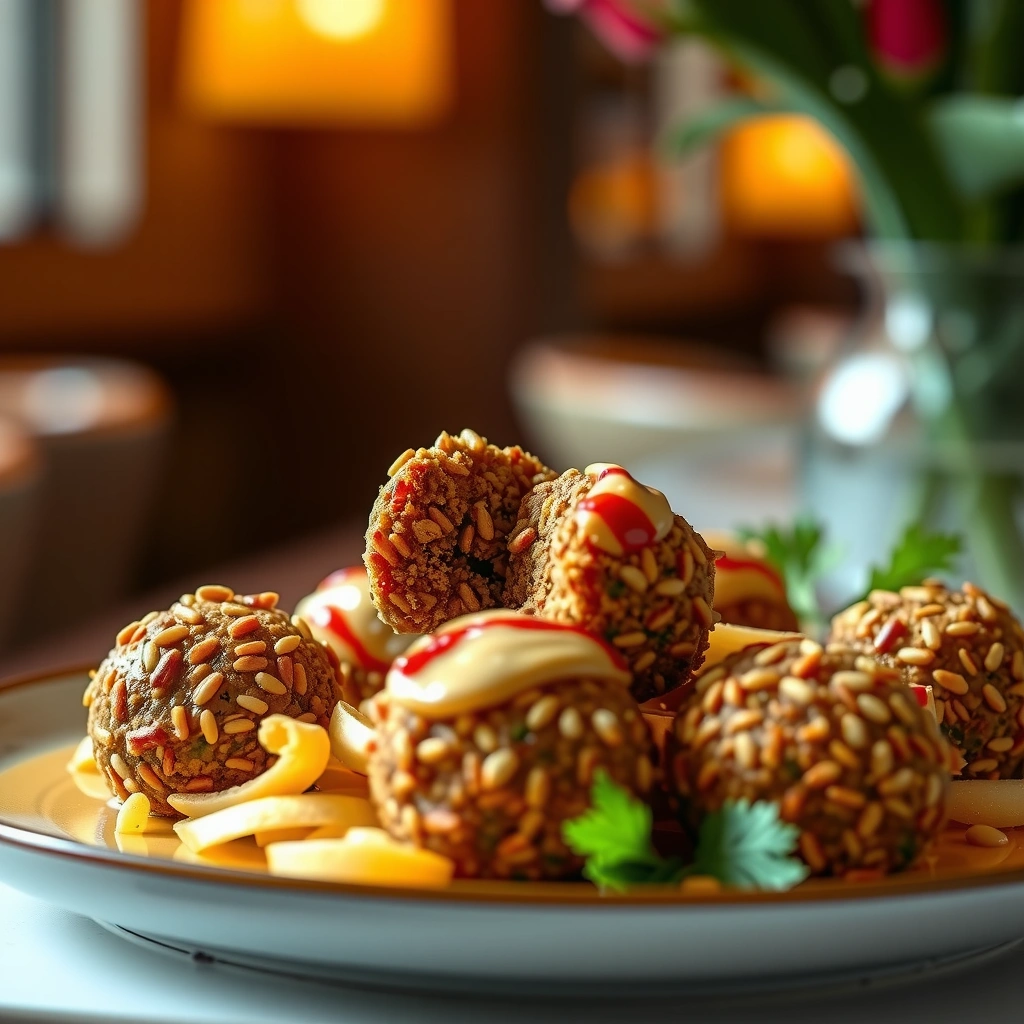
Flavor shouldn’t require complicated baking. Protein ball recipes no bake perform especially well with bold add-ins and simple flavor systems: cocoa for chocolate, cinnamon/vanilla for warmth, and nutty crunch for depth.
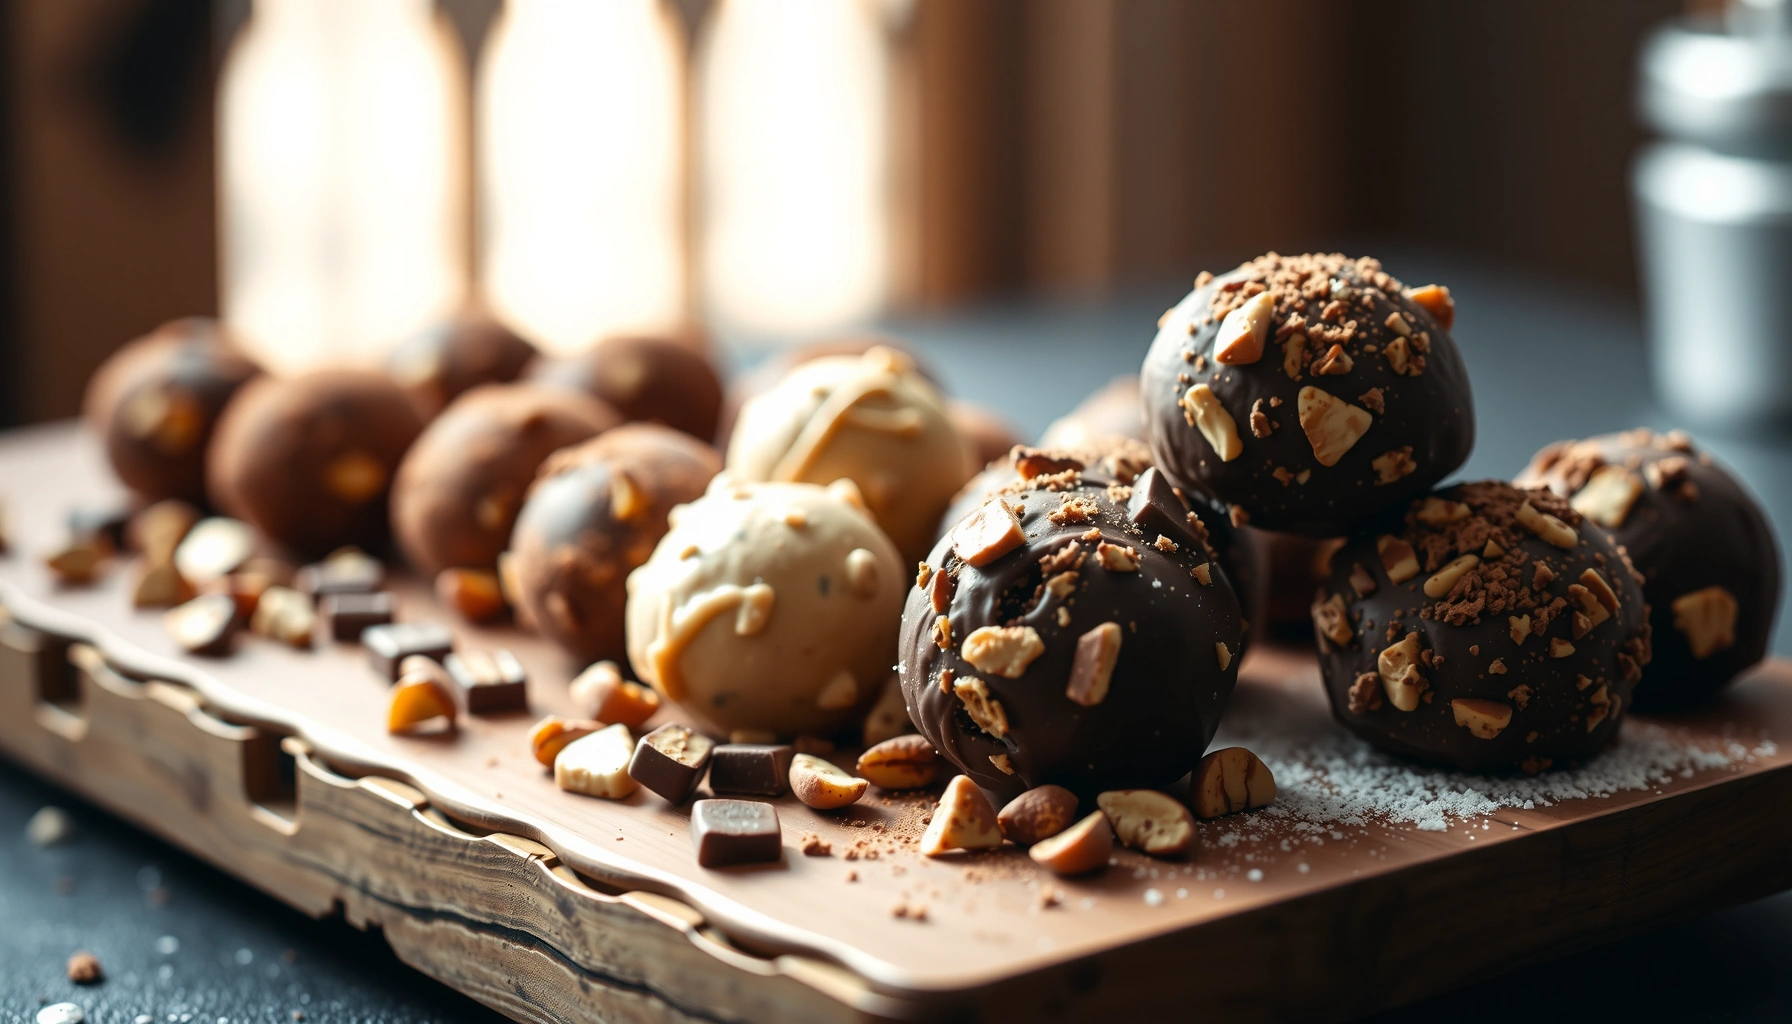
Chocolate: cocoa powder + protein powder + peanut butter.
– Add unsweetened cocoa powder and a pinch of salt to cut bitterness.
– Optional: mix in mini chocolate chips after the base is combined for bursts of texture.
Peanut butter: oats + protein + crushed peanuts (optional).
– Use peanut butter as your binder and add crushed peanuts for a “reese-style” chew.
– If your protein powder is very sweet, reduce added sweetener; otherwise you’ll get a sugary finish.
Vanilla/cinnamon: vanilla extract + oats + cinnamon + sweetener (if needed).
– Vanilla improves palatability of plant-based protein powders (which can taste chalkier).
– Use cinnamon to add complexity without additional sugar. A small amount of maple syrup or honey can help if your protein powder is unsweetened.
Professional flavor tip: include one “aroma enhancer” (vanilla, espresso, cinnamon) and one “structure ingredient” (oats, coconut flour, nuts). This creates taste complexity while preserving binding and set.
Simple Step-by-Step Method
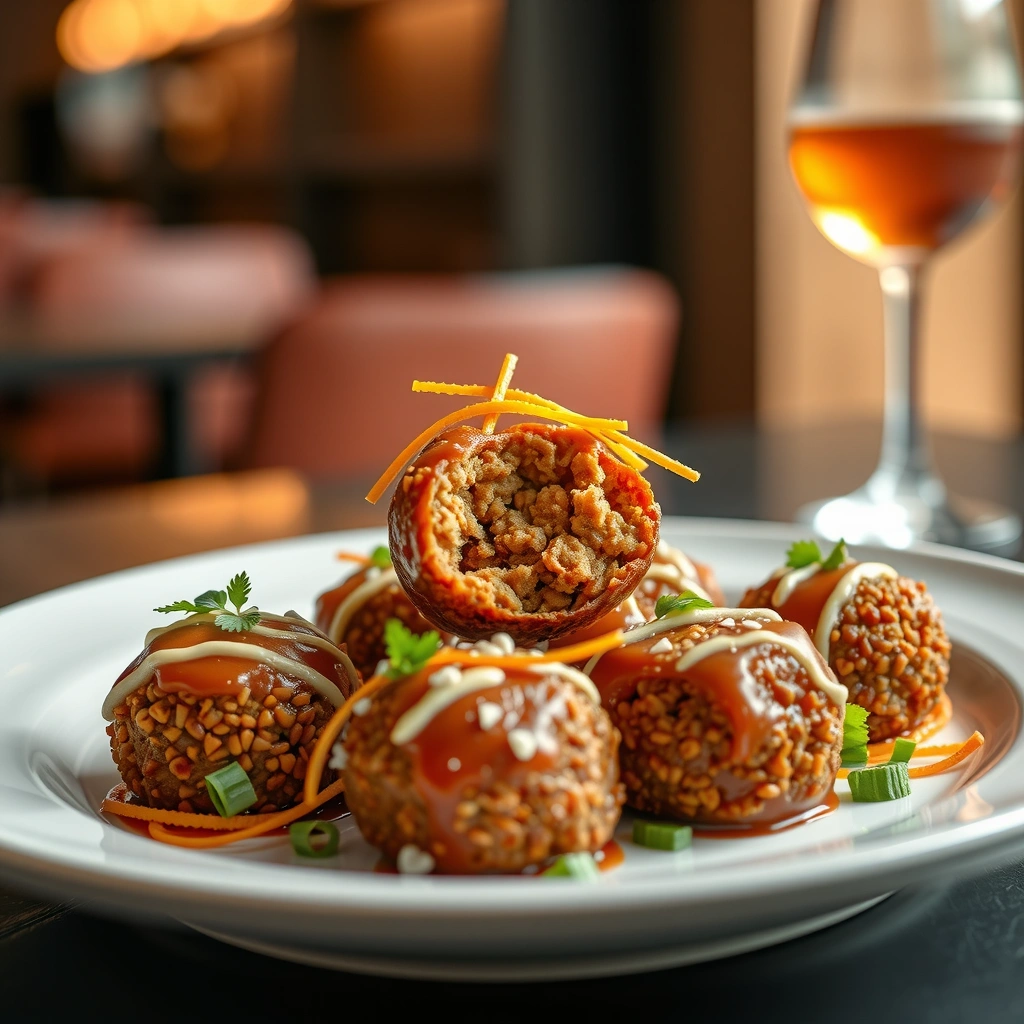
This section focuses on repeatability—because consistent protein ball outcomes come from consistent process, not just ingredients.
Mix everything in a bowl until fully combined.
– Combine dry ingredients first (protein powder, oats, cocoa/cinnamon).
– Add nut butter (and Greek yogurt if using) and mix until a cohesive dough forms.
– Add liquid only if needed, 1 teaspoon at a time.
Roll into bite-sized balls (about 1–1.5 inches) using clean hands.
– If hands get sticky, lightly wet fingers or coat them with a thin layer of neutral oil.
– Aim for uniform size so each ball chills and hydrates evenly.
Chill 20–60 minutes for the best firm texture.
– Minimum: 20 minutes for nut-butter-forward recipes.
– Best practice for reliability: 45–60 minutes, especially for recipes with Greek yogurt or plant-based protein powder.
– For meal prep, chill longer overnight; flavor often improves as ingredients hydrate.
If you want a “no-bake + consistent texture” workflow:
1. Mix → 2. Roll → 3. Chill → 4. Rest overnight (optional) → 5. Package.
Storage & Meal-Prep Guidelines
Meal prep is where protein ball recipes no bake truly shine: they’re portable, portionable, and resilient. Storage choices determine texture, so follow these guidelines.
Store in an airtight container in the fridge for up to 5–7 days.
– Use parchment between layers if stacking.
– Keep them in a cool, stable part of the fridge to reduce surface softening.
Freeze for longer storage; thaw in the fridge before eating.
– Freeze in a single layer, then transfer to a freezer bag or container.
– Thaw in the fridge for the best “set” feel. Room-temperature thawing can make them noticeably softer.
Prep in batches so you have grab-and-go snacks ready.
– Batch cooking saves time and reduces daily decision-making (a practical advantage for busy schedules).
– If you’re doing office meal prep, portion balls into snack-size containers immediately after chilling.
Quality considerations:
– Recipes with yogurt binders may soften slightly after freezing, but they usually regain firmness after fridge thaw.
Common Mistakes to Avoid
Even well-planned recipes can fail. These are the highest-frequency issues—and how to prevent them.
Skipping the chill time (they’ll crumble at room temperature).
– Protein and oats need time to hydrate and firm up.
– A fast roll followed by immediate serving increases crumb risk.
Using too much protein powder without enough binder.
– Many people increase protein for macro reasons but forget that protein powder is a dry matrix—too much creates dryness.
– Fix: reduce protein powder slightly, or add oats and/or nut butter to rebalance.
Overmixing or adding too much liquid at once.
– Overmixing isn’t usually harmful, but adding liquid too quickly is.
– Fix: start with less liquid and let the mixture rest 2–3 minutes before deciding to add more.
Bonus mistake to watch: using very thick protein powders (or powders that include added fiber) can change hydration behavior. If your protein ball mixture behaves “off” consistently, adjust dry/fat ratios rather than restarting from scratch.
Protein ball recipes no bake are an efficient, high-protein snack solution: you can control ingredients, dial in texture, and build flavors that don’t require an oven. Choose a binder that matches your protein powder (nut butter for easiest binding; Greek yogurt for creaminess), follow the mix-and-roll method, and chill long enough to let the mixture set properly. Make a batch today, portion for the week, and keep a few extras in the freezer for ready-to-eat performance.
References
- Google Scholar Google Scholar
https://scholar.google.com/scholar?q=protein+ball+recipe+no+bake - Google Scholar Google Scholar
https://scholar.google.com/scholar?q=no-bake+energy+balls+nutrition - Google Scholar Google Scholar
https://scholar.google.com/scholar?q=protein+snack+balls+homemade+ingredients+nutrition - https://ods.od.nih.gov/factsheets/Protein-HealthProfessional/
https://ods.od.nih.gov/factsheets/Protein-HealthProfessional/ - Healthy diet
https://www.who.int/news-room/fact-sheets/detail/healthy-diet - https://www.cdc.gov/healthyweight/healthy_eating/index.html
https://www.cdc.gov/healthyweight/healthy_eating/index.html - Protein
https://en.wikipedia.org/wiki/Protein - Energy bar
https://en.wikipedia.org/wiki/Energy_bar - https://en.wikipedia.org/wiki/No-bake
https://en.wikipedia.org/wiki/No-bake - https://www.fda.gov/food/nutrition-education-resources-materials/added-sugars
https://www.fda.gov/food/nutrition-education-resources-materials/added-sugars