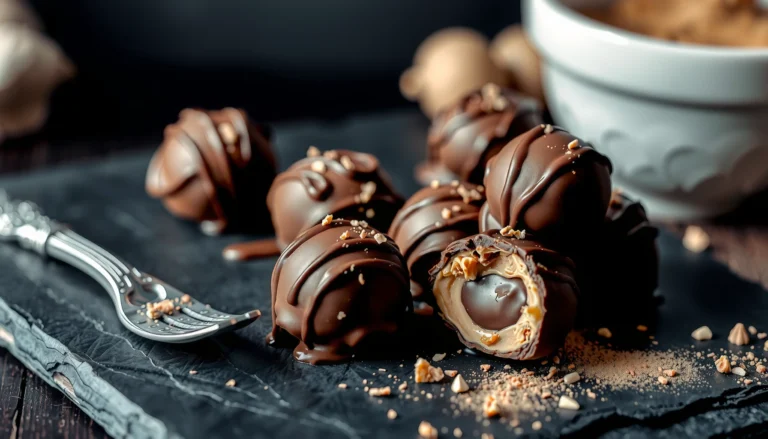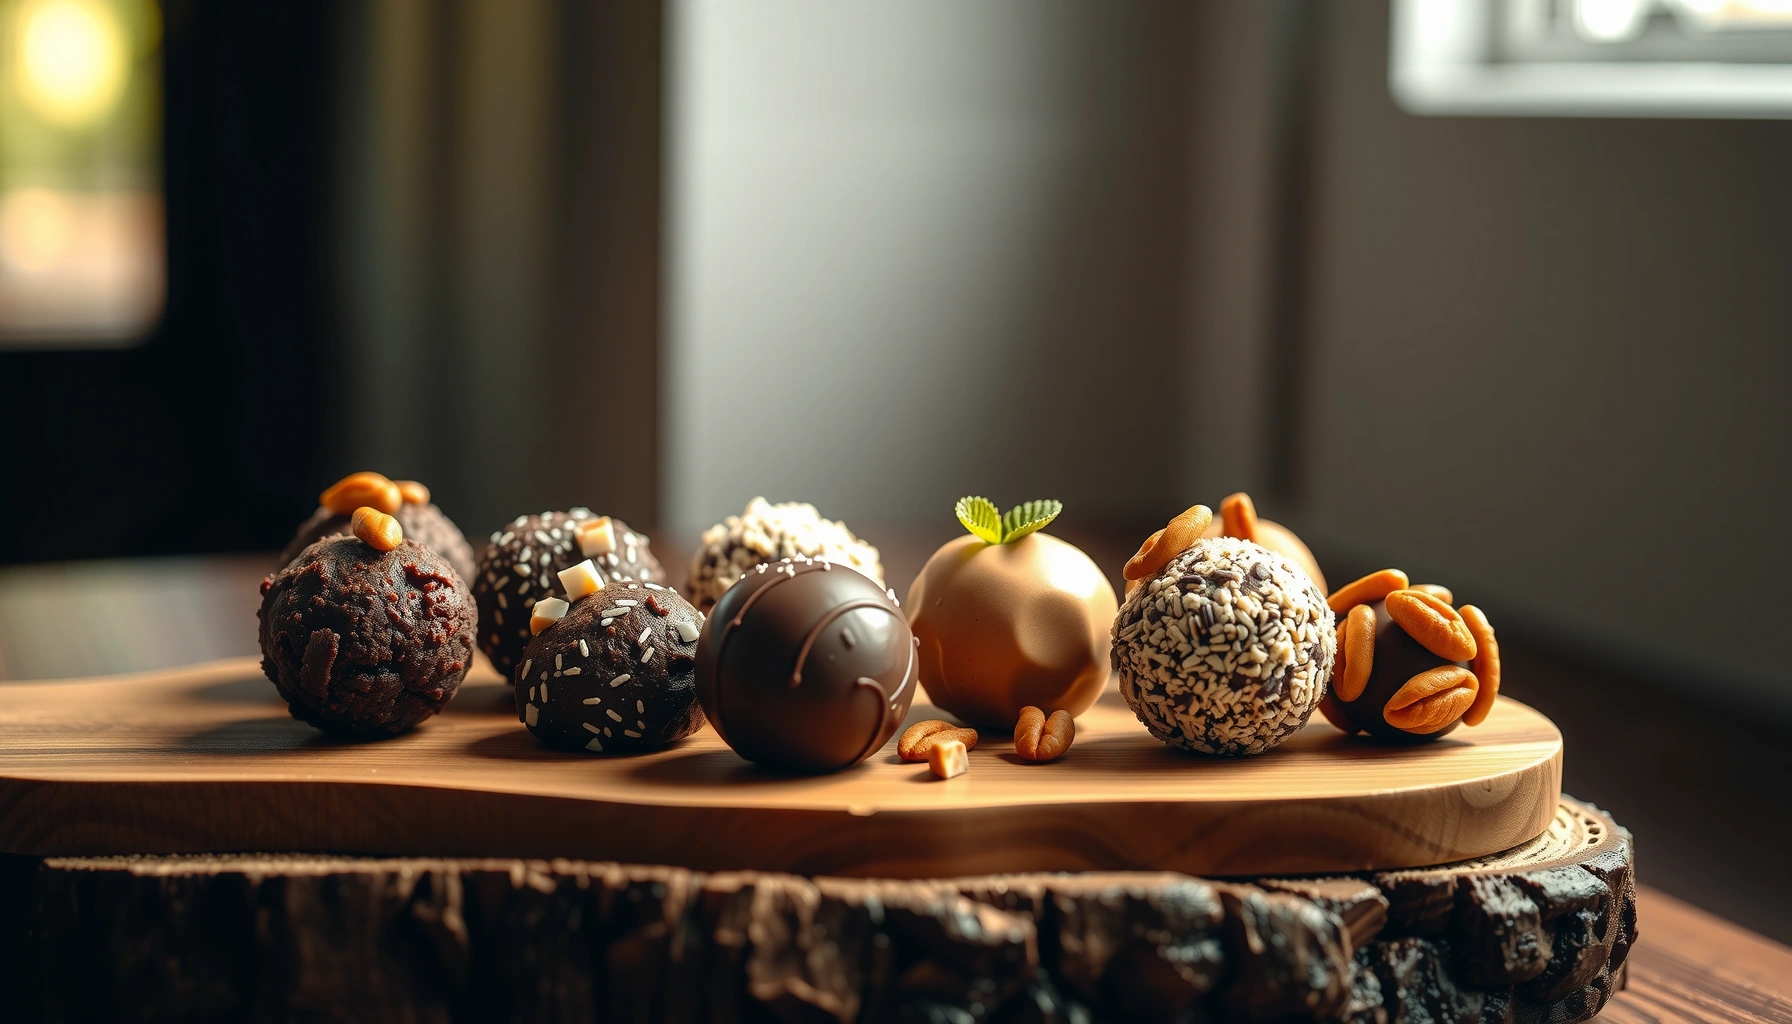
The best protein ball recipe for an easy, healthy, no-bake snack is the one that delivers real staying power with minimal effort. This recipe answers the question of what to make when you want bite-sized protein balls that set fast, taste great, and don’t require an oven. Expect a simple method, balanced ingredients, and dependable results you can make on repeat.
The best protein ball recipe is a simple no-bake mix of protein-rich ingredients, fiber, and bold flavor rolled into bite-size balls—ready in minutes and perfect for meal-prep. Below, you’ll get a reliable base formula (that actually holds together), plus clear ways to customize flavor and macros without complicated cooking.
Protein balls are popular in strength training, busy office routines, and health-focused households because they’re convenient, portable, and highly customizable. Instead of relying on a single “healthy” ingredient, the best recipes balance protein for satiety, fiber for digestion and fullness, and flavor agents (cocoa, vanilla, spices) that keep them enjoyable. If your goal is to hit daily protein targets without turning snack time into a second job, this no-bake protein ball approach is the most practical place to start.
Approx. Protein per 1 Serving (No-Bake Protein Ball Options)
| # | Protein Base (Common Choice) | Typical Serving Size | Protein (g) | Macro Fit |
|---|---|---|---|---|
| 1 | Whey protein powder | ~30 g mixture | ~10 g | ★ ★ ★ ★ ★ |
| 2 | Casein protein powder | ~30 g mixture | ~9–11 g | ★ ★ ★ ★ ★ |
| 3 | Greek yogurt (0–2%) | ~40 g balls | ~8–12 g | ★ ★ ★ ★ ☆ |
| 4 | Unsweetened soy milk + soy protein | ~30 g mixture | ~9–10 g | ★ ★ ★ ★ ★ |
| 5 | Pea protein powder | ~30 g mixture | ~8–10 g | ★ ★ ★ ★ ☆ |
| 6 | Nut butter alone (no added protein) | ~45 g balls | ~5–8 g | ★ ★ ★ ☆ ☆ |
| 7 | Whey isolate (higher protein density) | ~30 g mixture | ~11–12 g | ★ ★ ★ ★ ★ |
Choose Your Protein Base
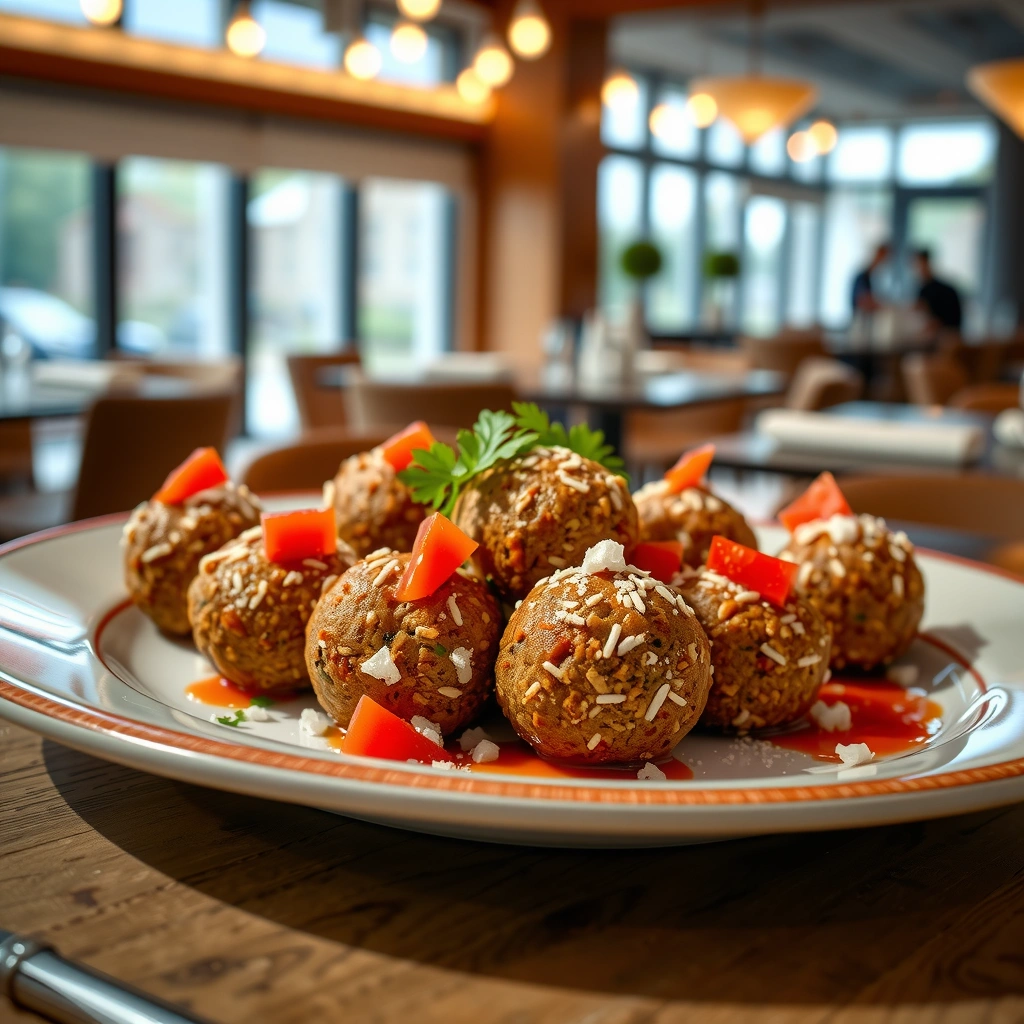
– Use protein powder or Greek yogurt (depending on your preference and texture)
– Add nut butter or seeds for extra protein and binding
The “base” is the part of the protein ball recipe that determines both protein density and texture. From a practical standpoint, you have two reliable routes:
1) Protein powder for control and efficiency.
This is the most macro-friendly approach. Add enough protein powder to reach your target, then use oats or chia as your “structure” and nut butter for binding. Powder also helps the balls set quickly after chilling.
2) Greek yogurt for creaminess and natural moisture.
Greek yogurt gives a thicker, more spoonable mixture and a softer bite. The tradeoff is that yogurt can reduce consistency if you don’t balance it with absorbent ingredients (oats, chia, or flax). If your mixture feels too sticky, add more dry ingredients; if it’s too dry, add a teaspoon of yogurt or a splash of milk (dairy or unsweetened alternative).
To increase protein and improve hold, include a second structural protein source:
– Nut butter (peanut, almond, cashew) adds fat for satiety and acts like glue.
– Pumpkin seeds or hemp seeds increase protein and provide a slightly “chewy” texture that many people prefer in meal-prep snacks.
Actionable tip: If you’re aiming for a higher-protein ball (for example, post-workout), start with protein powder as your primary base. If you want a “treat-like” texture that’s still high-protein, choose Greek yogurt and slightly reduce additional sweeteners so the flavor profile stays clean.
Pick the Best Mix-Ins
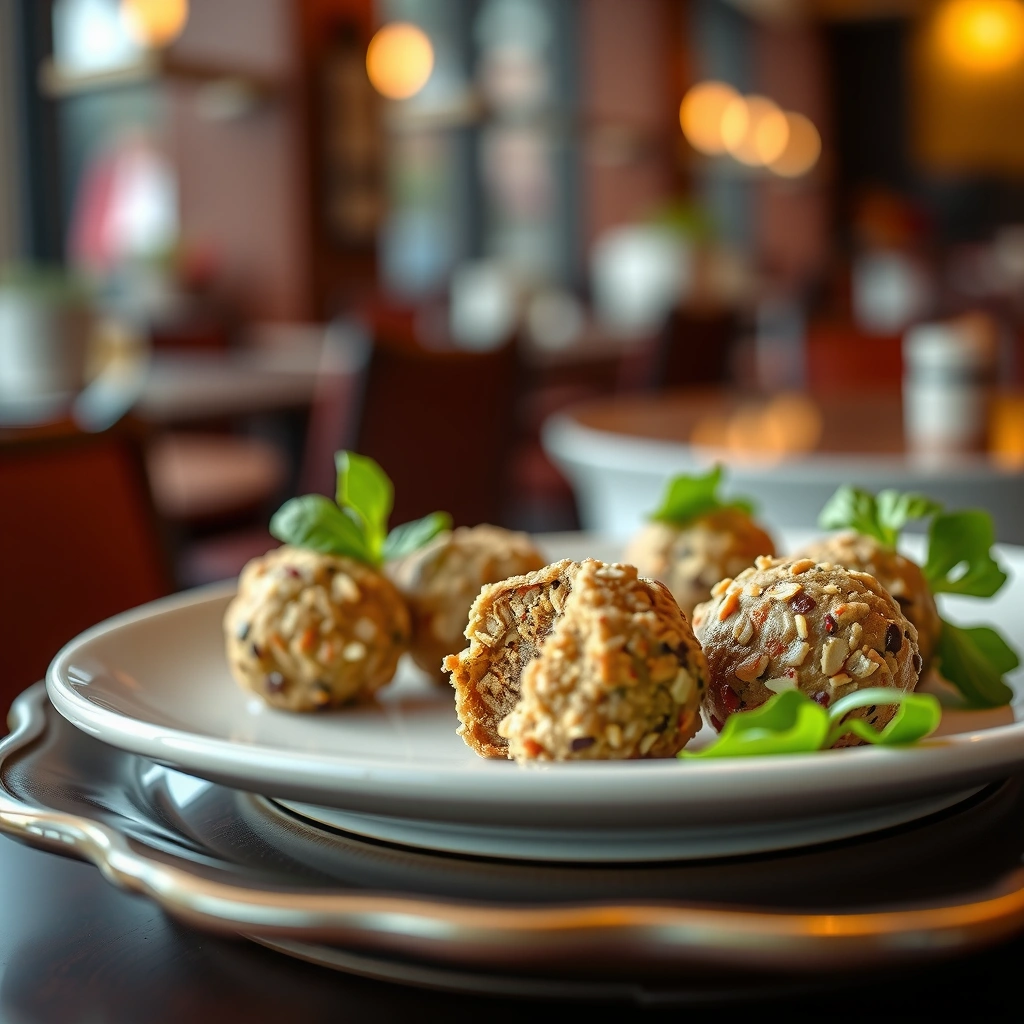
– Oats, chia seeds, or ground flax for fiber and thickness
– Cocoa powder, vanilla, or cinnamon for flavor without extra sugar
Mix-ins are where a protein ball stops tasting like a “nutrition product” and starts tasting like a real snack. The best mix-ins do two things at once: build texture and improve flavor.
Fiber and thickness (the structure layer).
– Rolled oats or quick oats add bulk, absorb moisture, and create a tender, hearty bite.
– Chia seeds are excellent “no-bake thickener.” They absorb liquid and gel, which often eliminates the need for extra sweeteners or added binders.
– Ground flaxseed provides fiber and a slightly nutty taste; it also helps the mixture hold together.
Flavor without sugar spikes (the enjoyment layer).
– Unsweetened cocoa powder delivers chocolate flavor with minimal sugar.
– Vanilla extract rounds out bitterness from cocoa and protein powder.
– Cinnamon adds warmth and sweetness perception without increasing sugar.
Other mix-ins that work well depending on your goals:
– Espresso powder (a little goes far) for “mocha” flavor.
– Shredded unsweetened coconut for texture, especially with peanut butter flavors.
– Freeze-dried fruit powder for berry-forward taste without adding excess moisture.
Actionable tip: If you use a sweet add-in like honey or maple syrup, compensate by reducing cocoa or vanilla quantity only slightly—do not eliminate fiber. Most “protein ball failures” come from trying to correct taste while ignoring structure.
Follow the Right Ratios (No Mess)
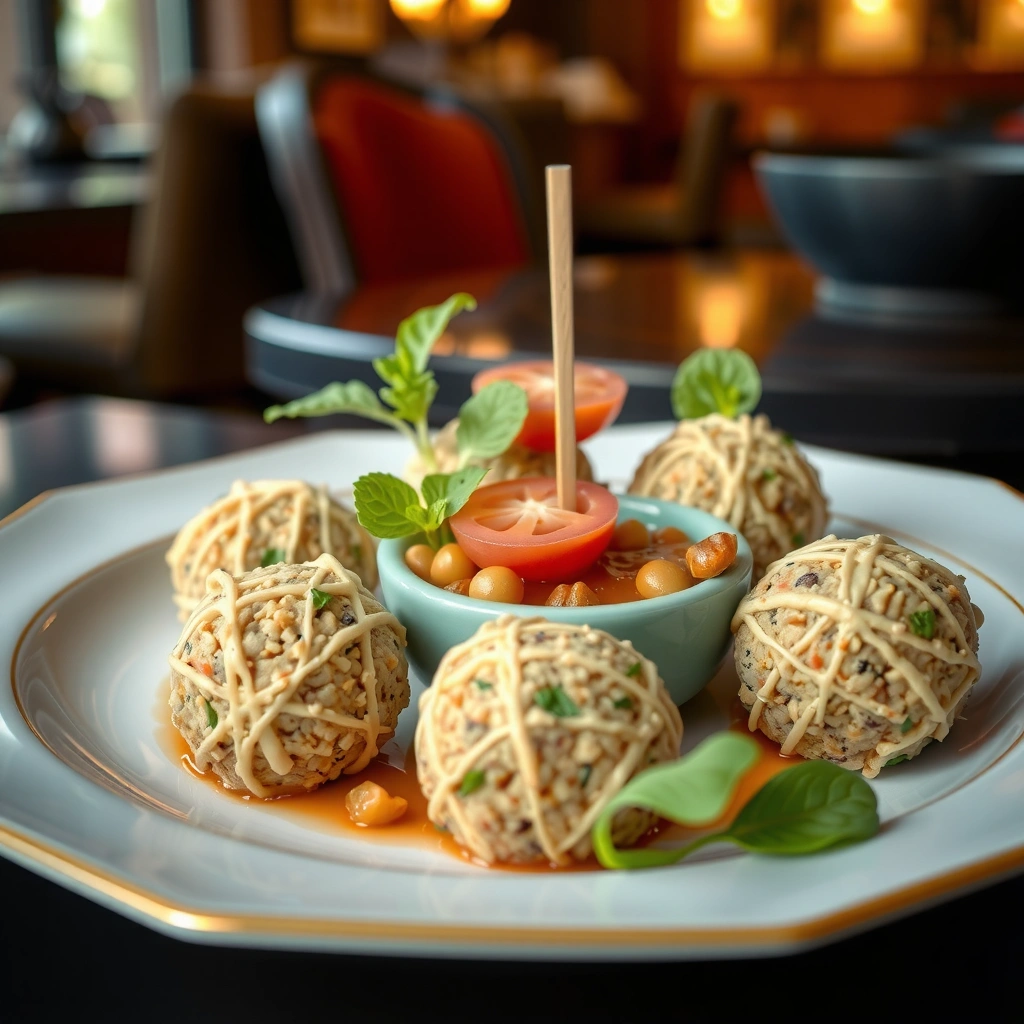
– Start with a “wet-to-dry” balance so the mixture holds when pressed
– Mix thoroughly, then chill 15–30 minutes if needed for firm rolling
Ratios matter because no-bake protein balls are essentially a controlled hydration system. Protein powder, oats, chia, and flax all absorb moisture differently, so the “wet-to-dry” balance is what determines whether your balls roll cleanly or crumble.
A dependable base ratio (works for most people with minor adjustments):
– Wet: nut butter + yogurt OR protein powder hydration (depending on your base)
– Dry: oats + chia/flax + cocoa/spices
How to judge the mix in real time:
– Too wet / won’t hold: add 1–2 tablespoons oats or chia at a time. Chia is usually the quickest fix.
– Too dry / won’t press: add 1 teaspoon of nut butter or yogurt, or a small splash of milk/plant milk.
Then let the chemistry do its job:
– Mix thoroughly (scrape down the bowl).
– Chill 15–30 minutes. For chia/flax-heavy batches, 30 minutes is often better for consistency.
No-mess rolling method: Use slightly damp hands or a light dusting of cocoa or oats on your fingertips. Portion first (about 1-inch balls), then roll.
Step-by-Step: Make Protein Balls
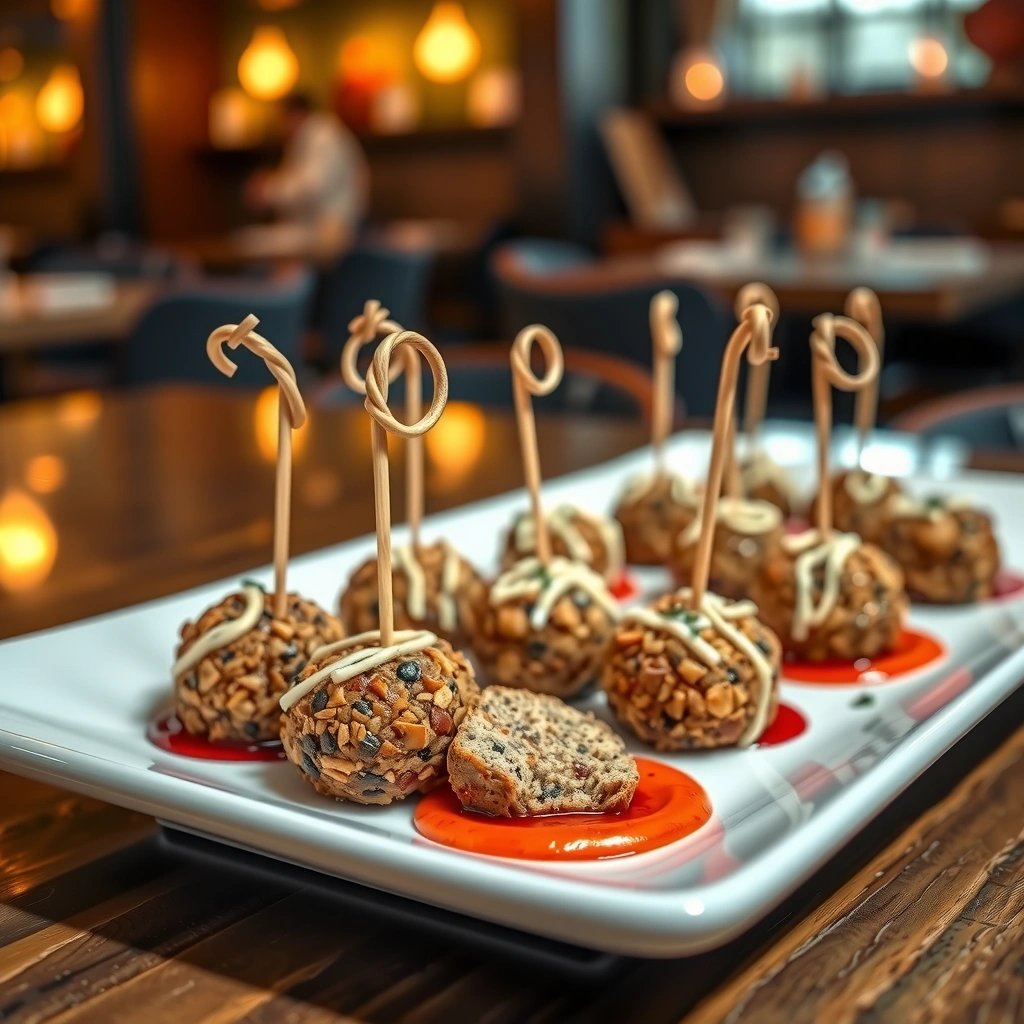
– Combine ingredients, then roll into 1-inch balls
– Store in the fridge for grab-and-go snacks
Here’s a streamlined process that reduces trial-and-error and improves repeatability:
1) Combine dry ingredients first (even if you’re mixing in one bowl).
Stir oats, chia (or ground flax), cocoa, and spices so they distribute evenly—especially important for avoiding “dry pockets” of protein powder.
2) Add wet ingredients and mix until uniform.
Add nut butter and your protein base (protein powder + liquid if needed, or Greek yogurt). Mix aggressively—at least 60–90 seconds—until no dry streaks remain.
3) Portion and roll immediately, then chill.
Scoop and roll into ~1-inch balls. If the mixture feels soft, roll anyway and then chill right away; firmness improves in the fridge.
4) Cool to set the texture.
Refrigerate for at least 15 minutes. For the cleanest, most stable bite, aim for 30 minutes.
5) Store for grab-and-go snacks.
Keep in an airtight container in the fridge for best texture. If you’re prepping for a busy week, freeze a portion (details below).
Actionable example: If you’re making chocolate peanut butter protein balls, your process stays the same—swap cocoa + peanut butter, then fine-tune thickness with either extra oats (firmer) or extra nut butter/yogurt (softer).
Flavor & Macro Customizations
– Make it chocolate, peanut butter, or berry by swapping flavor add-ins
– Adjust sweetness with a little honey/maple syrup or sugar-free alternatives
One of the biggest advantages of the best protein ball recipe is that it scales across flavor profiles while staying macro-conscious.
Chocolate variations
– Add extra cocoa powder for intensity.
– Mix in espresso powder for a bakery-style “truffle” note.
– If the chocolate tastes flat, increase vanilla slightly rather than adding more sweetener.
Peanut butter variations
– Use peanut butter as the wet anchor.
– Add a pinch of salt to increase flavor complexity.
– If you want richer taste without extra calories, stir in a spoon of powdered peanut butter (if available) because it increases peanut flavor and can slightly boost protein.
Berry variations
– Use freeze-dried berry powder or crushed freeze-dried fruit.
– Because fruit powders can be drying, you may need to add a teaspoon of yogurt or nut butter to maintain the wet-to-dry balance.
– For a more “jammy” taste, add a small amount of chia (it thickens and helps mimic fruit compote texture).
Sweetness adjustments (for compliance with your goals)
– For traditional sweetness: use honey or maple syrup in small amounts.
– For sugar-free alternatives: choose a sweetener compatible with no-bake mixtures (start tiny; protein powders can already be sweet depending on brand).
– If your goal is strict macros, keep sweeteners minimal and lean on flavor boosters like cocoa, cinnamon, vanilla, and fruit powders.
Professional rule of thumb: If you change sweetness, re-check texture. Sweeteners can alter moisture perception and stickiness—so make adjustments gradually and chill to confirm final firmness.
Storage, Shelf Life, and Serving Tips
– Refrigerate for best texture; freeze for longer storage
– Serve as a pre-workout snack or quick post-meal protein
Protein balls are designed for real life—meaning storage performance matters as much as taste.
Refrigeration (best texture):
– Store in an airtight container.
– They typically hold well in the fridge for about 5–7 days, depending on yogurt freshness (if you used it).
Freezing (longer storage):
– Freeze in a single layer first, then transfer to a container or freezer bag.
– Frozen protein balls often stay high quality for up to 2–3 months.
– Thaw in the fridge for best texture. If you’re in a hurry, let them sit at room temperature for 5–10 minutes.
Serving ideas that match training and busy schedules:
– Pre-workout: take 30–60 minutes before training for steady energy and satiety.
– Post-meal protein: pair with a balanced meal and use protein balls as an optional “protein top-up.”
– Desk snack: portion into grab-and-go containers so you don’t end up overeating (portion control is often the hidden lever in macro success).
Troubleshooting quick fix:
– If balls become too firm after refrigeration, let them warm slightly before eating.
– If they lose cohesion after thawing, re-roll gently and chill again for 10 minutes.
Protein balls are easy to make, highly customizable, and great for meeting your protein goals without complicated prep. Try the base recipe approach, choose your flavor mix-ins, and adjust the ratios to match your macros—then make a batch for the week so you always have a protein-forward snack ready when time is tight.
References
- Google Scholar Google Scholar
https://scholar.google.com/scholar?q=best+protein+ball+recipe - Google Scholar Google Scholar
https://scholar.google.com/scholar?q=protein+balls+nutrition+ingredients+satiety - Google Scholar Google Scholar
https://scholar.google.com/scholar?q=protein+intake+healthy+snacks+weight+management - https://ods.od.nih.gov/factsheets/Protein-HealthProfessional/
https://ods.od.nih.gov/factsheets/Protein-HealthProfessional/ - https://www.mayoclinic.org/healthy-lifestyle/nutrition-and-healthy-eating/in-depth/high-protein-foods/art-20048278
https://www.mayoclinic.org/healthy-lifestyle/nutrition-and-healthy-eating/in-depth/high-protein-foods/art-20048278 - Healthy diet
https://www.who.int/news-room/fact-sheets/detail/healthy-diet - https://www.myplate.gov/eat-healthy/protein
https://www.myplate.gov/eat-healthy/protein - Protein
https://en.wikipedia.org/wiki/Protein - https://en.wikipedia.org/wiki/Energy_ball
https://en.wikipedia.org/wiki/Energy_ball - https://pubmed.ncbi.nlm.nih.gov/?term=protein+satiety+randomized+trial
https://pubmed.ncbi.nlm.nih.gov/?term=protein+satiety+randomized+trial