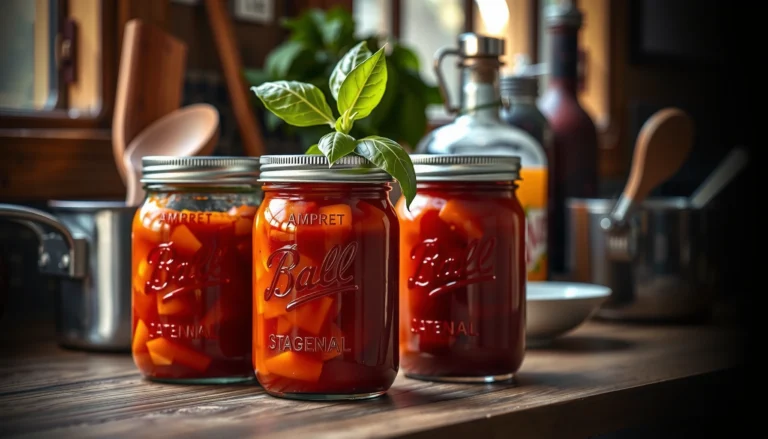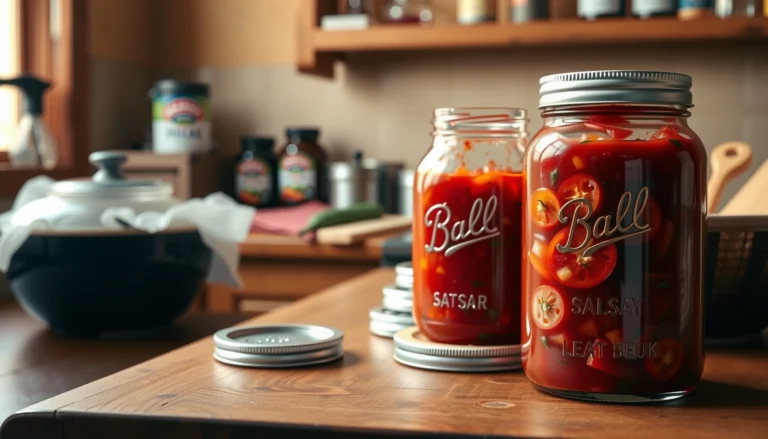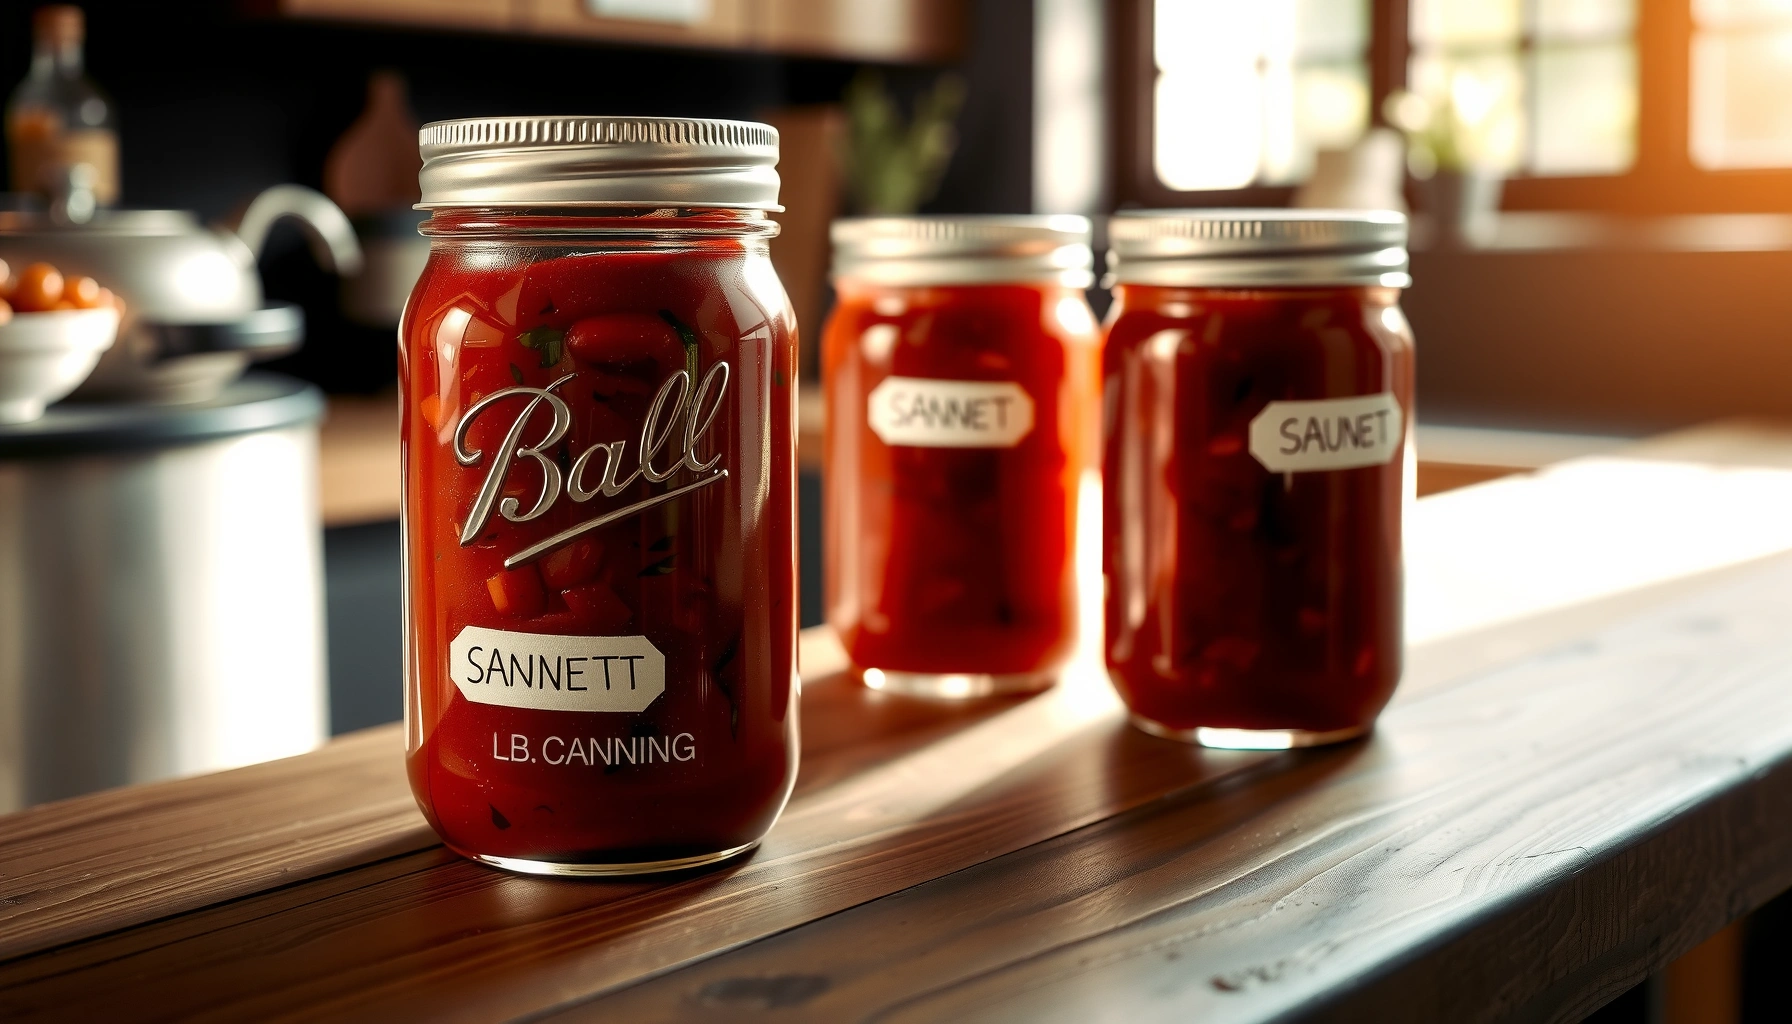
Get a ball canning spaghetti sauce recipe with clear, step-by-step instructions you can follow without guesswork. This guide tells you exactly how to prepare the sauce, jar it correctly, and process it safely so it holds up on the shelf. If you want the most reliable canned result, you’ll know what to do from start to finish.
Ball canning spaghetti sauce is safe and flavorful when you use a tested recipe, heat the sauce properly, pack jars with correct headspace, and process it using the correct Ball method and processing time for low-acid foods. This guide walks you through making a classic batch, prepping jars, and using reliable technique—so you can build a pantry stocked with dependable, ready-to-serve weeknight sauce.
Prep Ingredients and Make the Sauce
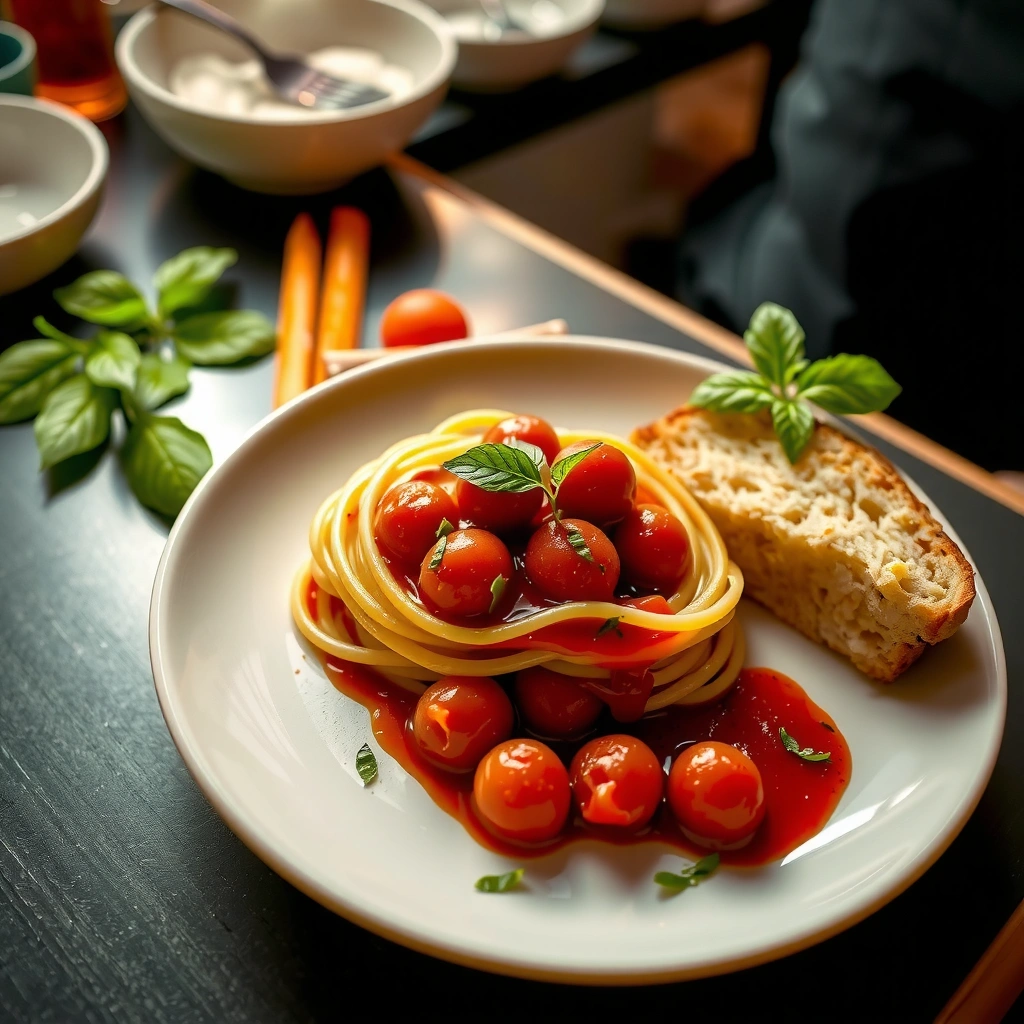
Start with a consistent, tested spaghetti sauce base so you’re not “inventing” variables during canning. For safe water-bath canning, spaghetti sauce must be formulated and processed as specified by the canning authority you’re following (many spaghetti sauces are treated as low-acid and require pressure canning). The safest approach is to follow a Ball-tested method/recipe that accounts for acidity and density—because tomato products, added vegetables, and meat all affect processing requirements.
Plan for a smooth sauce-to-jar workflow:
– Choose tomatoes (crushed, whole, or tomato puree) as your acid foundation.
– Add aromatics (onion and/or garlic) for depth.
– Use herbs and seasonings such as basil, oregano, black pepper, and optional red pepper flakes.
– Thicken for canning: simmer until the sauce reaches a jar-friendly consistency—not watery, but also not so thick that it doesn’t heat through evenly.
– Keep it hot while filling (cold or lukewarm sauce can interfere with jar temperature control and may increase thermal shock risk).
A practical classic batch (adjust to your jar yield):
– Olive oil (or vegetable oil)
– Onion, diced
– Garlic, minced
– Crushed tomatoes (or tomato puree)
– Tomato paste (optional for richness)
– Dried oregano and/or basil
– Sugar (optional; helps balance acidity)
– Salt (per your tested recipe)
– Black pepper and optional red pepper flakes
– Optional: finely chopped carrots or peppers—note that adding extra low-acid vegetables should be guided by the tested recipe you’re using
Key “canning-quality” technique tips:
– Sauté onions and garlic until translucent to build flavor before the simmer.
– Simmer with the lid slightly ajar initially to reduce excess water, then cover lightly while seasoning melds.
– Stir frequently near the end so the bottom doesn’t scorch.
– If you’re using meat, beans, or additional vegetables, stick to the exact tested Ball recipe—don’t rely on a general spaghetti sauce idea. Those additions change safe processing.
To make this recipe decision easier, the table below summarizes how different spaghetti sauce “styles” commonly perform in home canning when you follow tested guidance (especially regarding whether you should expect pressure canning vs. water-bath). Use it as a planning lens, not as a substitute for your Ball instructions.
Spaghetti Sauce Style Considerations for Safe Home Canning
| # | Sauce style | Acid anchor | Typical risk driver | Reliance on tested method | Safety fit score |
|---|---|---|---|---|---|
| 1 | Tomato-only (crushed/whole) marinara | Tomatoes | Heat-through & density | High | ★★★★☆ |
| 2 | Onion-garlic marinara | Tomatoes + aromatics | Extra vegetables & thickness | High | ★★★★☆ |
| 3 | Sausage/meat marinara | Tomatoes + meat | Heat penetration in solids | Very high | ★★★☆☆ |
| 4 | Roasted vegetable marinara | Tomatoes + veg | Lower-acid load from veg | Very high | ★★☆☆☆ |
| 5 | Extra-thick “pasta sauce” style | Tomatoes | Reduced liquid slows heat | High | ★★★☆☆ |
| 6 | “Chunks” with whole tomatoes | Tomatoes | Uneven packing, voids | High | ★★★★☆ |
| 7 | Low-salt/“fresh tasting” sauce | Tomatoes | No preservation buffer change | High | ★★★☆☆ |
Choose Lids, Jars, and Set Up Your Canning Station
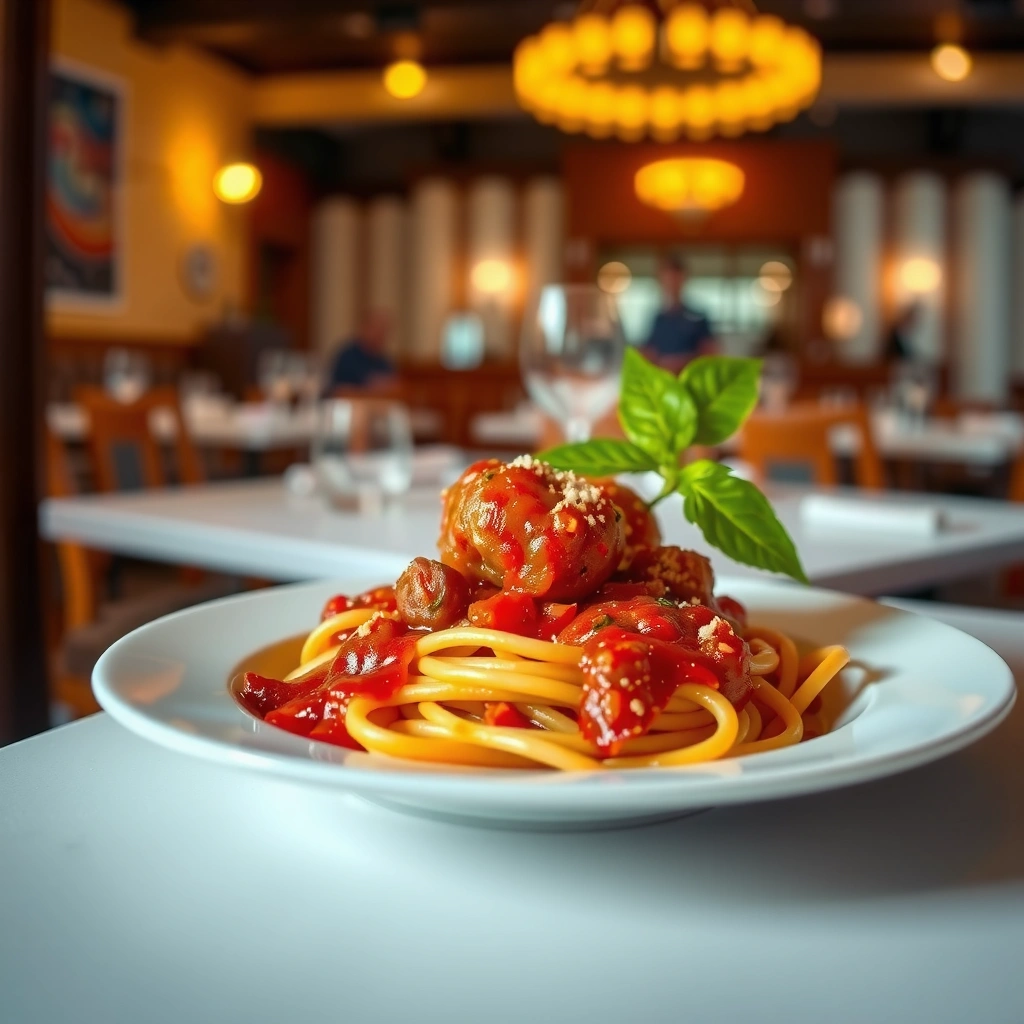
Even the best Ball canning spaghetti sauce recipe can’t compensate for compromised jars or incorrect lid fit. Set yourself up for speed and consistency: when jars are hot and sauce is at the right temperature, you don’t want to improvise.
Jar and lid readiness checklist:
– Inspect jars: discard any with chips, cracks, or rough edges—especially around the rim.
– Use jars in good condition and sizes matched to your Ball instructions.
– Use new, correctly matched lids for each batch. Rings are reusable if they’re in good condition; lids are not.
– Keep jars warm until filling to reduce thermal shock risk.
– Prepare your workspace:
– Clear space for a clean rim-wiping area
– Have clean towels ready
– Use a jar lifter and keep tools within reach
Safety-first station setup:
– If you’re pressure canning (commonly required for low-acid considerations and many spaghetti sauce formulations), confirm your canner is in good working order, including the pressure gauge and venting system.
– Start heating water in the canner according to your Ball method so you’re not rushed later.
– Lay out a flow: sauce pot → ladle → jar filling → rim wipe → lid → ring → canner load.
Fill Jars Correctly for Safe Canning
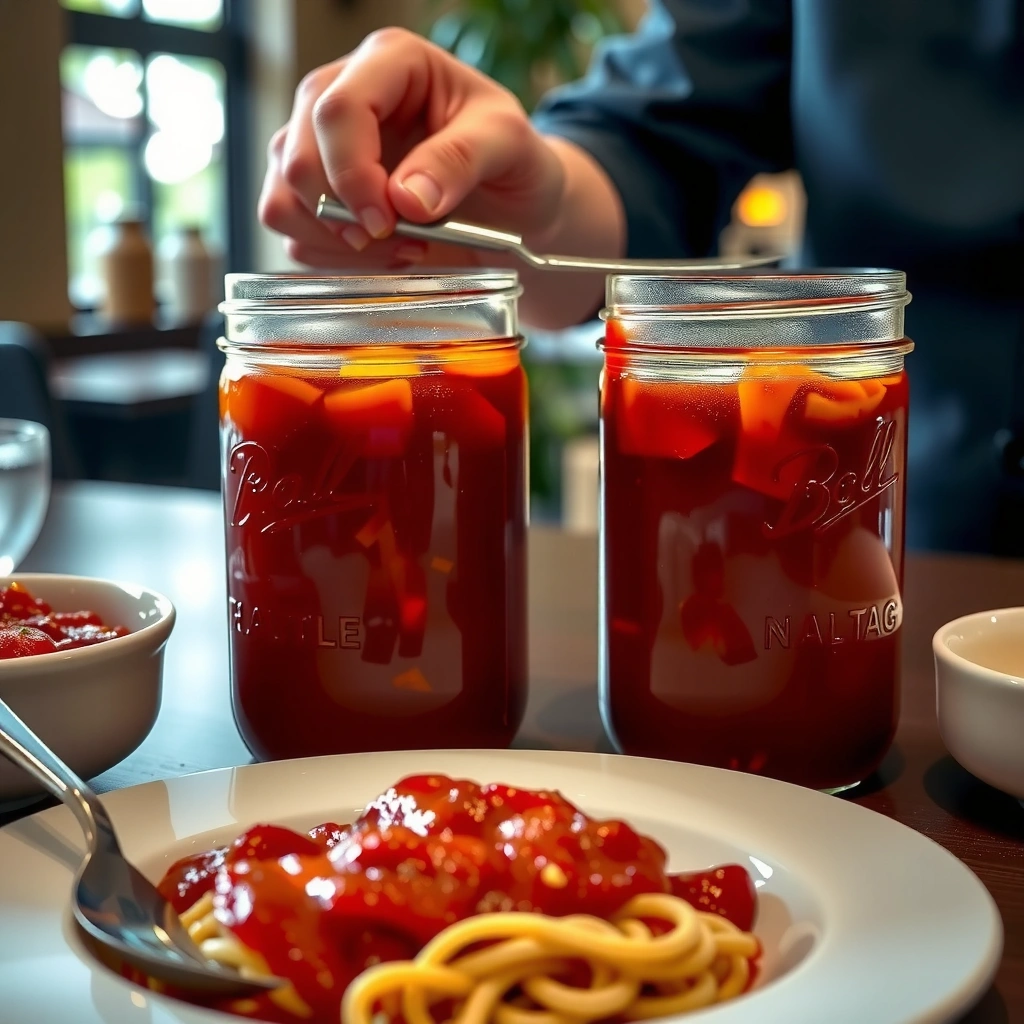
Packing jars is where many home canning failures occur—not because the sauce isn’t tasty, but because heat transfer and sealing depend on details. Follow the Ball-recommended headspace for the specific jar size and method you’re using.
Filling steps that matter:
– Ladle hot sauce into the jar, using a canning funnel if you have one.
– Leave proper headspace (the exact amount is specified in Ball instructions for your process; measure with a headspace tool when possible).
– Remove air bubbles by sliding a nonmetallic utensil around the inside edge of the jar (or use the method described in your Ball guide).
– Wipe rims carefully with a clean, damp cloth—any sauce residue can prevent a tight seal.
– Apply lids and rings:
– Center the lid on the jar rim
– Tighten rings “snugly” (not overly tight) so the venting/processing can do its job
Quality control while you work:
– After filling, keep jars upright and avoid sliding lids on rims (helps keep sealing surfaces clean).
– If headspace is off, adjust before processing—don’t “fix it later.”
Process Your Ball-Spaghetti Sauce Safely
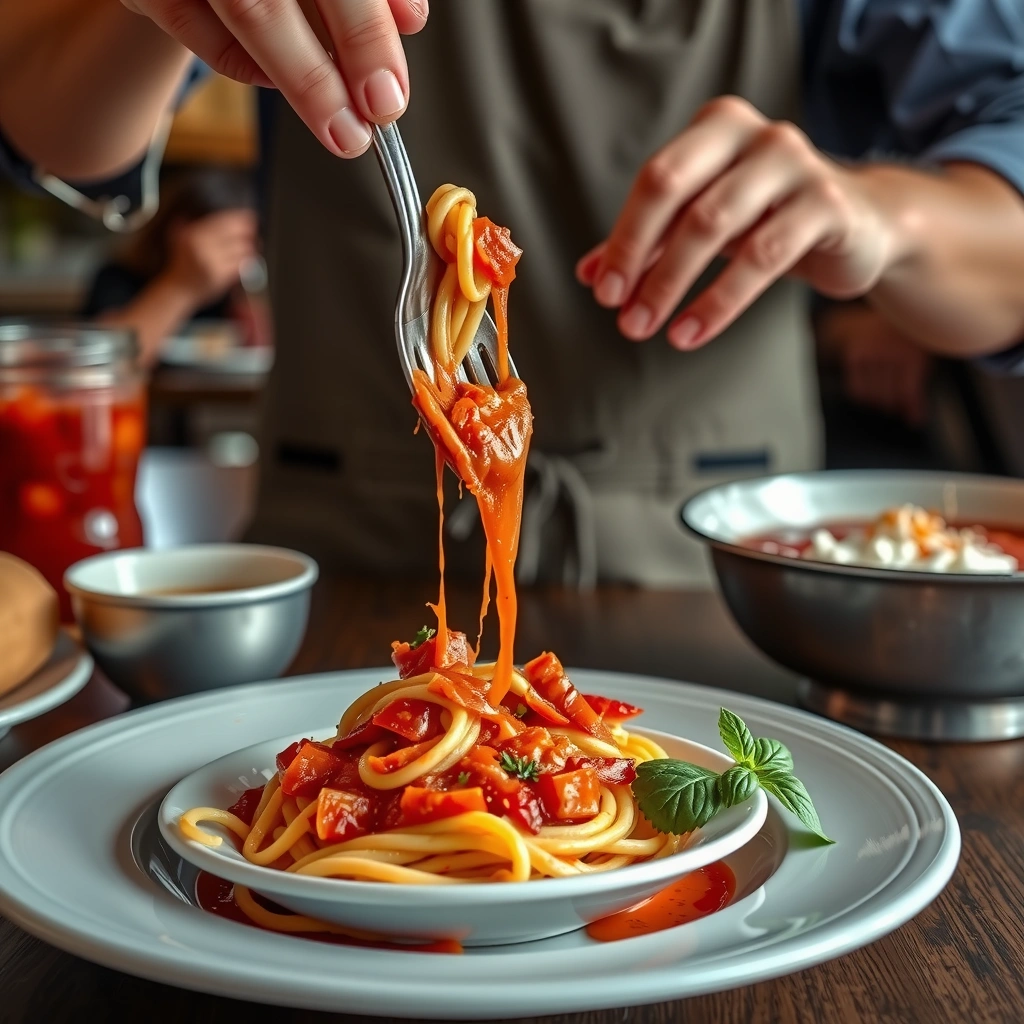
This is the core safety step. Ball canning spaghetti sauce is safe and flavorful when you use the correct canning method and processing time for the type of sauce you made and your altitude. Spaghetti sauce is typically treated as low-acid unless it’s formulated and processed according to a tested, specifically acidified or otherwise validated method. That’s why the “method + time + headspace + jar size” combination must match what Ball specifies.
What “correct processing” means in practice:
– Use the appropriate Ball method (pressure canning is generally used for low-acid spaghetti sauce formulations).
– Use Ball’s processing time for your:
– Jar size (pint vs. quart)
– Canner type (weighted gauge vs. dial gauge, if applicable)
– Sauce style density (if Ball specifies a range)
– Adjust for altitude using Ball’s adjustment chart—processing time/pressure values change at higher elevations.
Operational best practices:
– Start timing only when the canner has reached the required pressure/conditions as described by Ball.
– Maintain stable pressure; don’t repeatedly let it drop far below target.
– After processing, allow jars to rest undisturbed as directed. Don’t rush cooling.
To keep your process consistent, here are practical “failure modes” to watch for:
– Wrong jar size with the wrong time
– Skipping altitude adjustment
– Overfilling or underfilling (headspace changes heat transfer)
– Cold jars + cold sauce leading to uneven heating
– Stopping early because it “looks done”
Cool, Seal, and Store Your Canned Spaghetti Sauce
When processing is complete, the cooling phase can determine whether you end up with sealed jars or a batch that needs refrigeration. Let jars cool undisturbed—this allows pressure normalization and helps seals form correctly.
Cooling and seal checks:
– Use a heat-safe surface with airflow (avoid stacking while hot).
– Do not retighten rings after processing.
– Wait until jars are fully cooled to check seals.
– Remove rings after 12–24 hours if you want cleaner pantry storage (jars that remain sealed should not leak when the ring is removed).
Storage standards:
– Label jars with:
– Contents (spaghetti sauce / marinara)
– Date processed
– (Optional) sauce batch notes (e.g., “with meat” or “extra-thick”)
– Store in a cool, dark place.
– Rotate inventory: older jars first.
– If a jar didn’t seal, refrigerate promptly and use within a few days (or reprocess if you follow a safe option within your Ball guidance).
Reheat and Use for Weeknight Meals
Your canning success should show up at dinner time. Canned spaghetti sauce is designed to make weeknight cooking easier: you reheat, taste, and serve—without the long simmer from scratch.
Reheating guidance:
– Reheat gently in a saucepan over medium-low heat until hot and steaming.
– Stir occasionally to prevent scorching.
– For microwave reheating, cover loosely and heat in intervals, stirring between.
– Taste and adjust: salt, pepper, herbs, and a small pinch of sugar can help round out flavor after storage.
Serving ideas that translate well from jar to plate:
– Classic pasta dinner: spaghetti or penne + grated Parmesan + fresh basil
– “Fast protein” night: toss with meatballs (from frozen or pre-cooked)
– Layered casserole base: use as the sauce component for baked ziti or lasagna (add cheese and bake)
– DIY pizza topping: reduce slightly on the stove for a thicker layer, then add mozzarella
For best results, avoid boiling hard for long periods after opening—just heat through so the sauce stays balanced and smooth.
Ball canning spaghetti sauce comes down to making a quality sauce, packing jars with proper headspace, and processing them using the safe, tested Ball method. Make a consistent batch, follow each step—including correct canner method, processing time, and altitude adjustments—then cool, label, and store properly. With that discipline in place, you’ll have reliable jars ready for quick weeknight dinners and you’ll feel confident using what you’ve canned every time.
References
- https://nchfp.uga.edu/how/can_05/tomato_sauce.html
https://nchfp.uga.edu/how/can_05/tomato_sauce.html - | National Center for Home Food Preservation
https://nchfp.uga.edu/how/can_02/tomato.html - https://nchfp.uga.edu/publications/publications_usda.html
https://nchfp.uga.edu/publications/publications_usda.html - https://www.fda.gov/food/home-canning-and-food-safety
https://www.fda.gov/food/home-canning-and-food-safety - Home canning
https://en.wikipedia.org/wiki/Home_canning - Home canning
https://en.wikipedia.org/wiki/Water_bath_canning - https://pubmed.ncbi.nlm.nih.gov/?term=home+canning+tomato+sauce+processing
https://pubmed.ncbi.nlm.nih.gov/?term=home+canning+tomato+sauce+processing - Google Scholar Google Scholar
https://scholar.google.com/scholar?q=home+canning+tomato+sauce+safety+water+bath - Google Scholar Google Scholar
https://scholar.google.com/scholar?q=spaghetti+sauce+canning+tomato+product+processing+time - Google Scholar Google Scholar
https://scholar.google.com/scholar?q=ball+canning+spaghetti+sauce+recipe+guidelines