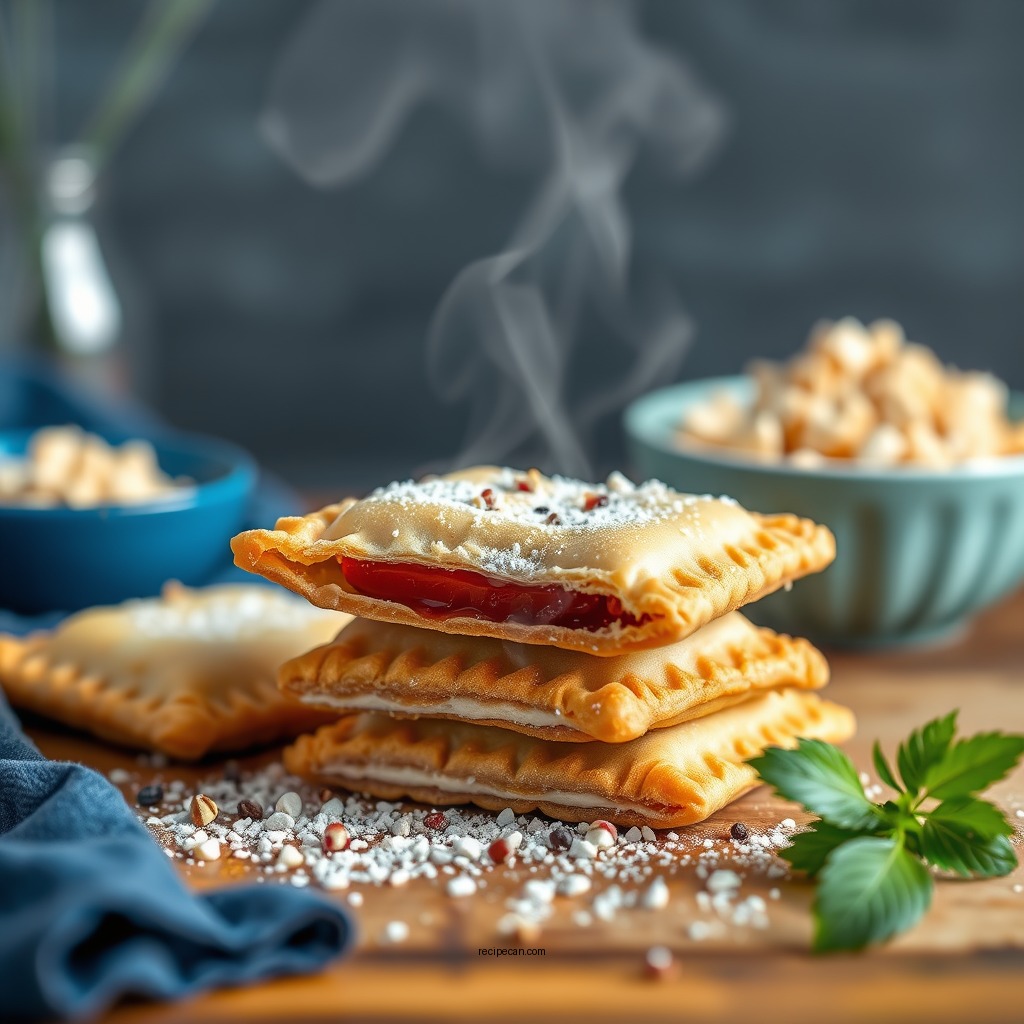
Making homemade pop tarts is simple and rewarding, allowing you to customize flavors and fillings to your liking. In just a few easy steps, you can create delicious, flaky pastries that rival store-bought versions. This guide will walk you through the process of crafting your very own pop tarts from scratch.
Ingredients You’ll Need
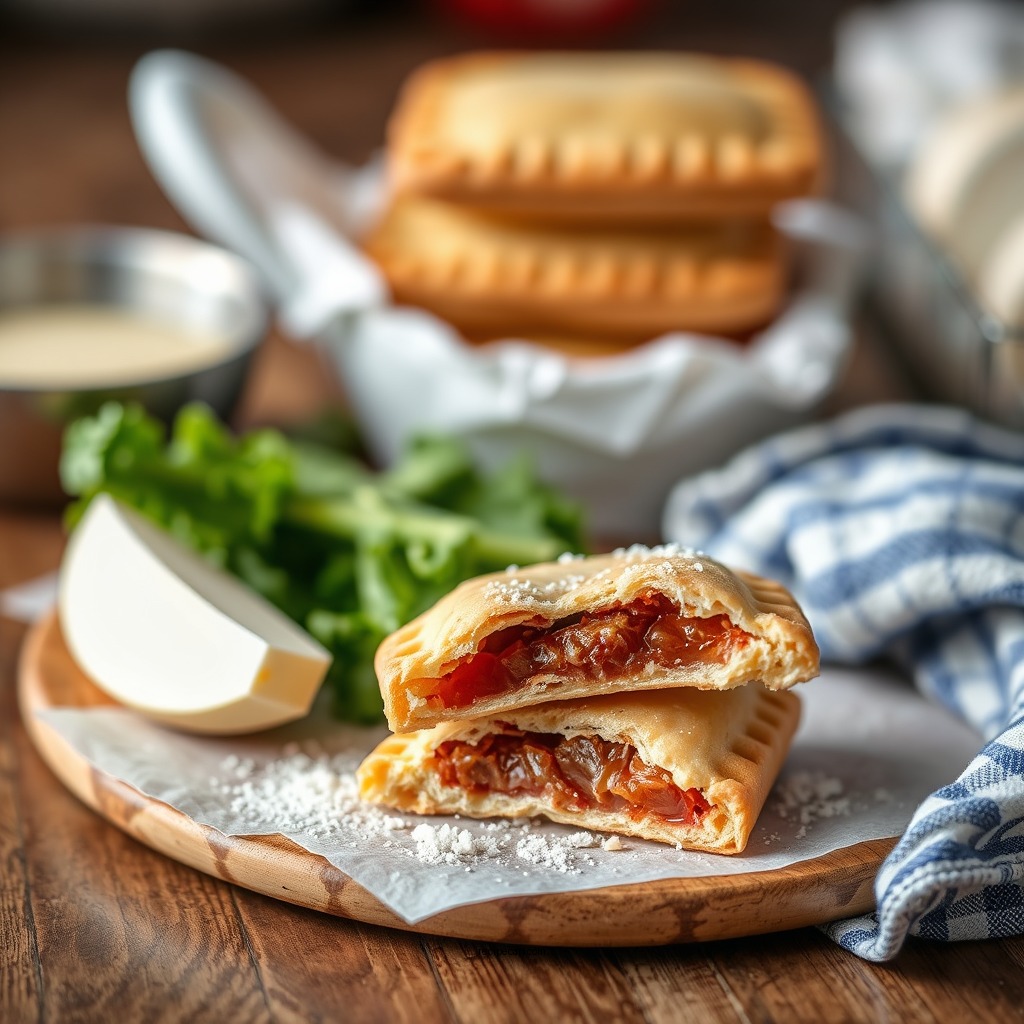
To create delicious homemade pop tarts, you will need a few basic pantry staples for the dough, along with your choice of fillings. Here’s a breakdown of what you will need:
– Dough Ingredients:
– 2 cups all-purpose flour
– 1/2 cup unsalted butter, chilled and cubed
– 1/4 cup granulated sugar
– 1/4 teaspoon salt
– 6–8 tablespoons ice water
– Filling Options:
– 1/2 cup fruit preserves (such as strawberry, raspberry, or apricot)
– 1/2 cup chocolate spread (like Nutella)
– 1/2 cup savory fillings (e.g., cream cheese mixed with herbs or cheese)
– Topping Ingredients:
– 1 cup powdered sugar
– 1-2 tablespoons milk
– Optional: sprinkles, chopped nuts, or coconut for decoration
This list provides the foundation for a delightful pop tart experience. The beauty of making pop tarts at home is the flexibility to choose fillings that cater to your taste preferences.
Preparing the Dough
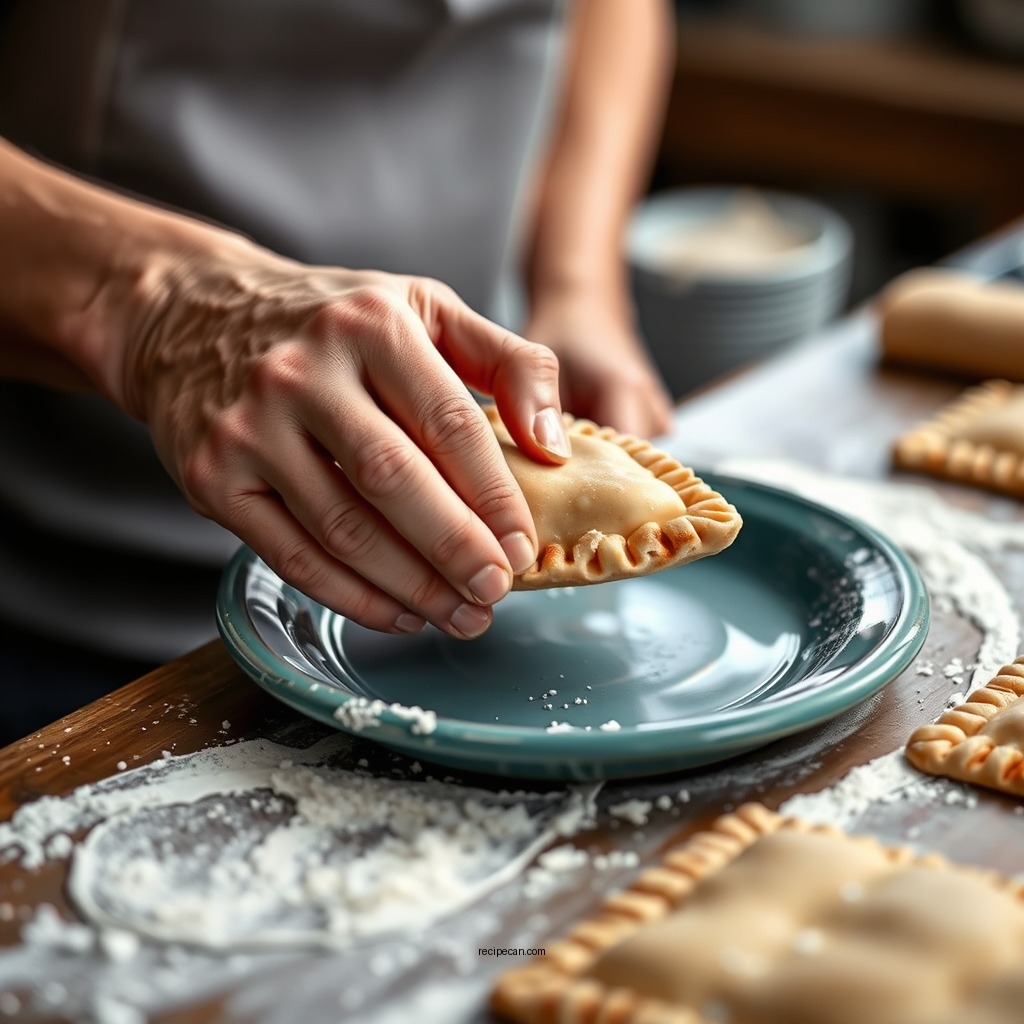
The first step in your homemade pop tart journey is preparing the dough. This crucial phase sets the stage for the flaky, tender crust that encases your delicious fillings.
1. Combine Dry Ingredients: In a large mixing bowl, combine the all-purpose flour, granulated sugar, and salt. Whisk together until well blended.
2. Cut in the Butter: Add the chilled, cubed butter to the flour mixture. Using a pastry cutter or your fingers, cut the butter into the flour until the mixture resembles coarse crumbs. This process is essential for achieving a flaky texture in the final product.
3. Add Water Gradually: Slowly add the ice water, one tablespoon at a time, mixing until the dough begins to come together. Be careful not to overwork the dough; it should be smooth and slightly tacky.
4. Chill the Dough: Form the dough into a disc, wrap it in plastic wrap, and refrigerate for at least 30 minutes. Chilling the dough helps to firm it up, making it easier to roll out later.
Rolling and Cutting the Dough
Once the dough has chilled, it’s time to roll it out and cut it into the shapes needed for your pop tarts.
1. Prepare Your Workspace: Lightly flour your countertop or work surface to prevent sticking.
2. Roll Out the Dough: Using a rolling pin, roll out the chilled dough to approximately 1/8 inch thick. Ensure that your dough remains evenly thick throughout for consistent baking.
3. Cut into Rectangles: Employ a pizza cutter or a sharp knife to cut the rolled dough into rectangular shapes, typically measuring about 3 inches by 4 inches. You will need an even number of rectangles, as each pop tart will consist of a top and bottom.
Adding the Filling
Now comes the exciting part—adding your chosen filling to the pop tarts.
1. Position the Filling: Take half of the cut rectangles and place a spoonful of your desired filling in the center of each one. Leave a small border around the edges to ensure proper sealing.
2. Avoid Overfilling: Be cautious not to add too much filling, as this can lead to overflow during baking. A tablespoon or so of filling should suffice.
Sealing the Pop Tarts
With the filling in place, it’s important to seal the pop tarts properly to prevent any leakage during baking.
1. Top with Another Rectangle: Take another rectangle of dough and place it over the filled rectangle.
2. Press Edges to Seal: Firmly press the edges together to seal in the filling. For added security, use a fork to crimp the edges, creating a decorative pattern while ensuring the filling stays inside.
3. Optional: Vent the Tops: To allow steam to escape while baking, you can use a sharp knife to make a few small slits on the top layer of dough.
Baking Instructions
Next, it’s time to bake your homemade pop tarts to golden perfection.
1. Preheat the Oven: Set your oven to 375°F (190°C) and line a baking sheet with parchment paper to prevent sticking.
2. Arrange the Pop Tarts: Place the prepared pop tarts on the lined baking sheet, ensuring they are spaced apart to allow for expansion.
3. Bake: Bake for approximately 20-25 minutes or until the pastries are golden brown. Keep a watchful eye to avoid overbaking.
4. Cool Down: Once baked, remove the pop tarts from the oven and allow them to cool on a wire rack.
Decorating Your Pop Tarts
Once your pop tarts have cooled, the fun doesn’t have to stop. Decorating them is an excellent way to personalize your pastries.
1. Prepare the Icing: In a small bowl, mix the powdered sugar with milk until you achieve a smooth, drizzling consistency. Adjust the amount of milk to get your desired thickness.
2. Drizzle Over Pop Tarts: Once the icing is ready, use a spoon to drizzle it over the cooled pop tarts.
3. Add Decorative Touches: For an extra flair, sprinkle with colorful sprinkles, chopped nuts, or shredded coconut. This step adds a playful and visually appealing touch to your homemade treats.
Top 7 Popular Pop Tart Flavors (2024)
| # | Flavor | Popularity Rating | Calories per Serving | Average Price |
|---|---|---|---|---|
| 1 | Strawberry | ★ ★ ★ ★ ★ | 200 | $2.50 |
| 2 | Brown Sugar Cinnamon | ★ ★ ★ ★ ☆ | 210 | $2.75 |
| 3 | Cherry | ★ ★ ★ ★ ☆ | 190 | $2.30 |
| 4 | Raspberry | ★ ★ ★ ★ ☆ | 200 | $2.40 |
| 5 | S’mores | ★ ★ ★ ☆ ☆ | 220 | $2.90 |
| 6 | Chocolate Fudge | ★ ★ ★ ★ ☆ | 210 | $2.85 |
| 7 | Lemonade | ★ ★ ★ ☆ ☆ | 180 | $2.20 |
Homemade Pop Tarts Flavor Popularity (%)
Creating homemade pop tarts is not only a fun baking project but also allows for endless customization. By following these simple steps, you can enjoy fresh pastries that are tailored to your taste. Try experimenting with different fillings and toppings to find your favorite combination! Making pop tarts from scratch can be a delightful experience for both novice and experienced bakers alike, offering a chance to connect with culinary traditions while enjoying sweet, personalized treats.
Frequently Asked Questions
What ingredients do I need for a basic homemade pop tart recipe?
To make a basic homemade pop tart, you’ll need all-purpose flour, butter, sugar, salt, and cold water for the pastry dough. For the filling, you can use fruit preserves, jam, or even Nutella, depending on your flavor preference. Additionally, you might want powdered sugar and milk for a simple icing to top off your pop tarts.
How do I make the pastry dough for homemade pop tarts?
To make the pastry dough for homemade pop tarts, start by mixing together flour, sugar, and salt in a bowl. Cut in chilled butter until the mixture resembles coarse crumbs, then add cold water gradually until the dough comes together. Chill the dough for at least 30 minutes before rolling it out for your pop tart shapes.
Why are my homemade pop tarts not flaky?
If your homemade pop tarts are not flaky, it could be due to overworking the dough or not using cold ingredients. Ensure that your butter is cold and that you mix the dough just until it comes together. Additionally, allowing the dough to chill before baking can help maintain a flaky texture.
What is the best way to bake homemade pop tarts?
The best way to bake homemade pop tarts is to preheat your oven to 375°F (190°C) and line a baking sheet with parchment paper. Bake the pop tarts for 20-25 minutes or until they are golden brown. For even baking, make sure to space them out on the sheet to allow proper air circulation.
Which fillings are most popular for homemade pop tarts?
The most popular fillings for homemade pop tarts include classic strawberry or raspberry jam, chocolate hazelnut spread, and apple cinnamon filling. You can also experiment with other flavors like blueberry, peach, or even savory options like cream cheese and bacon. The choice of filling can greatly enhance your pop tart experience, so don’t hesitate to get creative!
References
- Pop-Tarts
https://en.wikipedia.org/wiki/Pop-Tart - https://www.sciencedirect.com/topics/food-science/pop-tarts
https://www.sciencedirect.com/topics/food-science/pop-tarts - Google Scholar Google Scholar
https://scholar.google.com/scholar?q=recipe+for+homemade+pop+tarts - https://www.bbc.com/food/recipes/homemade_pop_tarts_81736
https://www.bbc.com/food/recipes/homemade_pop_tarts_81736 - NYT Cooking – Recipes and Cooking Guides From The New York Times
https://www.nytimes.com/recipes/1019652-homemade-pop-tarts.html - Google Scholar Google Scholar
https://scholar.google.com/scholar?q=Pop+tarts+history+and+recipes - https://www.theguardian.com/food/2021/jul/07/how-to-make-pop-tarts-homemade-recipe
https://www.theguardian.com/food/2021/jul/07/how-to-make-pop-tarts-homemade-recipe - https://www.britannica.com/topic/Pop-Tart
https://www.britannica.com/topic/Pop-Tart - https://www.mayoclinic.org/healthy-lifestyle/nutrition-and-healthy-eating/expert-answers/homemade-pop-tarts/faq-20480954
https://www.mayoclinic.org/healthy-lifestyle/nutrition-and-healthy-eating/expert-answers/homemade-pop-tarts/faq-20480954 - https://www.pubmed.ncbi.nlm.nih.gov/?term=pop+tarts+recipe
https://www.pubmed.ncbi.nlm.nih.gov/?term=pop+tarts+recipe