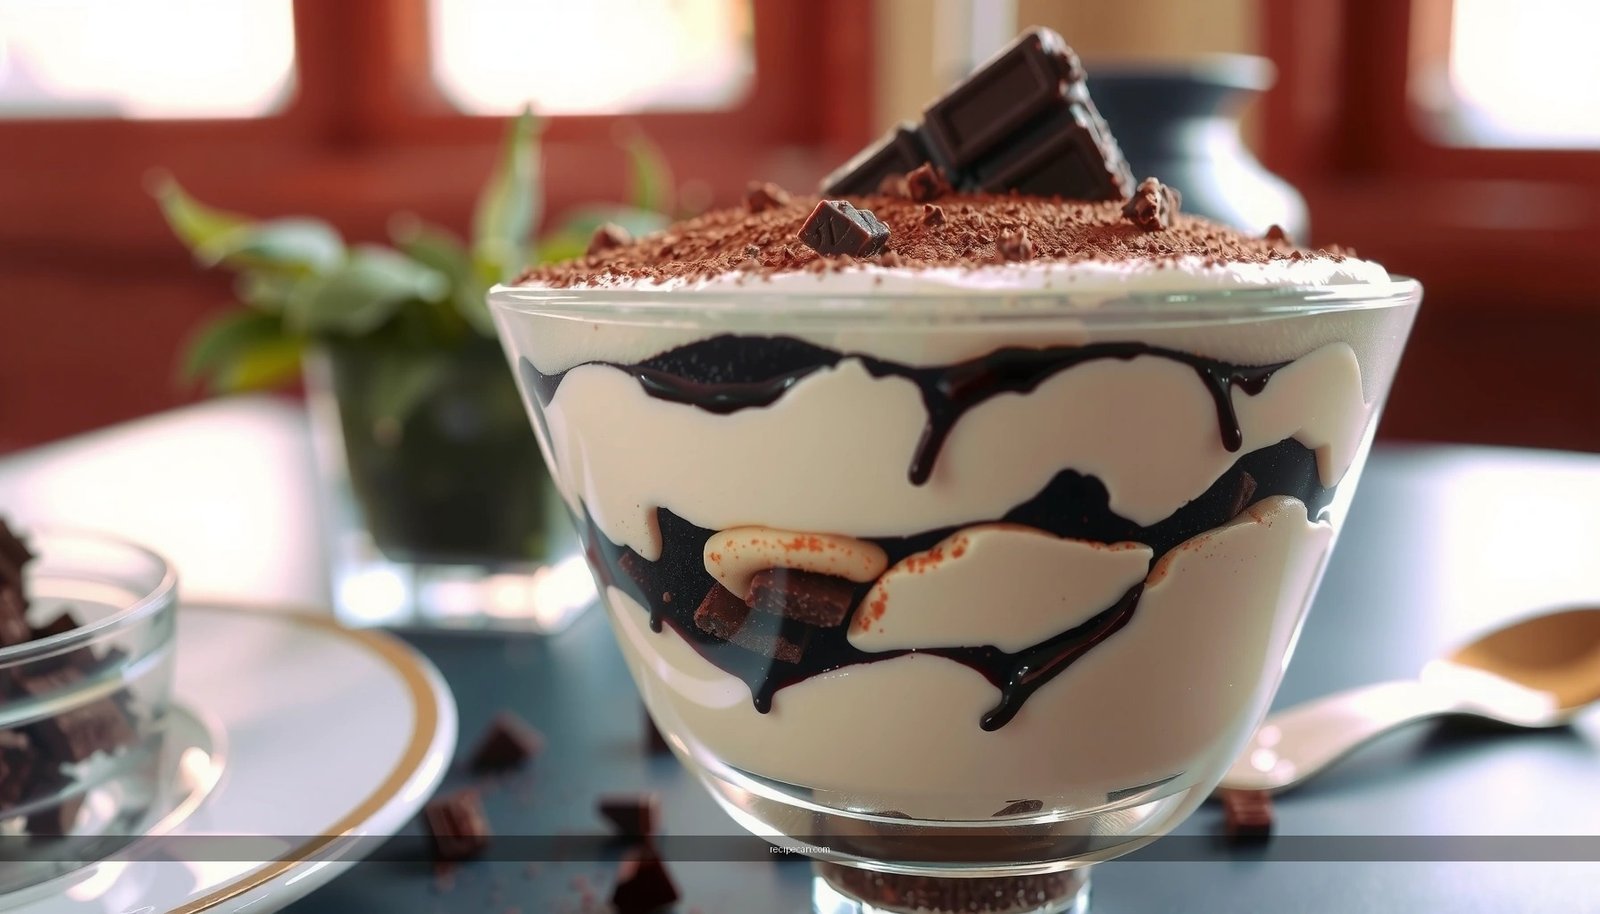
This traditional tiramisu recipe delivers the classic, authentic flavor most people mean when they search “tiramisu recipe traditional”—soft mascarpone, bold espresso, and crisp ladyfingers in the right ratio. Follow the steps exactly and you’ll get a reliable restaurant-style result at home, with no guesswork about thickness, sweetness, or how long to chill. If your goal is the true classic tiramisu texture and taste, this is the only method you need.
Traditional tiramisu is best made by layering espresso-soaked ladyfingers with a smooth mascarpone cream, then chilling long enough for the flavors to fully meld. Follow the steps below for an authentic result—balanced coffee intensity, airy texture, and clean slices—without turning the dessert watery.
Classic Ingredients for Traditional Tiramisu

– Use mascarpone, eggs, sugar, and espresso (or strong coffee) for the authentic base
– Add ladyfingers and cocoa powder for the signature layers
– Optional: a splash of Marsala or rum for classic flavor depth
To keep your traditional tiramisu recipe authentic, start with ingredients that deliver the classic sensory profile: bitter coffee, creamy richness, and a light cocoa finish. Here’s what each component should do in the final dessert:
Mascarpone is the defining ingredient of tiramisu. Unlike substitutes that rely on cream cheese (tangier and less silky), real mascarpone creates the signature thick, spoonable cream that holds its shape after chilling. If your mascarpone looks very soft, refrigerate it briefly before mixing so the cream stays stable.
Eggs and sugar provide structure and sweetness. In classic recipes, tiramisu uses egg yolks for richness and egg whites whipped to keep the cream airy. The goal is not a mousse-like foam; it’s a stable, creamy layer that slices cleanly after refrigeration.
Espresso (or strong coffee) is your flavor anchor. Espresso provides the deepest, most concentrated bitterness and aroma. If you’re using coffee, choose something strong and bold (and avoid overly flavored blends), then cool it slightly so it doesn’t melt the cream during assembly.
Ladyfingers (savoiardi) give tiramisu its layered “sponge” foundation. They are designed to absorb liquid gradually; however, tiramisu is not a sponge cake. The ladyfingers should be *briefly* dipped—enough to flavor and moisten, not enough to disintegrate.
Cocoa powder finishes the dessert with bitterness and visual contrast. Use unsweetened cocoa for the traditional taste. For an authentic look, dust generously, ideally with a fine sieve.
Optional Marsala or rum: A small splash of Marsala (classic in many Italian preparations) or a light rum enhances the aroma and rounds out the coffee. Add sparingly; the goal is depth, not a “boozy” tiramisu.
Traditional Tiramisu Ingredient Roles & Target Specs (Serves ~8)
| # | Ingredient (Classic) | Typical Quantity | Role in Texture/Flavor | Execution Target | Importance |
|---|---|---|---|---|---|
| 1 | Mascarpone | 500 g | Cream richness & silkiness | Thick, smooth, lump-free | ★★★★★ |
| 2 | Egg yolks | 4 large | Body & emulsified cream | Pale, thickened yolk-sugar mix | ★★★★☆ |
| 3 | Egg whites | 4 large | Airiness & lift | Soft peaks that hold briefly | ★★★★☆ |
| 4 | Sugar | 120 g (fine) | Sweetness & cream stabilization | Dissolves fully; no grain | ★★★★☆ |
| 5 | Espresso (cooled) | 240–300 ml | Coffee bitterness & aroma | Room-temp/just warm, not hot | ★★★★★ |
| 6 | Ladyfingers | ~24–28 pieces | Layered sponge texture | Dip 1–2 seconds per side | ★★★★★ |
| 7 | Unsweetened cocoa | 8–12 g | Bitter top note & appearance | Dust right before serving | ★★★★☆ |
Step-by-Step: Make the Cream Layer

– Whisk egg yolks with sugar, then fold in mascarpone until smooth
– Beat or whip egg whites separately, then gently fold to keep it airy
– Aim for a thick, spreadable cream with no lumps
The cream is where most “easy tiramisu” attempts succeed or fail. The method below is designed to preserve structure: yolks create body, while whipped whites supply lightness.
1) Whip the yolks and sugar until noticeably thicker
Whisk egg yolks and sugar until the mixture looks paler and slightly thicker—this helps the sugar dissolve and improves mouthfeel. For a more professional texture, use fine sugar and whisk thoroughly until it looks smooth, not gritty.
2) Fold in mascarpone gradually
Add mascarpone in portions and mix just until smooth. Overmixing isn’t inherently harmful, but aggressive mixing can make the cream feel tight or slightly grainy if the mascarpone is too cold. If you see lumps, gently press them against the side of the bowl or briefly mix at low speed until unified.
3) Whip egg whites to soft peaks, then fold carefully
Whip whites separately until they form soft peaks—peaks should bend over rather than stand stiff and dry. Then fold a third of the whites into the mascarpone base to lighten it, followed by the remainder. Folding means using a spatula to move mixture from bottom to top and turning the bowl; it should look uniform but remain airy.
Texture benchmark: Your final cream should be thick enough to spread with a spoon or offset spatula, holding soft ridges briefly after smoothing. If it’s runny, it needs more chilling time or better folding technique; if it’s stiff and curdled, the mixture may have been overworked or the mascarpone warmed too unevenly.
Prepare Espresso-Soaked Ladyfingers

– Brew strong espresso and let it cool slightly
– Dip ladyfingers quickly (don’t soak) to prevent sogginess
– Ensure even coating so every bite tastes balanced
This is the classic “don’t overdo it” step. Tiramisu uses soaked ladyfingers, but in practice that means quick contact—not soaking them until saturated.
1) Cool the espresso before dipping
If the espresso is hot, it can soften the ladyfingers too quickly and risk warming the cream. Cool it to room temperature or slightly warm (comfortable to the touch on a spoon). This supports clean layers that stay intact after chilling.
2) Dip quickly—aim for 1–2 seconds per side
Dip one side, then the other if needed, and lift immediately. Watch the surface: the edges should darken, but the biscuit should not collapse or feel wet.
Pro tip: For perfect consistency, work in batches. Dip 4–6 ladyfingers at a time so the process stays fast and controlled.
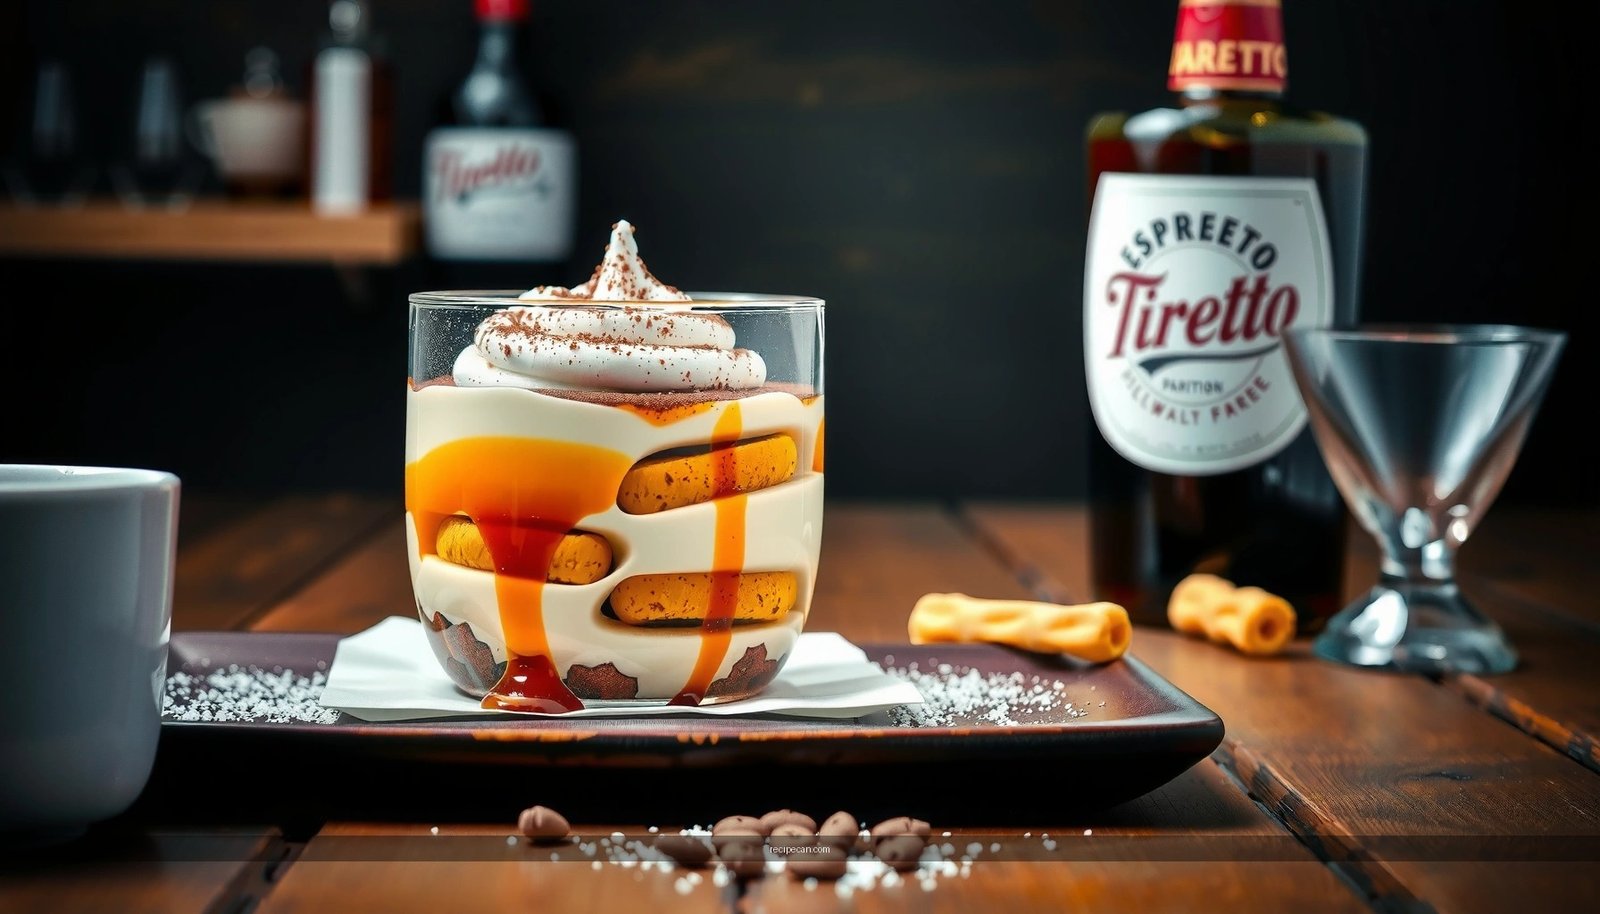
3) Optional alcohol: add after brewing, not after assembly
If you use Marsala or rum, mix it into the cooled espresso. Start with a modest amount (for example, 1–2 tablespoons for a standard 8-serving batch) so the coffee remains the primary flavor.
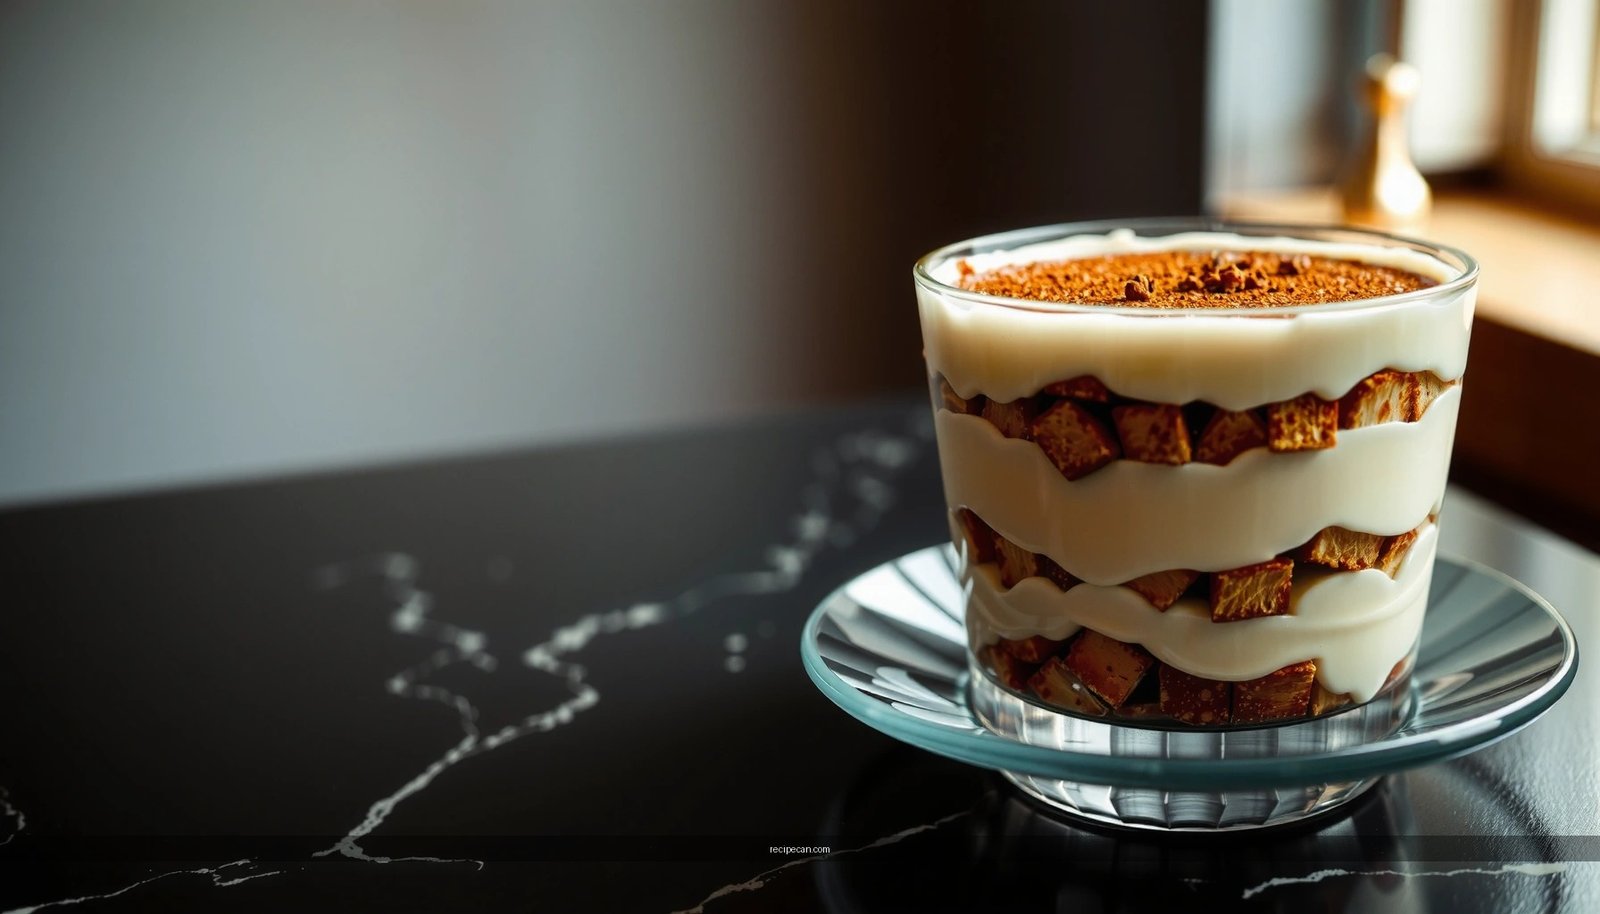
Assemble the Traditional Layers
– Start with a layer of soaked ladyfingers, then spread the mascarpone cream
– Repeat layers, finishing with a cocoa dusting on top
– Press lightly to level without compacting the layers
Layering determines both structural integrity and flavor distribution. Use a clear container so you can see the evenness.
1) Build the base
Arrange dipped ladyfingers in a single, tight layer. Small gaps are fine as long as they don’t form “dry stripes,” but avoid large openings where cream won’t bind.
2) Spread cream evenly
Use an offset spatula to spread mascarpone cream with gentle pressure. Even thickness matters: if one layer is thinner, that portion will taste more coffee-forward and can slice less cleanly.
3) Repeat and finish
Add the second layer of soaked ladyfingers, followed by the remaining cream. Finish with a generous cocoa dusting. If you dust too early, cocoa can absorb moisture and become muddy; dust close to serving for a cleaner top.
4) Leveling without compacting
Press lightly only to even out the top. Compacting can push moisture into the biscuits, increasing the risk of watery texture.
Chill Time for Best Texture
– Refrigerate at least 4–6 hours, ideally overnight
– Keep it covered to prevent drying or absorbing fridge odors
– Serve cold for clean slices and creamy texture
Chilling is not optional for traditional tiramisu—this is where the dessert “sets” and flavor matures.
Why it matters
– Cream hydration and stabilization: As it chills, the mascarpone mixture thickens slightly and becomes more sliceable.
– Coffee diffusion: Espresso distributes through the ladyfingers, transforming sharp bitterness into a rounded, integrated flavor.
– Layer cohesion: Without enough time, ladyfingers may remain too distinct and the layers can slide.
Recommended timing
– Minimum: 4–6 hours for a decent set.
– Best: Overnight (8–12 hours) for clean, consistent slices.
Storage best practices
Cover the container tightly with plastic wrap or a lid. This prevents drying and keeps tiramisu from absorbing fridge odors—particularly important if you store it near fish, strong cheeses, or leftover garlic-heavy dishes.
Common Mistakes to Avoid
– Over-soaking ladyfingers, which can make tiramisu watery
– Rushing the chill time before serving
– Overmixing after adding whipped whites, which can deflate the cream
Even experienced bakers can troubleshoot tiramisu. Here are the most frequent problems and why they happen:
Over-soaking ladyfingers → watery texture
If ladyfingers are dipped for too long or if espresso is too warm, they absorb excessive liquid and break down. The result is a loose, soupy bottom and less-defined layers. Fix: reduce dip time, cool the espresso, and ensure your container stays level during assembly.
Rushing chill time → loose slices
Serving early prevents the cream from fully setting and the coffee from integrating. The dessert may taste fine but won’t slice neatly. Fix: plan ahead and chill overnight.
Overmixing after adding whipped whites → dense or collapsed cream
Folding preserves air. Overmixing collapses the whipped whites and turns the cream heavier and less luxurious. Fix: fold gently, stop as soon as the mixture looks uniform, and avoid using a hand mixer after the whites are added.
Serving without cocoa control → flat presentation
A weak cocoa dusting makes tiramisu look less traditional and tastes less balanced. Fix: dust generously right before serving, and consider a fine sieve for even coverage.
Tiramisu is at its best when you treat it like a layered system: controlled dipping, careful folding, and disciplined chilling. If you want a consistent outcome, keep one variable at a time—start with strong espresso, dial the alcohol down (or leave it out), and adjust the cocoa intensity to match your preferences.
Tuck this traditional tiramisu recipe into your next dessert plan: follow the classic layers, chill long enough, and dust generously with cocoa for that authentic finish. Make it once, then adjust the coffee strength (and optional alcohol) to match your taste—then share your slice with friends.
Frequently Asked Questions
What is a traditional tiramisu recipe and what ingredients are essential?
A traditional tiramisu recipe uses mascarpone cheese, eggs (separated into yolks and whites), sugar, espresso (or strong coffee), ladyfingers, and cocoa powder. You’ll also typically include a splash of vanilla or a liqueur like Marsala for classic flavor, though the core ingredients remain the same. For best results, choose high-quality mascarpone and brewed espresso that’s strong enough to stand up to the sweetness.
How do you make traditional tiramisu without curdling the eggs?
To avoid curdling, gently cook or temper the egg yolks (depending on your method) by gradually whisking them with warm sugar or hot coffee—not dumping in heat at once. If you separate eggs, whip the whites separately to stiff peaks and fold them in slowly so the mascarpone mixture stays smooth. Keep everything cool after combining, since traditional tiramisu texture depends on a stable, creamy base.
Why does traditional tiramisu need to rest in the fridge, and how long should you wait?
Traditional tiramisu needs resting time so the coffee soaks into the ladyfingers and the flavors meld—this is what creates the signature soft-yet-structured texture. Many people prefer at least 4–6 hours, but overnight refrigeration (8–12 hours) usually gives the best results. Cover the tiramisu to prevent the top from drying out and re-sift cocoa right before serving if you want it extra fresh.
Which coffee should you use for the best traditional tiramisu flavor?
For a classic traditional tiramisu recipe, use freshly brewed espresso or very strong coffee because it provides a bold, not-too-bitter foundation. Instant coffee can work in a pinch, but it may taste flat compared to espresso; if you use it, dissolve thoroughly and ensure it’s concentrated. Let the coffee cool before assembling so the ladyfingers absorb flavor without melting the mascarpone mixture.
Best tips for assembling traditional tiramisu so the ladyfingers aren’t soggy?
Dip ladyfingers in espresso quickly—typically 1–2 seconds per side—so they absorb flavor without turning mushy. Use a light hand and assemble immediately in the dish, layering cream and soaked ladyfingers evenly for consistent texture. If you want extra control, you can brush or drizzle espresso onto the ladyfingers instead of soaking, which helps maintain firmness in traditional tiramisu.
References
- Tiramisu
https://en.wikipedia.org/wiki/Tiramisu - https://www.britannica.com/food/tiramisu
https://www.britannica.com/food/tiramisu - https://scholar.google.com/scholar?q=traditional+tiramisu+recipe Google Scholar
https://scholar.google.com/scholar?q=traditional+tiramisu+recipe - Google Scholar Google Scholar
https://scholar.google.com/scholar?q=history+of+tiramisu+mascarpone+espresso+ladyfingers - Google Scholar Google Scholar
https://scholar.google.com/scholar?q=tiramisu+authentic+Italian+dessert+recipe+mascarpone+egg - Google Scholar Google Scholar
https://scholar.google.com/scholar?q=tiramisu+cuisine+origin+Treviso+Le+origini+del+tiramisu - Google Scholar Google Scholar
https://scholar.google.com/scholar?q=traditional+tiramisu+without+alcohol+espresso+cocoa+recipe - Google Scholar Google Scholar
https://scholar.google.com/scholar?q=food+science+of+tiramisu+emulsion+mascarpone+eggs - Google Scholar Google Scholar
https://scholar.google.com/scholar?q=tiramisu+ladyfingers+savoiardi+espresso+soaking+study - Google Scholar Google Scholar
https://scholar.google.com/scholar?q=tiramisu+recipe+standards+guidelines+publication