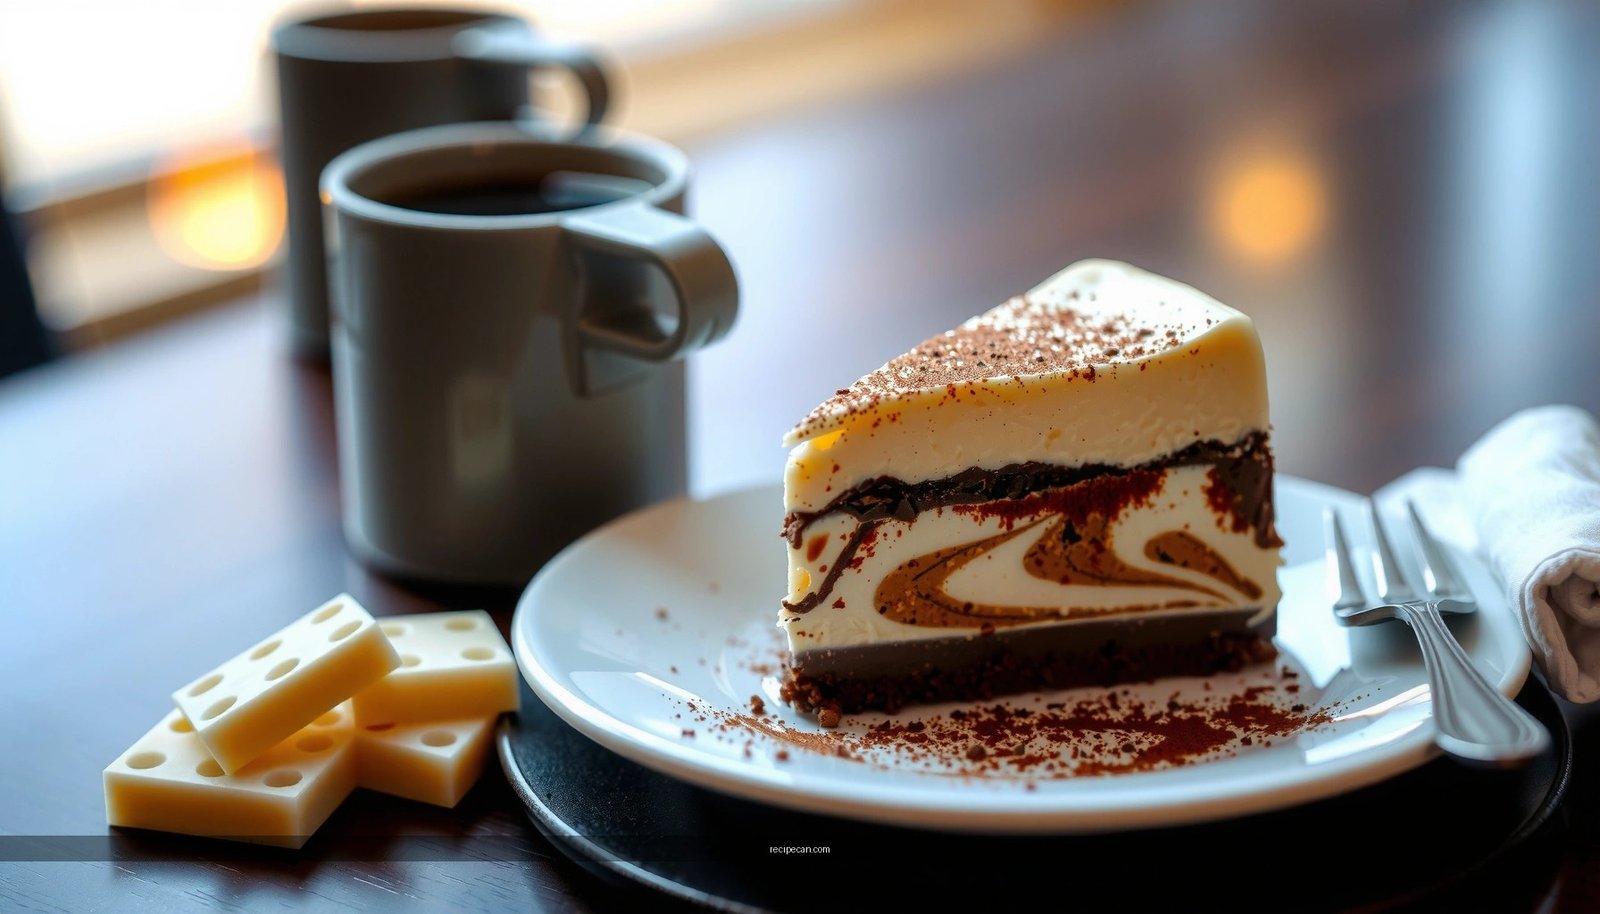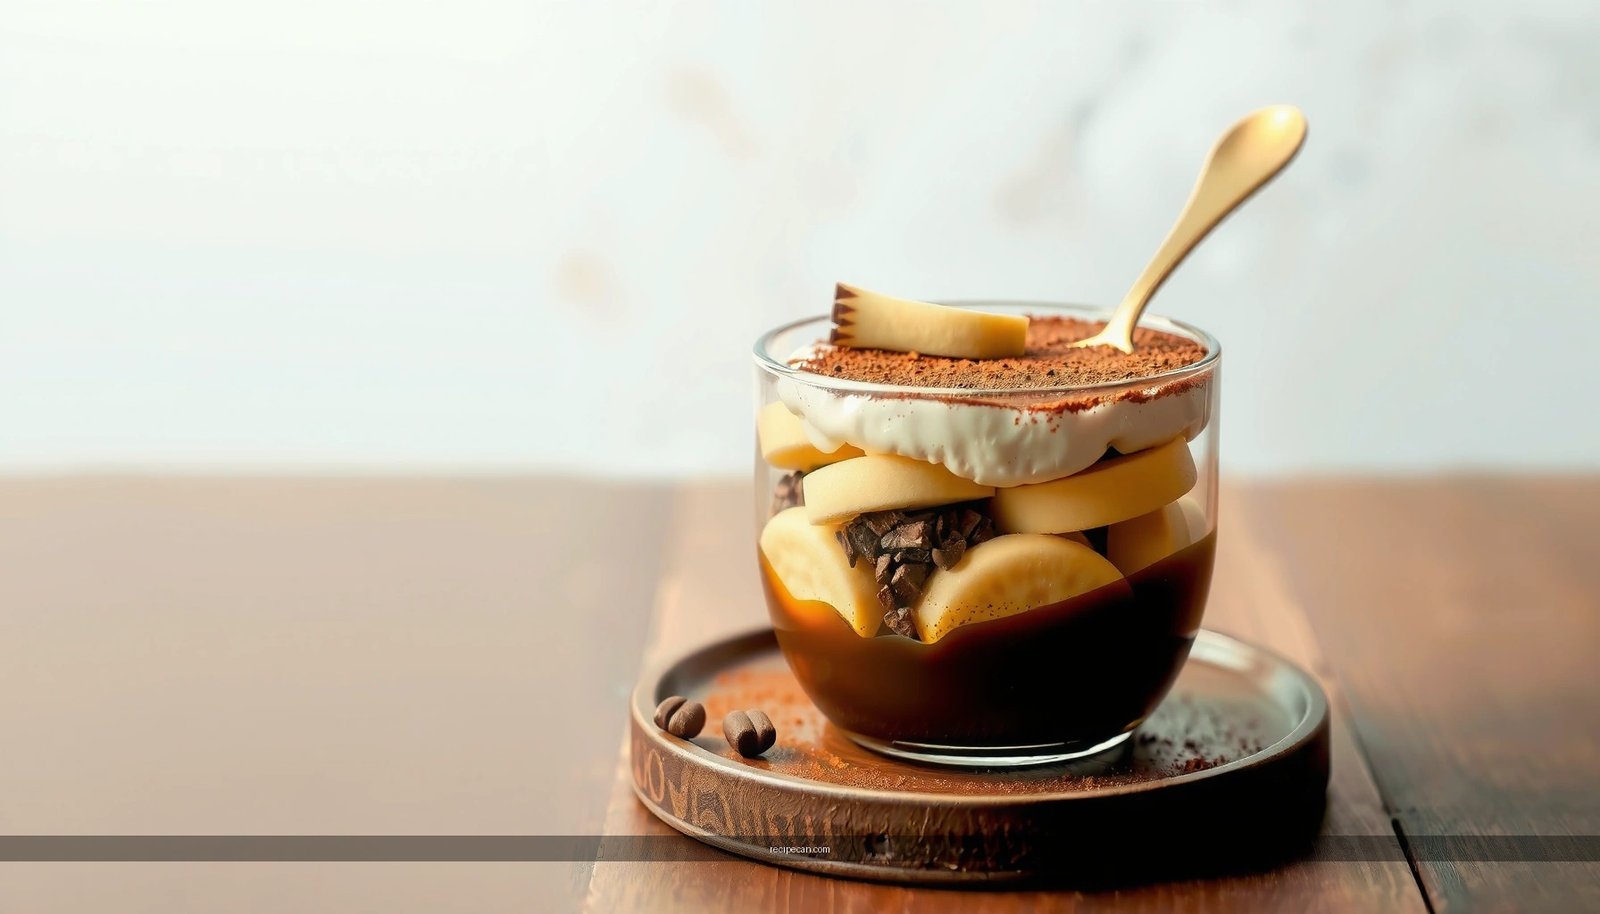
Get a classic, easy tiramisu recipe with ladyfingers that delivers the right texture—soft and spoonable, not soggy—in a straightforward step-by-step process. You’ll learn exactly how to dip the ladyfingers, layer the mascarpone cream, and finish with espresso and cocoa so it sets properly. Follow these instructions and you’ll have a winner every time for weeknight prep or make-ahead desserts.
Tiramisu recipe with ladyfingers is simple when you dip quickly, layer precisely, and chill long enough for the flavors to meld; the key is avoiding soggy ladyfingers. Use a fast espresso (or strong coffee) soak and a well-aerated mascarpone cream—then assemble and refrigerate for a clean, sliceable dessert with a classic, no-fuss texture.
Ingredients You’ll Need

A traditional tiramisu recipe with ladyfingers relies on a few core ingredients, but the “easy steps” approach comes from understanding what each ingredient is responsible for—coffee provides structure and bitterness balance, mascarpone provides creaminess, and eggs (if used) provide stability.
– Ladyfingers (savoiardi): look for crisp, dry biscuits that can absorb liquid briefly without disintegrating.
– Espresso (or strong coffee): ideally freshly brewed for intensity.
– Mascarpone: full-fat for the classic thick, spoonable consistency.
– Eggs (optional but classic): many traditional recipes use yolks and whites for a lighter, set cream.
Flavor balance and finishing
– Sugar: sweetens and helps stabilize mascarpone and eggs.
– Cocoa powder: use unsweetened cocoa for the signature top layer.
– Vanilla (optional): adds warmth, especially when coffee isn’t very fragrant.
Egg-free option (common in modern “easy steps” versions)
If you prefer not to use eggs, you can replace the egg component with whipped cream stabilized with mascarpone (or use a ready-to-whisk mascarpone/cream method). The goal remains the same: a cream that holds shape after chilling.
Practical ingredient notes
– If your ladyfingers are too soft or stale, they may dissolve faster; crisp fresh ones behave better.
– Mascarpone should be cold when you begin mixing, but not rock-hard—let it sit at room temperature for about 10 minutes if needed for smooth blending.
– For food-safety confidence, use pasteurized eggs if you’re using the classic raw/soft-whipped approach.
Coffee Soak Time vs. Texture Outcome (Ladyfingers)
| # | Soak Time per Side | Expected Texture | Sliceability | Tiramisu Quality |
|---|---|---|---|---|
| 1 | 0–1 second | Lightly flavored, more firm | Very high | ★★★★★ |
| 2 | 2–3 seconds | Tender interior, controlled absorb | High | ★★★★☆ |
| 3 | 4–5 seconds | Balanced absorption, slightly softer | Medium-high | ★★★☆☆ |
| 4 | 6–8 seconds | Over-saturated edges | Medium | ★★☆☆☆ |
| 5 | 9+ seconds | Collapses, gummy interior risk | Low | ★☆☆☆☆ |
| 6 | Soak + 10–20 sec drain | Better control with less collapse | High | ★★★★☆ |
| 7 | Cold coffee soak (room-temp cream) | Slower absorption, more stable layers | Very high | ★★★★★ |
Make the Coffee Soak
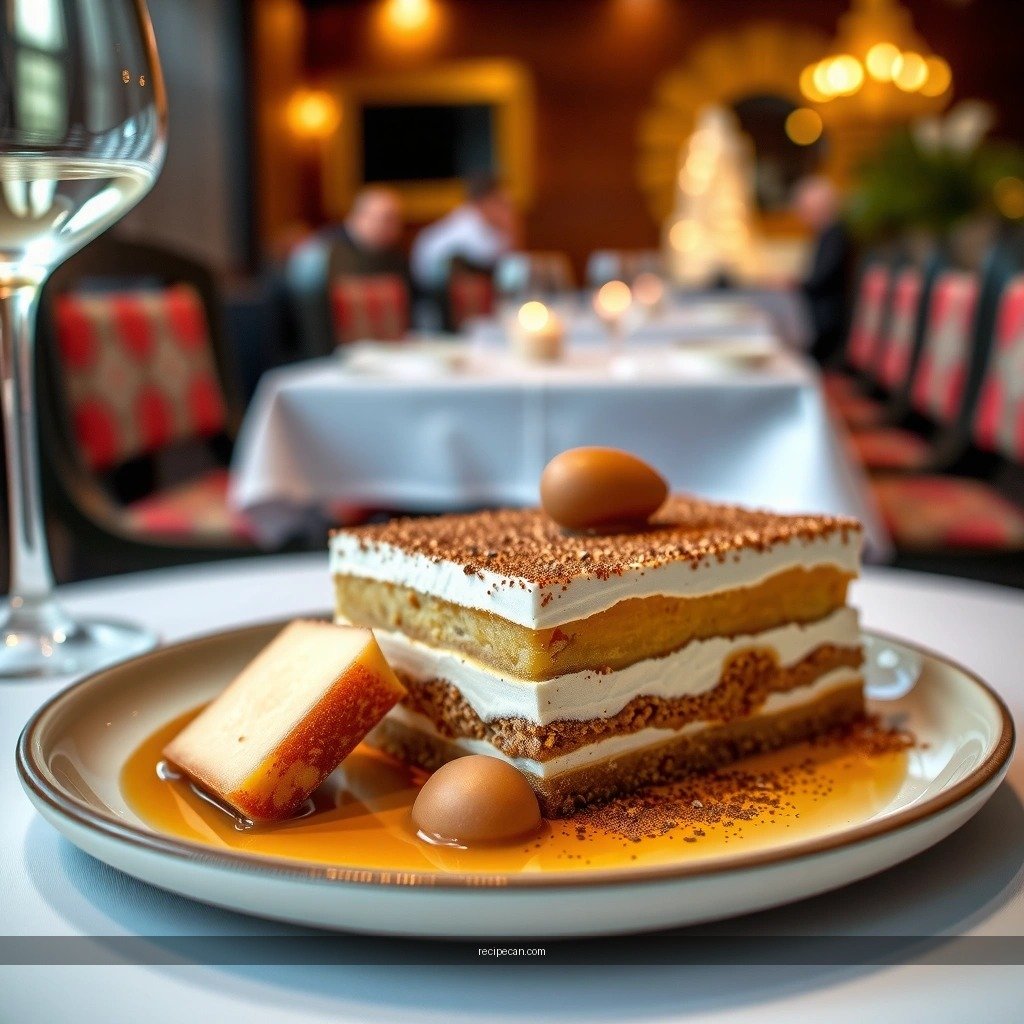
The coffee soak is where most tiramisu recipe outcomes are won or lost. Too long and you get soggy ladyfingers; too short and the dessert tastes flat.
– Brew strong espresso or coffee and let it cool slightly (warm coffee accelerates absorption).
– Aim for a controlled dip: dip ladyfingers quickly—typically 0–3 seconds per side—then lift and let excess drip.
– Work efficiently: because the goal is texture, you don’t want the ladyfingers sitting in liquid while you finish other steps.
– Optional flavoring for the soak: add a teaspoon of sugar to the coffee for balance or a splash of coffee liqueur if you’re serving adults.
Texture mechanism (why this works)
Ladyfingers are porous. Short dips hydrate the surface so the cream’s fat and moisture later distribute evenly during chilling. Extended soaking overwhelms the structure, which is why the dessert won’t slice cleanly—even if the flavor is strong.
Actionable troubleshooting
– If your first layer looks too dry: shorten the chill or slightly increase dip time to 2–4 seconds, but keep the dip brief.
– If layers collapse: reduce soak time and drain on a rack or plate for 5–10 seconds before layering.
Create the Mascarpone Cream
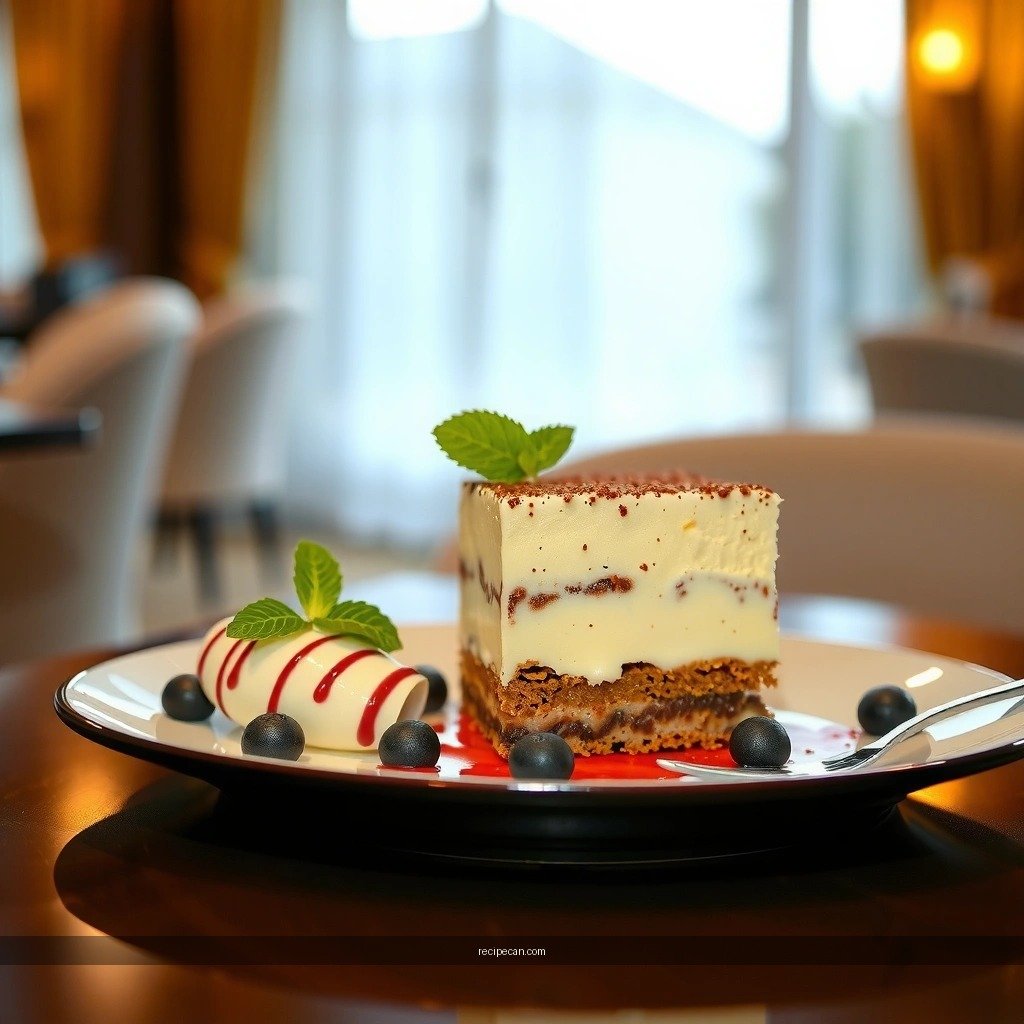
The mascarpone cream should be smooth, stable, and light enough to spread without melting. This is where classic tiramisu gets its signature mouthfeel.
– Whisk mascarpone with sugar until smooth. This prevents graininess and gives a stable base.
– If using eggs: separate yolks and whites.
– Whisk egg yolks with sugar until they lighten and become creamy.
– Whisk egg whites to soft or medium peaks.
– Fold gently the whipped whites into the mascarpone/yolk mixture (or fold in whipped yolk base into whipped whites, depending on your method). Folding maintains air, which improves the “tender, not dense” texture.
– If using an egg-free option: whip cold heavy cream to medium peaks, then fold into mascarpone sweetened to taste. This creates similar aeration and helps the layers set in the fridge.
Common cream mistakes (and fixes)
– Overmixing after adding whipped whites: leads to deflation and a denser result. Stop once you see no large white streaks.
– Cream too thin: mascarpone varies by brand. If it’s loose, chill the bowl briefly and refold, or reduce the dilution by skipping extra liquid additions.
– Cream curdling: often caused by heat. Keep mixtures cool and avoid prolonged whisking over warm bowls.
Assemble the Tiramisu Layers
Assembly is straightforward, but method matters because the distribution of cream determines how the dessert sets and slices.
– Layer dipped ladyfingers with cream in a rectangular dish (or glass container for visual layers).
– Use even coverage: spread cream to the edges so every cookie segment is supported.
– Repeat layers until you reach the top, then finish with a cream layer.
Recommended assembly workflow
1. Place a layer of ladyfingers at the bottom (slightly overlapping if needed).
2. Add cream and spread gently with an offset spatula.
3. Add another ladyfinger layer, dip briefly, drain, then place.
4. Repeat until the container is filled.
5. Smooth the final top layer of cream.
Quality control checks
– The top should look level and thick, not translucent.
– If your bottom layer seems fragile, let it rest in the fridge 10–15 minutes before adding the next layer to stabilize.
Chill and Set
Chilling is not optional. It’s what turns a layered dessert into a cohesive tiramisu slice.
– Refrigerate for at least 4–6 hours; overnight is best.
– Add cocoa only when serving to keep the surface dry, fragrant, and visually appealing.
What happens during chilling
– Coffee moisture equilibrates through the cream.
– Fat from mascarpone helps soften ladyfingers without turning them gummy.
– The cream sets as proteins (or stabilized whipped structure) firm up, improving slice integrity.
Timing strategy
– If serving the next day: assemble in the evening, chill overnight, and dust cocoa in the final 10–30 minutes before presentation.
– If serving the same day: aim for at least 6 hours, and keep the dessert covered to prevent absorption of fridge odors.
Serving Tips and Variations
To serve a classic tiramisu recipe with ladyfingers, focus on clean finishing and controlled personalization.
– Dust generously with cocoa right before serving. Use a fine sieve to avoid clumps.
– Optional add-ins (choose one to keep the profile balanced):
– Chocolate shavings for extra texture.
– Amaretto in the coffee soak (adult flavor) or as a drizzle on the top.
– Espresso-flavored liqueur for deeper coffee aromatics.
Dietary and flavor variations
– Less sweet: reduce sugar in the cream by 10–20% and keep cocoa on top for bitterness contrast.
– More intense coffee: use espresso concentrate or brew coffee with a slightly higher strength ratio.
– Seasonal twist: try a pinch of cinnamon in the cocoa dusting or orange zest in the cream for a modern profile.
Presentation guidance
– For clean slices: use a sharp knife, wipe between cuts, and serve promptly after slicing.
– For portioning: let the tiramisu sit at fridge temperature for 5 minutes before cutting—too cold can cause cracks; too warm softens layers.
Chill your tiramisu until the layers set, then dust with cocoa and serve for clean, sliceable portions. Gather your ingredients, soak the ladyfingers briefly, and layer with creamy mascarpone for the best results—then make it again and tweak flavors like coffee strength or add-ins to match your taste.
A successful tiramisu recipe with ladyfingers comes down to three disciplined steps: brief coffee dipping to preserve structure, a smooth mascarpone cream with gentle folding for lightness, and an adequate chill period to set and unify the layers. If you follow the timing cues and finish with cocoa right before serving, you’ll consistently get the classic texture—tender, not soggy—and a dessert that slices cleanly every time.
Frequently Asked Questions
What is the best tiramisu recipe with ladyfingers for beginners?
A beginner-friendly tiramisu recipe with ladyfingers uses simple components: espresso (or strong coffee), mascarpone, eggs (or a no-egg option), sugar, and cocoa powder. Start by whipping mascarpone until smooth, then fold in the egg mixture carefully to keep it airy. Dip ladyfingers quickly in coffee so they soften without turning soggy, then layer and chill at least 4–6 hours for clean slices.
How do you prevent ladyfingers from getting soggy in tiramisu?
To avoid soggy ladyfingers, dip each side in espresso for only 1–2 seconds, using a quick dunk rather than soaking. Choose espresso that’s cooled slightly so it doesn’t oversaturate the cookies, and assemble immediately after dipping. If you want extra control, lightly brush the ladyfingers with coffee instead of dipping them, and chill the tiramisu to help it set.
Why does tiramisu use mascarpone, and can I substitute it?
Tiramisu uses mascarpone because it provides the signature creamy texture and mild, sweet flavor. If you can’t find mascarpone, you can substitute with full-fat cream cheese in a pinch, but whisk it well to reduce tanginess and improve creaminess. For best results, keep the texture smooth and avoid low-fat alternatives, which can make tiramisu grainy or watery.
Which coffee should you use for a traditional tiramisu recipe with ladyfingers?
For classic tiramisu, use strong espresso or dark brewed coffee because it stands up to the sweetness of mascarpone and sugar. Let the coffee cool to room temperature before assembling so the ladyfingers don’t dissolve too quickly. If you prefer a flavored version, consider using espresso with a splash of vanilla or a liqueur like Marsala, but keep the flavor balanced so it doesn’t overpower the dessert.
How long should tiramisu with ladyfingers chill before serving?
Most tiramisu recipes with ladyfingers taste best after chilling for at least 4 hours, since the flavors meld and the layers firm up. For more developed flavor and ideal texture, chill overnight in the refrigerator. Keep it covered to prevent the top from drying out, then dust with cocoa right before serving for a fresh, rich finish.
References
- Tiramisu
https://en.wikipedia.org/wiki/Tiramisu - Lady finger
https://en.wikipedia.org/wiki/Ladyfinger - Tiramisu | Meaning, Ingredients, Origin, Desserts, & Taste | Britannica
https://www.britannica.com/topic/tiramisu - https://www.theguardian.com/food/2020/sep/05/classic-tiramisu-recipe
https://www.theguardian.com/food/2020/sep/05/classic-tiramisu-recipe - https://cooking.nytimes.com/recipes/1012565-tiramisu
https://cooking.nytimes.com/recipes/1012565-tiramisu - Google Scholar Google Scholar
https://scholar.google.com/scholar?q=tiramisu+recipe+ladyfingers - Google Scholar Google Scholar
https://scholar.google.com/scholar?q=ladyfingers+in+tiramisu+coffee+mascarpone+egg+whites - Google Scholar Google Scholar
https://scholar.google.com/scholar?q=tiramisu+ladyfingers+food+science+preparation+texture - Google Scholar Google Scholar
https://scholar.google.com/scholar?q=tiramisu+recipe+with+ladyfingers - tiramisu recipe with ladyfingers – Search results
https://en.wikipedia.org/wiki/Special:Search?search=tiramisu+recipe+with+ladyfingers