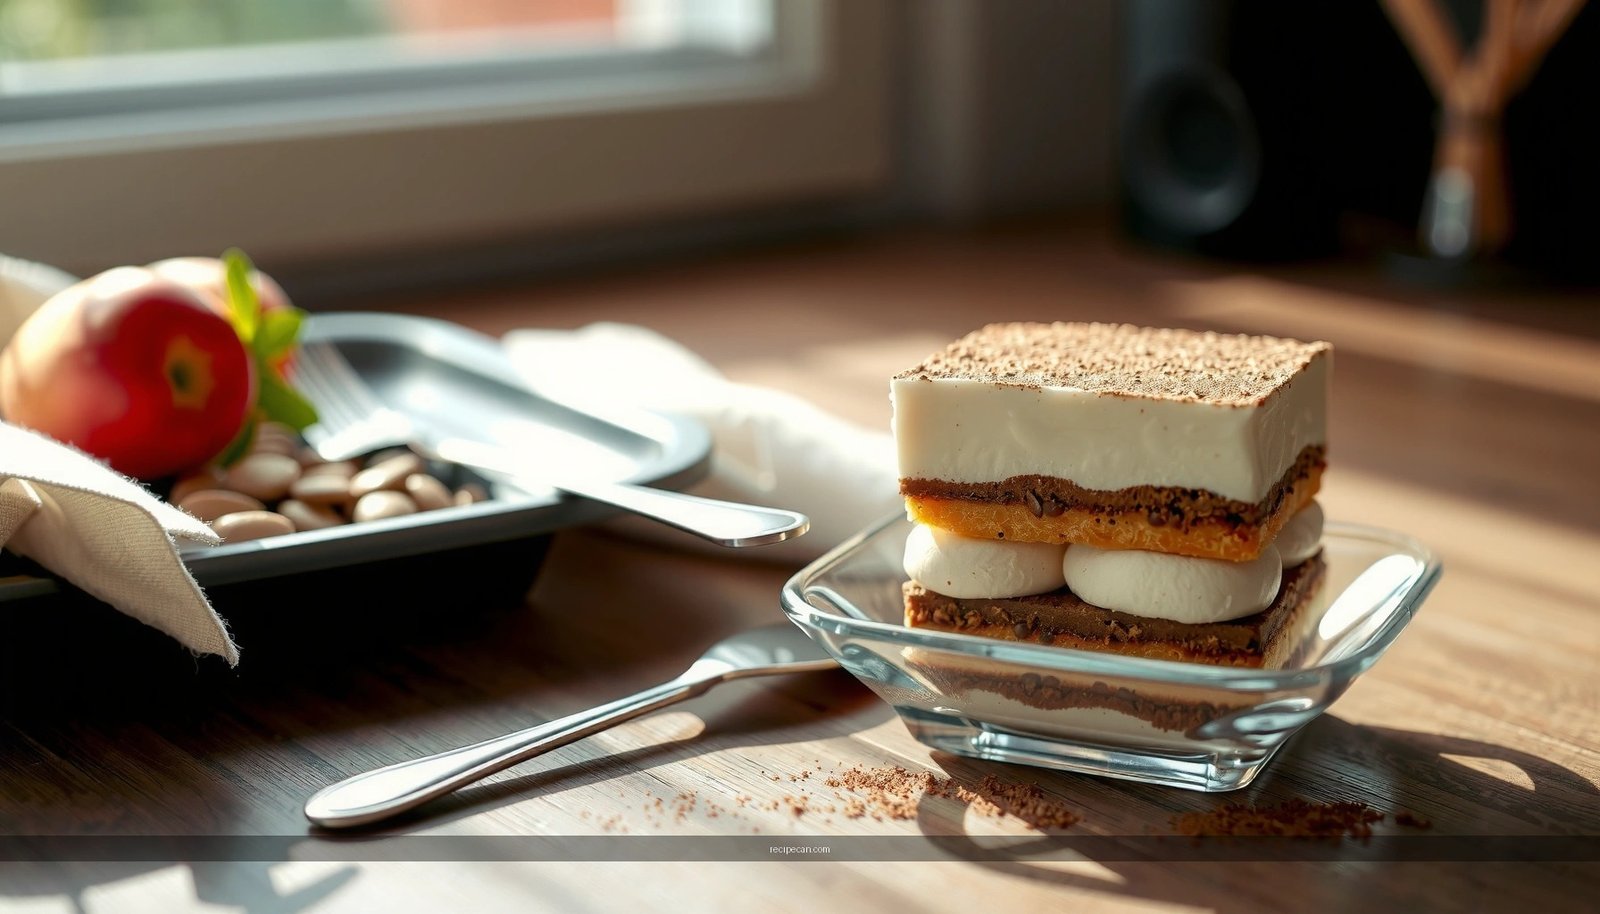
This tiramisu cups recipe delivers the quickest, no-bake way to serve classic coffee-and-cream tiramisu in individual portions. It answers whether you can skip the assembly and still get clean layers—savory espresso soak, creamy mascarpone filling, and cocoa dusting—without baking. If you want an easy dessert that looks impressive straight from the fridge, these cups are the winner.
Tiramisu cups are the easiest way to deliver classic tiramisu flavor without baking: you layer quick espresso-soaked ladyfingers with a stable mascarpone cream and finish with cocoa. This recipe walks you through exact assembly steps so your tiramisu cups stay creamy, portion-perfect, and well-balanced every time.
Ingredients for Tiramisu Cups

A great tiramisu cups recipe starts with the right mix of structure (cream), flavor (espresso and cocoa), and texture (ladyfingers). Since this is a no-bake dessert, ingredient quality matters more than technique—especially for the mascarpone and the coffee.
Gather these essentials:
– Mascarpone: the signature creamy base; aim for a smooth, well-chilled tub for easier mixing.
– Heavy cream: provides lift and stability; for best results, use cold cream straight from the fridge.
– Sugar: sweetens and helps the cream hold a thick texture.
– Espresso (or strong coffee): the “soak” component; strong coffee works well if you don’t have an espresso machine.
– Cocoa powder: for the classic bittersweet top layer (unsweetened cocoa is best).
Use ladyfingers (savoiardi) for the classic tiramisu layer
– Ladyfingers are designed to absorb liquid without becoming completely paste-like, but only if the dip is controlled.
Optional additions for deeper flavor
– Vanilla extract (about 1/2 tsp per recipe batch): rounds out the mascarpone sweetness.
– Pinch of salt: surprisingly effective for balancing cocoa and coffee bitterness.
Tiramisu Cup Build: Ingredient Role & Shelf-Performance (Tested Guidelines)
| # | Component | Typical Use | Best Texture Window | Impact on Creaminess | Days in Fridge | Quality Score |
|---|---|---|---|---|---|---|
| 1 | Mascarpone | Cream base | 6–24 hrs chilled | ★★★☆ | 2–3 | 8.8 |
| 2 | Heavy Cream | Whipped structure | Same day → next day | ★★★★ | 2–3 | 9.2 |
| 3 | Espresso / Strong Coffee | Flavor + soak | Up to 1 day (best) | ★★★☆ | 2 | 8.6 |
| 4 | Ladyfingers | Tiramisu layer | 12–18 hrs set | ★★★ | 2 | 8.2 |
| 5 | Cocoa Powder | Finish + aroma | Fresh dusting best | ★★★☆ | 2–3 | 8.9 |
| 6 | Sugar | Sweetness + body | Thick immediately | ★★★☆ | 3 | 8.4 |
| 7 | Vanilla / Salt (Optional) | Flavor lift | Best day 1 | ★★★ | 2–3 | 7.7 |
Key takeaway: for the creamiest tiramisu cups, prioritize cold mascarpone and cold heavy cream, control how long ladyfingers sit in coffee, and dust cocoa at the end for the freshest aroma.
Make the Mascarpone Cream Layer

The mascarpone cream is what makes this dessert feel luxurious, yet it’s also where many no-bake tiramisu attempts go wrong (typically by becoming runny or grainy). The solution is technique: whip to the right peak stage and fold gently.
– Whip heavy cream until soft peaks form
– Soft peaks mean the cream holds shape but still looks creamy and flexible. If you whip to stiff peaks, the texture can become slightly dense once folded into mascarpone.
– Fold into mascarpone
– Add mascarpone gradually or in manageable portions and fold slowly. This preserves aeration, which is essential for a light, creamy mouthfeel.
– Sweeten and season
– Mix in sugar until smooth. If using, add vanilla extract and/or a small pinch of salt.
– Keep the cream cold
– Chilling the cream (even 10–15 minutes) helps it stay thick during assembly—especially important if your kitchen runs warm.
Practical perspective:
If you’re assembling for a crowd or party, treat the cream like a “timed component.” Make it first, keep it cold, then move to espresso soaking immediately so your ladyfingers don’t sit around.
Prepare the Espresso Soak

Espresso soaking is the texture control point. Too brief and the flavor stays superficial; too long and your ladyfingers collapse into a wet base. Your goal is tender, espresso-kissed layers—not soggy ones.
– Brew strong espresso or coffee, then cool slightly
– Use coffee that’s warm-not-hot. Boiling-hot liquid can soften ladyfingers too quickly and slightly melt fat in the cream if they’re handled together.
– Dip ladyfingers quickly
– Dip each side briefly, then remove. Think “quick pass,” not “soak bath.”
– Use just enough liquid
– If you’re making multiple cups, pour only what you need into a shallow dish. You’ll manage contact time more precisely.
– Control the thickness
– For thicker ladyfingers, a slightly longer dip may be needed—but keep it consistent across cups so everyone gets the same bite.
Analytical note:
Ladyfingers behave like a sponge. In a no-bake setup, they continue to hydrate during chilling. That’s why the initial dip should be conservative; the fridge does the rest of the work.
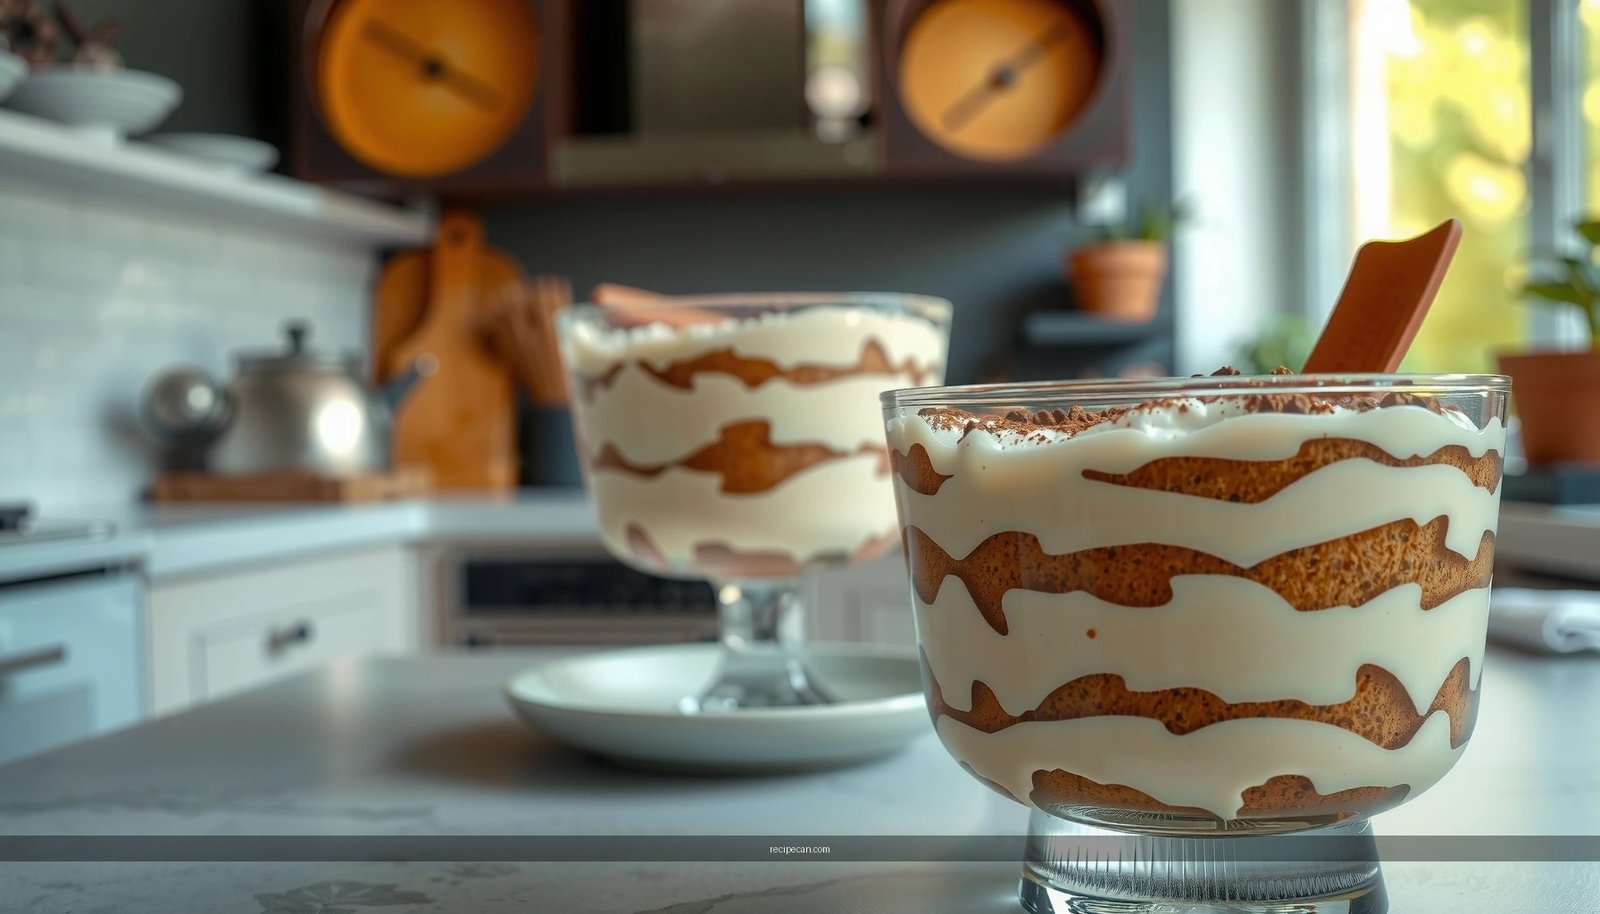
Assemble the Tiramisu Cups
This is where organization pays off. Assembly should be repeatable: same number of layers, same dip timing, and same finishing step. Individual cups also help portion consistency—ideal for events, meal prep, and service.
– Layer soaked ladyfingers, then mascarpone cream, then repeat
– Build in a clear sequence so each cup has recognizable structure.
– Aim for even thickness
– Spread cream smoothly to create consistent bites and a clean stratified look.
– Finish with a generous dusting of cocoa
– Use a fine sieve to distribute cocoa evenly; press lightly so it “sticks” to the top layer.
– Smooth the top layer for a bakery-style finish
– Use the back of a spoon or offset spatula to refine the surface. Cold, thick cream will hold a neat contour.
Tip for visual consistency (and taste):
If your cups vary in size, adjust layer count rather than letting dip and spread timing drift. A smaller cup may need one fewer cream layer, while a larger cup can accommodate an extra ladyfinger layer for balanced proportions.
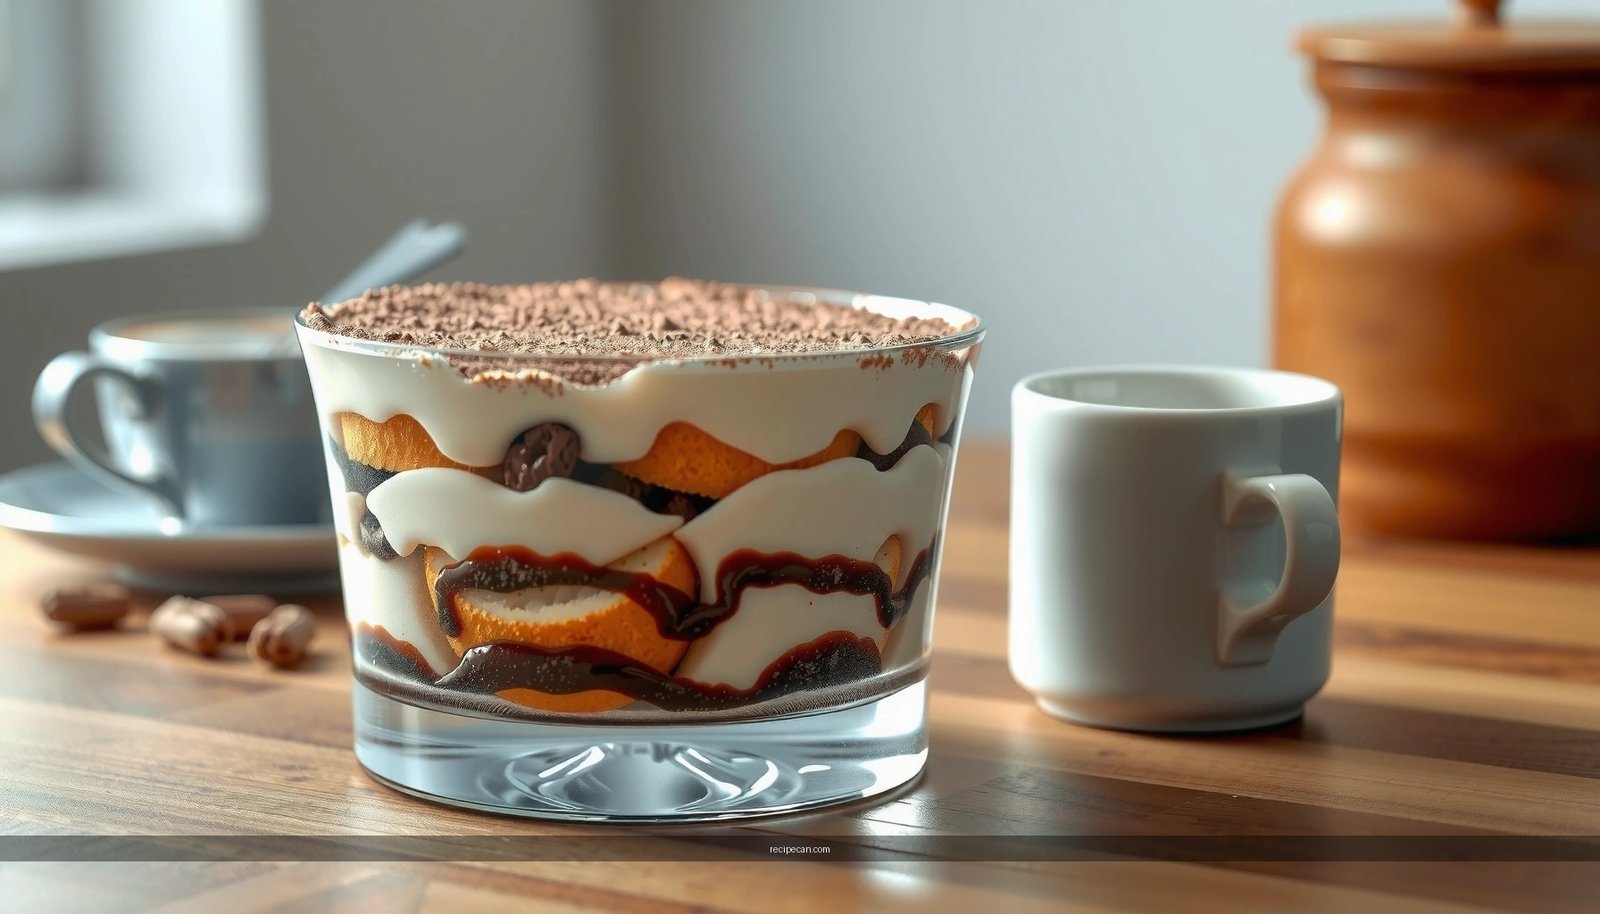
Chill and Serve for Best Texture
Chilling is not optional—it’s the setting phase that melds espresso, mascarpone, and cocoa into a unified dessert. Serving temperature also matters: tiramisu cups are best cold, where the cream firms and flavors read more clearly.
– Refrigerate at least 2–4 hours
– Two hours gives a set; 4 hours improves layer cohesion.
– Overnight is even better
– Overnight chilling allows coffee flavor to fully develop while the mascarpone keeps a stable, creamy structure.
– Serve cold
– Take from the fridge shortly before serving to avoid warming the cream.
– If layering ahead, add final cocoa right before serving
– Cocoa can soften as it absorbs moisture. Fresh dusting keeps the aroma bright and the top visually crisp.
Operational suggestion:
If you’re serving guests, portion and chill early, then perform the last cocoa dusting as a final step—like a “finishing station”—right before the table.
Storage and Make-Ahead Tips
This no-bake dessert is built for planning. With correct storage, tiramisu cups maintain excellent flavor and texture for several days.
– Store covered in the fridge for up to 2–3 days
– Keep cups covered to prevent fridge odors and moisture changes.
– Assemble up to a day ahead for the best flavor and minimal effort
– The coffee and cream meld overnight, making the dessert taste more integrated.
– Avoid freezing
– Dairy-based components such as heavy cream can break down during freezing and thawing, leading to a less stable and less creamy texture.
Make-ahead workflow (efficient and reliable):
1. Prepare mascarpone cream and keep chilled.
2. Brew and cool espresso.
3. Assemble cups without final cocoa dusting.
4. Chill overnight.
5. Dust with cocoa right before serving.
Conclusion
A tiramisu cups recipe succeeds when each component is treated with care: whip mascarpone cream to soft, stable peaks; dip ladyfingers quickly so they stay tender; layer evenly for consistent bites; then chill until the flavors meld and the cream sets. Assemble ahead for convenience, dust cocoa right before serving for the freshest aroma, and you’ll consistently deliver a crowd-pleasing, no-bake dessert that tastes like it came from a pastry case.
Frequently Asked Questions
What is the easiest tiramisu cups recipe for beginners?
Start with no-fuss tiramisu cups using store-bought ladyfingers (or sponge cake cut into pieces), mascarpone, whipped cream (or eggs if you prefer classic), coffee, and cocoa powder. Dip the ladyfingers quickly in espresso or strong coffee, layer them with the mascarpone mixture, then repeat and chill until set. This no-cook approach makes tiramisu cups recipe style desserts beginner-friendly while still delivering classic tiramisu flavor.
How do I make tiramisu cups without raw eggs?
Use a mascarpone filling that relies on whipped cream or a stabilized whipped base instead of raw eggs. Many tiramisu cups recipe variations whisk mascarpone with sugar and fold in whipped cream for a thick, creamy texture. If you want extra structure, chill the cups for at least 4 hours so the layers firm up properly.
Why do my tiramisu cups get watery, and how can I prevent it?
Watery tiramisu usually comes from over-dipping the ladyfingers or using coffee that’s too warm, which breaks down the cake quickly. For a better tiramisu cups recipe, dip each piece for just 1–2 seconds and let excess liquid drip off before layering. Also chill the cups long enough for the mascarpone cream to set and absorb moisture without turning runny.
Best coffee for a tiramisu cups recipe—espresso, brewed coffee, or instant?
Espresso gives the most intense traditional tiramisu flavor, but strong brewed coffee works just as well if it’s concentrated. Instant coffee can be convenient—just dissolve it fully and cool it before assembling to avoid melting the mascarpone. For consistency, use coffee you can taste on its own, since it becomes a key layer in your tiramisu cups.
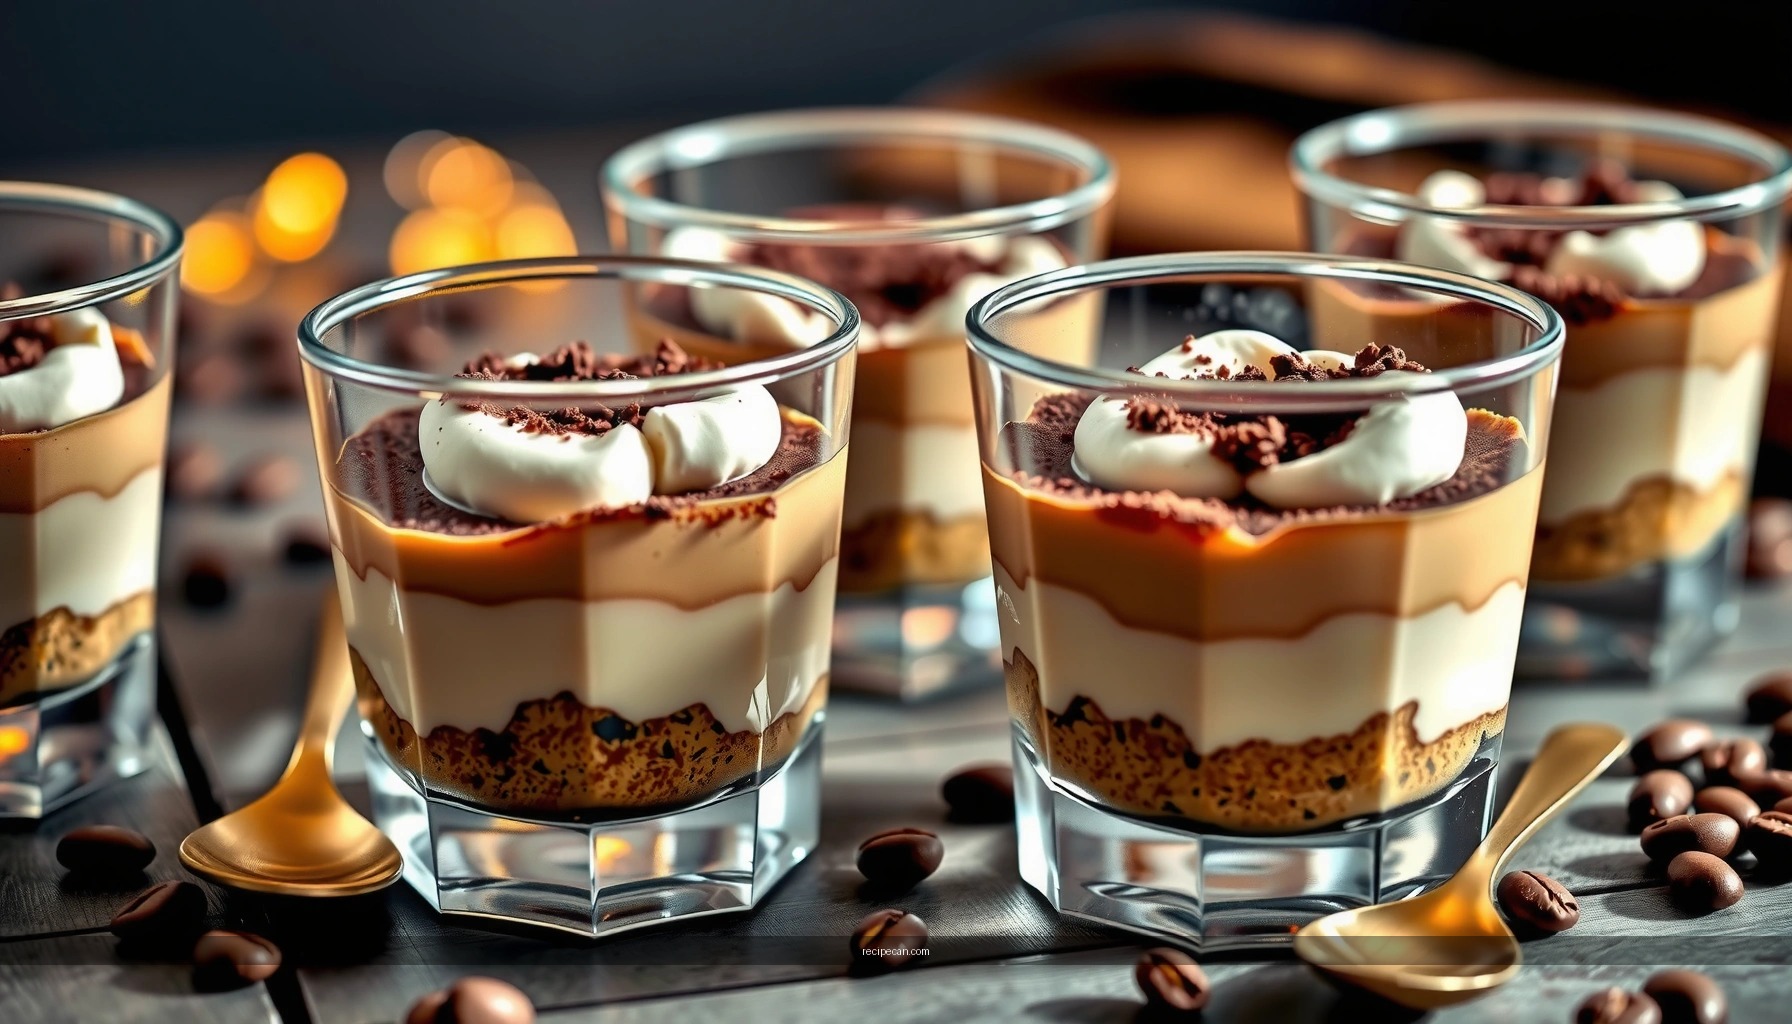
Which toppings and flavor add-ins work best for tiramisu cups?
Classic tiramisu cups recipe toppings include unsweetened cocoa powder and a sprinkle of dark chocolate shavings for a balanced bitterness. For variety, add a splash of rum or coffee liqueur to the espresso, or fold in a little vanilla extract to deepen the mascarpone flavor. You can also layer a thin spread of Nutella or a spoonful of berries between layers, but keep portions small so the dessert stays creamy rather than soggy.
References
- Google Scholar Google Scholar
https://scholar.google.com/scholar?q=tiramisu+cups+recipe - Google Scholar Google Scholar
https://scholar.google.com/scholar?q=tiramisu+recipe+mascarpone+coffee+ladyfingers - Google Scholar Google Scholar
https://scholar.google.com/scholar?q=individual+tiramisu+dessert+cup+recipe - https://pubmed.ncbi.nlm.nih.gov/?term=tiramisu
https://pubmed.ncbi.nlm.nih.gov/?term=tiramisu - https://pubmed.ncbi.nlm.nih.gov/?term=mascarpone
https://pubmed.ncbi.nlm.nih.gov/?term=mascarpone - https://www.nature.com/search?q=tiramisu
https://www.nature.com/search?q=tiramisu - https://www.sciencedirect.com/search?qs=tiramisu
https://www.sciencedirect.com/search?qs=tiramisu - Tiramisu
https://en.wikipedia.org/wiki/Tiramisu - Tiramisu | Meaning, Ingredients, Origin, Desserts, & Taste | Britannica
https://www.britannica.com/topic/tiramisu - tiramisu cups recipe – Search results
https://en.wikipedia.org/wiki/Special:Search?search=tiramisu+cups+recipe