You want the best tiramisu recipe—classic, creamy, and easy to make—and this one delivers it. Follow these step-by-step instructions for silky mascarpone cream, espresso-soaked ladyfingers, and a clean cocoa finish with no complicated techniques. By the end, you’ll know exactly how to get that signature balance of rich, coffee-forward flavor in every slice.
The best tiramisu recipe is a reliably classic, layered dessert: espresso-soaked ladyfingers topped with a smooth mascarpone cream and finished with cocoa. If you want the real “restaurant texture” at home, focus on three control points—espresso temperature, quick soaking, and a properly stabilized mascarpone filling—then chill long enough for the flavors to fully meld.
Classic Ingredients for the Best Tiramisu Recipe

A true classic tiramisu recipe balances richness, structure, and coffee bitterness. The ingredients below aren’t just “traditional”—they directly affect texture, aeration, and how cleanly the dessert slices.
– Use mascarpone, fresh eggs (or a safe substitute), sugar, espresso, and ladyfingers
– Mascarpone is the anchor: it’s creamy, high-fat, and prevents the filling from tasting flat or watery.
– Eggs (commonly yolks, and sometimes whites) create a lighter, more stable cream when treated properly. If you want the safest approach, use pasteurized eggs or a thermally treated substitute (see the method tips in the cream section).
– Ladyfingers provide the layered “cake” structure, but they must be soaked briefly—tiramisu isn’t meant to become bread pudding.
– Choose quality cocoa powder for the signature finish
– Use unsweetened natural cocoa for the classic bitter-chocolate profile. For a darker, more intense finish, you can use Dutch-process cocoa—it’s smoother and less acidic, which pairs beautifully with espresso.
– Optional: add a splash of vanilla or rum for deeper flavor
– A small amount of vanilla rounds out the mascarpone sweetness.
– Rum (or marsala, if you prefer an Italian-style twist) adds warmth, but keep it modest so it doesn’t overpower the coffee.
To make shopping and execution easier, here’s a practical “ingredients-to-performance” guide for a classic tiramisu.
Key Ingredient Choices and Their Impact on Classic Tiramisu (1 Batch)
| # | Ingredient (Role) | Recommended Amount | Texture Impact | Coffee/Flavor Strength | Overall Result |
|---|---|---|---|---|---|
| 1 | Mascarpone (creamy base) | 500 g | ★★★★★ | Low | Excellent |
| 2 | Pasteurized egg yolks (stabilize) | 3 large | ★★★★☆ | Low | Very Good |
| 3 | Granulated sugar (balanced sweetness) | 80 g | ★★★★☆ | Low | Excellent |
| 4 | Strong espresso (soak liquid) | 240 ml | ★★★★★ | High | Outstanding |
| 5 | Ladyfingers (layer structure) | 24–28 pieces | ★★★☆☆ | Low | Solid & Sliceable |
| 6 | Unsweetened cocoa (finish) | 2–3 tbsp | ★★★☆☆ | Medium | Signature Look |
| 7 | Optional vanilla/rum (depth) | 1 tsp / 1–2 tbsp | ★★★☆☆ | Medium | Better Rounding |
Brew the Espresso (and Prepare the Ladyfingers)

The espresso stage is where most “home tiramisu” attempts succeed—or fail. If your coffee is too hot or you soak too long, the ladyfingers collapse and bleed, creating a watery layer rather than a creamy bite.
– Brew strong espresso and let it cool slightly for better soaking
– Use freshly brewed espresso if possible.
– Cool it for 5–10 minutes until warm, not scalding. Warm espresso penetrates; boiling espresso turns ladyfingers into mush faster.
– Dip ladyfingers quickly—so they absorb flavor without turning soggy
– Dip each side for roughly 1–2 seconds per face. You’re aiming for a visible sheen, not saturation.
– If your ladyfingers feel fragile, dip slightly longer (about 2 seconds) but avoid repeated soaking passes.
– Keep soaking consistent across all layers
– Consistency is what creates a uniform slice. Create a rhythm: dip, drain briefly on a rack, then place immediately.
Quality tip: If you want a lighter bitterness profile, you can dilute the espresso by 10–20% with water, but keep the coffee still strong enough to cut through the mascarpone’s richness.
Make the Mascarpone Cream (Fluffy Texture Tips)

A classic tiramisu cream should be thick, glossy, and airy—never grainy, never runny. Think of it as an emulsified system: mascarpone and sugar provide body, while eggs (and optional whipped whites) provide structure and lift.
– Whip mascarpone with sugar until smooth and creamy
– Beat until smooth before adding eggs. Mascarpone can contain small lumps; breaking them early prevents a lumpy final cream.
– Keep mixing controlled. Overmixing can loosen mascarpone; you want “silky,” not “thin.”
– Fold in whipped egg whites (if using) gently for airy structure
– Separate eggs if using whites: whip to soft peaks (they should droop, not stand stiff).
– Fold in 2–3 additions using a gentle motion to keep bubbles intact. This is what gives tiramisu its light, spoonable texture.
– Chill the cream briefly to stabilize before assembling
– Chill for 15–30 minutes if the cream seems too soft. Stabilization makes layering clean and prevents the dessert from slumping.
Safety note: If you’re using raw eggs, choose pasteurized eggs and follow food-safety guidance. For a “no-risk” experience, many home cooks use pasteurized yolks or apply gentle heat to stabilize yolk-based cream (tempering) before folding into mascarpone.
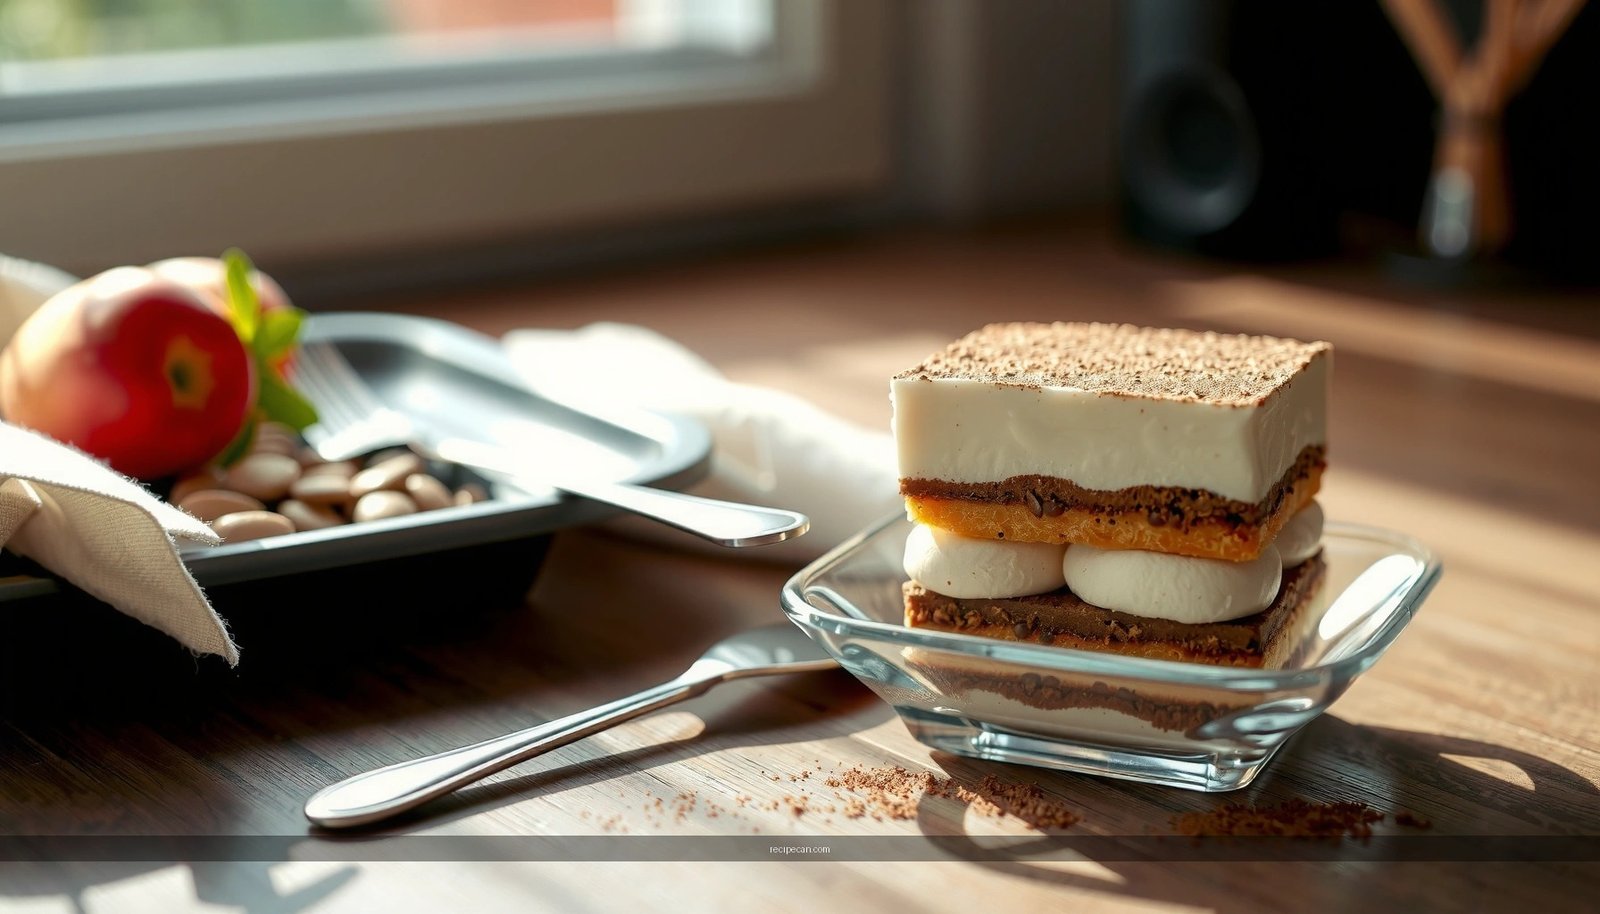
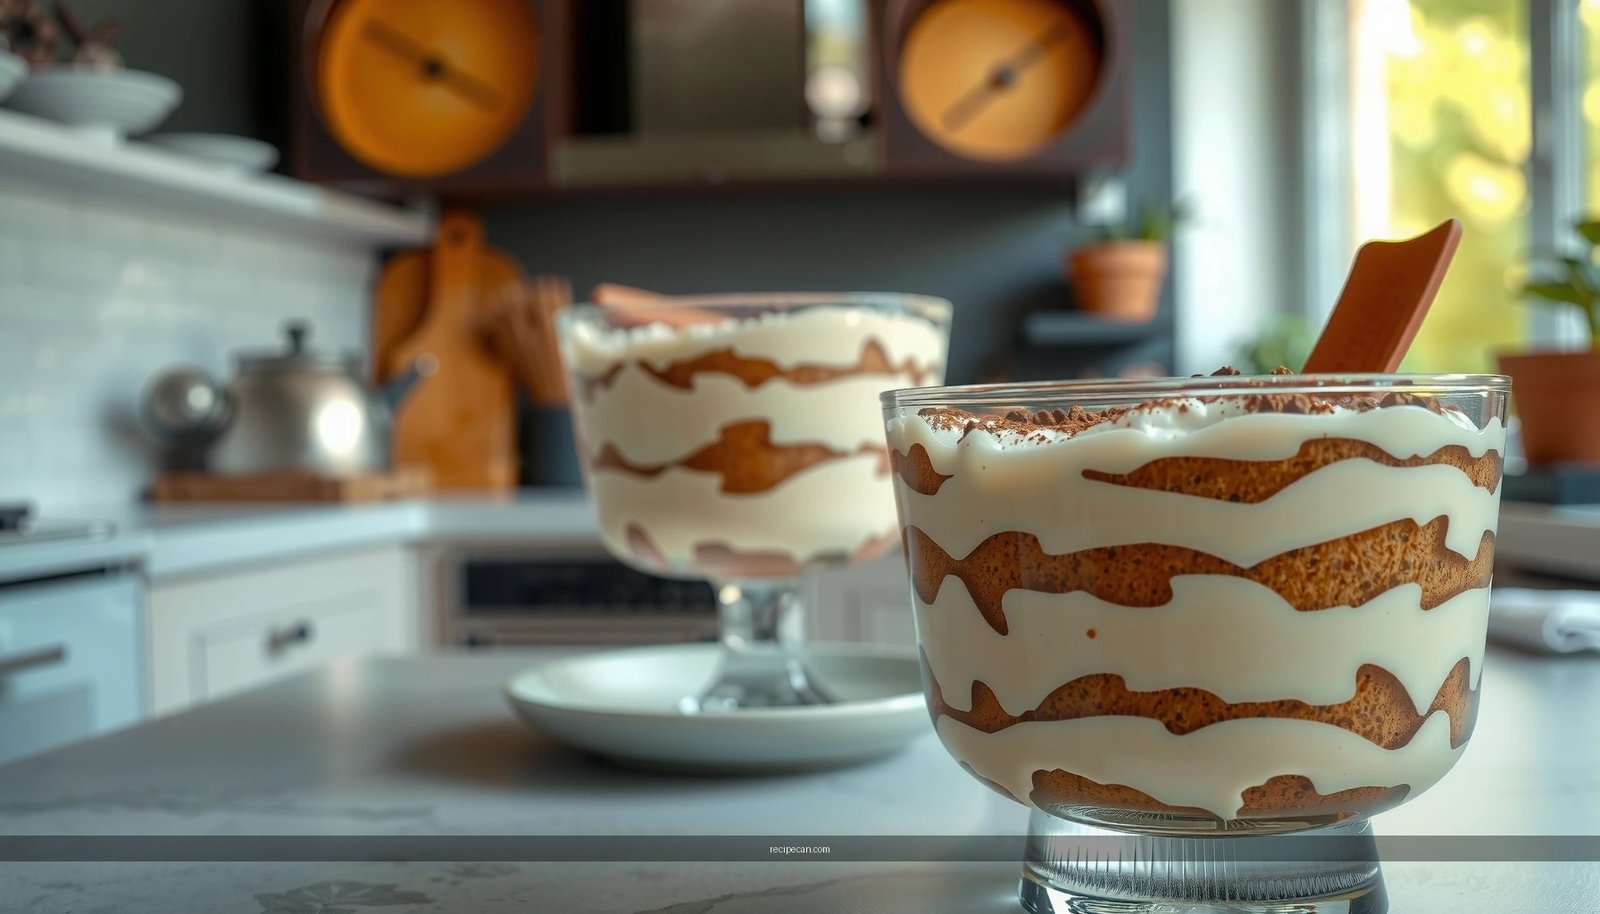
Layering Instructions for Perfect Tiramisu
Layering is not just presentation—it’s structural engineering. Too much cream makes it heavy; too little makes it dry. The classic approach keeps ladyfingers evenly distributed and the top layer creamy enough to protect against drying in the fridge.
– Start with a thin cream layer, then arrange soaked ladyfingers evenly
– Spread a thin base of mascarpone first. This prevents the first layer from sliding.
– Arrange ladyfingers snugly but without gaps that expose dry edges.
– Repeat layers, keeping the top layer thick enough to prevent dryness
– Two layers of ladyfingers with three cream layers (base, middle, top) is common for balanced moisture.
– Your final cream layer should be thick enough to fully cover the last line of ladyfingers.
– Smooth the final cream layer before chilling
– Use an offset spatula or the back of a spoon to create an even surface. Not only does it look professional, it helps the dessert set uniformly.
Portioning tip: If you’re serving in individual glasses, use fewer ladyfingers per layer and keep the soaking brief. Individual tiramisu is forgiving, but texture depends even more on consistent dipping time.
Chill Time for the Best Flavor and Set
Chilling is where tiramisu “finishes itself.” During rest time, espresso flavor distributes, and the cream firms into that characteristic creamy slice. Plan this step like you would a workflow in any kitchen: start early, don’t rush.
– Refrigerate at least 4–6 hours (overnight is best)
– Minimum 4 hours can work, but overnight typically yields the smoothest melding.
– Let it set so the flavors meld and the texture becomes creamy
– The mascarpone and coffee components balance—bitterness softens, sweetness rounds out, and the ladyfingers become moist without being soggy.
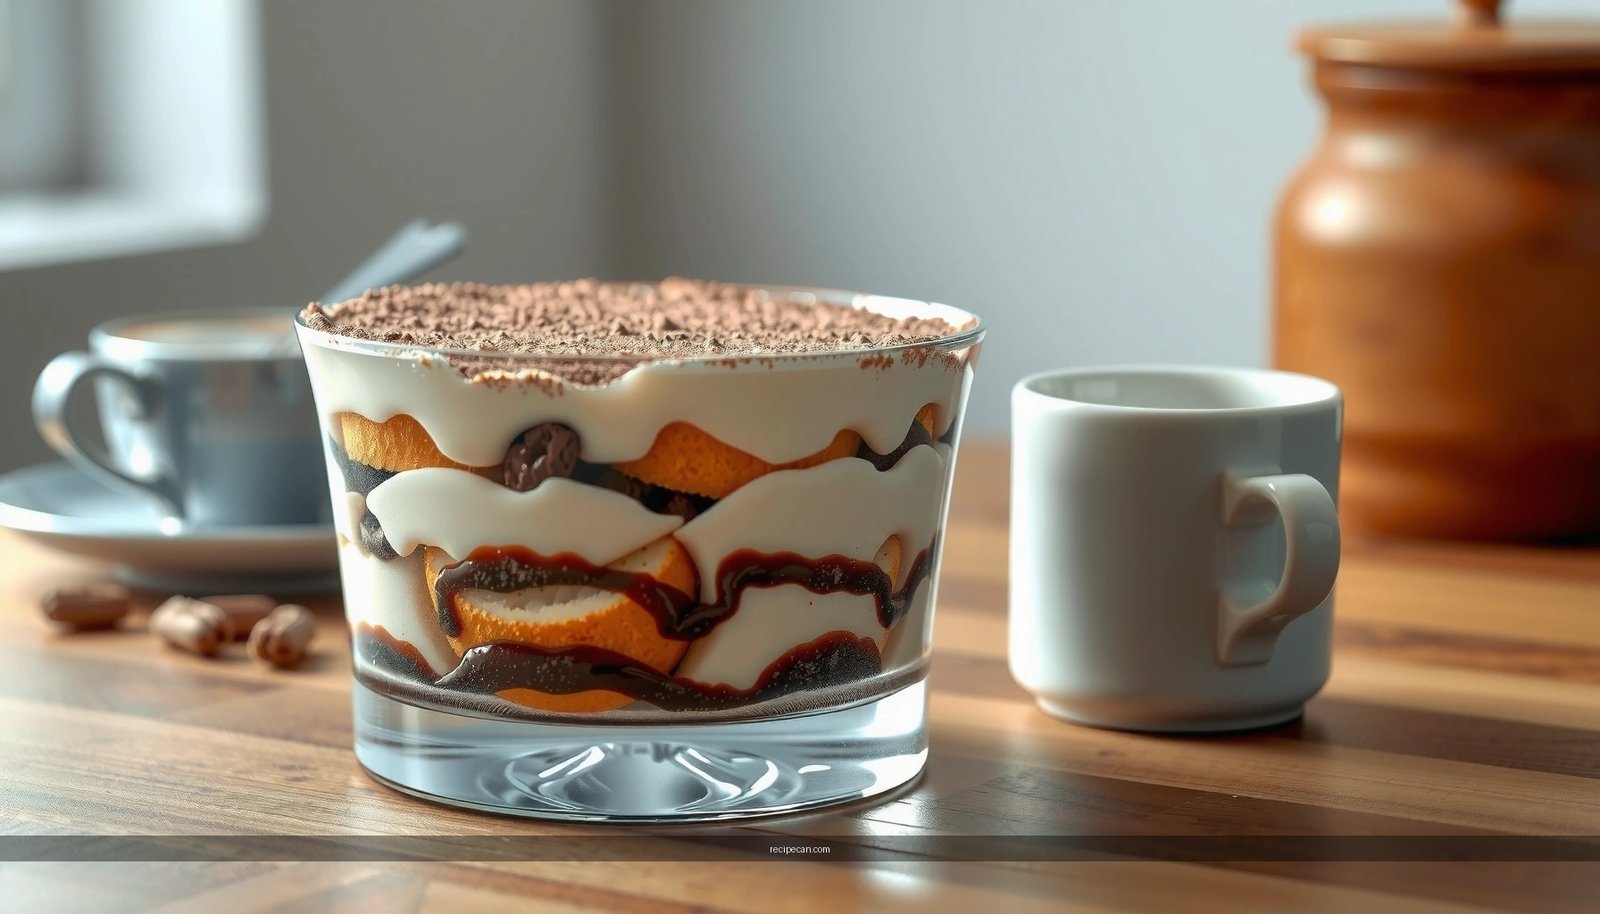
– Dust with cocoa right before serving for the best look and taste
– Cocoa can dissolve slightly into moisture if applied too early, dulling the finish. Dust at serving time for maximum aroma and a clean appearance.
Serving method: For best slices, dip your knife in warm water, wipe clean, and cut with light pressure. This reduces drag through the cream.
Common Mistakes (and How to Avoid Them)
Even the best tiramisu recipe can go sideways with a few predictable errors. The good news: each problem has a simple fix.
– Over-soaking ladyfingers leads to watery tiramisu—dip quickly
– If you see liquid pooling at the edges, the soaking was too long. Next time, shorten dip time by 30–50% and allow a brief drain moment.
– Skipping chilling results in a loose texture—plan ahead
– If your tiramisu won’t hold a clean slice, it likely needs more rest. Chill at least overnight for best structural integrity.
– Uneven cocoa timing can clump—sift before serving
– Cocoa should be sifted to avoid dry lumps. Sifting right before serving gives the most even, professional finish.
Extra troubleshooting: If the cream looks slightly loose, chill the assembled dessert longer. If it tastes “eggy,” reduce egg proportion next time or use pasteurized egg yolks and avoid over-whipping.
A truly standout tiramisu comes down to quality ingredients, quick soaking, fluffy mascarpone cream, and enough chilling time to set. Follow the steps above, taste as you go, and then dust with cocoa right before serving—make this your new go-to best tiramisu recipe and share it with friends.
Frequently Asked Questions
What is the best tiramisu recipe for a classic, no-fail flavor?
The best tiramisu recipe uses mascarpone cheese, fresh eggs (or pasteurized egg yolks), strong espresso, and ladyfingers soaked just enough to stay tender but not soggy. For the filling, whisk mascarpone with sugar and fold in whipped egg whites for a light, creamy texture. This classic method is widely loved because it balances rich creaminess with bold coffee flavor.
How do I make tiramisu without runny mascarpone or a gritty texture?
To avoid runny mascarpone, make sure your mascarpone is cold when you start and whip only until smooth—overmixing can break the texture. Use a fine sugar and mix thoroughly so it dissolves completely, which helps prevent grittiness. If you’re separating eggs, whip whites to soft-to-medium peaks and fold gently so the tiramisu stays stable and airy.
Which ladyfingers should I use for the best tiramisu, and how long should I soak them?
For the best tiramisu, use traditional Italian ladyfingers (savoiardi) that hold their shape while still absorbing coffee flavor. Dip each side of the ladyfingers in espresso for about 1–3 seconds, just until coated, then layer immediately. Quick soaking prevents sogginess and keeps your tiramisu sliceable and structured.
Why does my tiramisu taste too strong or too bitter, and how can I balance it?
Tiramisu can taste bitter if your espresso is very dark or if ladyfingers soak too long, pulling excess coffee into the layers. Balance it by using freshly brewed espresso (not burnt or over-extracted) and consider a touch of sugar or a splash of sweetened coffee liqueur if you want a softer flavor. You can also chill the dessert long enough for the flavors to mellow, usually 4–6 hours.
What’s the best way to assemble and chill tiramisu so it slices cleanly?
Start with a thin layer of mascarpone at the bottom, then add a single, even layer of quickly dipped ladyfingers, followed by the mascarpone cream. Repeat layers consistently so each bite has the right ratio of coffee-soaked cookies and creamy filling. Chill tiramisu covered for at least 4 hours (overnight is even better) so the layers set and you get clean, professional-looking slices.
References
- Tiramisu
https://en.wikipedia.org/wiki/Tiramisu - Tiramisu | Meaning, Ingredients, Origin, Desserts, & Taste | Britannica
https://www.britannica.com/topic/tiramisu - https://pubmed.ncbi.nlm.nih.gov/?term=tiramisu
https://pubmed.ncbi.nlm.nih.gov/?term=tiramisu - https://www.sciencedirect.com/search?qs=tiramisu
https://www.sciencedirect.com/search?qs=tiramisu - Search recipes – BBC Food
https://www.bbc.co.uk/food/search?q=tiramisu%20recipe - https://www.theguardian.com/food/tiramisu
https://www.theguardian.com/food/tiramisu - https://www.nytimes.com/search?query=tiramisu%20recipe
https://www.nytimes.com/search?query=tiramisu%20recipe - Google Scholar Google Scholar
https://scholar.google.com/scholar?q=best+tiramisu+recipe - Google Scholar Google Scholar
https://scholar.google.com/scholar?q=tiramisu+recipe+mascarpone+eggs+coffee+ladyfingers - Google Scholar Google Scholar
https://scholar.google.com/scholar?q=tiramisu+preparation+technique+study