You want a reliable tamales masa recipe, and the classic masa approach here is the clear winner for tamales that are tender, spreadable, and steam-cooked evenly. Follow this step-by-step method for making masa from scratch—balanced with the right fat-to-dough ratio and seasoned so it tastes like authentic Mexican street tamales. By the end, you’ll know exactly how to cook your masa to the ideal consistency before you assemble and steam.
Make classic tamales masa by hydrating masa harina with warm broth, creaming fat (lard or shortening), and mixing until it’s smooth, fluffy, and spreadable. If you follow the right ratios and use a consistency check (including the float test when appropriate), your masa will hold together cleanly during steaming—so the tamales cut, unwrap, and bite with confidence.
Ingredients for Tamales Masa

– Masa harina, warm broth (chicken or vegetable), and salt are the core essentials
– Use lard or vegetable shortening for the best texture and richness
– Optional additions like baking powder can help with tenderness
Classic tamales masa is built on three fundamentals: masa harina, moisture, and fat. Masa harina (nixtamalized corn flour) provides structure and that signature corn flavor. Warm broth—usually chicken or vegetable—does double duty: it hydrates the flour evenly and seasons the masa from the inside out. Salt is essential not just for taste, but also for balancing the sweetness that comes naturally from corn.
Choosing your fat: lard vs. vegetable shortening
– Lard: Often preferred for traditional flavor and aroma. It creams well and contributes to a tender, slightly savory finish.
– Vegetable shortening: A reliable option with consistent performance. It tends to produce a smooth, rich mouthfeel and is often chosen for dietary preferences or convenience.
In both cases, the “creaming” step is non-negotiable. Properly creamed fat traps air, which helps masa expand slightly during steaming for a lighter, more spreadable texture.
Optional leavening for tenderness
Many tamale makers use a small amount of baking powder to improve tenderness and reduce density. It’s optional, but it can be especially helpful if you want masa that feels airy yet still cohesive.
Reference ratios (use as your baseline)
A dependable starting point for classic tamales masa is a dry-to-fat and hydration balance that yields dough that spreads easily without cracking or breaking. In the table below, you’ll see a practical “batch” approach for accuracy.
Classic Tamales Masa: Reliable Ratio Benchmarks (By Weight)
| # | Batch Basis (Masa Harina) | Warm Broth | Fat (Lard/Shortening) | Salt | Baking Powder (Optional) | Target Masa Score |
|---|---|---|---|---|---|---|
| 1 | 500 g | ~750 g | 160 g | 9 g | 2 g | 8/10 |
| 2 | 750 g | ~1,125 g | 240 g | 13.5 g | 3 g | 8.5/10 |
| 3 | 1,000 g | ~1,500 g | 320 g | 18 g | 4 g | 9/10 |
| 4 | 250 g | ~375 g | 80 g | 4.5 g | 1 g | 8/10 |
| 5 | 1,250 g | ~1,875 g | 400 g | 22.5 g | 5 g | 9/10 |
| 6 | 2,000 g | ~3,000 g | 640 g | 36 g | 8 g | 9/10 |
| 7 | 1,500 g | ~2,250 g | 480 g | 27 g | 6 g | 9/10 |
Note: Broth amounts are approximate because masa harina brands vary slightly in absorption. You’ll fine-tune with small additions until the masa spreads without tearing.
How to Mix Tamales Masa (Step-by-Step)

– Whisk masa harina and baking powder (if using), then slowly add warm broth
– Cream the fat until fluffy, then combine with the masa mixture
– Mix until smooth with no dry pockets, adjusting with broth as needed
Mixing is where most tamales masa recipes succeed or fail. The objective is even hydration (no dry spots) and aeration from properly creamed fat.
Step 1: Warm your broth
Use broth that’s warm, not boiling—hot liquid can cook the fat and affect texture. Warm broth helps masa harina hydrate quickly and evenly.
Step 2: Combine dry ingredients
In a large bowl, whisk together:
– masa harina
– salt
– baking powder (if using)
Whisking matters because salt and leavening need distribution before liquid enters.
Step 3: Hydrate slowly with warm broth
Add warm broth gradually while mixing. Initially, the mixture will look shaggy or thick. Keep mixing until it becomes a cohesive paste. If you overshoot and it gets too loose, don’t panic—you can remedy by mixing in a small amount of extra masa harina (1–2 tablespoons at a time).
Step 4: Cream the fat separately
In another bowl (or in the same bowl after the paste is formed), cream lard or shortening until it’s lighter in color and noticeably smoother. This is typically 2–4 minutes with a hand mixer, depending on temperature and tool power.
Step 5: Combine paste + fat
Fold or mix in the creamed fat into the hydrated masa mixture. The goal is a uniform dough with no streaks of fat and no pockets of dry harina.
Step 6: Final mix for smoothness
Continue mixing until the masa feels silky and spreadable. Scrape the bowl edges and bottom; dry bits often hide there.
Step 7: Rest briefly
Rest the masa 10–20 minutes. During this time, flour particles hydrate fully, and the dough becomes easier to spread—critical for tamales that steam evenly.
Consistency Check: Smooth, Spreadable, and Fluffy

– Correct masa should be light, pliable, and easy to spread on the husk
– Use the spoon test: it should hold shape without cracking
– For extra assurance, try the float test if your recipe includes it
Consistency is not a subjective “looks right” decision. It’s measurable by how the masa behaves.
The spoon test (fast, practical)
Lift masa with a spoon or spatula:
– It should form a mound that holds its shape.
– It should spread with gentle pressure, not crumble.
– It should not look wet or pour like batter.
If it cracks at the edges, it’s too dry—add broth 1 tablespoon at a time. If it’s glossy and slack, add masa harina a little at a time until it firms up.
The float test (optional but powerful)
The float test is especially useful when you want to confirm hydration and fat balance. The general principle: well-mixed tamales masa is sturdy enough to partially suspend rather than dissolve immediately.
– Mix a small spoonful into a cup of cool water.
– If it floats or stays buoyant, hydration and structure are likely in the correct range.
– If it sinks quickly, the masa may need more hydration and thorough mixing (or more fat aeration, depending on your process).
Because masa harinas vary, treat the float test as a directional tool—not a universal guarantee.
Target texture: why it matters during steaming
When masa is correctly hydrated and creamed, it:
– releases moisture efficiently as it steams,
– binds around the filling without gaps,
– and pulls cleanly from the husk when done.
Tips for Flavor and Texture
– Season gradually and taste the broth/salt level before adding all liquid
– Keep fat well-creamed to prevent grainy masa
– Rest the masa briefly so it hydrates evenly before assembling
Professional results come from controlled seasoning and disciplined technique.
1) Season in layers for balanced flavor
Before mixing everything, taste your warm broth. If your broth is under-salted, the masa will taste flat even if it feels correct in texture. Add salt carefully and mix thoroughly—masa distributes salt across the entire dough, which can intensify flavor after steaming.
A practical approach:
– Start with the listed salt amount in the recipe.
– If your fillings are mild or sweet (e.g., fruit-based or lightly seasoned pork), you may want slightly more salt in the masa.
– If your fillings are already salty and assertive (e.g., deeply seasoned adobo), hold back slightly in the masa to avoid over-salting.
2) Prevent grainy masa
Graininess usually comes from one of three issues:
– fat wasn’t creamed enough,
– masa harina wasn’t fully hydrated,
– or mixing time didn’t reach a uniform paste.
If your masa looks gritty, mix longer and rest longer before adding more liquid. Over-wetting can make the dough gummy rather than smooth.
3) Resting improves spreadability
Even if you think the masa is ready, resting helps:
– fully hydrate stubborn flour particles,
– reduce tearing when spreading,
– and make the dough feel lighter.
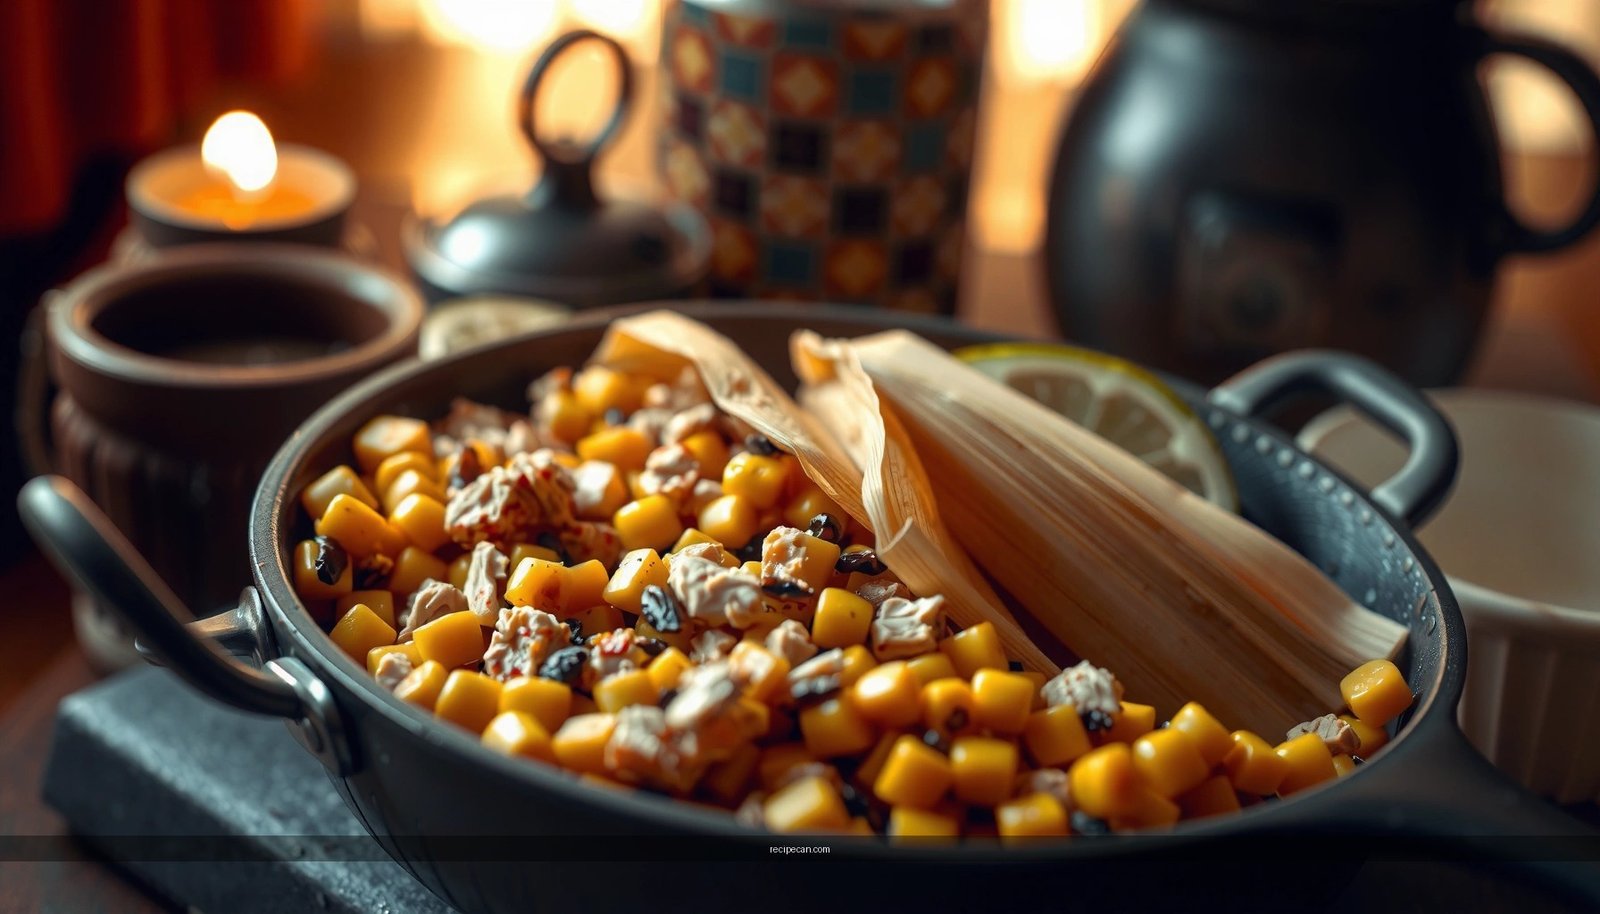
Assembling Before Steaming
– Spread masa evenly on soaked corn husks without overfilling
– Add filling in the center, then fold securely
– Stack tamales in a steamer with steady simmering water
Your masa can be perfect—and still fail if assembly is inconsistent. Think of assembly as controlling thickness, seal integrity, and steam exposure.
Prepare husks correctly
Soak corn husks until pliable (commonly 30–60 minutes depending on dryness). If husks are stiff, folding will tear the masa layer.
Spread masa with control
– Use a consistent spoonful size.
– Spread to an even thickness so the tamales steam uniformly.
– Avoid going all the way to the edges; leave a small border for sealing.
Fill with portion discipline
Add filling in the center—not too much. Overfilling forces masa to thin out at the seams, increasing the chance of separation during steaming.
Fold securely
Fold using the same method each time. A tight seal helps keep masa from separating from the husk and keeps the filling contained.
Steam arrangement
Place tamales upright or angled so steam circulates. Keep water at a steady simmer (not a hard boil) to avoid uneven cooking and husk dryness.
Steaming Time and Doneness
– Steam until tamales are set and masa pulls cleanly from the husk
– Add water as needed to maintain consistent steam
– Let them rest briefly before unwrapping for cleaner results
Doneness is best judged by texture and release, not just time on a clock.
How long to steam
Typical steaming times range from 75 to 120 minutes, depending on:
– tamale size,
– steamer volume,
– and whether your filling is fully cooked before assembly.
Start checking toward the upper end of the range.
The “pull” test
When a tamale is done:
– the masa should be set (no jiggly center),
– and the masa should pull away cleanly from the husk edges.
If masa sticks aggressively, steam longer in 10–15 minute increments.
Maintain steam consistency
Check the water level periodically and top up with hot water so you don’t interrupt steaming with cold water. Consistent steam ensures even hydration and a reliable set.
Rest before unwrapping
Let tamales rest 5–10 minutes off direct steam. This reduces smearing and helps masa firm up slightly for cleaner unwrapping.
Conclusion
Great tamales masa is the result of three controlled actions: hydrate masa harina with warm broth, cream your fat until smooth, and mix until the dough is fluffy, spreadable, and uniform. Use the spoon test to confirm texture, consider the float test for added confidence, and steam until masa pulls cleanly from the husk. When you follow these ratios and process checks, your tamales hold together beautifully—delivering classic flavor and a consistently satisfying bite every time.
Frequently Asked Questions
What is the best tamales masa recipe for tender, spreadable dough?
A great tamales masa recipe starts with masa harina and warm water or broth, mixed until smooth and thick. Many cooks add a fat like lard or vegetable shortening to improve tenderness and spreadability, plus a pinch of salt for flavor. If your masa feels dry, add small splashes of broth; if it’s too loose, mix a bit longer or add a little more masa harina.
How do I make tamales masa from scratch without lumps?
Start by mixing masa harina with warm broth gradually, stirring to break up any clumps. Let the mixture rest for 10–15 minutes so the masa hydrates evenly, then stir again for a consistent texture. For best results, mix by hand or with a stand mixer on medium until the tamales masa is smooth and cohesive.
Why does my tamales masa turn out tough or dry?
Tough masa usually comes from overmixing too much once hydrated or using water/broth that isn’t warm enough to fully hydrate the flour. Dry tamales masa often happens when there isn’t enough liquid or when the mixture wasn’t rested before assembling. To fix it, adjust gradually with warm broth, rest again briefly, and keep mixing only until smooth.
Which fat is better for tamales masa—lard or shortening?
Traditional tamales masa often uses lard because it adds rich flavor and helps create a soft, moist texture once steamed. Vegetable shortening can work well too, especially if you prefer a neutral taste, but the masa may have a slightly different flavor profile. Regardless of which you choose, ensure it’s well incorporated into the masa so the dough bakes and steams evenly.
How do I know when tamales masa is ready to spread on the corn husks?
Your tamales masa is ready when it spreads easily but holds shape, with a smooth, not sticky finish. A common test is to scoop a small amount and check that it spreads without tearing; some cooks use the “float test” by gently dropping a bit into water—if it rises slightly, the masa may be properly hydrated. If it smears or tears, add a little warm broth to soften; if it won’t spread, mix in a small amount of masa harina.
References
- Tamale
https://en.wikipedia.org/wiki/Tamale - Masa
https://en.wikipedia.org/wiki/Masa_harina - Nixtamalization
https://en.wikipedia.org/wiki/Nixtamalization - Corn tortilla
https://en.wikipedia.org/wiki/Corn_tortilla - https://www.britannica.com/topic/tamale
https://www.britannica.com/topic/tamale - Google Scholar Google Scholar
https://scholar.google.com/scholar?q=tamales+masa+recipe - Google Scholar Google Scholar
https://scholar.google.com/scholar?q=masa+harina+nixtamalization+chemistry - Google Scholar Google Scholar
https://scholar.google.com/scholar?q=tamale+dough+masa+hydration+fat+baking+powder - https://pubmed.ncbi.nlm.nih.gov/?term=nixtamalization+corn+masa
https://pubmed.ncbi.nlm.nih.gov/?term=nixtamalization+corn+masa - https://pubmed.ncbi.nlm.nih.gov/?term=masa+harina+tamales
https://pubmed.ncbi.nlm.nih.gov/?term=masa+harina+tamales