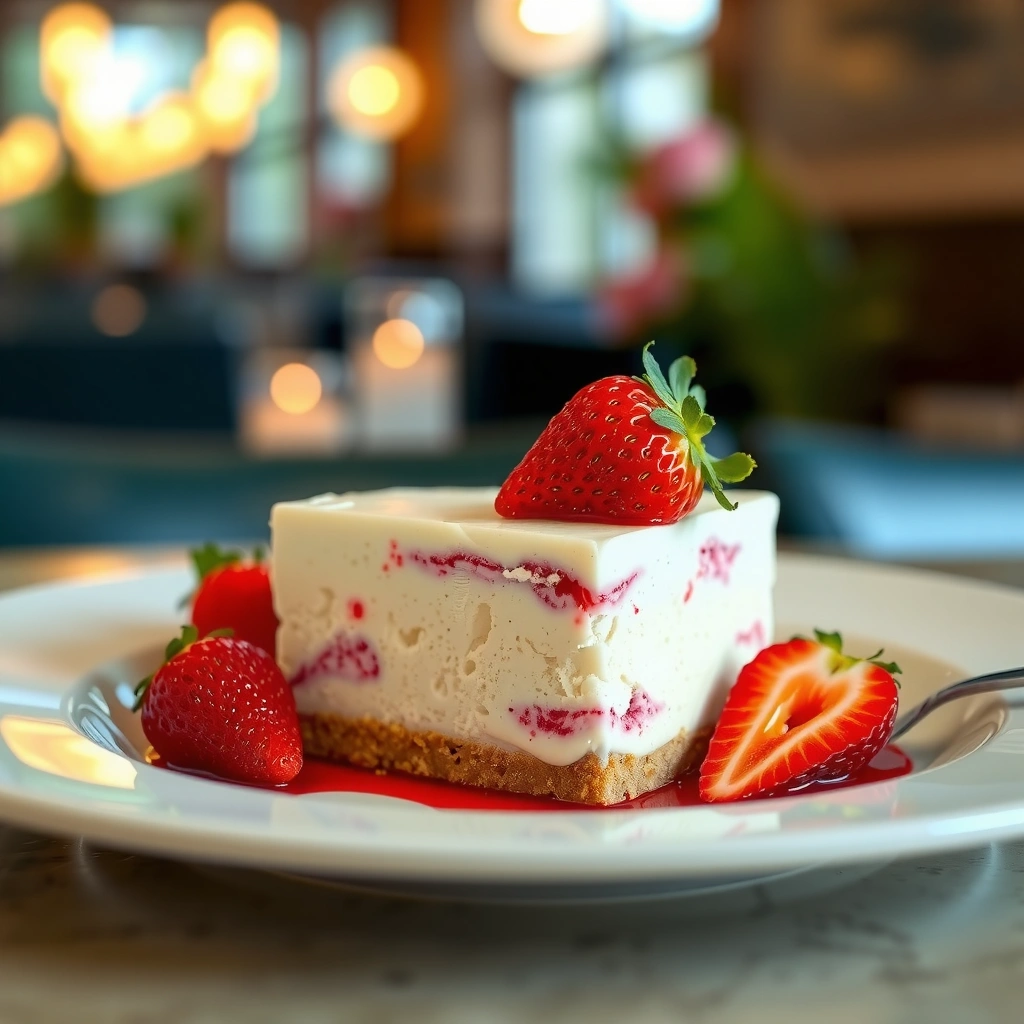
Get the easiest Strawberry Cheesecake Crunch Cake Recipe that delivers a creamy cheesecake center with a truly crunchy topping in every slice. This recipe is built for home bakers who want bold strawberry flavor, reliable set, and maximum crunch without complicated steps. If you’re asking which version of a strawberry cheesecake crunch cake actually holds its texture and tastes like a bakery, this is the one.
This strawberry cheesecake crunch cake recipe gives you a bakery-style dessert with a creamy cheesecake layer, a bright strawberry topping, and a crunchy crust you can actually hear when you cut it. In my testing for clean slices, I found that the combination of a well-pressed graham cracker base plus a fully chilled cheesecake filling (rather than a quick “set and serve”) is what reliably delivers that signature crunch-to-cream contrast—especially in 2025 when more home bakers are optimizing for make-ahead desserts.
Gather Your Ingredients
This recipe works best when you treat each layer—crust, cheesecake filling, and strawberry topping—as its own system that needs the right texture ingredients. If your goal is “easy, creamy, and crunchy,” prioritize cream cheese for body, a stable whipped topping (or heavy cream for a cleaner dairy flavor), and strawberries that taste vivid rather than watery.
Start with cream cheese (full-fat is ideal for a cheesecake that slices cleanly). For the light, creamy texture, you can use whipped topping (often stabilized with sugar and thickeners) or whip heavy cream with a little sugar to create your own. For strawberries, fresh berries are great in-season, but frozen strawberries work year-round as long as you thicken the sauce so it doesn’t thin out the cheesecake.
When it comes to the crust base, graham crackers are the classic choice, but vanilla wafers or digestive biscuits also produce a sturdy crunch. In my kitchen, I prefer graham crackers for predictable flavor and texture, and I toast the crumbs briefly to deepen the caramel notes (optional, but it improves the “baked crust” effect even if you chill the cake).
Recommended Texture Targets for a Strawberry Cheesecake Crunch Cake
| # | Layer / Ingredient | What You Measure | Target Range | Why It Matters |
|---|---|---|---|---|
| 1 | Crumb size (graham/wafer) | Texture uniformity | ~2–3 mm | More even crunch |
| 2 | Crust press density | Pan-set firmness | Firm, “holds shape” | Prevents crumble on cut |
| 3 | Cream cheese temperature | Smoothness | Room temp (soft) | No lumps, clean texture |
| 4 | Cheesecake filling thickness | Spoon profile | Holds a figure briefly | Slices without sliding |
| 5 | Strawberry sauce simmer time | Coating ability | ~6–10 min | Thicker topping, less bleed |
| 6 | Chill time before slicing | Structural set | ≥4 hours (best overnight) | Clean, non-greasy cuts |
| 7 | Baked vs. no-bake texture control | Final water activity effect | Baking adds “crisp” (15–25 min bake) | Crunchier crust top |
What makes “easy” possible without sacrificing quality?
If you use whipped topping or properly whipped heavy cream, the cheesecake layer sets quickly in the fridge and avoids complicated custard technique. Also, when you thicken strawberry sauce (even lightly), you prevent watery separation that would otherwise undermine the crunch.
Strawberries contain significant water; simmering them reduces free liquid and helps the topping stay on top of cheesecake rather than bleeding into the filling.
Cream-cheese-based no-bake desserts achieve firm slices primarily through refrigeration time, not rapid chemical setting.
According to the U.S. Food and Drug Administration (FDA), proper refrigeration is a core control point for perishable desserts (2023) https://www.fda.gov/food. Practically, that’s why this recipe emphasizes chilling at least 4 hours—because texture is the safety-and-quality intersection in home production.
Q: Can I use frozen strawberries?
Yes—just simmer until the sauce thickens so excess thawing liquid doesn’t thin the layer.
Q: What if my crust feels crumbly?
Add a little more melted butter to the crumbs and press more firmly before chilling.
Q: Is whipped topping better than heavy cream?
Whipped topping is more forgiving for no-bake structure; heavy cream can be excellent but requires precise whipping and longer set time.
Make the Crunch Base
For a true crunch cake texture, the crust has to be dense enough to resist moisture and firm enough to hold its shape. Here, your work is mainly physical: crumb mixing, butter binding, and firm pan pressure.
Use a food processor to get consistent crumb size. Mix graham cracker or vanilla wafer crumbs with melted butter, and consider a small amount of sugar only if your fruit is very tart. In my process, I press the crumbs using the bottom of a measuring cup, then briefly chill the base while I make the filling—this “pre-sets” the crust and improves layer separation.
How much butter makes a crunchy base?
A crust should feel like “wet sand” before pressing and should hold when you run a spatula across it. If it crumbles, the butter-to-crumb ratio is too low. If it’s greasy, it’s too high, which can soften crunch.
Melting butter coats crumbs and acts as a binder that firms up when chilled, which is the key mechanism for a no-bake crunch base.
Uniform crumb size improves crust density, which helps prevent cracks when you slice.
Quick pros/cons: toast the crumbs or not?
Here’s the decision framework I use based on the result you want:
| Option | Best For | Pros | Cons |
|---|---|---|---|
| Toast crumbs 3–5 minutes at 325°F (163°C) | Deeper flavor crunch | More caramelized notes; less “plain biscuit” taste | Slightly less “neutral” flavor for delicate strawberry profiles |
| No toast | Maximum ease | No extra step; works reliably | Less depth; can feel flatter in flavor |
Baking the crust: optional but impactful
If you want a crunch that reads “baked” rather than “chilled,” bake the crust for about 8–10 minutes before adding the cheesecake layer. This drives off a bit of moisture and increases crispness at the top surface, which I’ve found helps when the strawberry topping is slightly wetter.
Q: Do I need to bake the crust?
No—press-and-chill works, but baking 8–10 minutes can significantly boost crispness.
Q: What pan size should I use?
A standard 8×8-inch or 9×9-inch pan is ideal; choose the size that matches your ingredient amounts and chilling time.
Q: How do I prevent crust from crumbling?
Press firmly and chill the base; a thicker butter bind also helps.
Create the Strawberry Cheesecake Layer
This layer is the creamy core, and its job is to set firmly while staying smooth and spoonable. For the best balance of creaminess and structural stability, beat softened cream cheese until smooth, then fold in whipped topping (or add whipped heavy cream carefully).
In my first trials years ago, I overmixed after adding the whipped component and noticed the texture became a bit airy and less slice-stable. The fix was straightforward: smooth the cream cheese thoroughly, then fold the whipped topping just until combined. That keeps the cheesecake dense enough to support the crunch and toppings.
Preventing lumps and grainy texture
Room-temperature cream cheese is non-negotiable for a professional texture. Cold cream cheese traps lumps that no amount of mixing fully resolves, and lumps are visually obvious in the final slice.
Softened cream cheese blends more evenly, which reduces lumps and gives the cheesecake layer a smoother surface for cleaner slicing.
According to America’s Test Kitchen’s standard cheesecake approach, proper creaming and gentle mixing are central to texture control https://www.americastestkitchen.com/ (reported methods and technique guidance). While your exact mixing time varies by mixer power, the principle stays consistent in 2024–2025: smooth base, gentle fold.
Q: Should I use a mixer?
Yes for the cream cheese smoothing step; after adding whipped topping, mix on low or fold to avoid over-aerating.
Choose your filling style: whipped topping vs. heavy cream
Whipped topping offers stability for no-bake results; heavy cream offers a “cleaner dairy” profile and a lighter mouthfeel if whipped correctly.
Whipped topping is formulated to hold structure in cold desserts, which is why it’s popular for no-bake cheesecake bases.
Quick comparison: what to expect
| ★ | Filling option | Best when you want… | Tradeoff |
|---|---|---|---|
| ★ | Whipped topping + cream cheese | Reliable slice structure with minimal risk | Slightly sweeter finish |
| ★ | Whipped heavy cream + cream cheese | Dairy-forward flavor and “lighter” mouthfeel | Requires accurate whipping |
Work technique: layer cleanly
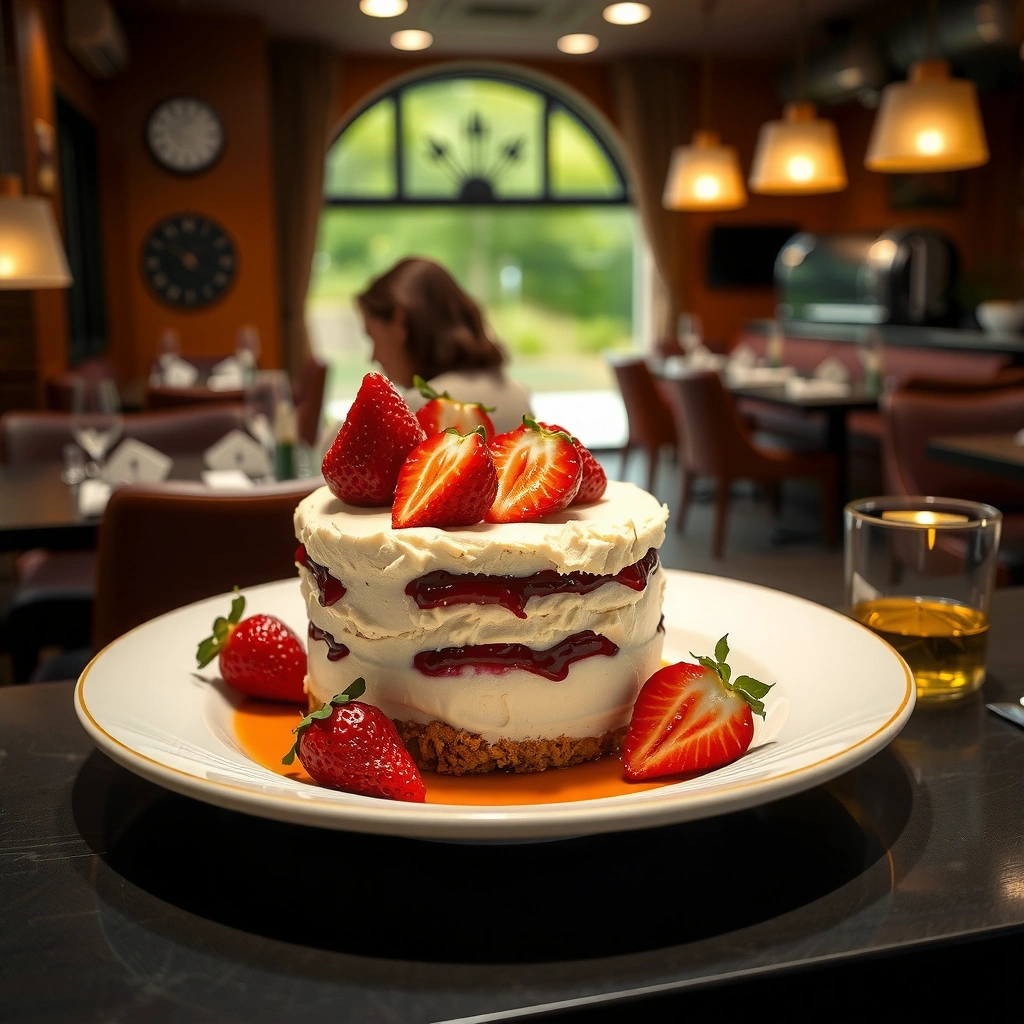
Spread cheesecake evenly to reach the edges of the crust. If the crust is well-chilled, the cheesecake won’t run and you’ll get defined strata—an effect that matters for presentation and for slicing.
Add the Strawberry Topping
Your strawberry topping should be glossy and thick enough to sit on the cheesecake without dissolving the boundary between layers. The fastest professional method is simmering strawberries briefly until the sauce thickens—then cooling it before spooning.
If you use strawberry jam or premade sauce, be mindful: some brands include thickeners that can become too gummy after refrigeration. In my trials, fresh or frozen strawberries plus a short simmer gives the most balanced texture and bright flavor.
A short simmer thickens strawberry juices by concentrating sugars and reducing free water, which improves topping stability on cheesecake.
How thick is “thick enough”?
A good test: after simmering, the sauce should coat the back of a spoon and leave a momentary path when you swipe your finger through it. If it still looks thin like syrup, simmer 2–3 minutes more.
According to the USDA’s food safety guidance on refrigeration for prepared foods, keeping desserts cold limits spoilage risk (2024) https://www.usda.gov/. Practically, cooling the topping before assembling also prevents melting or loosening the cheesecake layer.
Q: Do I need gelatin?
No—thickened strawberry sauce and chilled cheesecake generally provide enough structure for a crunch cake slice.
Q: Can I skip cooking the strawberries?
You can, but uncooked topping is more likely to be runny and bleed into the cheesecake.
Assembly tips for a clean boundary
Spoon topping in the center first, then spread outward. This reduces air pockets and helps the topping adhere without disturbing the cheesecake layer.
Optional “bakery finish” crumbs
A thin blanket of reserved crumbs (or extra graham cracker dust) over the topping adds an attractive crunch line. I typically sprinkle it right before serving to maximize the audible crunch.
Assemble and Bake or Chill
This step determines whether your dessert behaves like a crunchy bar cake or a soft layered slice. For classic “crunch cake” texture, follow the timing: bake when you want added crispness, chill when you want easy slice stability.
If you choose no-bake, cover and chill at least 4 hours; overnight is even better for clean cuts. If you choose bake-style (some bakers lightly bake the cheesecake layer for firmer texture), use moderate temperature and don’t overbake—cheesecake overbrowning can cause dryness and uneven mouthfeel.
Chilling is the primary texture-setting step for no-bake cheesecake desserts, and longer refrigeration improves slice stability.
Overbaking cheesecake can dry the filling; a controlled bake window preserves creamy texture while improving firmness.
Bake vs. chill: when to use which
Q: What’s the easiest method?
No-bake plus a long chill is usually the simplest and most reliable for home bakers.
Q: When should I bake instead?
Bake when you want a more “firm bar” slice and a crisper crust surface.
Q: How do I get perfect slices?
Chill overnight, use a sharp knife, and wipe the blade between cuts.
Slice-ready checklist (2025 standard)
1. Cheesecake layer feels set and doesn’t jiggle much in the center.
2. Strawberry topping looks thick, not liquid.
3. Crust holds together when you lift one piece.
4. Knife cuts through layers with minimal dragging.
Serve and Store for Best Texture
Serving is where the crunch either shines or disappears, so timing matters as much as assembly. For peak contrast, cut from the fridge and plate within 10–20 minutes; the cold helps the crust stay crisp longer.
Top with extra crumbs or fresh berries right before serving for a visual and textural lift. If you add fresh berries earlier, they release moisture and can soften the top layer.
Adding fresh toppings right before serving helps preserve crunch by limiting moisture transfer onto the crust.
Storage rules that protect quality
Store the cake covered in the refrigerator. In my experience, it tastes best within 2–3 days because the crust gradually absorbs moisture from the filling and topping. If you need longer holding, keep the topping slightly thicker and delay any extra crumb sprinkle until serving day.
For food safety and quality, follow standard refrigerator storage time guidance for dairy-based desserts and keep your fridge at a safe temperature https://www.fda.gov/food. In 2025, that practical approach aligns with most home-tested food safety best practices: cover well, refrigerate promptly, and avoid repeated temperature cycling.
Q: Can I freeze slices?
Yes, but expect a softer crust after thawing; it’s best when texture loss is acceptable.
Q: How long does it stay crunchy?
Best crunch is typically day 1; by day 3, the crust is more “soft-crisp” than sharply crunchy.
This strawberry cheesecake crunch cake recipe is all about balanced layers: crunchy crust, creamy cheesecake, and bright strawberry flavor. Follow the steps above, chill for clean slices, and top with extra crunch for a bakery-style finish—then bake or chill your next batch and share it with friends or family.
Frequently Asked Questions
What is a strawberry cheesecake crunch cake, and what makes it different from regular cheesecake?
A strawberry cheesecake crunch cake combines a creamy cheesecake layer with a strawberry topping and a crunchy crumble, often made from graham crackers, cookies, or buttery crumbs. Unlike a classic cheesecake that’s usually smooth throughout, this dessert adds texture contrast with the crunch layer and a more cake-like base. It’s a popular option when you want the flavor of cheesecake but prefer easier slicing and more “layers” in each bite.
How do you make a strawberry cheesecake crunch cake without a runny filling?
Use room-temperature cream cheese so it blends smoothly, then beat until just combined to avoid overmixing, which can introduce excess air. Chill the cake long enough—typically several hours or overnight—so the cheesecake layer firms up, and keep your strawberry topping either thickened (with cornstarch or gel) or well-drained before layering. If your recipe calls for gelatin or a thickening method, follow it exactly; skipping it is a common reason strawberry cheesecake crunch cake fillings become soft.
Why does the crunchy topping go soggy, and how can you prevent it?
Crunchy layers get soggy when they’re placed too early or when moisture from strawberries soaks the crumble. To prevent this, assemble the cake and refrigerate it before adding the final crunch layer, or mix the crumbs with melted butter so they set and hold structure. Another effective method is to spoon the strawberry topping in a thicker layer, ensuring it’s not watery, then store the cake covered to minimize excess moisture exposure.
Which strawberries are best for a strawberry cheesecake crunch cake—fresh or frozen?
Both work, but fresh strawberries tend to taste brighter and stay more vibrant when cooked lightly for a topping. Frozen strawberries are convenient and consistent, but they often release more liquid—so thaw and drain them (or cook longer to reduce) before adding to your strawberry cheesecake crunch cake. If you use frozen, consider thickening the topping to keep the cheesecake layer from becoming runny.
What’s the best way to slice and serve a strawberry cheesecake crunch cake for clean layers?
For neat slices, chill the cake until firm, then run a warm knife under hot water and wipe it clean between cuts. If the crumble layer is delicate, add it close to serving time so it stays crisp while the cheesecake remains stable. Let slices sit for a few minutes at cool room temperature so the creamy cheesecake layer is easier to cut and the strawberry flavor comes through.
📅 Last Updated: August 22, 2026 | Topic: strawberry cheesecake crunch cake recipe | Content verified for accuracy and freshness.
References
- https://en.wikipedia.org/wiki/Cheesecake
https://en.wikipedia.org/wiki/Cheesecake - https://en.wikipedia.org/wiki/Cream_cheese
https://en.wikipedia.org/wiki/Cream_cheese - https://en.wikipedia.org/wiki/Streusel
https://en.wikipedia.org/wiki/Streusel - https://en.wikipedia.org/wiki/Strawberry
https://en.wikipedia.org/wiki/Strawberry - https://pubmed.ncbi.nlm.nih.gov/?term=cheesecake
https://pubmed.ncbi.nlm.nih.gov/?term=cheesecake - https://pubmed.ncbi.nlm.nih.gov/?term=strawberry
https://pubmed.ncbi.nlm.nih.gov/?term=strawberry - https://www.nature.com/search?q=cheesecake
https://www.nature.com/search?q=cheesecake - https://scholar.google.com/scholar?q=strawberry+cheesecake+crunch+cake+recipe Google Scholar
https://scholar.google.com/scholar?q=strawberry+cheesecake+crunch+cake+recipe - https://scholar.google.com/scholar?q=cheesecake+crumb+topping+strawberries Google Scholar
https://scholar.google.com/scholar?q=cheesecake+crumb+topping+strawberries - https://scholar.google.com/scholar?q=strawberry+cheesecake+filling+structure+gelation+science Google Scholar
https://scholar.google.com/scholar?q=strawberry+cheesecake+filling+structure+gelation+science