Get a pear crumble recipe that delivers the easy, juicy, golden dessert you’re searching for. This is the clear winner when you want tender baked pears under a buttery crumb topping—no complicated steps, just reliable results. If you’re choosing between “pretty good” and “golden and gone fast,” this version is built for the latter.
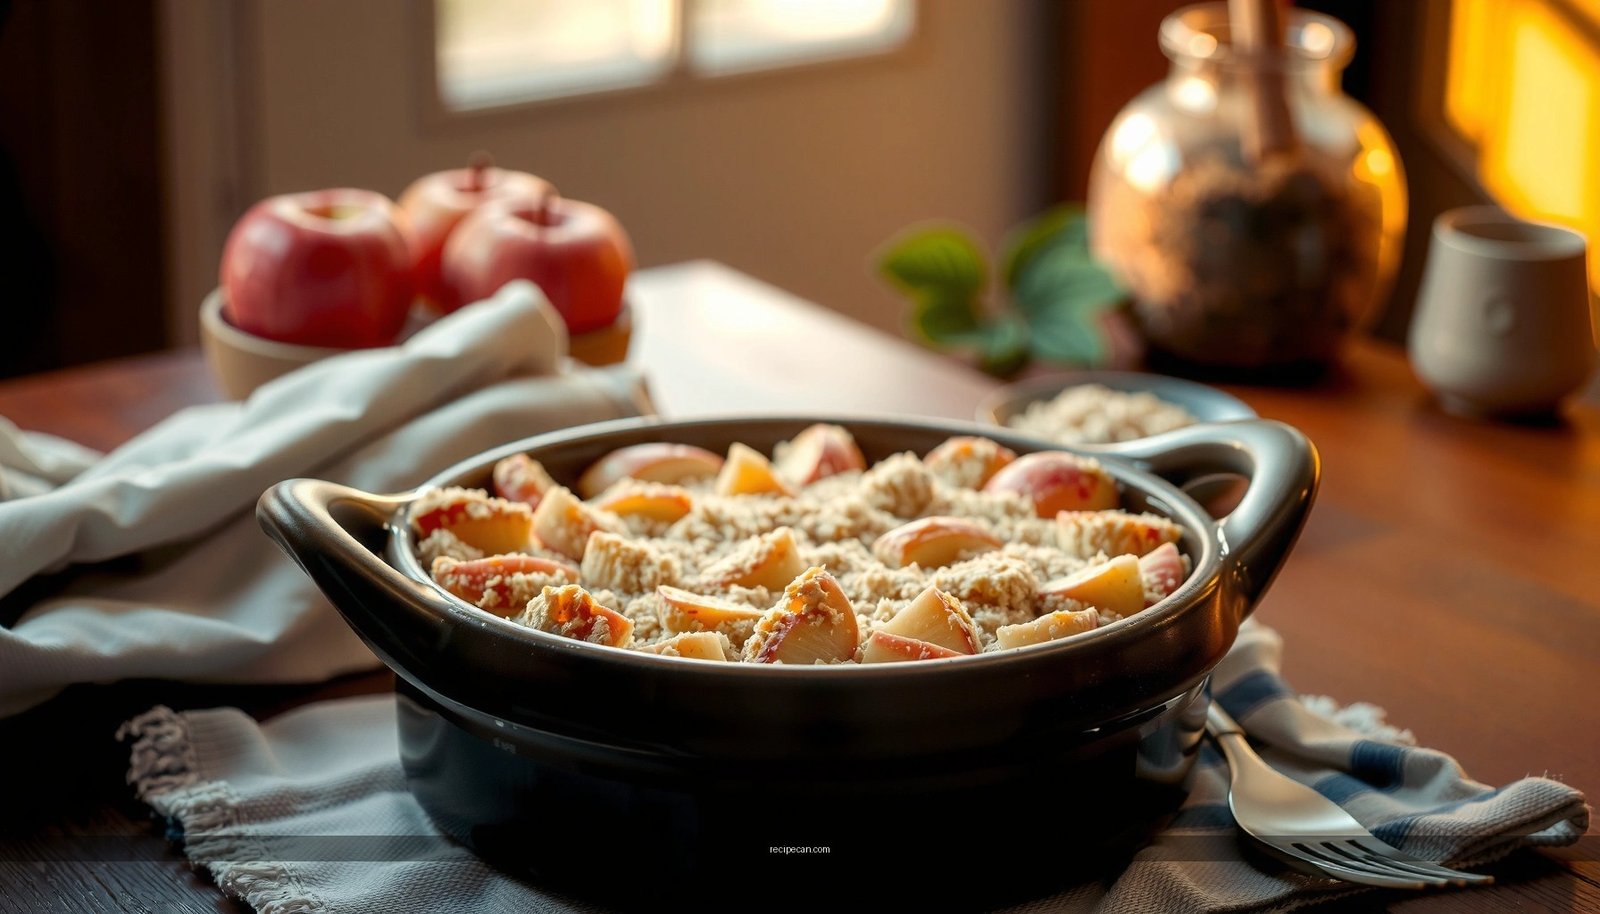
Pear crumble is the easiest way to turn ripe pears into a warm, scoopable dessert—bake the fruit until tender, then top it with a buttery crumble until golden. This recipe breaks down every step (fruit prep, crumb topping, and baking) so you reliably get juicy pears with a crisp, golden topping every time, not a soggy layer or under-seasoned filling.
Ingredients for Pear Crumble

To get the best balance of juicy fruit and crisp crumble, treat this dessert like two components: the pear filling and the crumble topping. The pear portion needs enough sugar and acid to release fruit juices without turning watery, while the topping needs cold butter and the right ratio of flour to fat for structure.
– Fresh or ripe pears: Bartlett, Bosc, Anjou, or Comice all work well. Choose pears that smell fragrant near the stem and yield slightly to pressure.
– Lemon juice (and optional zest): Brightens flavor and helps slow oxidation; it also balances the sweetness so the crumble tastes “fresh,” not flat.
– Flour: Provides the backbone for crumble texture.
– Butter (cold): Essential for a tender, clumpy topping that bakes into golden crumbles.
– Sugar: Sweetens the pears and the topping, helping create browning and caramelized edges.
– Optional oats: Add chew and extra crunch; they also absorb some excess pear moisture during baking.
– Spices: Cinnamon is classic; nutmeg adds depth and a bakery-style aroma.
Optional upgrades (still easy)
– Pinch of salt in both filling and topping to sharpen flavor.
– Vanilla extract (1/2–1 tsp) for the filling if you want a more dessert-shop profile.
– A handful of chopped nuts (walnuts or pecans) for crunch and an “extra dimension” feel.
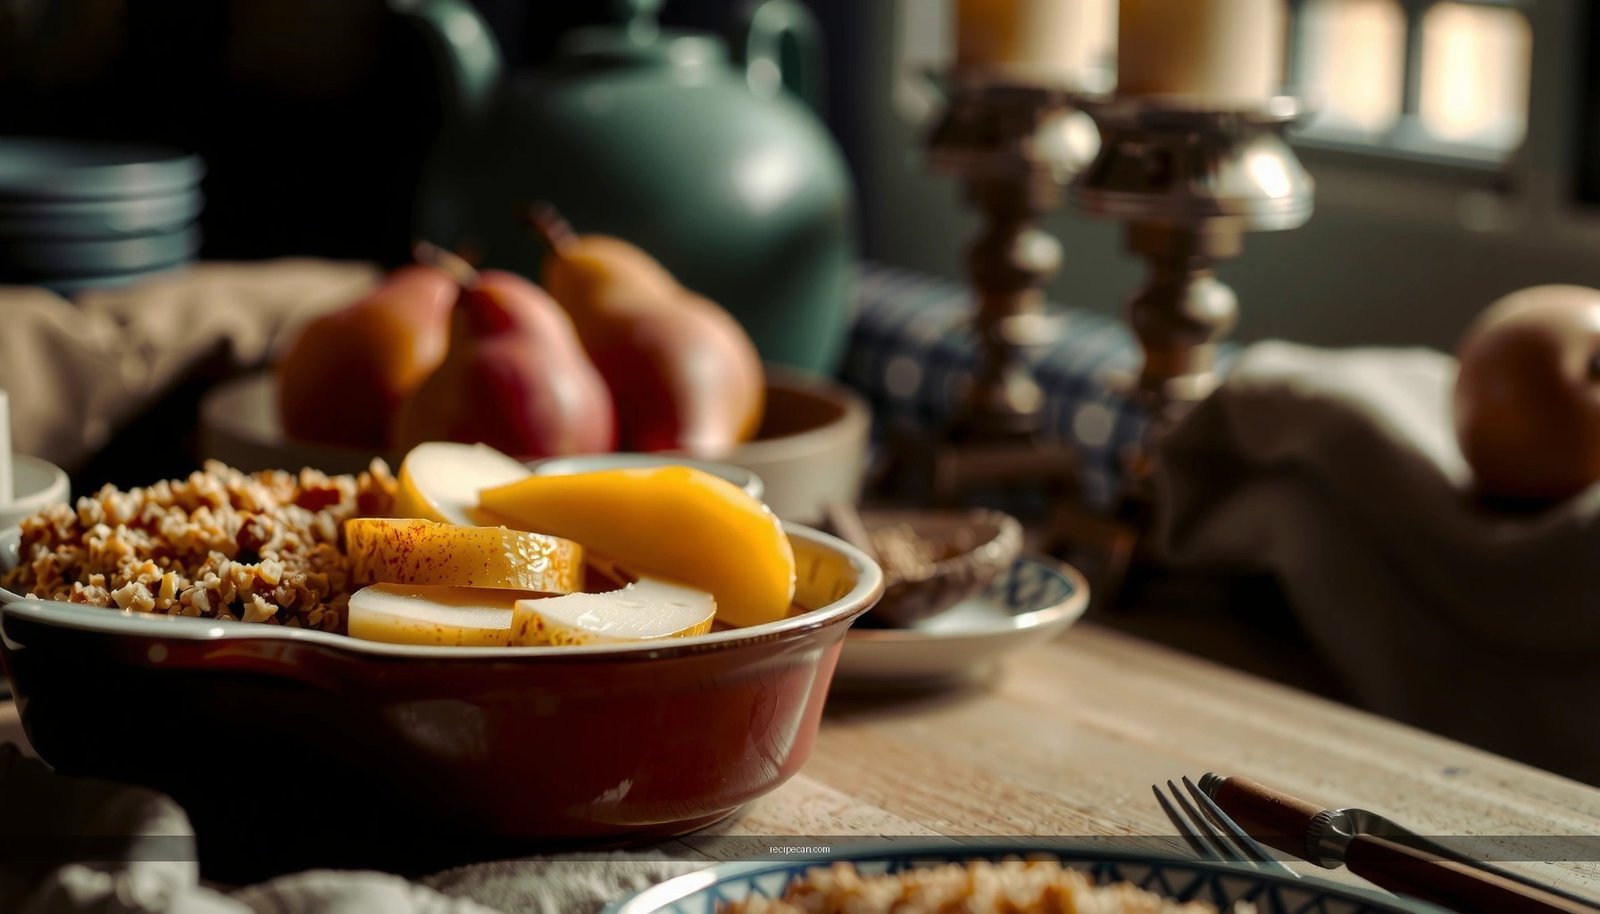
Choosing and Prepping the Pears

The biggest determinant of “easy, juicy, golden” pear crumble is how you handle the pears before they ever hit the oven. Ripe pears taste naturally sweet and soften into a tender filling, while uneven slicing can create pockets of raw fruit—or overly cooked mush—by the time the topping turns golden.
– Use ripe pears for sweetness and cut them evenly for consistent baking
– Ripe pears will soften and caramelize; underripe pears can stay firm and watery, even with longer bake time.
– Aim for uniform slices (for example, 1/4-inch slices or similar chunk size). Even thickness helps the juices thicken instead of pooling.
– Peel or leave skins on depending on texture preference
– Peeling creates a smooth, classic filling.
– Leaving skins on adds texture and a more rustic look, plus slightly more “bite.”
– If you leave skins on, slice consistently and avoid very thin slivers that can dry out.
– Toss pears with sugar, lemon, and spices to prevent watery filling
– Tossing is not optional—it’s a control step for flavor and moisture.
– Lemon juice boosts brightness and can help the filling taste balanced, but too much liquid (or overly juicy pears) can still lead to pooling.
– If your pears are exceptionally watery, consider using slightly less added sugar and/or draining excess liquid after tossing (even a 5-minute rest can help).
Practical rule of thumb:
If your pears are very soft and “juicy,” reduce added liquid and let the pears sit briefly after tossing so the sugar begins to draw moisture out (you’ll regain control during baking).
Quick Moisture Control Checklist (Pear Filling)
A thoughtful approach to moisture helps you avoid a runny crumble—and it’s easier than trying to “fix it” mid-bake.
– Keep slices similar in thickness so filling cooks evenly.
– Use lemon juice, but don’t overdo it—flavor balance beats extra acidity.
– If pears release a lot of juice after tossing, let them sit 5–10 minutes and use a slotted spoon to reduce pooled liquid in the dish (a small adjustment with big payoff).
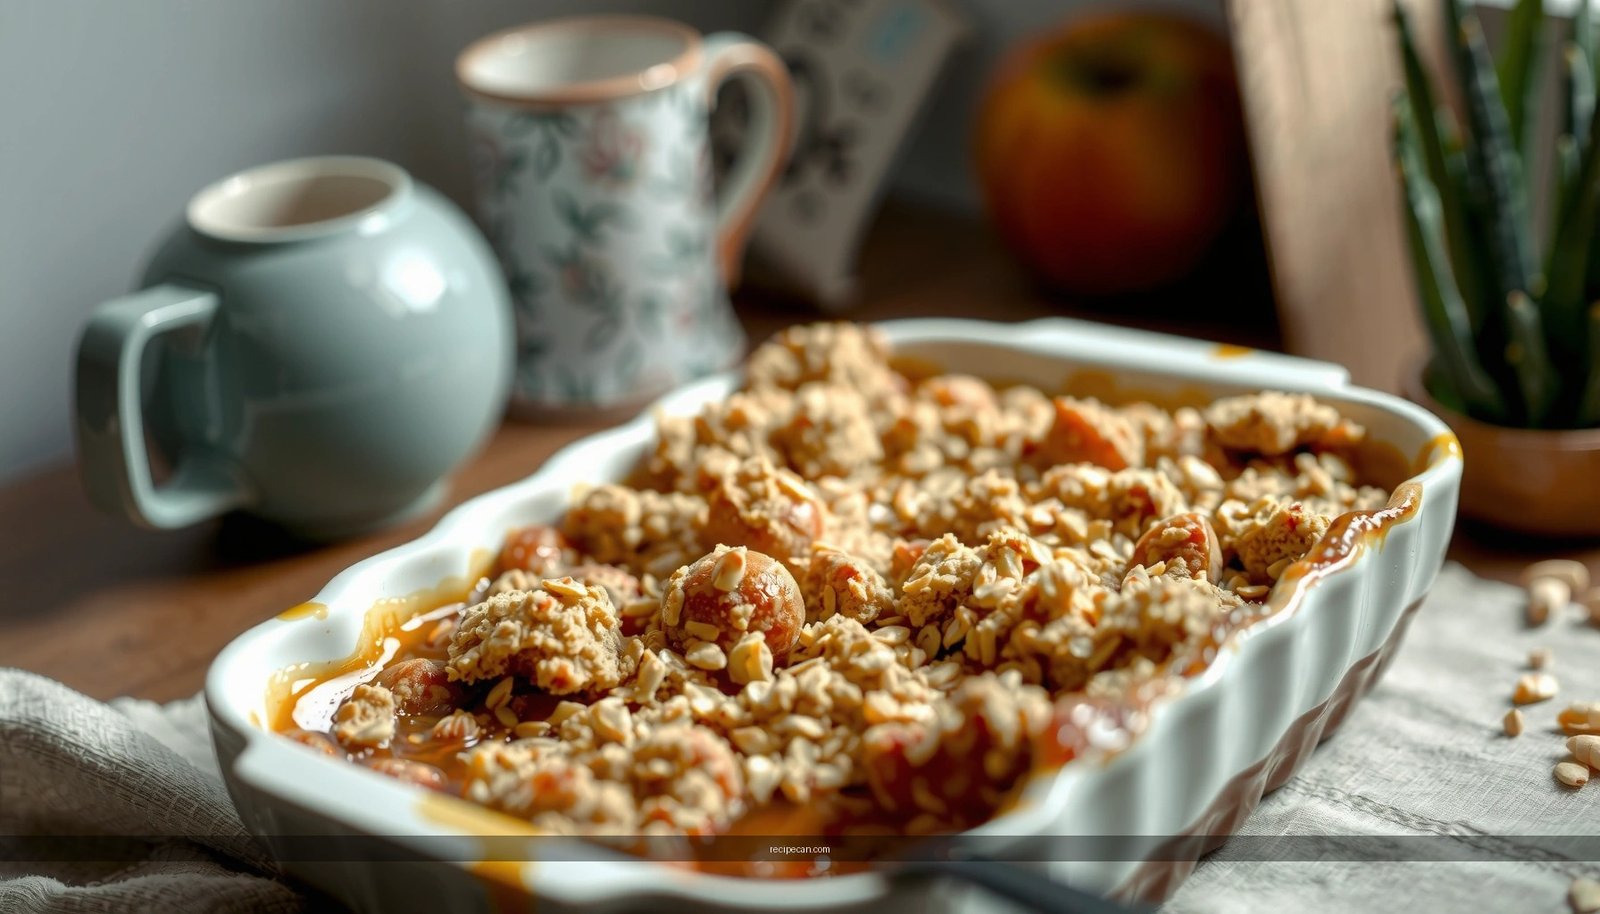
Making the Crumble Topping
A great pear crumble topping should be buttery, clumpy, and crisp—not sand-like and pale. That requires mixing technique: dry ingredients first, then cold butter worked in until you get pebble-sized crumbs that hold together when pressed.
– Mix dry ingredients first, then work in cold butter until crumbly
– Start with flour, sugar, and any optional oats or spices.
– Add cold butter and mix until the mixture resembles coarse crumbs.
– For best clumping, press a small amount between your fingers: it should hold together lightly, then break into chunks when you release.
– Add oats or chopped nuts for extra crunch (optional)
– Oats help create crunch and add a bakery-style texture.
– Chopped nuts add flavor contrast—walnuts pair especially well with cinnamon and nutmeg.
– Aim for a mixture that clumps slightly when pressed
– If it’s too dry: add a teaspoon of melted butter or a tablespoon of yogurt/cream (depending on what you have)—but do so sparingly.
– If it’s too wet: chill the topping 10–15 minutes so the butter firms up before baking.
Ingredient Ratios That Typically Work (and Why)
Different readers measure differently, so the “why” matters. A crumble is basically a fat–sugar–flour matrix:
– Flour forms structure.
– Butter melts, coats fruit juices, and creates crispness.
– Sugar contributes to browning and caramel notes.
– Oats/nuts add texture and moisture absorption.
Best Baking Outcome Targets for Pear Crumble
| # | Baking Signal | What You Want | Typical Range | Result Rating |
|---|---|---|---|---|
| 1 | Edge bubbling | Active bubbles | 15–25 min | High ★★★★★ |
| 2 | Top color | Deep golden | 25–40 min | High ★★★★★ |
| 3 | Fruit tenderness | Fork-tender | Pierce easily | High ★★★★☆ |
| 4 | Filling consistency after rest | Thickened, scoopable | 10–20 min | High ★★★★★ |
| 5 | Butter firmness pre-bake | Cold, not greasy | Chill 10 min | High ★★★★☆ |
| 6 | Juice behavior in dish | Bubbles, then thickens | Mid-bake to end | High ★★★★☆ |
| 7 | Texture contrast | Crisp top, tender fruit | Same slice | High ★★★★★ |
Assembling and Baking
Assembly is where the “easy” part becomes dependable. Spread pears evenly so heat penetrates consistently, and distribute crumble across the whole surface so you avoid thin, pale spots.
– Spread pears in a baking dish and top evenly with crumble
– Use a baking dish size that fits your quantity (too deep = longer bake; too wide = more evaporation).
– Pour pears in an even layer; then sprinkle crumble uniformly. Avoid piling all crumble in the center.
– Bake until bubbling at the edges and golden on top
– Bake at a moderate-to-hot temperature so butter browns and pears soften without drying out.
– Look for bubbling at the edges as your primary “doneness” signal—this indicates the juices are actively cooking and beginning to thicken.
– The top should turn golden, not dark brown; if it’s browning quickly, protect it (see troubleshooting).
– Let it rest briefly so the filling thickens for easier serving
– Resting is not optional if you want “scoopable.”
– As the crumble cools slightly, fruit juices set and starches stabilize, transforming watery seepage into a thick, cohesive filling.
Serving tip:
Spoon onto plates while warm, but give the first slice about a 5–10 minute rest after baking for best structure.
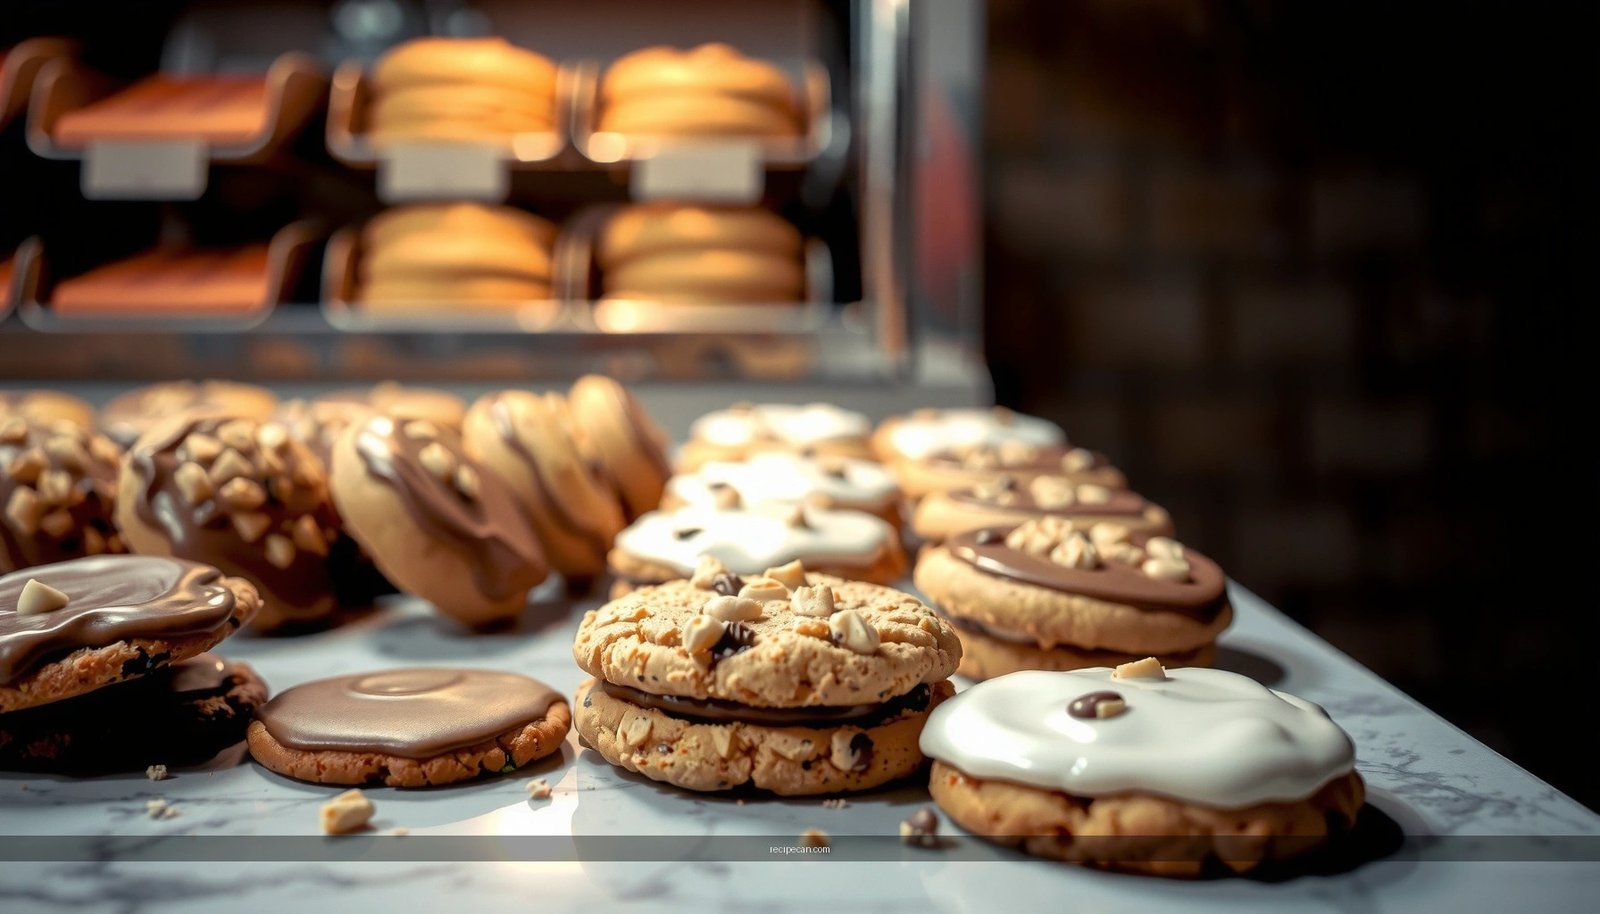
Serving Ideas and Storage Tips
Pear crumble is versatile—comfort-food classic at its best, yet easy to tailor for different occasions. Serving warm is the default, but a few upgrades can elevate it from home-baked to “event-worthy.”
– Serve warm with vanilla ice cream or whipped cream
– Vanilla ice cream provides cooling contrast against warm pears and crunchy topping.
– Whipped cream is lighter and works especially well if your crumble leans more spiced than sweet.
– Store leftovers covered in the fridge and reheat gently
– Cover tightly to prevent the crumble from drying out.
– Reheat in the oven (best for texture) or microwave (fastest, but topping may soften).
– Enjoy within a few days for best texture
– For peak contrast between crisp topping and tender filling, aim to eat leftovers within 3 days.
Reheating guidance
– Oven: 325°F / 165°C for ~10–15 minutes until warmed through.
– Microwave: 30–60 seconds per serving; then allow 1 minute to settle so juices re-thicken slightly.
Troubleshooting Common Issues
Even with a solid recipe, outcomes can vary depending on pear ripeness, dish size, and oven behavior. The goal is to identify the failure mode quickly and adjust with minimal effort.
– If it’s watery, use less juice/sugar or slice pears more evenly
– Watery crumble usually comes from excess pear moisture and/or inconsistent slice thickness.
– Next time, try slightly less added sugar, use less liquid in the toss, and cut pears consistently.
– If you notice excess liquid before topping, you can remove some pooled juice with a spoon.
– If topping browns too fast, loosely cover with foil halfway
– Uneven browning often happens when the oven runs hot or the dish is positioned too high.
– Cover loosely with foil after the top reaches a light golden stage so pears continue baking without burning the crumble.
– If it’s not crisp, bake a little longer or use colder butter
– Limp topping typically indicates the butter didn’t stay cold long enough.
– Next time, chill the crumble mixture before baking, and bake until the top looks uniformly golden and the filling bubbles.
What “success” looks like
– You should be able to scoop a portion that holds together.
– The top should crack lightly with your spoon.
– The pear layer should be thickened, not runny.
Warm, golden, and reliably scoopable pear crumble is achievable with a few control points: ripe pears, cold-butter crumble, even slicing, and a short rest after baking. Follow the prep guidance to prevent watery filling, use the crumble mixing method to build crisp texture, and bake until you see bubbling edges and a deep golden top. With those steps mastered, you’ll have a dependable easy dessert—perfect for weeknight cravings or hosted gatherings—every single time.
Frequently Asked Questions
What ingredients do I need for a pear crumble recipe?
A classic pear crumble recipe uses ripe pears (peeled or unpeeled), sugar (brown or white), lemon juice, and a thickener like cornstarch or flour to prevent a runny filling. For the crumble topping, use flour, rolled oats, butter, and either brown sugar or granulated sugar plus cinnamon for warmth. Optional add-ins like chopped nuts (pecans or walnuts) and a pinch of salt boost texture and flavor.
How do I make the perfect pear crumble filling so it isn’t watery?
Toss sliced pears with lemon juice and a thickener such as cornstarch or flour before assembling. Using ripe but firm pears helps the fruit hold its shape while still breaking down into a juicy pear filling. If your pears are very juicy, slightly increase the thickener and let the filling sit 10–15 minutes so the juices thicken before baking.
Why is my pear crumble topping too dry or not crunchy?
A crumble topping that’s too dry usually needs more butter or should be mixed until it forms clumps rather than a sandy texture. For better crunch, chill the topping for 10 minutes before sprinkling it over the pear filling, and bake until the edges are deeply golden. Using rolled oats instead of quick oats can also improve the crumble’s texture.
What’s the best way to bake a pear crumble for even browning?
Bake your pear crumble recipe in a preheated oven, typically around 350–375°F (175–190°C), so the pears soften while the topping browns evenly. Place the dish on the center rack and avoid covering it for the first part of baking—cover only if the topping browns too quickly. Let it rest 10–20 minutes after baking so the pear filling sets and thickens.
Which pears are best for a crumble, and should I peel them?
For the best pear crumble results, choose pears that are ripe but still slightly firm, such as Bartlett, Bosc, or Anjou. Bartlett pears are sweet and tender, while Bosc holds its shape well for a thicker pear filling. Peeling is optional: leaving the skin on adds texture and flavor, but peeling creates a smoother, more uniform filling.