This peanut butter milkshake recipe delivers the creamiest, most satisfying blend with minimal effort—so you get a thick, spoonable shake in minutes. If you’re searching for an easy way to turn peanut butter into a cold, dessert-worthy drink, this is the clear winner: simple ingredients, quick steps, and consistently delicious results. Expect rich peanut flavor and a smooth finish every time.
A peanut butter milkshake is ready in minutes by blending cold milk, peanut butter, and ice until smooth; then you adjust thickness to preference with either more ice (thicker) or a splash of milk (thinner). This guide covers the exact method for achieving a creamy, thick texture, plus practical variations (like chocolate, banana, and peanut toppings) so your homemade peanut butter shake tastes consistently great every time.
Ingredients You’ll Need

– Peanut butter, milk, and ice are the main building blocks
These three create the signature peanut flavor, creamy body, and chilled thickness that defines a classic peanut butter milkshake.
– Sweetener like honey or sugar is optional depending on your peanut butter
If your peanut butter is already sweetened (some brands add sugar), you may not need extra. If it’s more “natural” and less sweet, a small amount of honey or sugar can round out the flavor.
– Vanilla or a pinch of salt can enhance the flavor
Vanilla boosts the dessert-like aroma, while a tiny pinch of salt can make the peanut flavor taste deeper and more balanced—an approach used widely in pastry and ice cream making.
Quick build tip: If you’re aiming for a restaurant-style texture, prioritize cold ingredients and enough ice. Warm milk or too little ice often leads to a thinner shake that never properly thickens.
Peanut Butter Milkshake Quality Targets (By Batch Size)
| # | Serving Goal | Peanut Butter (tbsp) | Milk (cups) | Ice (cups) | Blending Time | Expected Thickness |
|---|---|---|---|---|---|---|
| 1 | 1 small (12–14 oz) | 2 | 0.5 | 1 | 25–35 sec | ★★★★★ |
| 2 | 1 standard (16 oz) | 3 | 0.75 | 1.25 | 30–45 sec | ★★★★☆ |
| 3 | 2 small (24–28 oz) | 5 | 1.25 | 2 | 35–55 sec | ★★★★☆ |
| 4 | 2 standard (32 oz) | 6 | 1.75 | 2.5 | 40–60 sec | ★★★★★ |
| 5 | 3 small (36–42 oz) | 9 | 2.25 | 3.5 | 45–70 sec | ★★★★☆ |
| 6 | 3 standard (48 oz) | 12 | 3.0 | 4.25 | 55–85 sec | ★★★★★ |
| 7 | 4 small (48–56 oz) | 14 | 3.5 | 5.5 | 60–95 sec | ★★★★☆ |
Step-by-Step Instructions

– Blend peanut butter, milk, and sweetener (if using) until smooth
Start by blending the base to dissolve the peanut butter and evenly distribute fat and flavor. This step reduces graininess and helps your final peanut milkshake texture become consistently creamy.
– Add ice and blend again until thick and creamy
Ice is what transforms a liquid base into the thick, spoonable (or straw-sipping) shake texture. Blend until you no longer see large ice pieces, but stop before the shake starts to melt.
– Taste and adjust thickness by adding more ice or a splash of milk
A professional-quality peanut butter shake is iterative: taste, then tune. If it’s too thick, loosen with milk a tablespoon at a time; if it’s too thin, add ice and blend briefly.
Example method (single 16 oz shake):
1) Add 3 tbsp peanut butter, 3/4 cup cold milk, and 1–2 tsp honey or sugar (optional) to a blender.
2) Blend 20–30 seconds until fully smooth.
3) Add 1.25 cups ice and blend 30–45 seconds until thick.
4) Adjust—either more ice for thickness or a small milk splash for smoothness.
How to Get the Best Texture

– Use cold milk and plenty of ice for a thicker shake
The goal is to keep the mix cold long enough for it to emulsify into a stable, thick suspension. Cold milk slows melting, and sufficient ice gives the blender something to rapidly shear and aerate.
– Blend just until smooth to avoid overly watery results
Over-blending after the ice is mostly crushed can warm the shake and thin it out. If your blender is strong, you can often stop earlier; if it’s less powerful, you may need a slightly longer blend—but check at intervals.
– For extra creaminess, add a small scoop of ice cream if desired
Ice cream boosts fat and sugar, improving mouthfeel and perceived thickness. If you add it, consider slightly reducing milk or peanut butter so the flavor stays balanced rather than becoming one-note.
Practical consistency check:
If the shake can pour like a thick smoothie but still holds slow-moving waves on the surface, you’re in the ideal zone. If it collapses quickly or looks glossy and watery, it needs more ice or a short re-blend.
Flavor Variations to Try

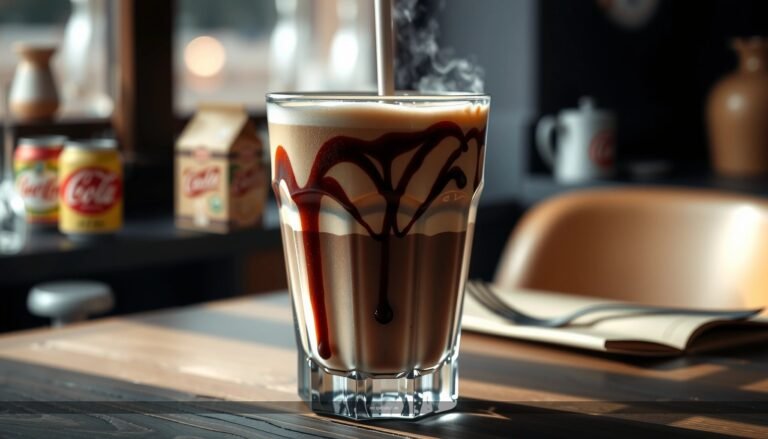
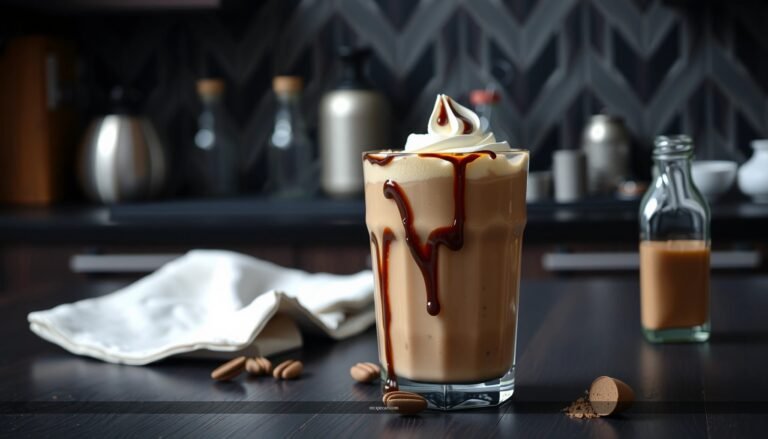
– Add chocolate syrup or cocoa for a peanut butter chocolate shake
For a peanut butter chocolate milkshake, blend in 1–2 tbsp cocoa powder or 2 tbsp chocolate syrup with the peanut butter base. This keeps the flavor integrated instead of creating streaks.
– Stir in banana slices for a naturally sweet twist
Banana adds sweetness and a creamy body. Add 1/2 medium banana to the blender with the base ingredients. For best results, use bananas that are ripe (yellow with brown spots).
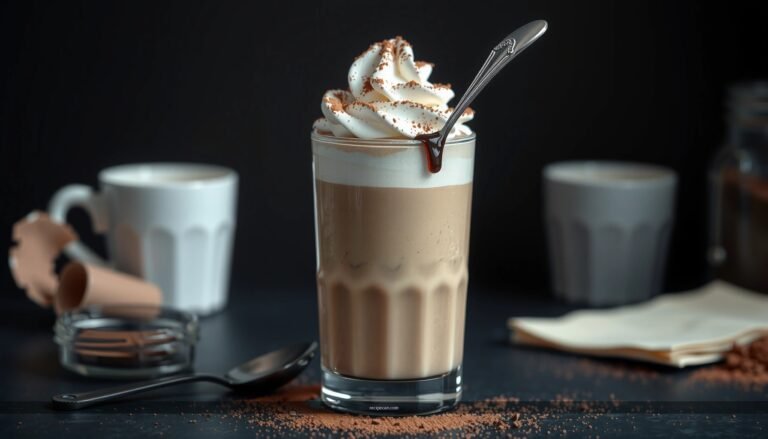
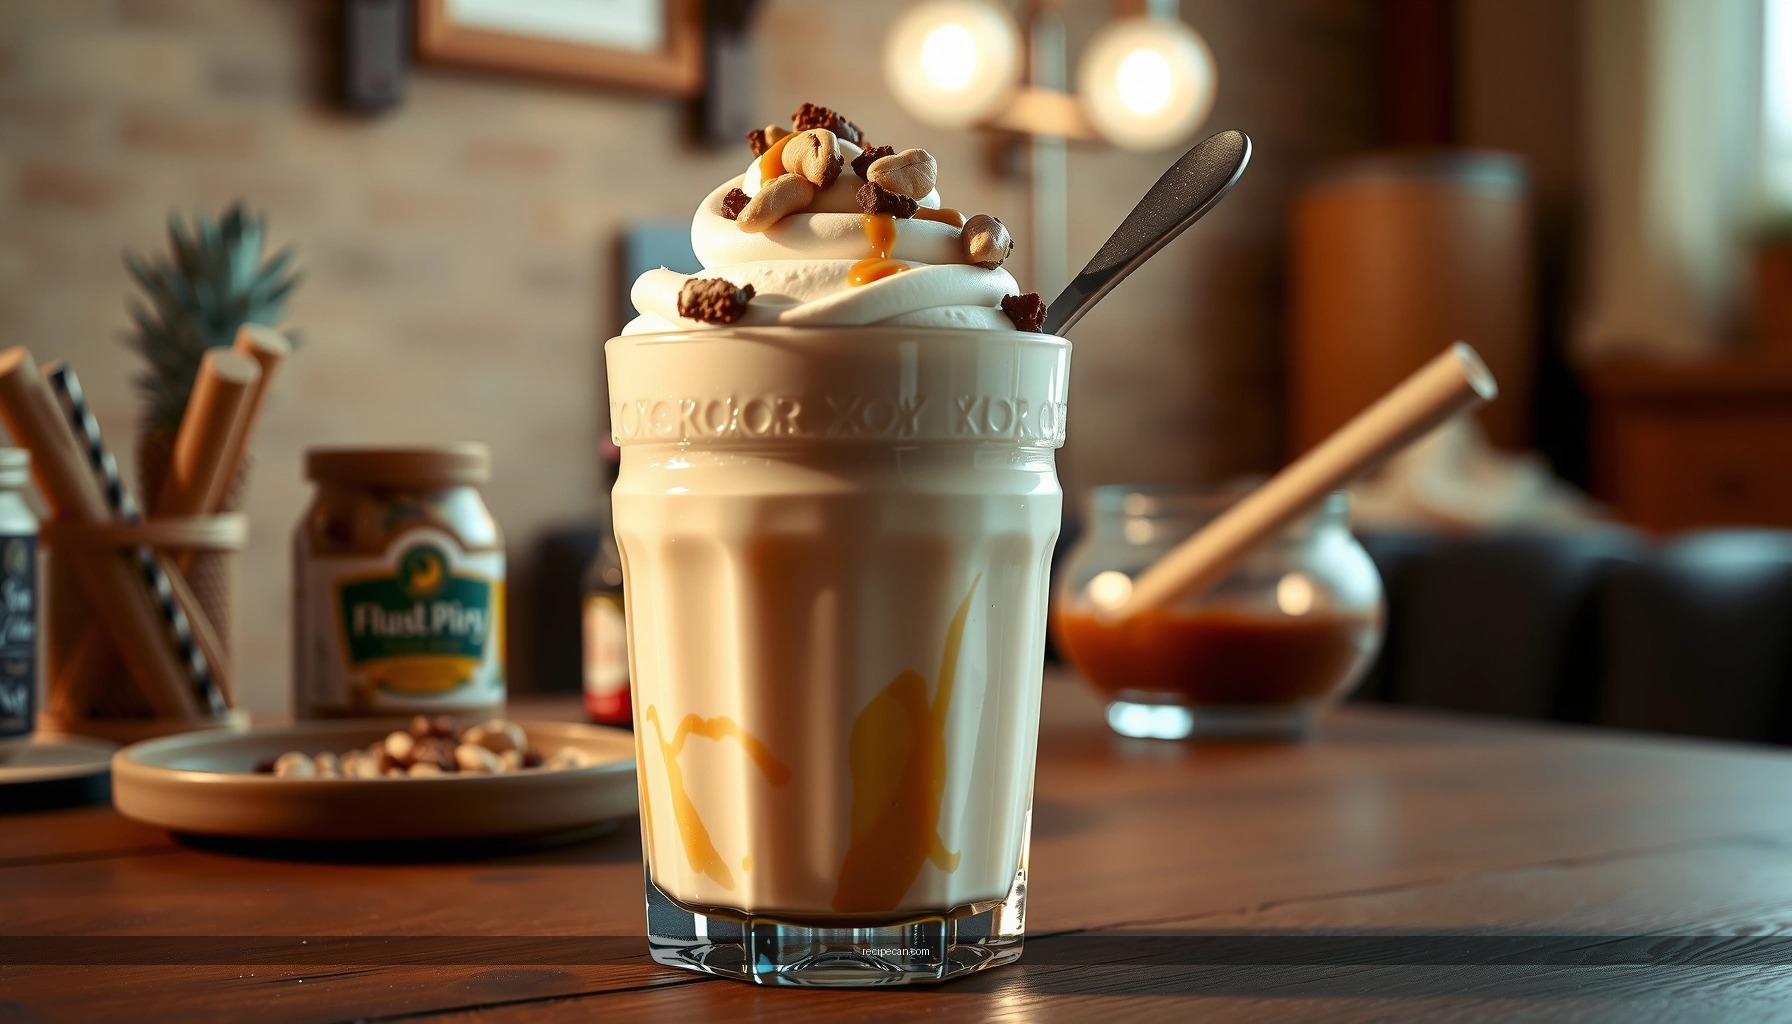
– Top with crushed peanuts or whipped cream for extra richness
Texture is as important as flavor. Crushed peanuts add a nutty crunch that contrasts with the smooth shake. Whipped cream increases dessert “lift,” especially when served in tall glasses.
Balanced flavor strategy:
If you add sweet mix-ins (chocolate syrup, banana), you can reduce added sweetener in the base. This prevents an overly sugary peanut shake and helps peanut butter flavor stay prominent.
Serving Suggestions and Storage
– Serve immediately with a straw and optional toppings
Peanut butter milkshakes start losing texture as ice melts and fat separates slightly. Serving right away keeps the shake thick, glossy, and easy to sip.
– Use a chilled glass to keep it colder longer
A cold vessel slows temperature rise and helps maintain thickness. A quick rinse with cold water or a brief freezer chill makes a noticeable difference.
– For best results, drink within 1–2 hours (freezing can ruin texture)
Freezing can change the shake from a smooth emulsion to a thicker, icy mixture. If you must prep ahead, blend the base and keep it cold, then add fresh ice right before serving.
Workable prep approach for groups:
Blend peanut butter + milk + sweetener (no ice), refrigerate up to 12 hours, then blend with ice as you serve. This keeps your peanut milkshake quality consistent across multiple servings.
Troubleshooting Common Issues
– Too thin? Add more ice and blend briefly again
Add ice in small increments (like 1/4 cup at a time). Blend for 10–20 seconds, then reassess—quick re-blends prevent excess warming.
– Too thick? Add milk a tablespoon at a time until it loosens
Thickness that feels “hard to drink” usually means too little ice-to-liquid balance. Milk re-establishes the creamy emulsion without diluting the peanut flavor.
– Not sweet enough? Mix in a little more honey/sugar and re-taste
Peanut butter sweetness varies by brand and type (natural vs. sweetened). If your peanut shake tastes flat, you likely need a small sweetness adjustment rather than more peanut butter.
Quality note:
If your shake tastes bitter or “oily,” it can be due to over-processing or using peanut butter that has separated significantly. Stir peanut butter well before measuring, and blend until smooth—but don’t run the blender continuously after the ice is crushed.
A great peanut butter milkshake comes down to the right balance of peanut butter, milk, and ice—then quick blending for that creamy thickness. Use the base blend technique to eliminate graininess, adjust texture with ice or milk, and choose one variation (chocolate, banana, or rich toppings) to match your taste. Make your next homemade peanut butter shake today, and share your favorite topping or flavor twist—because once you nail the texture, the possibilities are endless.
References
- https://en.wikipedia.org/wiki/Milkshake
https://en.wikipedia.org/wiki/Milkshake - Peanut butter
https://en.wikipedia.org/wiki/Peanut_butter - Peanut butter | Description, History, Nutrition, & Facts | Britannica
https://www.britannica.com/topic/peanut-butter - https://www.cdc.gov/foodsafety/food-allergies.html
https://www.cdc.gov/foodsafety/food-allergies.html - Food Allergy | NIAID: National Institute of Allergy and Infectious Diseases
https://www.niaid.nih.gov/diseases-conditions/food-allergy - https://www.fda.gov/food/food-allergies-fda-and-industry/food-allergens-food-allergy-labeling-and-prevention-food-allergy-and-its
https://www.fda.gov/food/food-allergies-fda-and-industry/food-allergens-food-allergy-labeling-and-prevention-food-allergy-and-its - https://pubmed.ncbi.nlm.nih.gov/?term=peanut+milkshake
https://pubmed.ncbi.nlm.nih.gov/?term=peanut+milkshake - Google Scholar Google Scholar
https://scholar.google.com/scholar?q=peanut+butter+milkshake+recipe - Google Scholar Google Scholar
https://scholar.google.com/scholar?q=peanut+butter+milkshake+calories+nutrition - Google Scholar Google Scholar
https://scholar.google.com/scholar?q=peanut+milkshake+ingredients+recipe