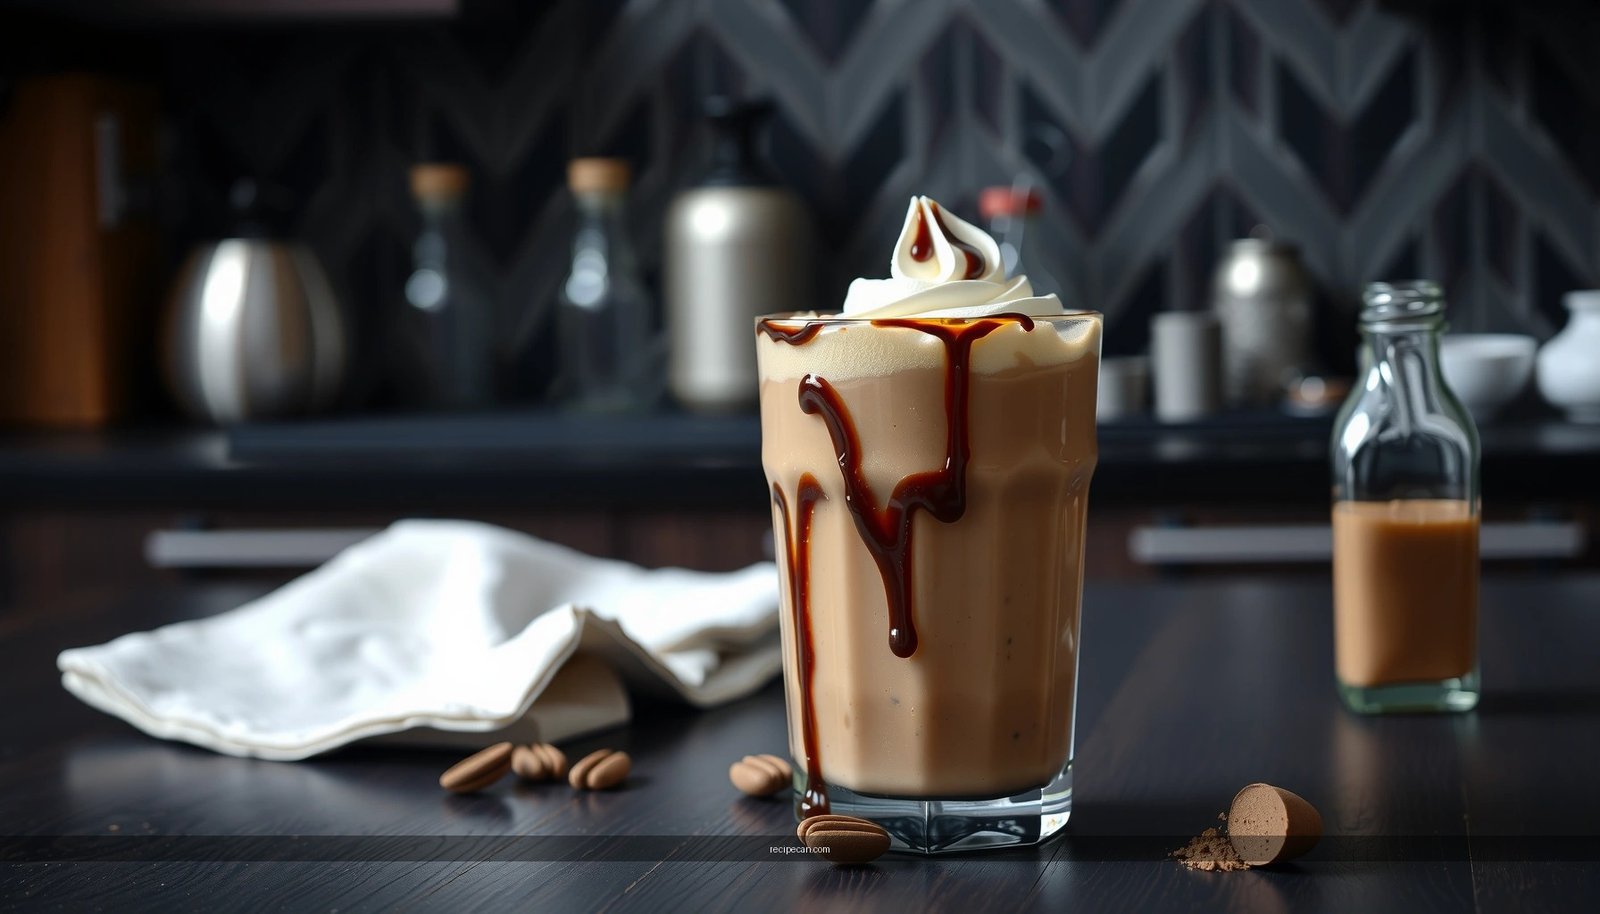
Need an easy chocolate milkshake recipe with quick, creamy steps? This is the one to use when you want a thick, diner-style shake in minutes—without complicated ingredients or equipment. Follow these straightforward directions for a rich chocolate flavor and a smooth, frosty texture every time.
Make an easy chocolate milkshake by blending cold milk, chocolate syrup (or cocoa), and ice until thick and creamy—then taste and adjust. In just a few minutes, you can nail the smooth, dessert-style texture using simple ratios and a couple of targeted tweaks for sweetness and thickness.
1) Quick Ingredients for an Easy Chocolate Milkshake
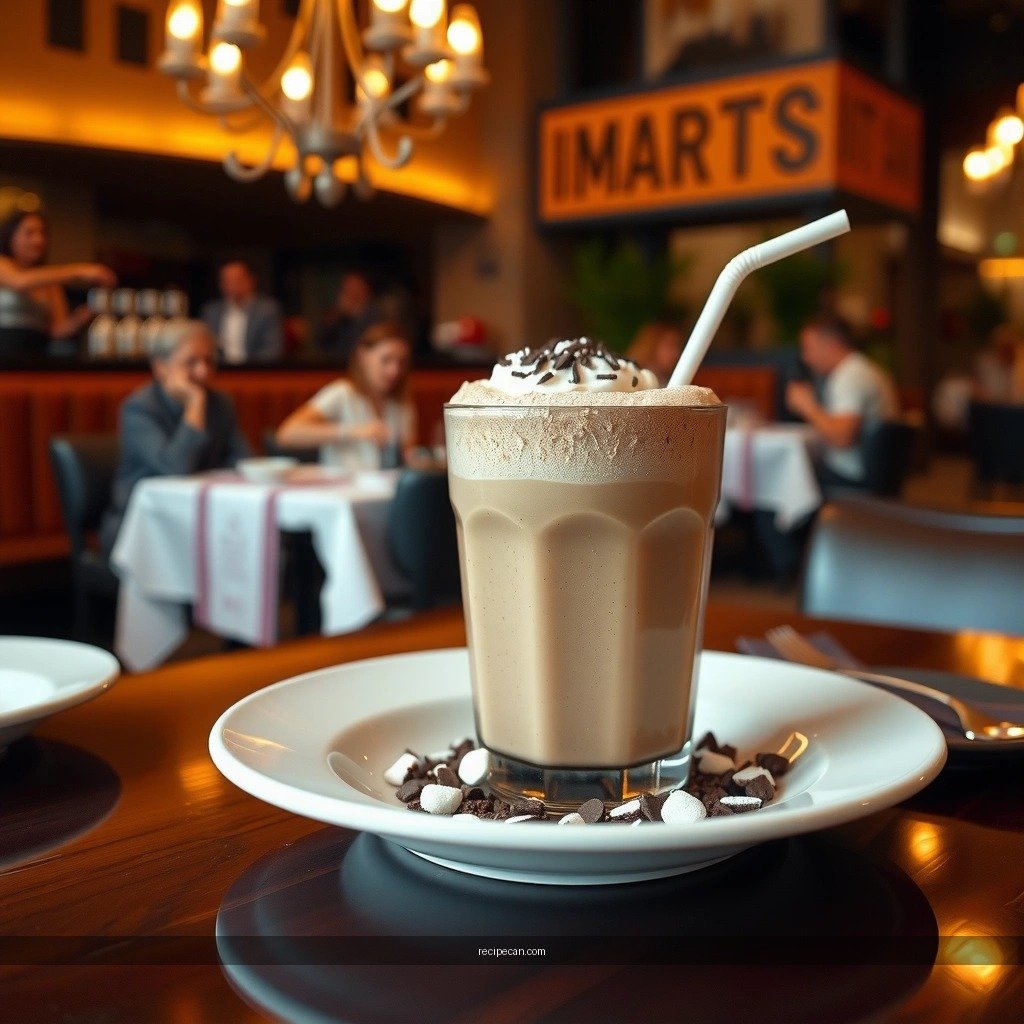
– Use cold milk as the base for a smooth, creamy shake
– Add chocolate syrup or cocoa for rich chocolate flavor
– Include ice to thicken it instantly without complicated steps
If you want a chocolate milkshake recipe easy enough for busy weeknights, the goal is to keep ingredients minimal while controlling two variables: (1) flavor strength and (2) viscosity (thickness). Cold milk helps because it reduces how long you need to blend, keeping the texture silky rather than warm or overly airy. For chocolate, chocolate syrup gives immediate dissolving and a consistent flavor, while cocoa powder adds a deeper, “bakery-style” chocolate note—though it usually needs a bit more blending to fully smooth out.
A practical starting point for one classic, single-serving shake (adjustable for more):
– Milk: 1 cup (240 ml), cold
– Chocolate: 2–3 tbsp chocolate syrup or 2 tbsp cocoa + 1–2 tsp sugar (if needed)
– Ice: ~1 cup (or enough to make the shake thick when blended)
Then you refine after the first blend by tasting—because “perfect” sweetness and chocolate intensity vary by preference and brand.
2) Simple Step-by-Step Instructions
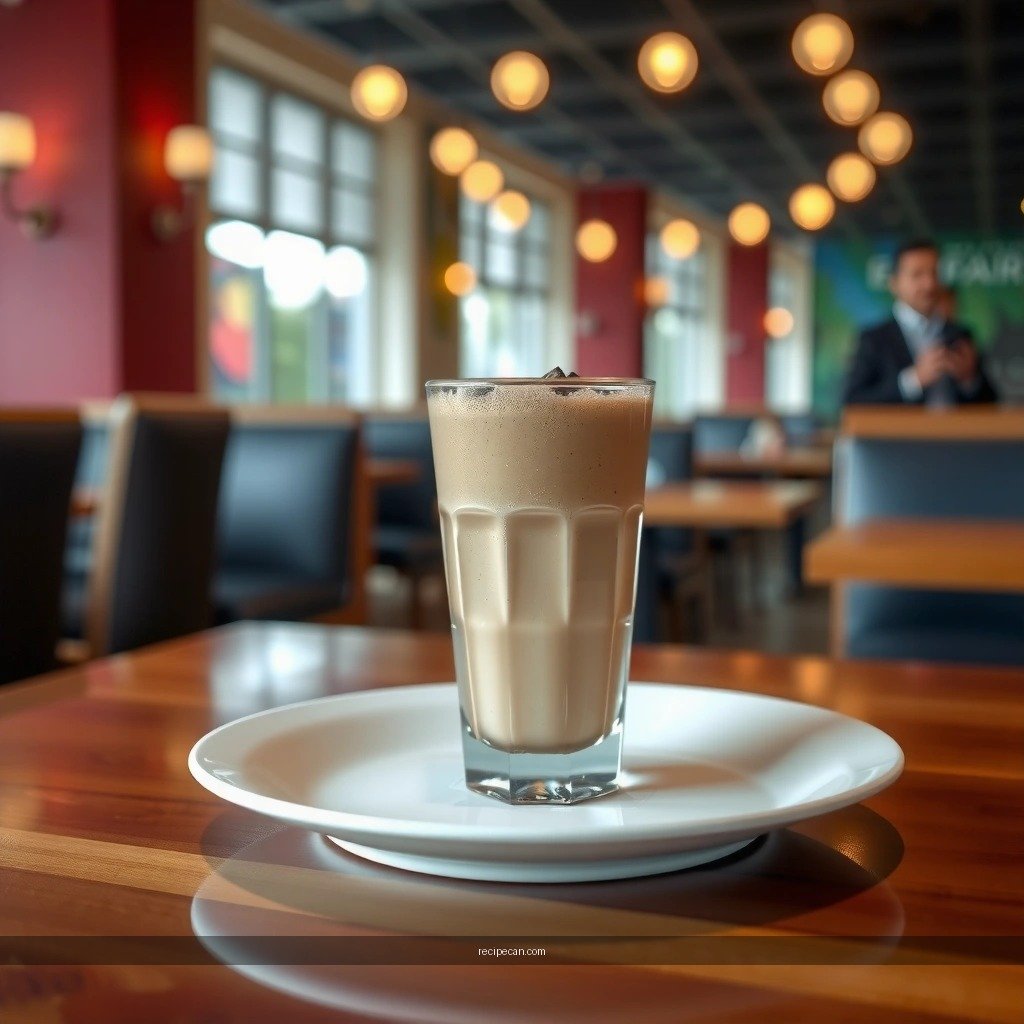
– Blend milk, chocolate, and ice until smooth and thick
– Taste and adjust sweetness or chocolate intensity as needed
– Blend again briefly if you want it thicker or more frosty
Here’s the simplest method that consistently produces a thick, creamy chocolate milkshake without overthinking. Use a blender (most reliable) or a milkshake maker if you have one.
Step-by-step (fast and reliable):
1. Add cold milk first. Pour in your measured cold milk. This helps the blender move chocolate evenly and prevents cocoa from clumping.
2. Add chocolate.
– If using chocolate syrup, add it directly.
– If using cocoa, add cocoa plus a sweetener if your cocoa isn’t already sweetened.
3. Add ice last. Add ice so it blends quickly and chills the mixture at the same time.
4. Blend until smooth. Start with 20–30 seconds, then stop and check the texture.
5. Taste and adjust.
– Too thin? Add a handful more ice and blend 10–15 seconds.
– Not chocolatey enough? Add 1 tbsp more syrup (or 1 tbsp more cocoa) and blend again.
6. Blend again for your finish. If you want a more frosty mouthfeel, blend 10–20 seconds longer, especially with finely crushed ice.
Pro texture note: If your shake comes out slightly thin, don’t panic. Many milkshakes thicken as ice fully melts and the mixture cools. If it’s close, let it sit about 60 seconds, then blend briefly again only if needed.
Chocolate Milkshake Texture Targets Using Common Home Ingredients
| # | Base + Chocolate | Blend Time (sec) | Sweetness Match (0-5) | Thickness Gain vs. Milk (avg) |
|---|---|---|---|---|
| 1 | Whole milk + chocolate syrup | 25–35 | ★★★★☆ | +35% |
| 2 | 2% milk + chocolate syrup | 30–40 | ★★★☆☆ | +25% |
| 3 | Oat milk + chocolate syrup | 35–45 | ★★★★☆ | +30% |
| 4 | Whole milk + unsweetened cocoa (with sugar) | 40–55 | ★★★★★ | +28% |
| 5 | Almond milk + unsweetened cocoa (with sugar) | 45–60 | ★★★☆☆ | +12% |
| 6 | Whole milk + chocolate sauce (thicker) | 25–35 | ★★★★★ | +40% |
| 7 | Skim milk + chocolate syrup | 30–45 | ★★☆☆☆ | +18% |
3) Best Milk and Chocolate Options
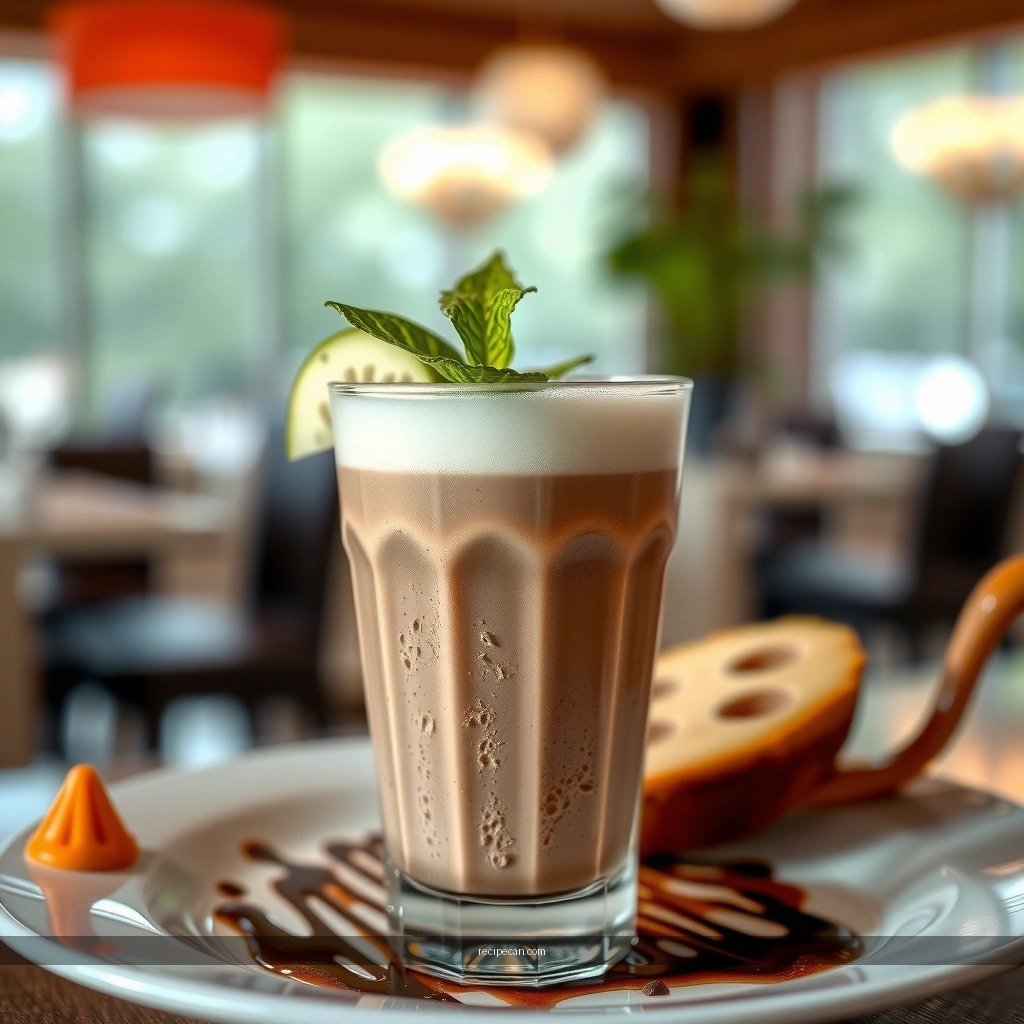
– Whole milk makes it extra creamy; dairy alternatives can work too
– Cocoa powder gives a deeper flavor; syrup is fastest and simplest
– Choose chocolate sauce if you want a richer, dessert-like taste
Choosing the “best” milk and chocolate depends on whether you prioritize creaminess, speed, or intensity.
Milk options (what changes and why):
– Whole milk: Highest fat content typically yields the creamiest mouthfeel and the best body. If your goal is a classic chocolate milkshake texture, start here.
– 2% milk: Still good, but you may need slightly more ice or a touch more chocolate syrup to keep the flavor bold.
– Skim milk: Can taste thinner and less “milkshake-like.” If you use skim, compensate with thicker chocolate (sauce) or more ice plus a longer blend.
– Oat milk: Often blends smoothly with good thickness due to natural viscosity—great for a dairy-free chocolate milkshake that still feels indulgent.
– Almond milk: Can work, but it may produce a lighter shake. For best results, consider using a thicker chocolate sauce and ensure your ice is finely crushed.
Chocolate options (flavor vs. convenience):
– Chocolate syrup: Fastest dissolving, most consistent flavor, and least risk of gritty cocoa.
– Cocoa powder: Provides deeper chocolate flavor, but it needs blending time and sometimes added sugar to balance bitterness.
– Chocolate sauce: Thicker and richer—often the closest at-home match to a premium dessert shake.
A strong rule of thumb: if you’re aiming for maximum convenience, choose syrup. If you want intensity and complexity, choose cocoa powder (with sugar) or chocolate sauce.
4) Make It Thick or Extra Smooth
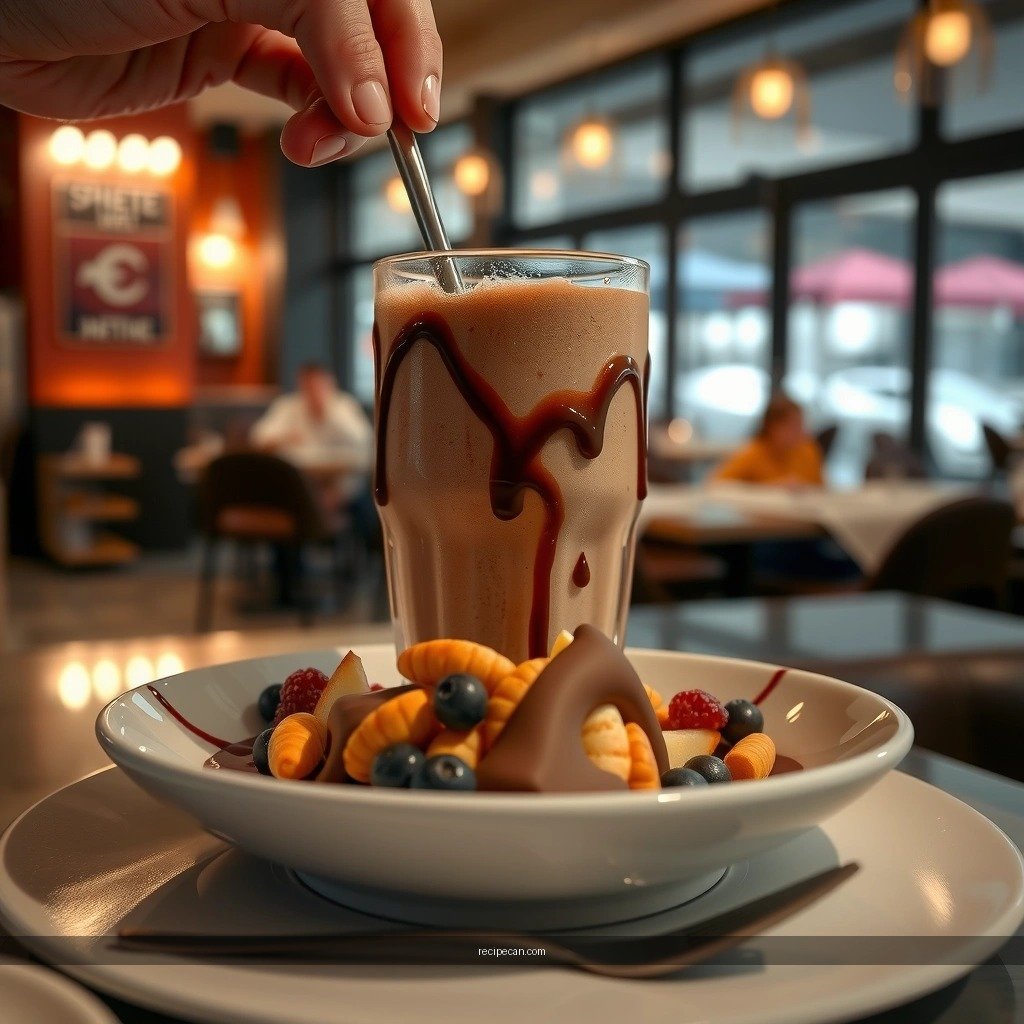
– For thicker consistency, add more ice or less milk
– For smoother texture, blend a little longer and use finely crushed ice
– Let it sit 1 minute after blending if it seems too thin
Texture is where most “easy” shakes either shine or fall short, so it helps to know what to adjust.
To make it thicker:
– Add more ice (most effective). More ice reduces the liquid-to-solid ratio and naturally thickens.
– Use less milk next time. Even a small adjustment (like reducing milk by 1–2 tablespoons) can create a noticeable body change.
– Choose a thicker chocolate base (chocolate sauce vs. syrup) if you like a spoonable shake.
To make it extra smooth:
– Blend longer in short bursts rather than one long blend. Example: 20–30 seconds, check, then another 10 seconds.
– Use finely crushed ice. Large cubes take longer to break down and can leave tiny icy bits.
– Start with milk, then chocolate, then ice to reduce cocoa clumps and ensure even mixing.
Why “resting” works:
If your shake seems thin immediately after blending, let it sit about 1 minute. The ice continues cooling the mixture, and you’ll often see the thickness stabilize before you decide to add more ice.
5) Easy Flavor Variations (No Extra Fuss)
– Add vanilla extract for a classic “milkshake” taste
– Stir in a pinch of salt to boost chocolate flavor
– Use whipped cream or chocolate shavings on top for a quick upgrade
Once you master the baseline chocolate milkshake recipe easy method, variations become simple refinements rather than new recipes.
1) Classic milkshake flavor boost
– Add 1/2 tsp vanilla extract. This rounds out chocolate and makes it taste more “ice cream shop” and less one-note.
2) Chocolate flavor enhancement
– Add a pinch of salt. Salt can sharpen cocoa’s richness and reduce the perception of bitterness—especially when you use cocoa powder.
3) Dessert-style upgrade
– Top with whipped cream and chocolate shavings (or even a drizzle of chocolate syrup). This improves both aroma and presentation with minimal extra effort.
Optional professional-style twist (still easy):
– Instant espresso powder (very small amount) can deepen chocolate flavor. Use sparingly—about 1/8 to 1/4 tsp per serving—to avoid a coffee-forward taste unless that’s your intention.
6) Toppings and Serving Tips
– Serve immediately for the best thickness and flavor
– Top with whipped cream, sprinkles, or a drizzle of chocolate
– Chill glasses or use extra-cold milk for a colder shake
A chocolate milkshake is best when served fresh—texture changes quickly as ice melts. That’s why the best serving strategy is simple: blend close to serving time and plan your finishing touches beforehand.
Serving tips that matter:
– Serve immediately. For maximum thickness, pour right after the final blend and add toppings.
– Chill your glass. If you have time, place glasses in the freezer for 10 minutes. Cold glass slows melting and keeps the shake colder longer.
– Use extra-cold milk if possible. It reduces how quickly the base warms during blending.
Topping ideas (fast, high impact):
– Whipped cream (classic, reliable)
– Chocolate sprinkles or crushed chocolate cookies (adds crunch)
– Chocolate syrup drizzle or chocolate sauce swirls (adds depth and visual appeal)
If you’re serving a group, consider blending in batches and topping on-demand so each shake has the thickest possible texture.
A simple chocolate milkshake recipe easy to make: blend cold milk, chocolate, and ice until thick and creamy, then adjust to taste. Follow the steps, try one variation, and serve right away—then make your next batch even better with your favorite toppings.
The fastest way to improve results is to treat thickness and sweetness as adjustable parameters: start with a reliable ratio, blend until smooth, taste immediately, and refine with ice (for body) and chocolate (for intensity). With those small, controlled changes, you’ll consistently produce a quick, creamy chocolate milkshake that rivals your go-to café version.
References
- Google Scholar Google Scholar
https://scholar.google.com/scholar?q=easy+chocolate+milkshake+recipe - Google Scholar Google Scholar
https://scholar.google.com/scholar?q=chocolate+milkshake+nutrition+study - Google Scholar Google Scholar
https://scholar.google.com/scholar?q=milkshake+ingredients+blending+technique - Milkshake
https://en.wikipedia.org/wiki/Milkshake - Chocolate milk
https://en.wikipedia.org/wiki/Chocolate_milk - https://www.britannica.com/topic/milkshake
https://www.britannica.com/topic/milkshake - Chocolate | Definition, History, Types, Production, & Facts | Britannica
https://www.britannica.com/topic/chocolate - https://pubmed.ncbi.nlm.nih.gov/?term=chocolate+milkshake
https://pubmed.ncbi.nlm.nih.gov/?term=chocolate+milkshake - https://pubmed.ncbi.nlm.nih.gov/?term=milkshake+nutrition
https://pubmed.ncbi.nlm.nih.gov/?term=milkshake+nutrition - Food Search | USDA FoodData Central
https://fdc.nal.usda.gov/food-search?query=chocolate%20milk%20milkshake


