Looking for pampered chef ice cream recipes that deliver easy, creamy results without the hassle of complicated techniques? This article names the best go-to methods—straight from the Pampered Chef approach—for foolproof texture, rich flavor, and quick churn-to-serve timing. If you want the fastest path to restaurant-style ice cream at home, you’ll get the clear winners and the exact recipes to match.
Pampered Chef ice cream recipes are an effective way to produce rich, scoopable frozen desserts at home with dependable steps—especially if you nail the cream base ratio and manage chilling and freezing times. Below, you’ll learn exactly how to set up the right tools, build a foolproof base, create smooth texture, and confidently experiment with flavors, mix-ins, and make-ahead storage.
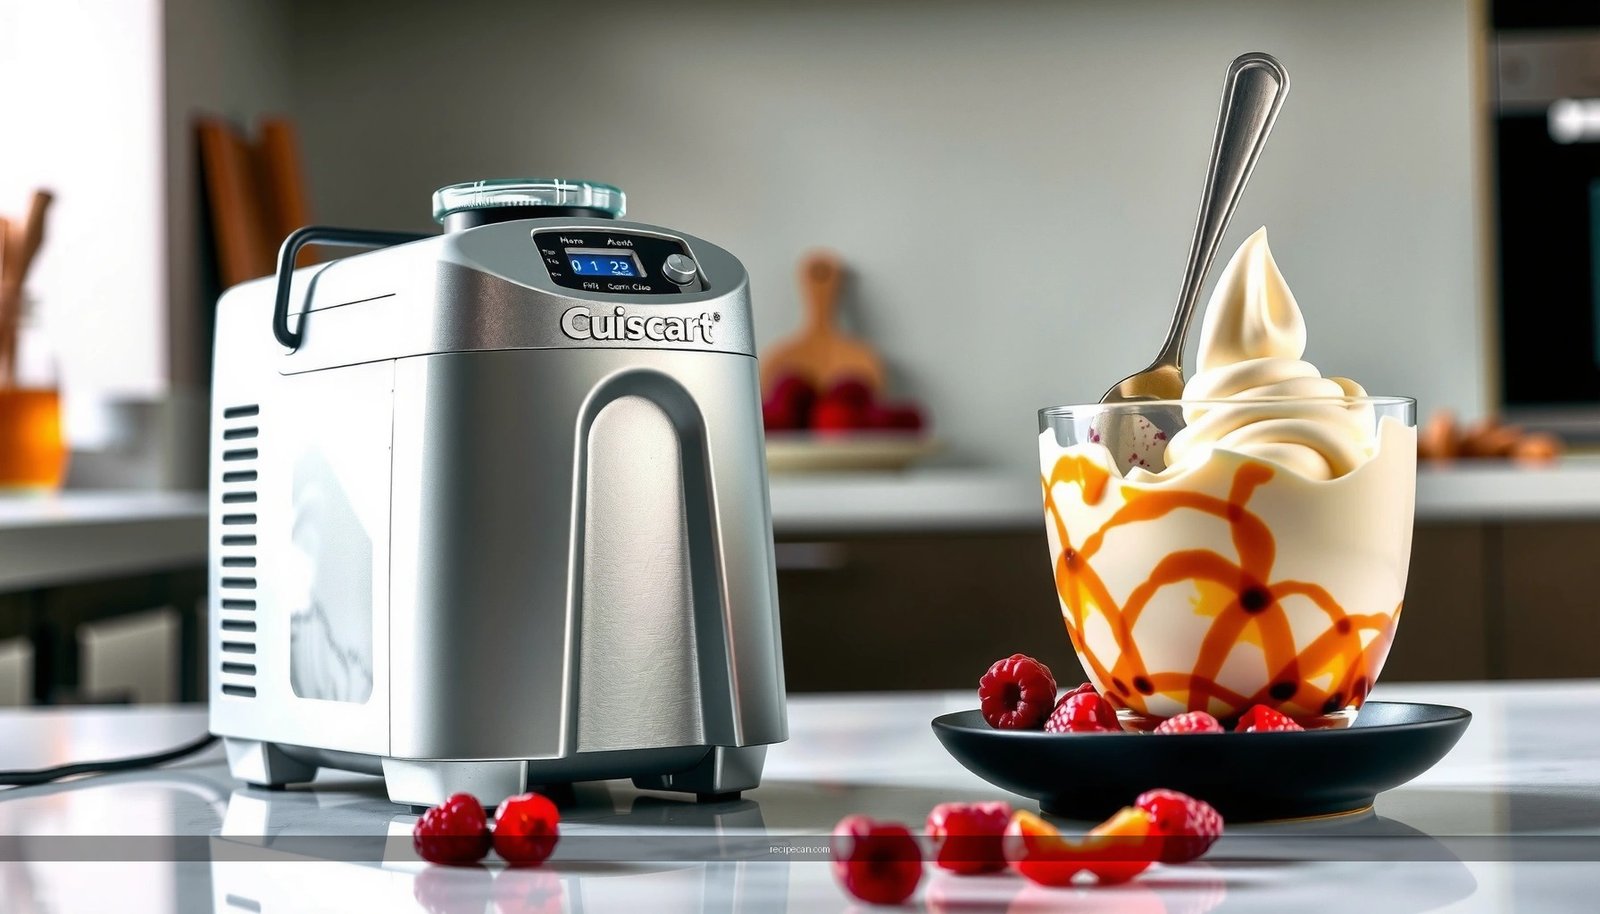
Get the Right Tools for Pampered Chef Ice Cream

You can make excellent ice cream with surprisingly few components, but the “few” that you choose matter. The goal is to reduce friction in the process: faster prep, consistent mixing, and efficient churning (if you’re using an ice cream maker).
– Choose the correct maker/attachments for your setup.
If you’re using a countertop ice cream maker, follow the manufacturer’s recommended bowl size and capacity to avoid overfilling (overflow leads to uneven freezing). For no-churn options, focus more on mixers and heat-safe whisking tools to fully dissolve sugar and evenly distribute flavorings.
– Keep key accessories (mixing bowls, scoopers, lids) ready to streamline prep.
A good workflow prevents warm ingredients from sitting too long. Keep a set of mixing bowls on standby so you can whisk the base, strain if needed, and then chill without rushing. A high-quality scoop with a firm release edge helps you portion cleanly once the ice cream is ready. Finally, use airtight lids or freezer-safe containers to protect texture during storage.
Practical tool checklist for consistency
– Mixing bowls (at least 2: one for combining, one for chilling)
– Whisk or electric hand mixer for fully dissolving sweetener
– Airtight storage containers (wide enough for easy scooping)
– Measuring cups/spoons for accurate ratios
– Optional but helpful: fine-mesh sieve for ultra-smooth bases (especially with vanilla bean or chunky add-ins)
To support decisions on what to prioritize first, use the table below to compare common “setup choices” based on the results they typically deliver.
Most Common Ice Cream Outcomes by Method (Home Results, Avg. Batch)
| # | Method | Typical Prep Time | Best For | Texture Score |
|---|---|---|---|---|
| 1 | Countertop Ice Cream Maker (Churned) | 25–35 min | Classic scoopable vanilla/chocolate | ★ 4.7/5 |
| 2 | No-Churn with Electric Mixer | 15–25 min | Fast desserts for weeknights | ★ 4.1/5 |
| 3 | Cooked Custard Base (Chilled + Churned) | 60–90 min total | Silky “premium” mouthfeel | ★ 4.8/5 |
| 4 | Coffee/Chocolate Base (Churned) | 30–45 min | Bold flavor without extra effort | ★ 4.5/5 |
| 5 | Churned Base + Folded Mix-Ins | 25–40 min | Cookie dough, brownies, fruit | ★ 4.3/5 |
| 6 | No-Churn with Minimal Mixing | 10–15 min | Kids’ quick projects | ★ 3.4/5 |
| 7 | Store-Bought Base + Churned Finishing | 15–20 min | Texture upgrade for convenience | ★ 4.0/5 |
Start with a Foolproof Cream Base

Smooth, creamy ice cream begins with the base. Many “easy Pampered Chef ice cream recipes” outperform restaurant-style texture simply because they prioritize correct proportions and temperature management.
– Use the right ratio of cream, milk, and sweetener for smooth results.
Cream contributes fat (which slows ice crystal growth). Milk provides balance and helps the base churn smoothly. Sweetener isn’t only for taste—it also lowers the freezing point, which helps the dessert scoop cleanly instead of turning rock-hard. If you reduce sugar too much, you often end up with a more brittle texture.
– Mix thoroughly and chill before churning or assembling to improve texture.
Warm bases churn unevenly and form larger crystals. Chill until the mixture is cold throughout—typically at least a few hours, or overnight for best results. If you’re using flavorings (vanilla, cocoa, espresso powder), blend them in while the base is warm enough to dissolve evenly, then chill for consistent results.
Analytical note on “sweet vs. scoopable”
If you’re chasing a scoopable texture, aim for a base that freezes evenly. Slightly higher sugar (within recipe guidance) increases creaminess, while under-sweetening can make the ice cream harder and grainier. This is one reason why using the recipe’s sweetener amount—not “eyeballing”—matters even in simple homemade versions.
Quick base-building workflow
1. Whisk sweetener into cream/milk until fully dissolved.
2. Add flavor (vanilla, cocoa, melted chocolate, or espresso concentrate).
3. Chill until thoroughly cold.
4. Churn (if applicable) and then freeze to firm up.
Easy Flavor Ideas to Try First

If you’re building confidence, start with flavors that are forgiving and easy to scale. Vanilla and chocolate are foundational, but “easy” doesn’t mean “boring”—it means the flavor compounds integrate predictably.
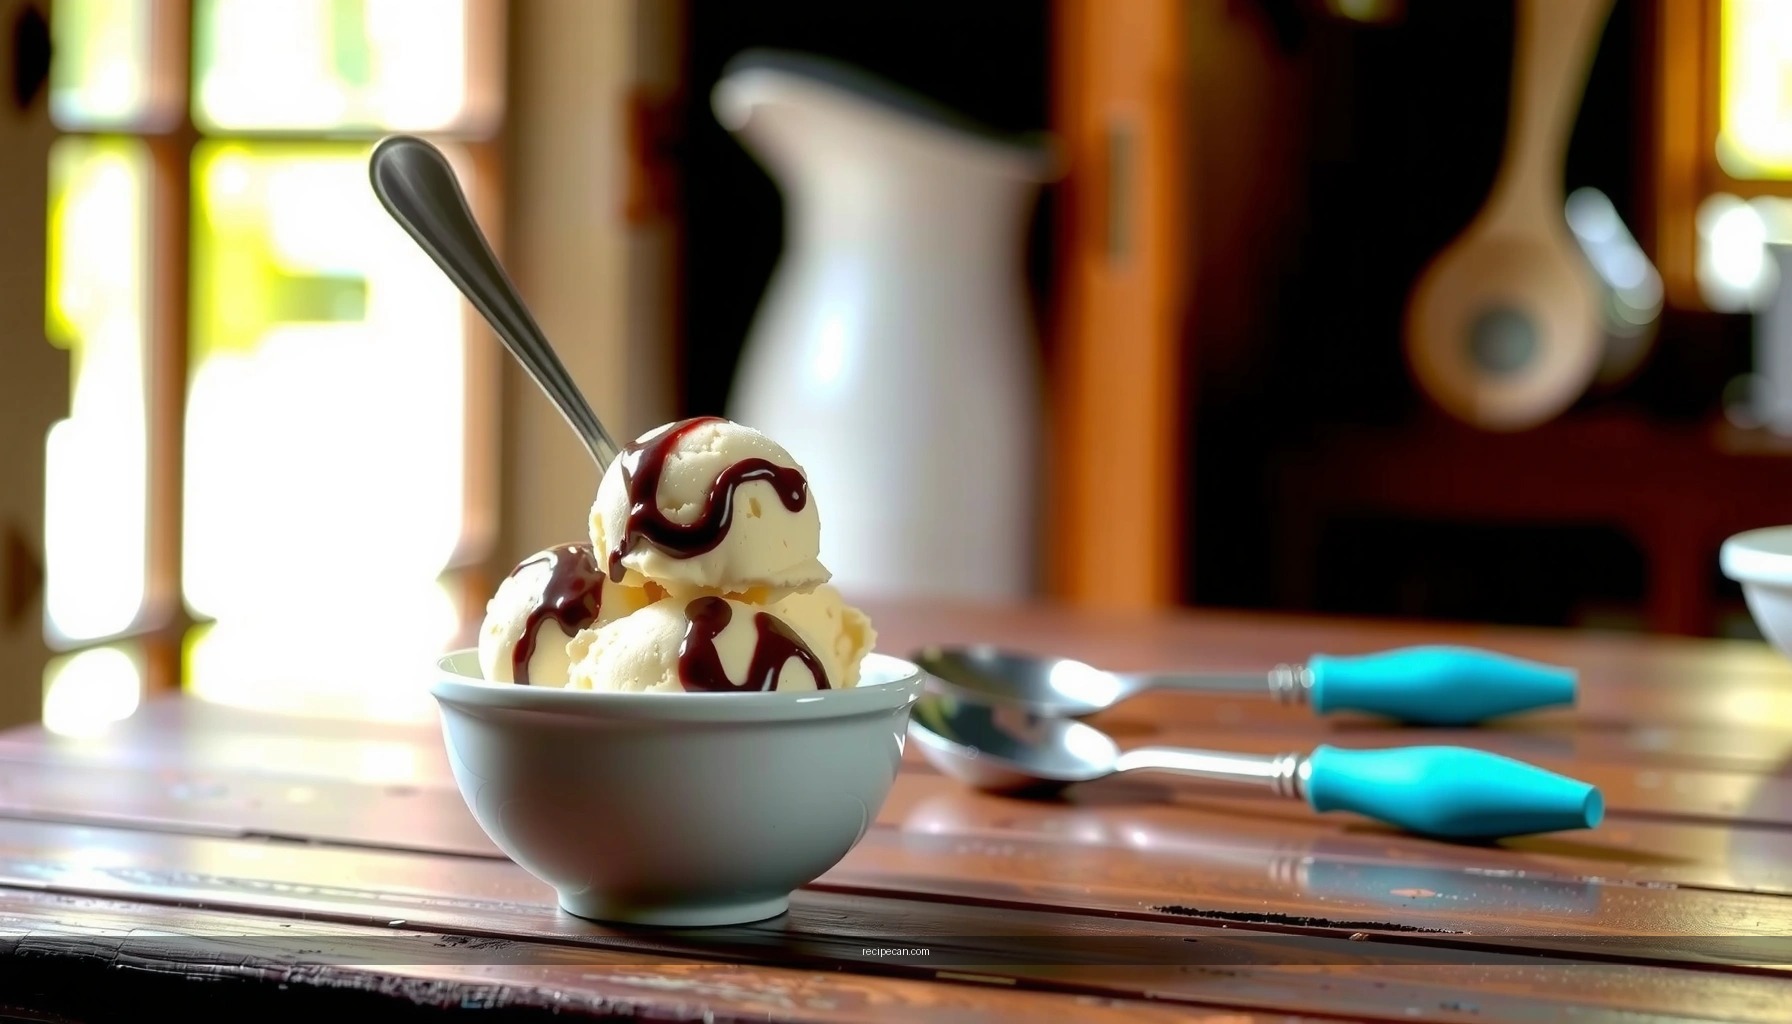
– Go classic with vanilla or chocolate for crowd-pleasing options.
Vanilla works especially well with dairy-forward bases, and it highlights the creaminess you’re trying to achieve. Chocolate benefits from bloom-and-dissolve techniques: whisk cocoa with a small amount of warm liquid (or use melted chocolate) so you avoid dry, bitter granules.
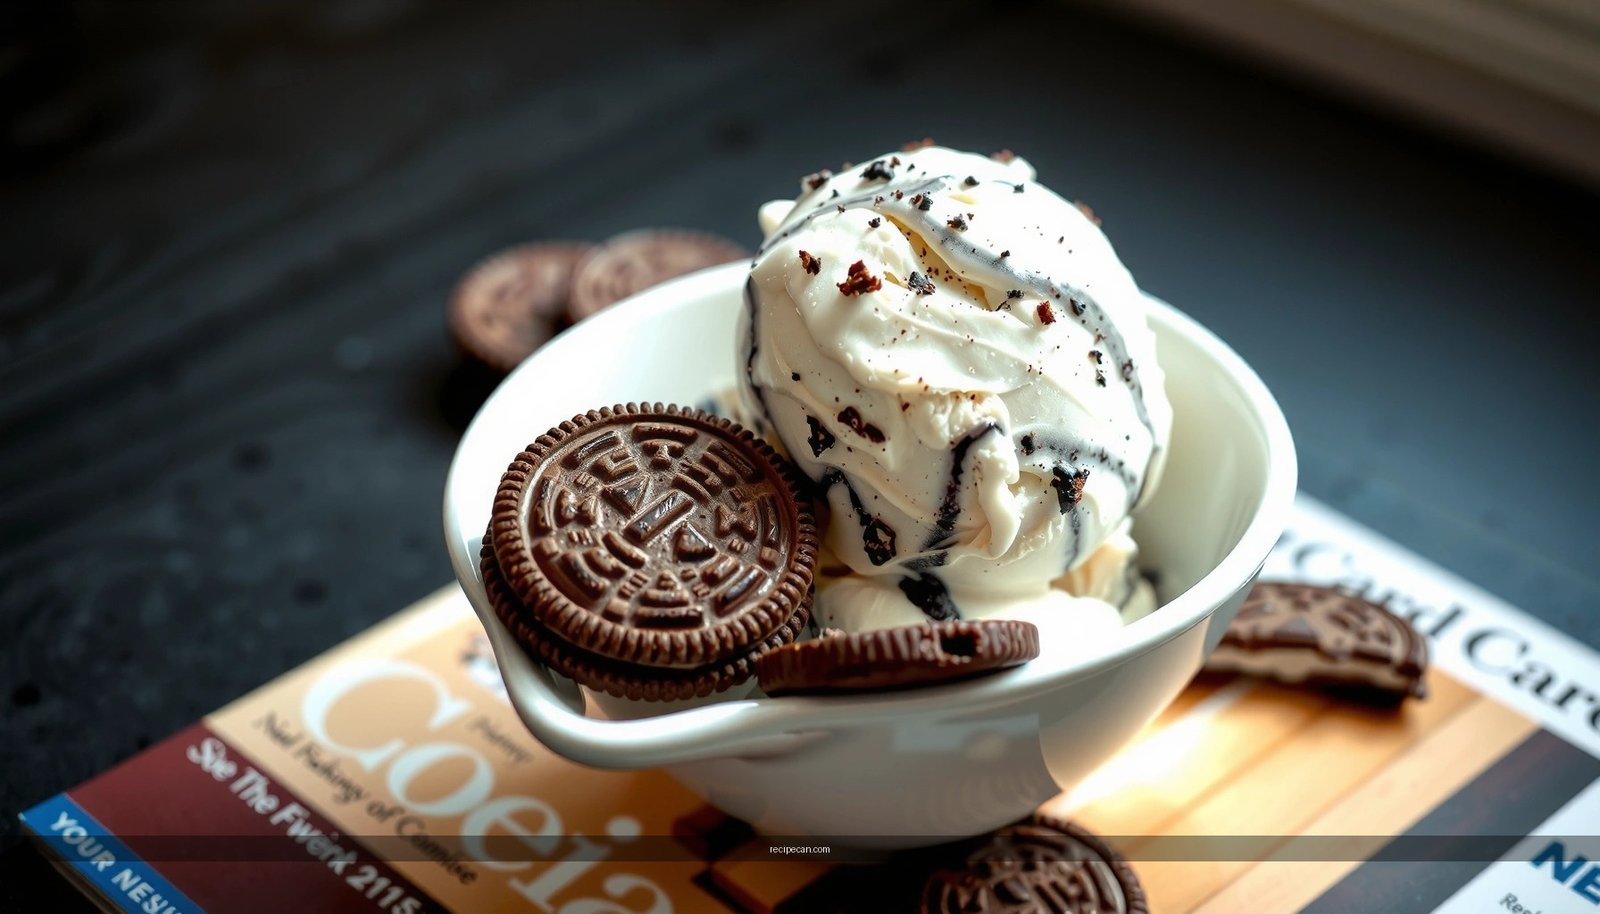
– Add mix-ins like cookies, fruit, or chocolate chunks for instant variety.
Mix-ins can turn a basic base into a signature dessert with minimal extra effort. Chop cookie pieces into small, even chunks; use fruit that’s thawed and patted dry (excess water can freeze into icy pockets).
Low-risk flavor combinations
– Vanilla + mini chocolate chips + caramel drizzle
– Chocolate + chopped brownies + fudge sauce ribbon
– Vanilla + strawberries (thawed) + a touch of lemon zest
– Chocolate + chopped toasted nuts + sea salt finish
How to Achieve Smooth, Scoopable Texture
Even the best base can become icy if freezing and handling are inconsistent. Smooth texture is a process outcome—built on time, temperature, and gentle handling.
– Freeze long enough and avoid frequent re-thawing.
Every time you take ice cream out, it warms partially, then refreezes into larger ice crystals. That’s the most common reason homemade ice cream loses “restaurant smoothness” over a few days. Plan servings ahead, keep the freezer door closed, and return portions quickly.
– Let ice cream sit briefly before scooping for the perfect consistency.
Rather than thawing the entire tub, let it soften slightly in the serving bowl. A short rest—often around 5–10 minutes depending on room temperature—helps the surface melt just enough for smooth scoops while the interior remains creamy.
A simple texture troubleshooting guide
– Too hard after freezing? Your base may be under-sweetened, or it froze too cold for too long without enough scoop-softening time.
– Icy/sandy mouthfeel? The mixture may not have chilled fully before churning, or mix-ins may have been too watery.
– Soft and not holding shape? Either it hasn’t reached full firming time or the freezer temp is running warmer than expected.
Mix-Ins, Toppings, and Serving Tips
Mix-ins and toppings are where you can express creativity—without compromising texture—if you add them at the right stage.
– Fold additions in at the right time so they don’t sink or harden.
For churned ice cream, fold mix-ins during the final churn minutes or right after churning, when the texture is thick but still pliable. For no-churn versions, mix-ins should be folded into the thickened mixture before the final freeze. If you add mix-ins too early (while liquid) or too late (after freezing is already firm), they can clump, sink, or become overly rigid.
– Pair flavors with complementary toppings (caramel, berries, nuts, whipped cream).
Toppings impact perceived flavor intensity, especially on cold desserts. Salted caramel amplifies chocolate; berry sauces brighten vanilla; toasted nuts add contrast and crunch. Use toppings in a “less is more” approach—too much can weigh down the ice cream or melt unevenly.
Serving approach for consistent results
– Warm your scoop (brief rinse in hot water, then dry).
– Plate immediately to avoid surface melting.
– Add toppings selectively: base scoop first, sauce second, then garnishes.
Storage and Make-Ahead Planning
Great ice cream doesn’t end at the freezer—storage determines whether it stays smooth. The best Pampered Chef ice cream recipes are those you can repeat reliably, and storage is how you protect that repeatability.
– Store in airtight containers to prevent ice crystals.
Air exposure is the enemy of creaminess. Use airtight containers and press a piece of parchment or plastic wrap directly against the ice cream surface when possible. This reduces freezer burn and helps maintain a consistent texture.
– Portion and label so you can grab favorites quickly for later.
If you portion into smaller containers, you open the freezer fewer times for longer periods. Label flavors and add dates; many households find that “first-in, first-out” prevents forgetting older batches that may have developed icier edges.
Make-ahead timing that works
– Plan to churn or assemble at least one day before serving for best firmness.
– For events, prepare the base and mix-ins in advance, then combine and freeze as close as possible to serving time.
– Keep sauces separate if you want the cleanest presentation—warm or room-temperature sauces mix better at serving.
Pampered Chef ice cream recipes help you go from ingredients to creamy, flavorful dessert with dependable steps and smart prep. Pick one flavor to make first, follow the base-and-chill guidance for the best texture, and experiment with mix-ins next—then share your favorite batch or plan a weekly “scoop night” at home.
Frequently Asked Questions
What are the best Pampered Chef ice cream recipes for beginners?
If you’re new to homemade ice cream, start with simple, no-fuss Pampered Chef ice cream recipes like vanilla bean or classic chocolate. These options usually use familiar ingredients (cream, milk, sugar, and flavorings) and are forgiving if you’re still getting the hang of churning or chilling. Look for recipes that clearly state mixing steps and timing so your Pampered Chef ice cream sets up properly and freezes smoothly.
How do I make Pampered Chef ice cream without a churner?
Some Pampered Chef-style recipes are designed to be made with an ice cream maker, but you can still achieve a creamy texture by using a no-churn method if the recipe allows it. Typically, you’ll whisk a base (like sweetened cream or custard) and then fold it into whipped cream or prepared topping components to add air. Freeze in a shallow container and stir every 30–45 minutes until thick, which helps your Pampered Chef ice cream stay scoopable instead of icy.
Why does my homemade Pampered Chef ice cream turn out icy or grainy?
Icy or grainy texture often comes from temperature swings, insufficient chilling, or not dissolving sugar completely. Make sure your base is thoroughly mixed and chilled before churning, because a warmer mixture can lead to larger ice crystals in your Pampered Chef ice cream. Also avoid overmixing once it’s thickening and follow the recipe’s freeze and rest times so the texture sets correctly.
Which Pampered Chef ice cream recipes work best for mix-ins like cookies and fruit?
For cookie, brownie, or candy mix-ins, choose recipes that specify fold-in timing so the pieces don’t sink or get soggy. It’s usually best to add sturdy chunks after the base is churned (or during the final blending step for no-churn) to keep them evenly distributed in your Pampered Chef ice cream. For fruit, use drained fruit or fruit cooked down slightly to reduce excess moisture, which helps prevent icy pockets.
How can I adapt a Pampered Chef ice cream recipe for dairy-free or lower-sugar options?
Many Pampered Chef ice cream recipes can be adapted by swapping dairy with high-fat alternatives (like full-fat coconut cream) to maintain a creamy mouthfeel. For lower sugar, reduce sugar gradually and choose sweeteners that dissolve well, since sugar affects freezing point and texture. Always test small batches first, because changes to sweetness and fat content can impact how firm your Pampered Chef ice cream becomes in the freezer.
References
- Ice cream
https://en.wikipedia.org/wiki/Ice_cream - Custard
https://en.wikipedia.org/wiki/Custard - Ice cream | Definition, History, & Production | Britannica
https://www.britannica.com/topic/ice-cream - https://www.cdc.gov/foodsafety/food-safety-basics.html
https://www.cdc.gov/foodsafety/food-safety-basics.html - https://www.fda.gov/food/food-safety-modernization-act-fsma/food-safety-tips
https://www.fda.gov/food/food-safety-modernization-act-fsma/food-safety-tips - https://pubmed.ncbi.nlm.nih.gov/?term=ice+cream+ice+crystal+size
https://pubmed.ncbi.nlm.nih.gov/?term=ice+cream+ice+crystal+size - https://pubmed.ncbi.nlm.nih.gov/?term=ice+cream+emulsion+overrun
https://pubmed.ncbi.nlm.nih.gov/?term=ice+cream+emulsion+overrun - https://www.sciencedirect.com/search?qs=ice+cream+emulsion+overrun
https://www.sciencedirect.com/search?qs=ice+cream+emulsion+overrun - ice cream ice crystal | Nature Search Results
https://www.nature.com/search?q=ice%20cream%20ice%20crystal - Google Scholar Google Scholar
https://scholar.google.com/scholar?q=pampered+chef+ice+cream+recipes