Get the original Italian tiramisu recipe with the classic, traditional steps and exact ingredients that produce the real custardy, coffee-soaked layers people expect. This guide answers the one question that matters—how to make tiramisu the authentic Italian way, from savoiardi dipping to mascarpone folding—without shortcuts. If you want the winner that tastes like it came from an Italian kitchen, follow these steps and you’ll get it.
You can make authentic Italian tiramisu at home by using mascarpone, espresso, ladyfingers, and cocoa—and by mastering three technical points: the coffee dip time, the cream folding method, and the chilling window. If you follow the classic layering order and allow the dessert to set properly, you’ll get that signature balance of creamy mascarpone, espresso aroma, and tender—not soggy—ladyfingers.
Essential Ingredients for Original Italian Tiramisu

Authentic tiramisu is built from a short list of high-impact ingredients. When each component is selected well, the dessert tastes “Italian” even without shortcuts.
– Use mascarpone, fresh eggs (or a safe substitute), espresso, and ladyfingers
– Mascarpone provides the creamy body. Choose one with a smooth, thick texture (not watery).
– Eggs help create a light, spoonable filling. If you prefer a safer approach, use a pasteurized egg product (common in many groceries) or follow a reputable pasteurization method approved in your kitchen.
– Ladyfingers (savoiardi) are the structural base. Look for ones that hold shape when dipped—these typically have a firmer bake.
– Espresso supplies the aroma that defines tiramisu.
– Add cocoa powder and sugar for the signature balance
Cocoa should be unsweetened and finely sifted. Sugar controls the overall sweetness so the coffee bitterness and cocoa depth feel intentional rather than harsh.
– Choose strong espresso for bold coffee flavor
Use a robust espresso roast or a higher-intensity coffee. If your espresso tastes weak alone, the tiramisu will taste weak too—because the cream can amplify softness and mute intensity.
To make ingredient choices more business-like (i.e., consistent outcomes), consider how different coffee strengths change the final flavor profile.
Coffee Strength Impact on Classic Tiramisu (Expected Flavor Intensity)
| # | Espresso Basis | Roast/Blend Style | Tiramisu Coffee Perception | Cream Balance | Recommended |
|---|---|---|---|---|---|
| 1 | Double espresso (2 shots) | Medium-dark | High | ★ ★ ★ ★ ★ | Best |
| 2 | Single espresso (1 shot) + extra shot finish | Medium | Medium-high | ★ ★ ★ ★ ☆ | Great |
| 3 | Single espresso (1 shot) | Medium | Medium | ★ ★ ★ ☆ ☆ | Good |
| 4 | Americano (espresso + hot water) | Medium-dark | Low-medium | ★ ★ ★ ☆ ☆ | Use with care |
| 5 | Weak drip coffee | Light/medium | Low | ★ ★ ☆ ☆ ☆ | Not recommended |
| 6 | Espresso concentrate (stronger ratio) | Dark | Very high | ★ ★ ★ ★ ★ | Best (if balanced) |
| 7 | Cold brew espresso-style concentrate | Medium-dark | Medium-high | ★ ★ ★ ★ ☆ | Great option |
Prepare the Coffee Dip and Ladyfingers

The coffee dip is where most tiramisu quality is won or lost. The goal is to flavor the ladyfingers without making them collapse.
– Brew espresso and let it cool slightly before dipping
Hot espresso can soften ladyfingers too quickly and can also affect the cream’s structure. Cool it until it’s warm, not scorching—think “dip temperature,” not “drink temperature.”
– Dip ladyfingers quickly to avoid sogginess
Dip each side just long enough to coat—typically 1–2 seconds per side depending on brand thickness. You want them pliable and flavorful, not wet through.
– Keep layers even for consistent texture in each slice
If one area gets deeper coffee saturation, that portion will taste bolder and feel looser. Even dipping and even cream portions produce even slices—critical if you’re serving guests or portioning for an event.
A useful operational trick: stage everything before dipping. Lay your ladyfingers out, prepare the dish, and have the cream ready so dipping becomes a controlled, repeatable action.
Make the Mascarpone Cream Mixture

The mascarpone cream delivers tiramisu’s signature mouthfeel: rich yet light. Achieving that texture depends on how you mix and fold.
– Whisk mascarpone until smooth before folding in other ingredients
Mascarpone can be lumpy straight from the tub. Whisking first ensures a uniform base so the final cream looks glossy and tastes consistent.
– Prepare the egg mixture carefully for a light, creamy filling
Whisk egg components (or their safe substitute) until they’re aerated—this is what helps the cream feel airy rather than dense. Overbeating isn’t usually the problem; under-whipping often is.
– Fold gently to keep the cream airy
Folding is not stirring. Stirring deflates air and can make the cream heavy. Fold until the mixture is smooth and cohesive, but stop as soon as it’s evenly combined.
Quality-control note: if your cream looks separated, it usually means the components were at very different temperatures or the folding was too aggressive. Next time, bring ingredients closer to the same temperature and use lighter folding strokes.
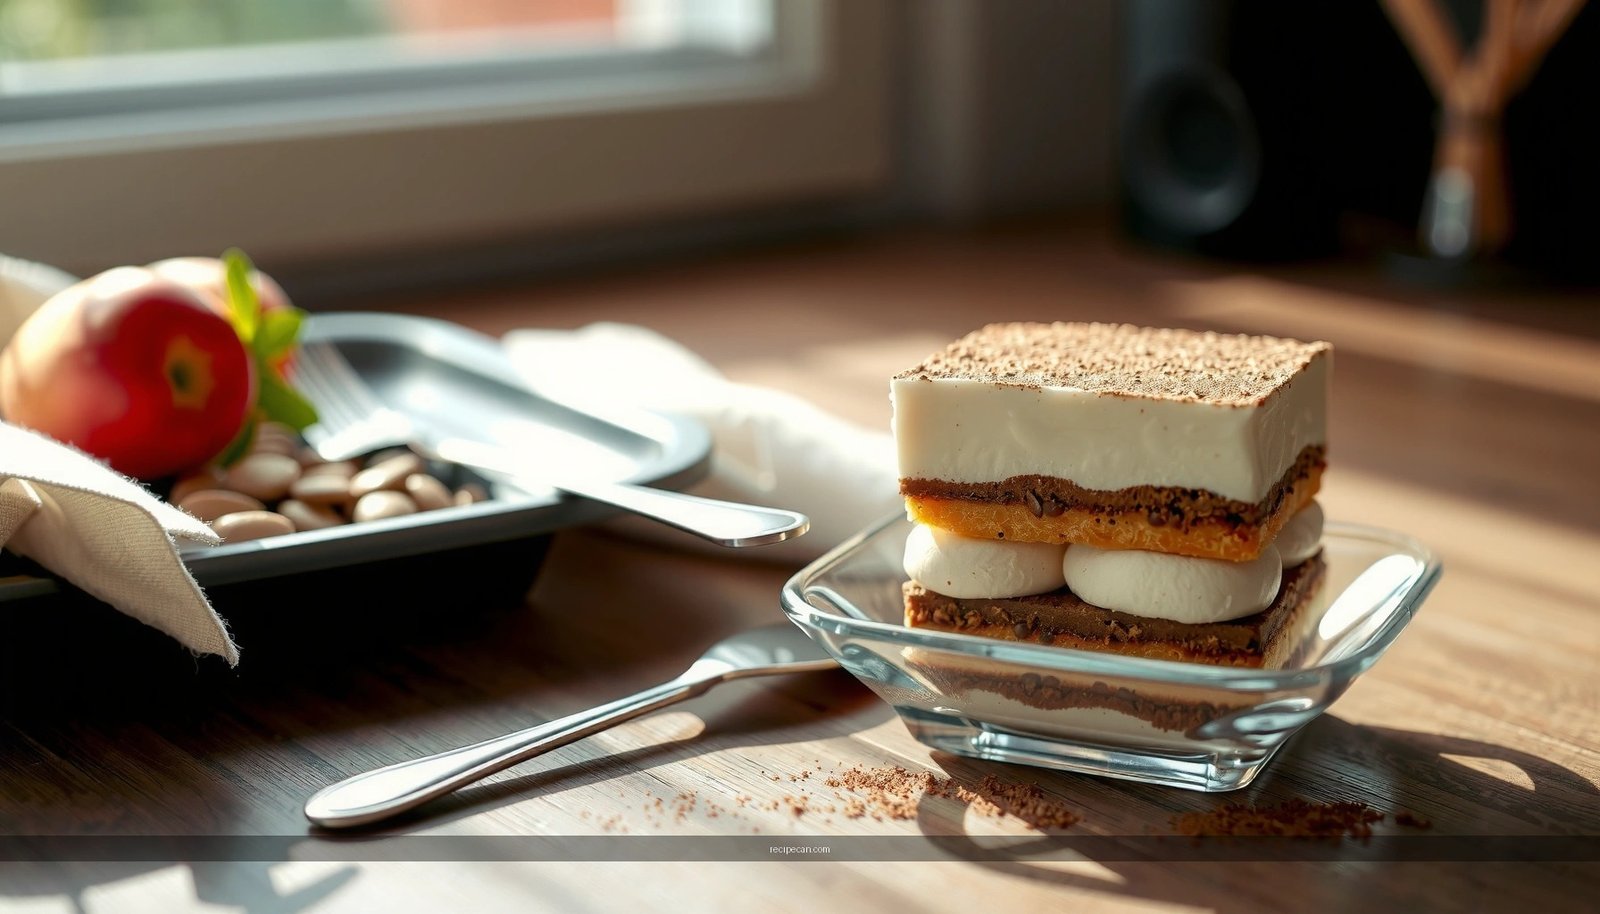
Layering for the Perfect Classic Tiramisu
Layering is both a visual and functional step. It determines the distribution of coffee, cream, and cocoa—so your slices match the classic profile.
– Start with a thin layer of cream, then ladyfingers, then cream again
A thin cream “base” prevents the bottom from being overly coffee-soft and helps the dessert hold together.
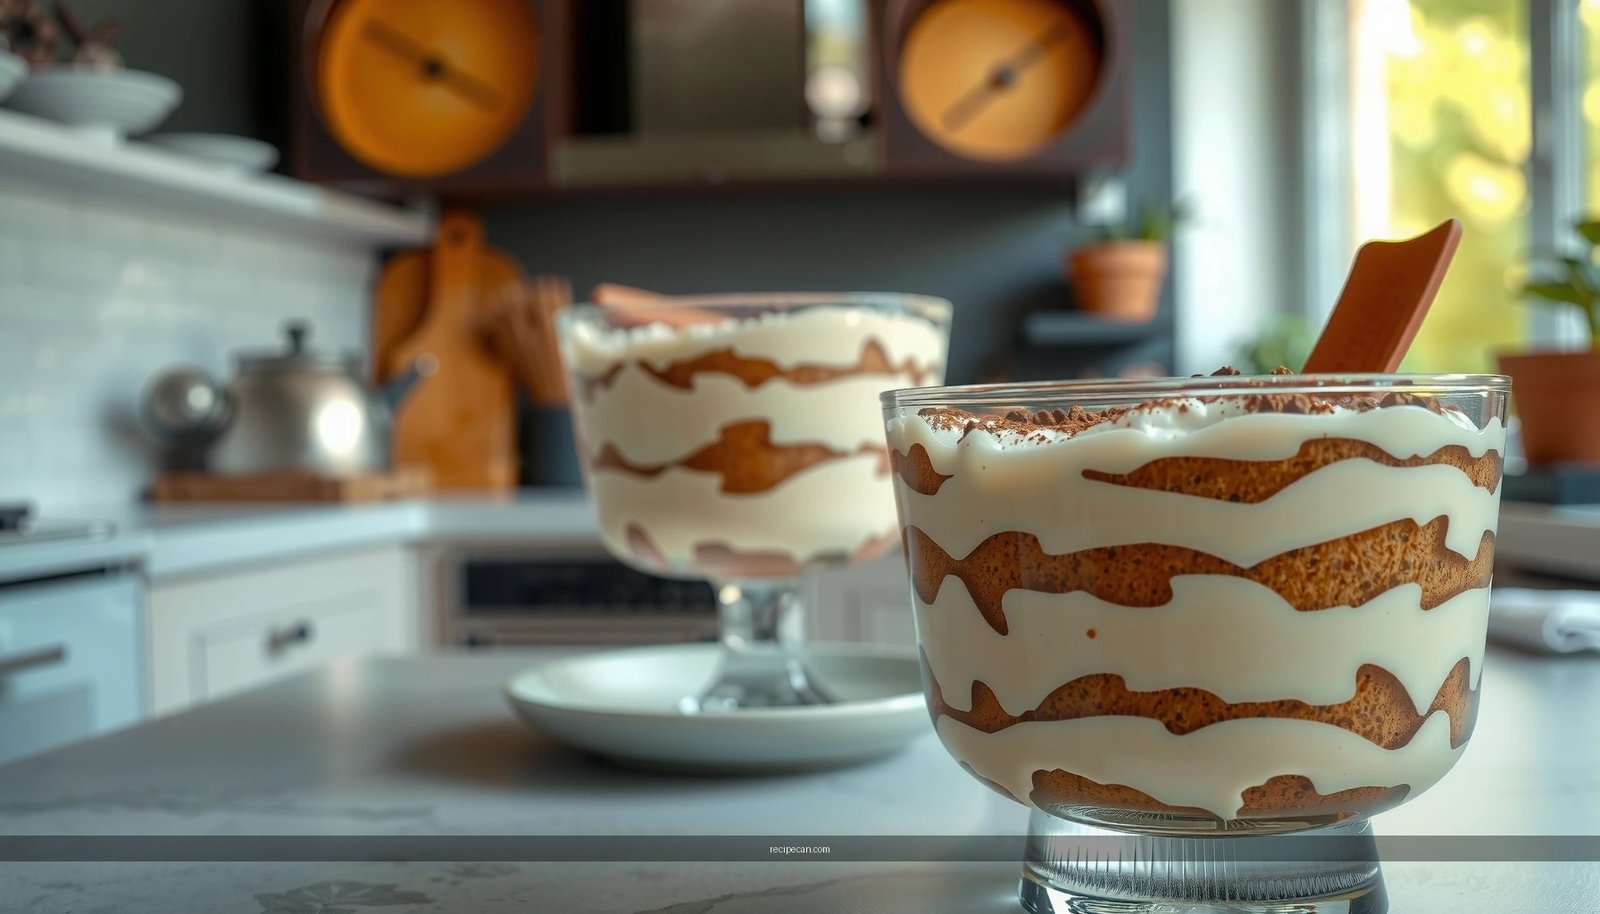
– Repeat layers until you fill your dish
Keep the ratio consistent—commonly two or three layers depending on dish depth. This ratio matters because too many ladyfingers can make the dessert taste dry and too much cream can mute the coffee-cocoa contrast.
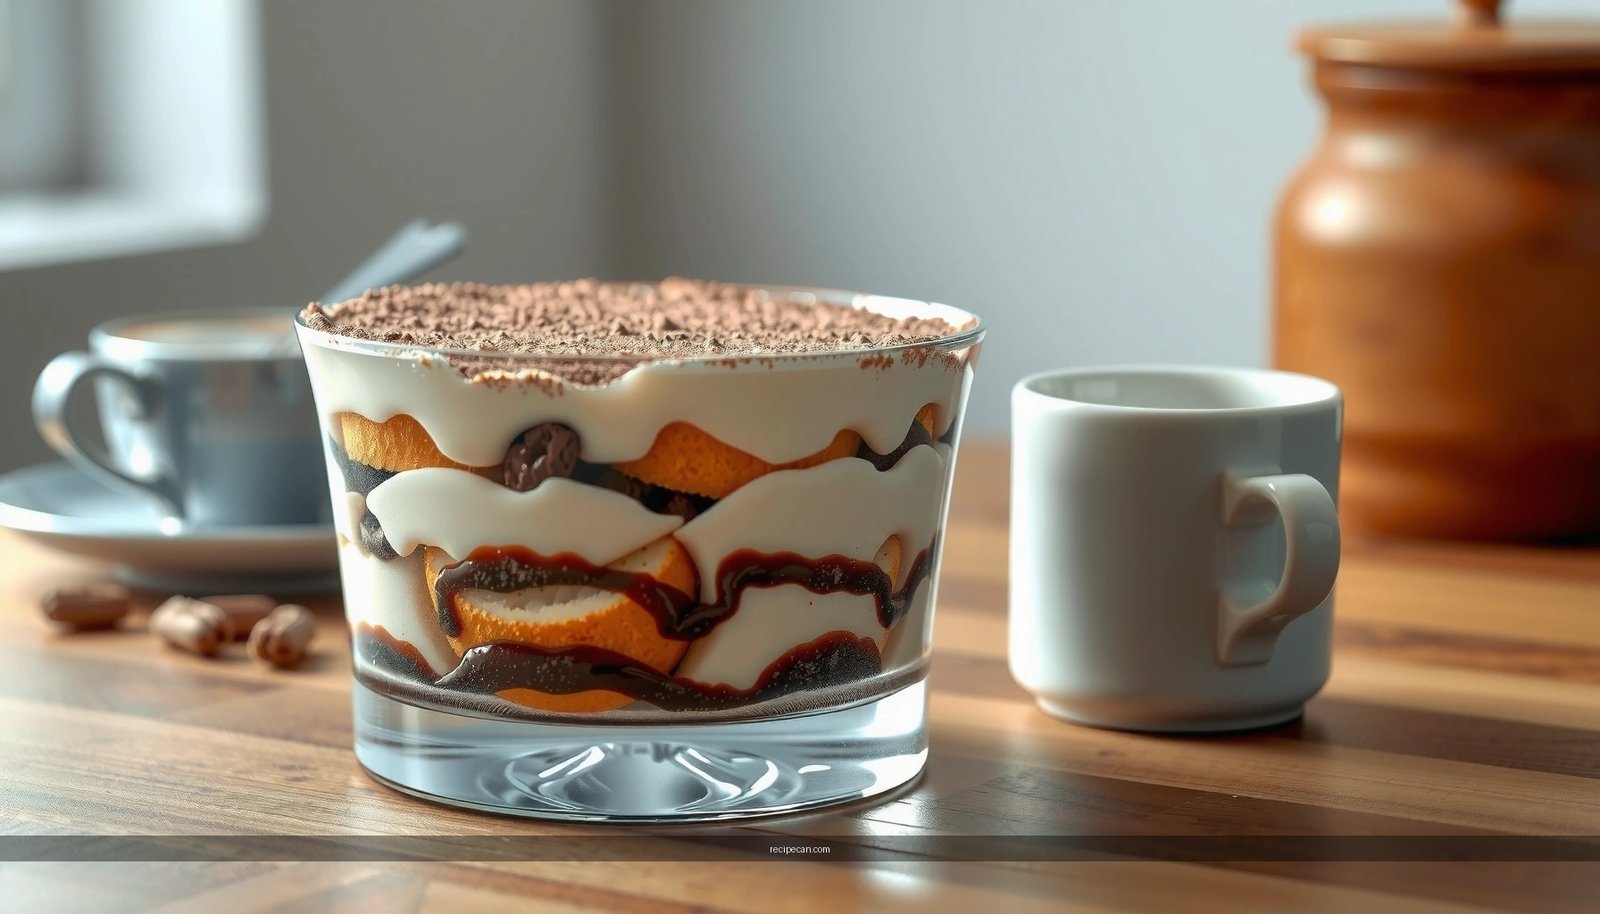
– Finish with a generous dusting of cocoa on top
Sift cocoa evenly right before serving planning (or shortly before serving) to avoid clumping. Cocoa should sit on top as a fragrant finish, not dissolve into wet cream.
For best results, ensure the final top layer has enough cream coverage so the cocoa dust adheres and the surface looks clean and classic.
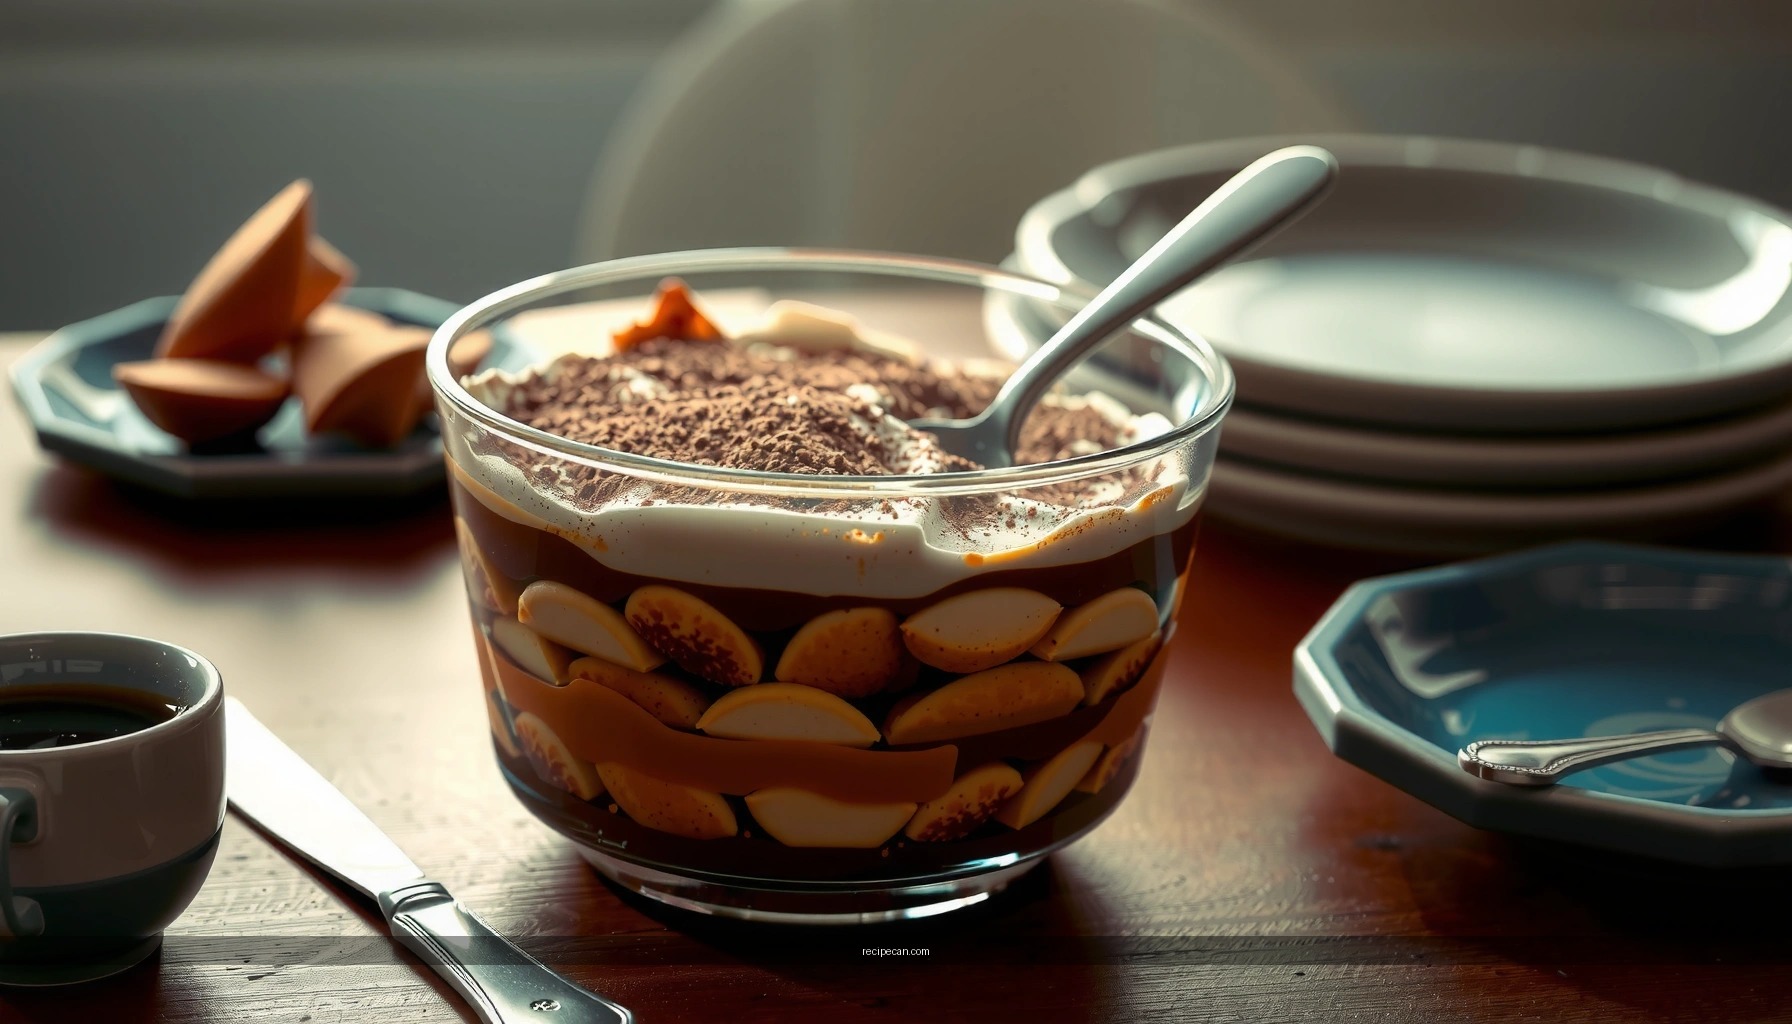
Chilling Time and Serving Tips
Chilling is what turns layered ingredients into a cohesive dessert. It’s also where the flavor develops.
– Refrigerate at least 4–6 hours for best set and flavor
During refrigeration, coffee hydrates the ladyfingers while the cream sets to a stable texture. If you cut too early, you’ll often get a runnier filling.
– Serve chilled, and slice with a clean, sharp knife
Wipe the knife between cuts for crisp slices. A warm blade can smear the top cocoa and destabilize the layers.
– Store covered in the fridge for a couple of days
Tiramisu typically holds well for 48 hours with good flavor. Beyond that, the texture can shift as ladyfingers continue to absorb moisture.
If you’re preparing ahead for an office gathering or dinner party, chilling overnight is often acceptable. Just keep it covered to prevent fridge odors and drying.
Common Mistakes to Avoid
Even an authentic Italian tiramisu recipe can fail without a few guardrails. These errors are predictable—and preventable.
– Over-dipping ladyfingers can turn tiramisu watery
If the espresso pool accumulates at the bottom or the middle feels loose, the dip was too long or the ladyfingers were too thin.
– Over-mixing the cream can make it dense
Excessive mixing can deflate aeration or emulsify poorly. Mix enough to combine cleanly, then stop.
– Skipping chilling reduces the classic tiramisu texture
Tiramisu is meant to set. Serving at room temperature often results in a syrupy, coffee-forward mix and less defined layers.
If you want to troubleshoot quickly: focus first on dipping time, then on how you fold the cream, and finally on chilling duration. Those three steps handle the majority of texture and flavor outcomes.
Toss aside guesswork and make your original Italian tiramisu recipe with the right ingredients, quick dipping, proper layering, and enough chilling time. Try it today—follow the classic steps closely on your first run, then adjust espresso strength or cocoa intensity on your next batch for a version that matches your exact taste. Share your results and any swaps you love (like preferred roast levels, egg-safe options, or cocoa brands), because iterative improvement is how the best home bakers refine their signature tiramisu.
Frequently Asked Questions
What is the original Italian tiramisu recipe and what ingredients are traditionally used?
The original Italian tiramisu recipe is typically made with mascarpone, espresso (or strongly brewed coffee), egg yolks, sugar, and ladyfingers (savoiardi). Traditional versions also use cocoa powder for finishing and often skip any added cream or condensed milk. For authenticity, use high-quality mascarpone and strong espresso so the flavor matches classic tiramisu.
How do you make authentic tiramisu with raw eggs safely?
Classic tiramisu uses egg yolks for the zabaglione-style cream, so food safety matters. To make the original Italian tiramisu recipe safer, use pasteurized eggs or temper the yolks by gradually warming them with sugar over low heat before mixing with mascarpone. Keep the tiramisu chilled and serve within a day or two for best texture and safety.
Why does tiramisu need to rest, and how long should you refrigerate it?
Tiramisu needs resting time so the ladyfingers absorb the espresso and soften without turning into mush. In the original Italian tiramisu recipe, chilling helps the mascarpone cream set and the flavors meld. Refrigerate at least 4–6 hours (overnight is ideal) and dust with cocoa just before serving to keep it fresh-looking.
Which coffee should you use for the best original Italian tiramisu flavor?
Use a strong espresso or very dark, concentrated coffee to create the signature bold taste in authentic tiramisu. The goal is flavor balance: the coffee should be noticeable but not bitter overpowering the mascarpone. If you’re using brewed coffee, reduce it slightly or use a darker roast to mimic espresso strength found in the classic Italian tiramisu recipe.
What is the best way to dip ladyfingers so they don’t get soggy?
For classic tiramisu, quickly dip each ladyfinger into espresso—usually just 1–2 seconds per side—so it absorbs enough liquid to flavor the dessert without collapsing. Then assemble promptly into the dish before repeating the layers with the mascarpone cream. This technique helps you achieve the original Italian tiramisu recipe texture: tender, cohesive layers rather than soggy or watery.
References
- Tiramisu
https://en.wikipedia.org/wiki/Tiramisu - Tiramisù
https://it.wikipedia.org/wiki/Tiramis%C3%B9 - https://www.britannica.com/recipe/tiramisu
https://www.britannica.com/recipe/tiramisu - Google Scholar Google Scholar
https://scholar.google.com/scholar?q=original+italian+tiramisu+recipe - https://scholar.google.com/scholar?q=tiramisu+origin+history+recipe+mascarpone+egg+chronology Google Scholar
https://scholar.google.com/scholar?q=tiramisu+origin+history+recipe+mascarpone+egg+chronology - Google Scholar Google Scholar
https://scholar.google.com/scholar?q=storia+del+tiramisu+ricetta+originale - https://www.bbc.com/travel/article/20160310-the-origin-of-tiramisu
https://www.bbc.com/travel/article/20160310-the-origin-of-tiramisu - https://www.theguardian.com/food/2019/apr/26/how-to-make-tiramisu
https://www.theguardian.com/food/2019/apr/26/how-to-make-tiramisu - https://www.nytimes.com/2019/03/21/dining/tiramisu-recipe.html
https://www.nytimes.com/2019/03/21/dining/tiramisu-recipe.html - Treccani, il portale del sapere – Treccani
https://www.treccani.it/enciclopedia/tiramisu/