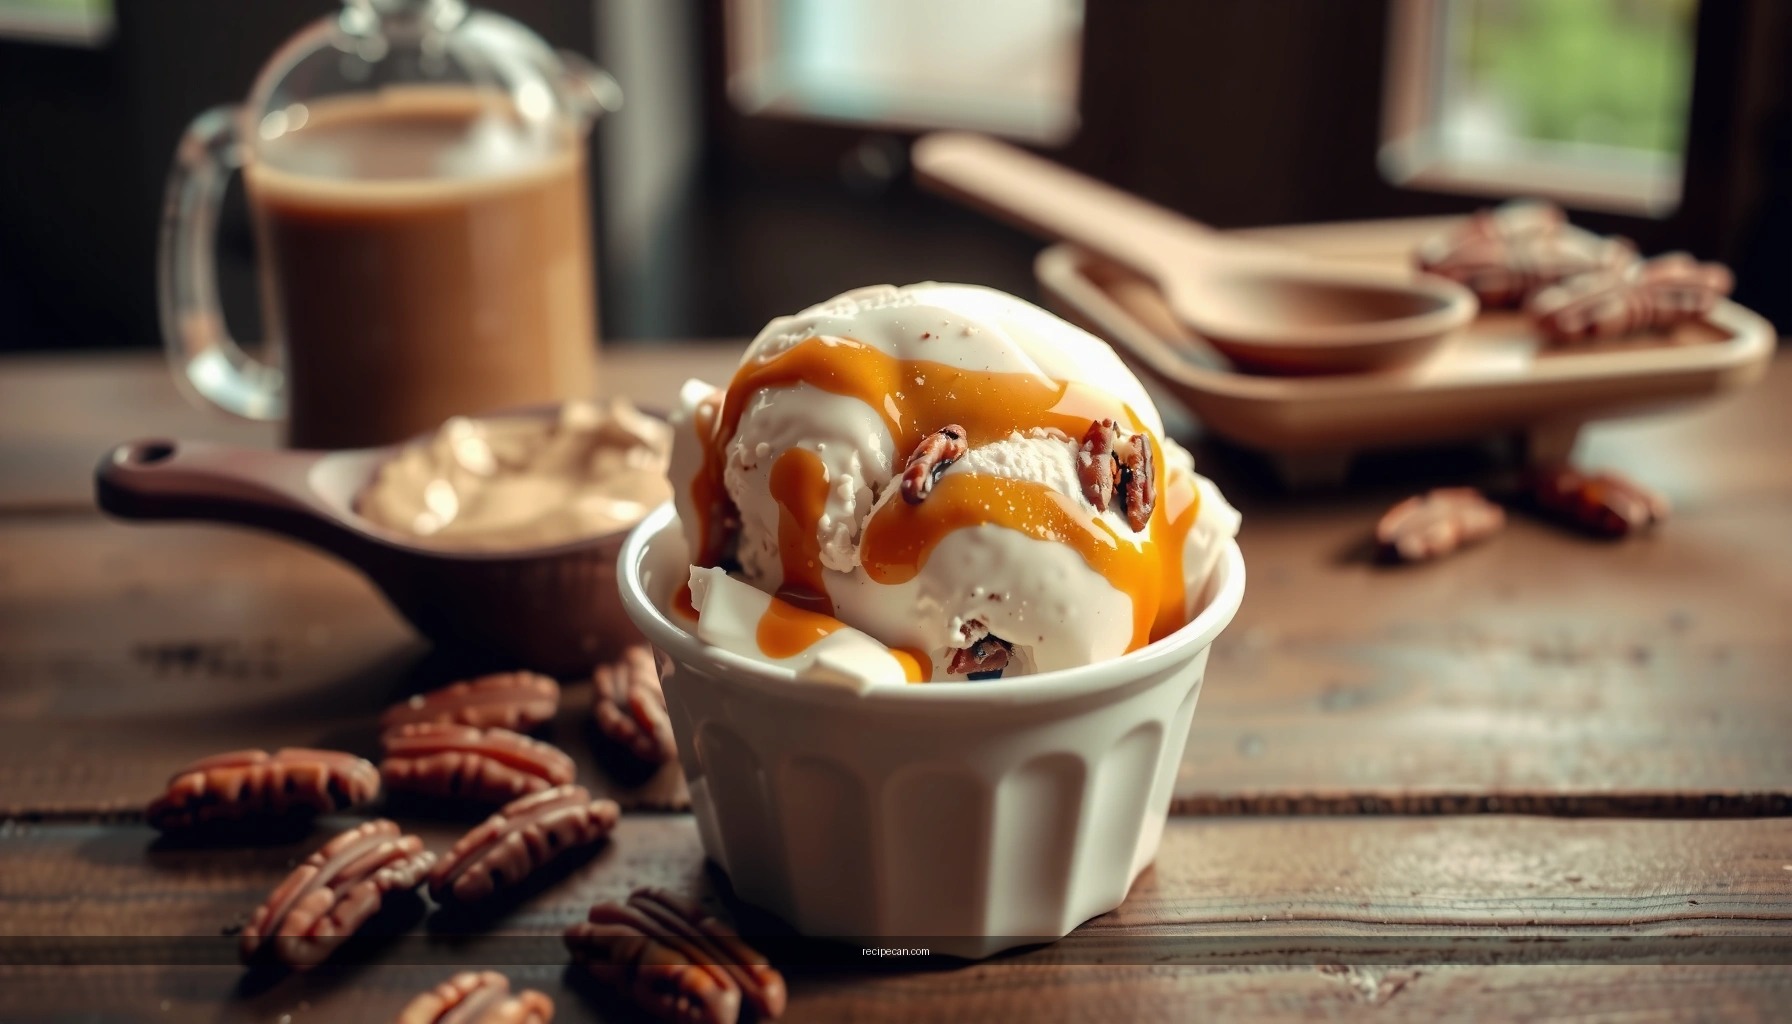
Looking for a nostalgia ice cream maker recipe that delivers classic, creamy homemade ice cream? This recipe is the clear winner for that smooth old-school texture, with straightforward steps, balanced sweetness, and a custard base that churns cleanly. You’ll get a finish that actually tastes like the homemade scoop people remember—no shortcuts required.
Make classic, creamy homemade ice cream with an ice cream maker by churning a simple base of cream, milk, sugar, and (optionally) eggs—then freezing briefly for scoopable texture. Below, you’ll get an end-to-end roadmap: exact ingredients, step-by-step ice cream maker instructions, custard vs. no-egg options, mix-in ideas, and texture/storage tactics that preserve that nostalgic “store-scoop” mouthfeel.
Classic Nostalgia Ice Cream Base Ingredients

– Combine heavy cream and milk with sugar for a smooth, creamy texture
– Add eggs (optional) for a richer custard-style result
– Include vanilla extract for that classic flavor
The heart of a nostalgia ice cream maker recipe is balance: enough fat for silkiness, enough sugar for softness, and a flavor base that tastes familiar even before any mix-ins. For a classic creamy homemade ice cream, you’re essentially building a stable emulsion that churns into small, evenly distributed ice crystals.
What each ingredient does (and why it matters)
Heavy cream (fat backbone): Heavy cream is what delivers the “classic” body and melt. Fat coats the tongue, slowing melt and improving perceived creaminess.
Milk (lightness + structure): Milk reduces heaviness while still contributing proteins that help stabilize the mixture during freezing.
Sugar (sweetness + scoopability): Sugar lowers the freezing point, which is a major reason homemade ice cream can stay softer right out of the freezer. It also improves texture by limiting large ice crystal growth.
Egg yolks (optional custard richness): If you choose the custard-style route, yolks bring emulsifiers and thickening that produce a denser, more luxurious scoop—often closer to vintage ice cream parlors.
Vanilla extract (nostalgia anchor): Vanilla provides that “childhood” aroma. Use pure vanilla extract for the most authentic flavor.
Recommended ingredient amounts (for about 1 quart / ~1.5–2 pints)
– Heavy cream: 2 cups (480 ml)
– Whole milk: 1 cup (240 ml)
– Granulated sugar: 1/2 to 3/4 cup (100–150 g)
– Vanilla extract: 2 teaspoons (or 1 tablespoon vanilla bean paste)
Custard option (denser, custard-style):
– Egg yolks: 4 large
No-egg option (faster, simpler):
– Skip eggs and increase vanilla slightly if desired (2 1/2 teaspoons).
> Note on sweetness: Classic vanilla ice cream can be mildly sweet, especially if your mix-ins are already sweet (like chocolate sauce). Start at 1/2 cup sugar, and adjust upward only if you prefer a sweeter scoop.
Creamy Base Performance Factors for Homemade Ice Cream (Quart Batch)
| # | Base Adjustment | Target Result | Typical Amount | Impact Rating |
|---|---|---|---|---|
| 1 | Chill base before churning | Faster thickening; smaller ice crystals | 3–6 hours (or overnight) | ★★★★☆ |
| 2 | Use 1/2–3/4 cup sugar | Soft scoop; reduced iciness | 100–150 g granulated | ★★★★☆ |
| 3 | Add egg yolks (custard) | Denser, richer “parlor-style” texture | 4 yolks per quart | ★★★☆☆ |
| 4 | Avoid over-churning | Prevents icy grain; keeps scoopability | Stop at soft-serve stage | ★★☆☆☆ |
| 5 | Freeze briefly after churning | Firm enough to scoop without excess crystals | 2–4 hours | ★★★★☆ |
| 6 | Press barrier onto surface | Reduces freezer burn and surface ice | Parchment/plastic contact | ★★★★☆ |
| 7 | Let stand 3–5 minutes before scooping | Better texture; easier scoop | Room temp rest | ★★★☆☆ |
Step-by-Step Nostalgia Ice Cream Maker Instructions

– Chill your mixture before churning for better thickness and consistency
– Churn according to your ice cream maker’s timing until it reaches soft-serve stage
– Freeze briefly to firm up before serving
An ice cream maker works by controlling temperature during churning, which determines how quickly your mixture freezes into a smooth structure. If you want nostalgic homemade ice cream—not gritty or icy—your process is as important as the recipe.
1) Make the base (custard or no-egg)
No-egg base (simple):
1. In a bowl, whisk together milk, sugar, and vanilla until sugar dissolves.
2. Stir in heavy cream.
3. Chill thoroughly (3–6 hours minimum).
Custard base (richer):
1. In a saucepan, heat milk and cream until steaming (not boiling).
2. Whisk egg yolks with sugar until slightly lighter.
3. Slowly pour warm dairy into yolks while whisking (tempering).
4. Return to the saucepan and cook, stirring constantly, until it coats a spoon (typically ~170–175°F / 77–79°C).
5. Remove from heat, stir in vanilla, then chill completely (at least 4 hours; overnight is ideal).
2) Chill to stabilize texture
Chilling isn’t optional for a high-quality churn. A cold base freezes faster and forms smaller ice crystals. Aim for a mixture that feels truly cold, not just “cool.”
3) Churn to soft-serve stage
Pour the chilled base into your ice cream maker and churn until it thickens to the consistency of soft-serve. Timing varies by machine, but you’ll usually see this change within 20–35 minutes for many countertop models.
– Don’t over-churn: Over-churning can make the texture drier and more prone to icy bits after freezing.
– If your machine has a “ready” indicator, use it as a guide—but rely on texture.
4) Freeze briefly for scoopable perfection
Transfer to a container and freeze 2–4 hours. This window gives structure without locking in harsh ice crystal growth that can occur with extended freezing.
Custard-Style vs. No-Egg Nostalgia Options

– Choose custard-style if you want extra richness and a denser scoop
– Choose no-egg if you prefer a faster, simpler method
– Adjust sweetness slightly based on your mix-ins (like chocolate or fruit)
Choosing between custard-style and no-egg nostalgia ice cream is less about correctness and more about the final experience you want.
Custard-style: richer, denser, more “parlor-like”
Custard uses egg yolks to thicken and emulsify, resulting in:
– a denser scoop
– a slower melt
– a classic “old-fashioned” mouthfeel
This option is ideal if you’re making vanilla base to support refined mix-ins like caramel swirls, toasted nuts, or subtle cookie crumble.
No-egg: quick and reliably smooth
A no-egg base can still be creamy and deeply satisfying, especially when you:
– chill thoroughly
– churn correctly
– freeze briefly (not too long right after churning)
This route is perfect for busy schedules or when you’re planning bold mix-ins like chocolate chips or strawberry ribbons that already deliver noticeable flavor intensity.
Sweetness adjustments for mix-ins
A pro move: tune sugar based on what you fold in.
– If you’ll add chocolate or caramel, start at 1/2 cup sugar to prevent “over-sweet” vanilla.
– If you’ll add fruit puree (often tangy), consider bumping sugar slightly toward 3/4 cup.
Mix-In Ideas for Nostalgia Flavor Memories
– Fold in chocolate chips, crushed cookies, or caramel after churning
– Add fruit swirls (strawberry, cherry) by mixing in a cooled puree
– Keep mix-ins chopped small to distribute evenly
Mix-ins are where nostalgia gets personal. The trick is adding them at the right time and preparing them so they stay evenly distributed.
Classic mix-ins that work exceptionally well
– Chocolate chips or chopped dark chocolate: Add after churning so they don’t dull the churn texture.
– Crushed cookies (Oreo-style or butter cookies): Keep crumbs semi-chunky; very fine crumbs can paste into the ice cream.
– Caramel sauce: Warm enough to pour, but cool before folding in so it doesn’t melt the base aggressively.
Fruit swirls without freezing off-flavor
For fruit swirls (strawberry, cherry, raspberry), use a cooled puree:
1. Cook fruit briefly with a little sugar to concentrate flavor.
2. Cool completely before mixing into churned ice cream.
3. Fold gently to form ribbons instead of fully blending.
Distribution rule of thumb
Chop or portion mix-ins into sizes that won’t dominate every bite:
– chocolate chips: standard chip size
– cookies: 1–2 cm pieces
– caramel: ribbons or small dollops (don’t pour a hot stream)
Texture Tips: Prevent Ice Crystals and Keep It Creamy
– Use an airtight container and press parchment/plastic directly onto the surface
– Don’t over-freeze for too long before serving for best texture
– Let ice cream sit 3–5 minutes at room temp before scooping
The biggest quality enemy in homemade ice cream is uncontrolled ice crystal growth. The goal isn’t “no ice” (physics still wins), but fine, stable crystals that feel smooth.
1) Seal correctly
To reduce freezer burn and surface ice:
– Transfer ice cream to an airtight container.
– Press parchment or plastic wrap directly on the surface before sealing.
This barrier prevents moisture loss and helps maintain that creamy, nostalgic texture.
2) Freeze for the right duration
Freezing too long immediately after churn can increase perceived firmness and graininess. For best texture:
– freeze 2–4 hours before the first serving
– then store, ideally keeping the freezer temperature consistent
3) Scoop like a pro
Before scooping, let it sit at room temperature 3–5 minutes. This brief softening improves scoopability and restores that silky mouthfeel.
If you notice ice cream hardens aggressively, it usually means one of three issues:
– inconsistent freezer temperature
– not sealing properly
– too long a wait at serving time without a brief soften period
Storage and Serving for Best Results
– Store in the freezer at a consistent temperature for fewer texture changes
– Portion before freezing so you don’t warm the whole batch repeatedly
– Serve with classic toppings to match the nostalgia vibe
Even the best nostalgia ice cream recipe can lose quality if it’s handled inconsistently after freezing.
Storage best practices
– Keep freezer temperature stable: Frequent temperature swings worsen texture.
– Portion before serving: Divide into smaller containers or tubs to avoid repeated warming each time you scoop.
– Minimize exposure time: Every time the container opens, warm air enters and moisture condenses/freeszes.
Serving pairings that match the “classic” feel
You don’t need elaborate toppings to make it nostalgic. Consider:
– warm fudge or chocolate syrup
– caramel sauce
– toasted nuts
– fresh fruit (especially with vanilla)
– cookie crumble for extra crunch contrast
Serve at the right temperature (scooped after a 3–5 minute rest), and you’ll maximize the “classic creamy” experience that homemade ice cream should deliver.
Ice cream maker success isn’t one magic ingredient—it’s a chain of decisions: balanced base ingredients, correct chilling, churn to soft-serve stage, brief firming freeze, and smart storage. Pick custard-style if you want extra richness and a denser scoop, or choose the faster no-egg method for a straightforward homemade vanilla. Then customize your batch with one or two nostalgic mix-ins (chocolate chips, crushed cookies, caramel, or a fruit ribbon), and protect texture with airtight sealing and a short soften before scooping. Make a batch today—and next time, try one new mix-in to keep your classic creamery style evolving.
Frequently Asked Questions
What is a classic nostalgia ice cream maker recipe for homemade vanilla?
Start with a simple custard base: warm heavy cream and milk with vanilla, then whisk egg yolks with sugar until pale. Slowly combine the warm dairy into the yolks, return to the pot, and cook until it thickens enough to coat a spoon. Chill the custard completely, then churn in your ice cream maker until it reaches soft-serve texture. This nostalgia-style vanilla ice cream maker recipe is smooth, creamy, and ideal for add-ins like crushed cookies or chocolate chunks.
How do I use an ice cream maker to make nostalgia-style strawberry ice cream without ice crystals?
Use a cooked or blended base and chill it thoroughly before churning—cold mixture helps reduce ice crystals. For strawberry nostalgia ice cream, cook strawberries with sugar until slightly thickened, then cool before mixing with cream and milk (or folding into a strained custard base). Churn according to your machine’s instructions, and freeze the churned ice cream for several hours to firm up. For best results, avoid overfilling the bowl and keep the ice cream maker bowl cold.
Why does custard-based nostalgia ice cream taste richer than no-cook recipes?
Custard ice cream maker recipes use egg yolks to create a stable emulsion, which improves texture and mouthfeel. The gentle heat thickens the base and helps evenly distribute fat and flavor, making the ice cream taste “older-fashioned” and more velvety. No-cook recipes can still taste great, but they often produce a lighter body and may set softer or develop larger ice crystals over time. If you want authentic nostalgia ice cream, a cooked vanilla or berry custard is usually the way to go.
Which mix-ins work best with a nostalgia ice cream maker recipe for a throwback flavor?
Popular nostalgia add-ins include crushed sandwich cookies, chopped brownies, caramel swirls, marshmallows, and toasted nuts. For a classic “ice cream parlor” vibe, fold in mix-ins only at the end of churning so the ice cream stays creamy and the pieces retain texture. If using fruit, keep pieces from being too watery by cooking them down or draining well. These strategies make your nostalgia ice cream maker recipe taste balanced and prevent icy, gummy, or soggy mix-ins.
What’s the best way to store and serve homemade nostalgia ice cream made in an ice cream maker?
Transfer churned ice cream to an airtight container and press parchment or plastic wrap directly onto the surface to minimize freezer burn. Store at a steady freezer temperature, and for best flavor, let it sit at room temperature for 5–10 minutes before scooping. Homemade ice cream typically tastes best within 1–2 weeks, especially if your base is custard-based. Following these steps helps your nostalgia ice cream maker recipe stay smooth and scoopable.
References
- Google Scholar Google Scholar
https://scholar.google.com/scholar?q=nostalgia+ice+cream+maker+recipe - Google Scholar Google Scholar
https://scholar.google.com/scholar?q=ice+cream+maker+churn+recipe+custard+base+emulsion - Google Scholar Google Scholar
https://scholar.google.com/scholar?q=old-fashioned+ice+cream+recipe+gelation+overrun+structure - Ice cream
https://en.wikipedia.org/wiki/Ice_cream - Ice cream
https://en.wikipedia.org/wiki/Ice_cream#Production - https://en.wikipedia.org/wiki/Philadelphia-style_ice_cream
https://en.wikipedia.org/wiki/Philadelphia-style_ice_cream - Ice cream | Definition, History, & Production | Britannica
https://www.britannica.com/topic/ice-cream - https://www.mayoclinic.org/healthy-lifestyle/recipes/dessert-recipes/ice-cream/rcs-20077698
https://www.mayoclinic.org/healthy-lifestyle/recipes/dessert-recipes/ice-cream/rcs-20077698 - https://pubmed.ncbi.nlm.nih.gov/?term=ice+cream+processing+recipe
https://pubmed.ncbi.nlm.nih.gov/?term=ice+cream+processing+recipe - https://www.sciencedirect.com/topics/food-science/ice-cream
https://www.sciencedirect.com/topics/food-science/ice-cream